To install phpMyAdmin with Nginx on Rocky Linux 9, follow these steps.
Step 1 : Begin by updating the system:

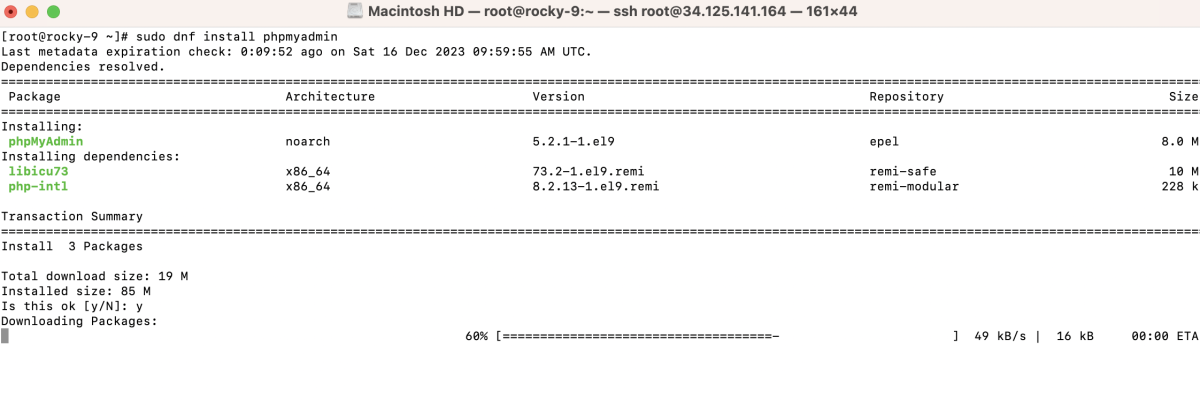
Step 2 : Install phpMyAdmin using the following command:
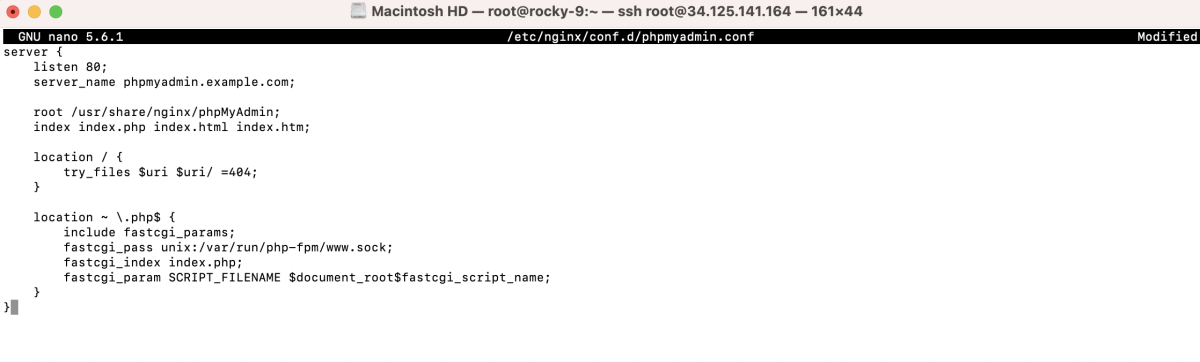
Step 3 : Create a new Nginx configuration file for phpMyAdmin:
- Add the following configuration:
Step 4 : Create a symbolic link to the phpMyAdmin directory:

Step 5 : Check if the Nginx configuration is valid:

Step 6 : Restart the Nginx service to apply the changes:

Step 7 : Access phpMyAdmin
- Visit the phpMyAdmin URL, e.g., http://phpmyadmin.example.com
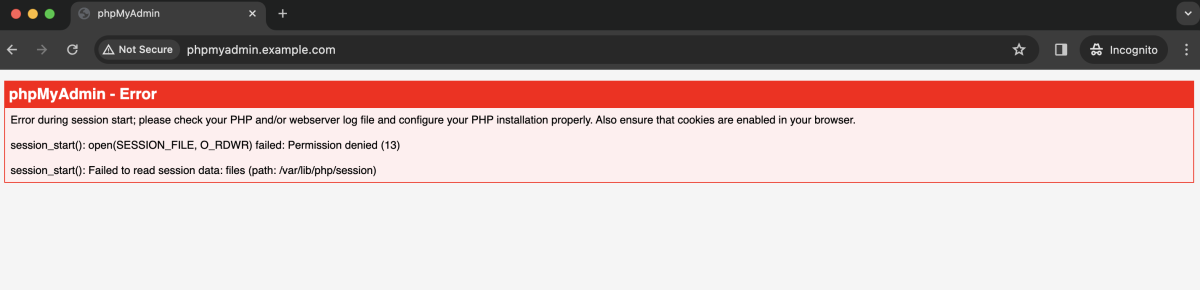
- If encountering a PHP session error, run the following command to fix it:

- Refresh the page
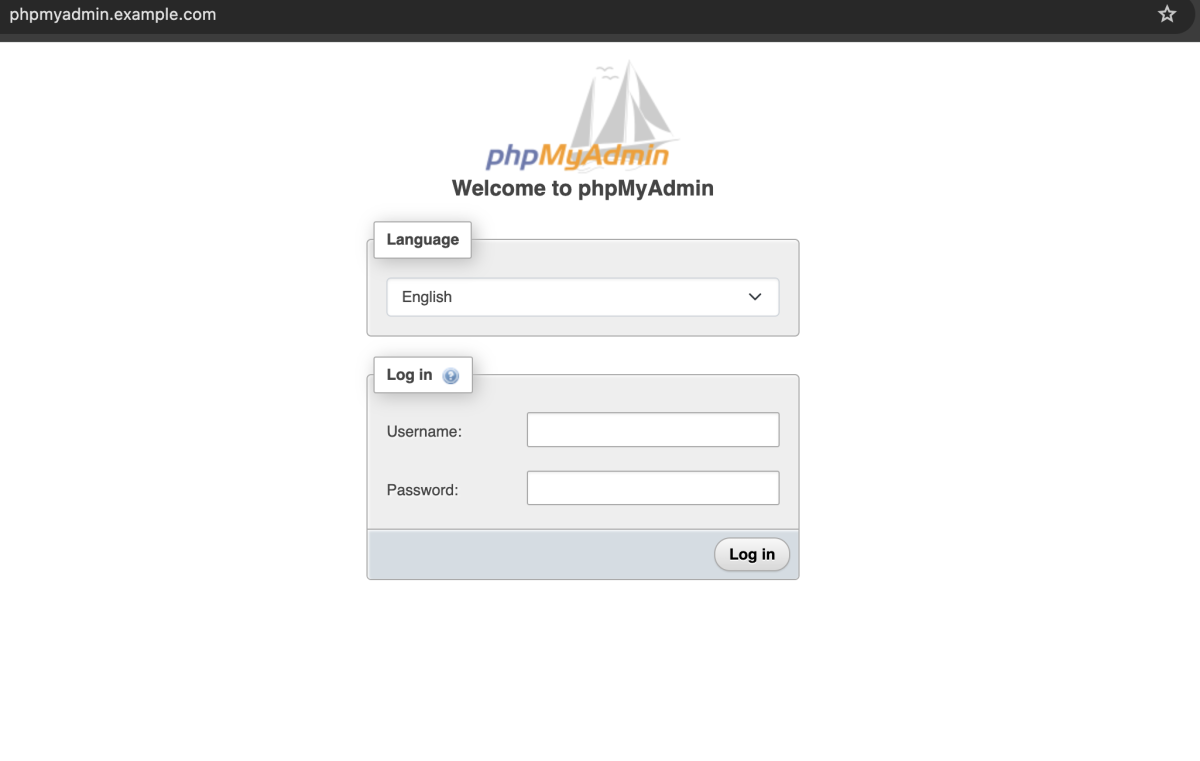
- Log in with your MySQL account
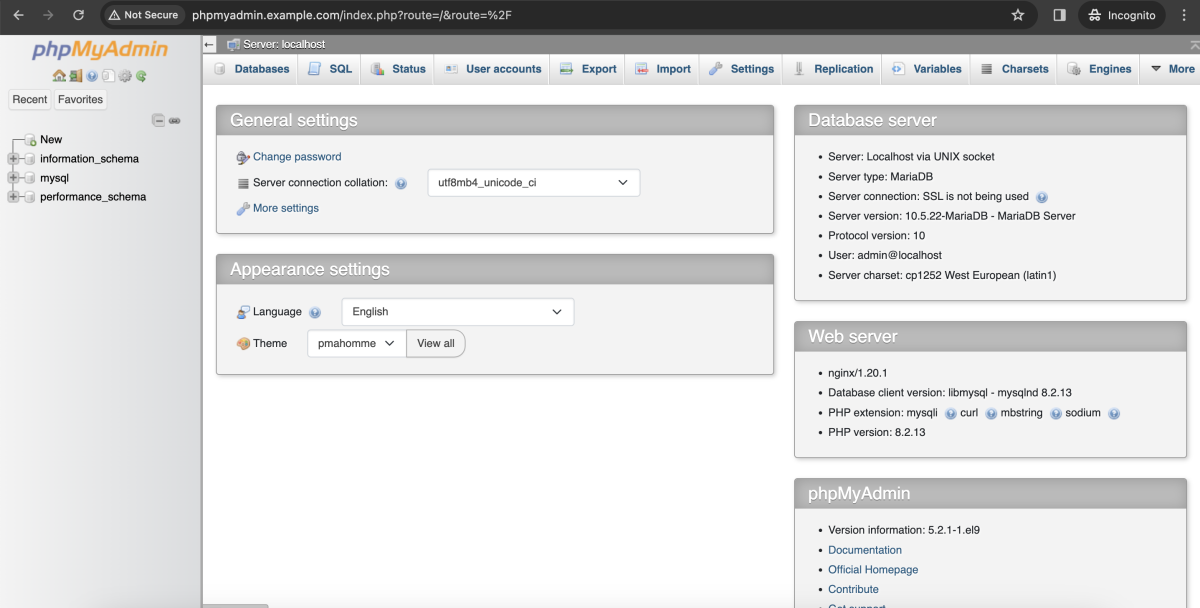
Congratulations, you have successfully installed and configured phpMyAdmin with Nginx on Rocky Linux 9!