To install and configure PHP 8.3 with Nginx on Ubuntu 24.04, proceed with the following steps.
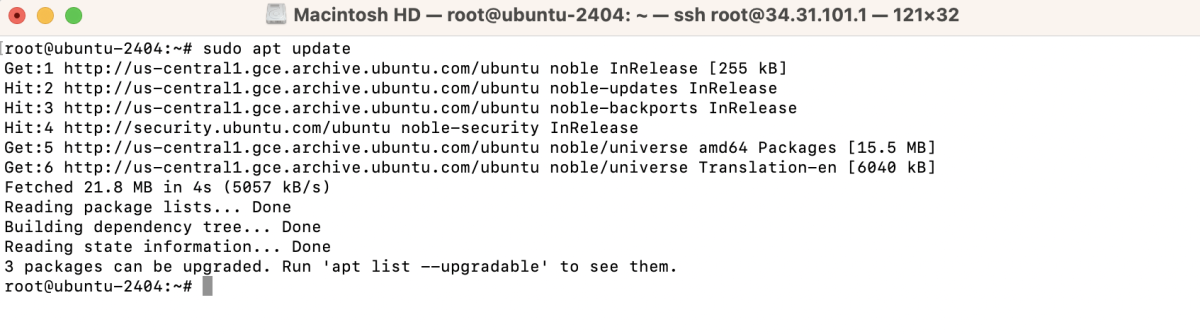
Step 1 : Begin by updating your package index to ensure you have the latest version of available packages.
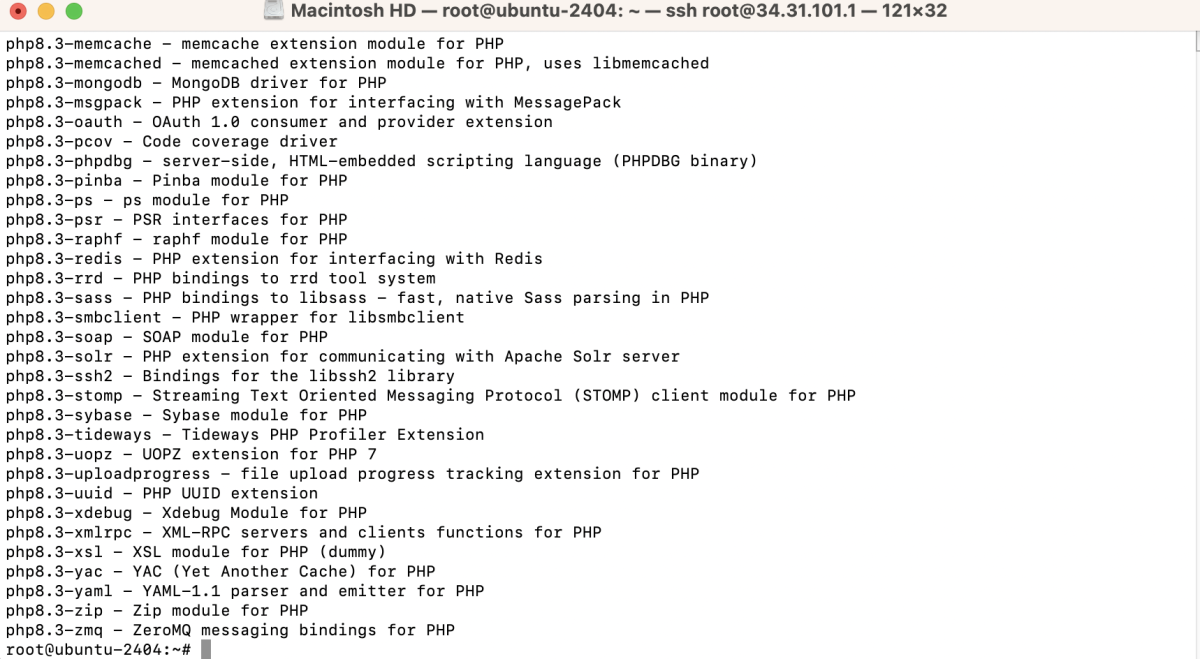
Step 2 : You can search for available PHP versions using the following command:
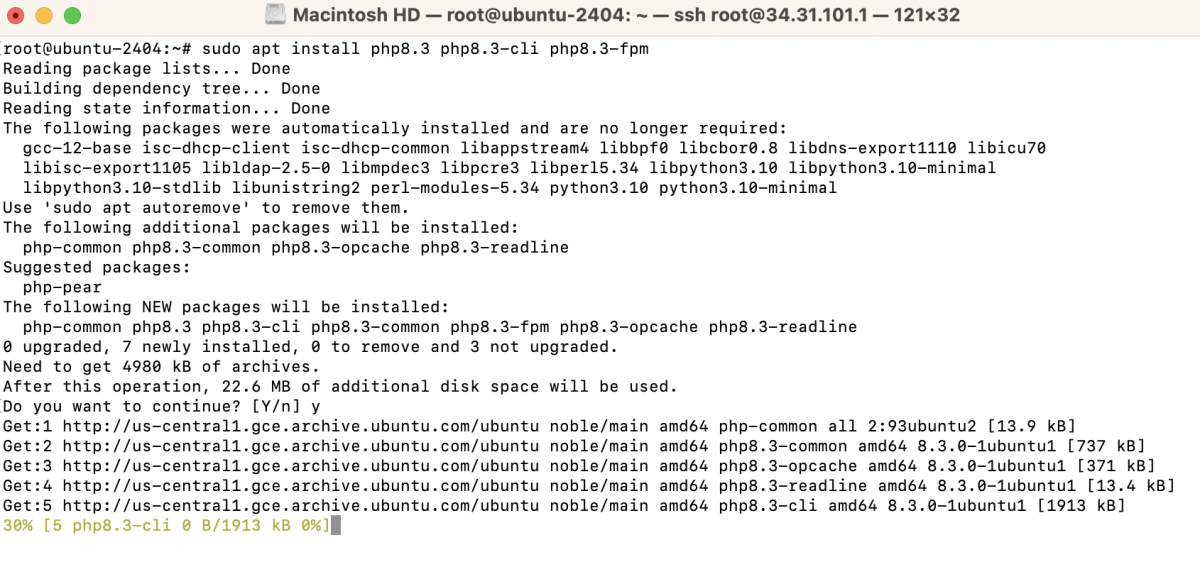
Step 3 : Install PHP 8.3 core packages including CLI and FPM:
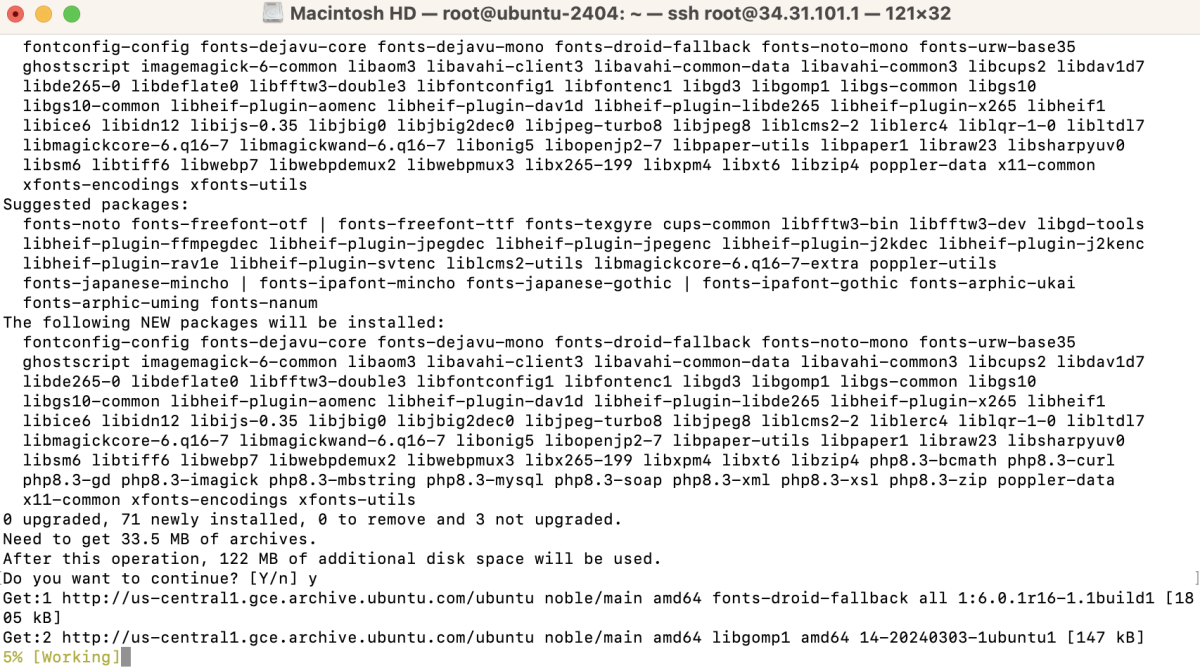
Step 4 : Install frequently used PHP extensions like MySQL, cURL, XSL, GD, etc., using:
Explanation of Extensions:
- mysql: Enables PHP to communicate with MySQL databases.
- curl: Allows making HTTP requests from within PHP scripts.
- xsl: Facilitates interaction with XML documents using XSLT.
- gd: Provides image manipulation capabilities to create, modify, and output image files.
- common: Includes shared files essential for various PHP extensions.
- xml: Enables parsing and generation of XML documents.
- zip: Allows creation, reading, and modification of zip archives.
- soap: Facilitates communication with SOAP-based web services.
- bcmath: Provides arbitrary-precision arithmetic functions.
- mbstring: Supports multibyte character encodings.
- gettext: Facilitates localization and translation of web applications.
- imagick: Allows manipulation of images using the ImageMagick library.
- Verify PHP version
Step 5 : Ensure PHP 8.3 is installed correctly by checking its version:

Step 6 : Edit your Nginx configuration file for your site (e.g., example.com) to include PHP processing directives.

Step 7 : Enable your Nginx site configuration file by creating a symbolic link from the sites-available directory to the sites-enabled directory.

Step 8 : Check the syntax of your Nginx configuration to ensure there are no errors:

Step 9 : Restart Nginx to apply the changes:

Step 10 : Create a PHP file (e.g., info.php) in your web root directory
Add the following line:

Step 11 : Navigate to your domain (e.g., http://example.com/info.php) in a web browser to see the PHP information page.

Congratulations! You have successfully installed PHP 8.3 for Nginx on Ubuntu 24.04.