To install PHP 8.3 for Apache on Ubuntu 24.04, follow these steps:
Step 1 : Make sure your package lists are up-to-date by running:

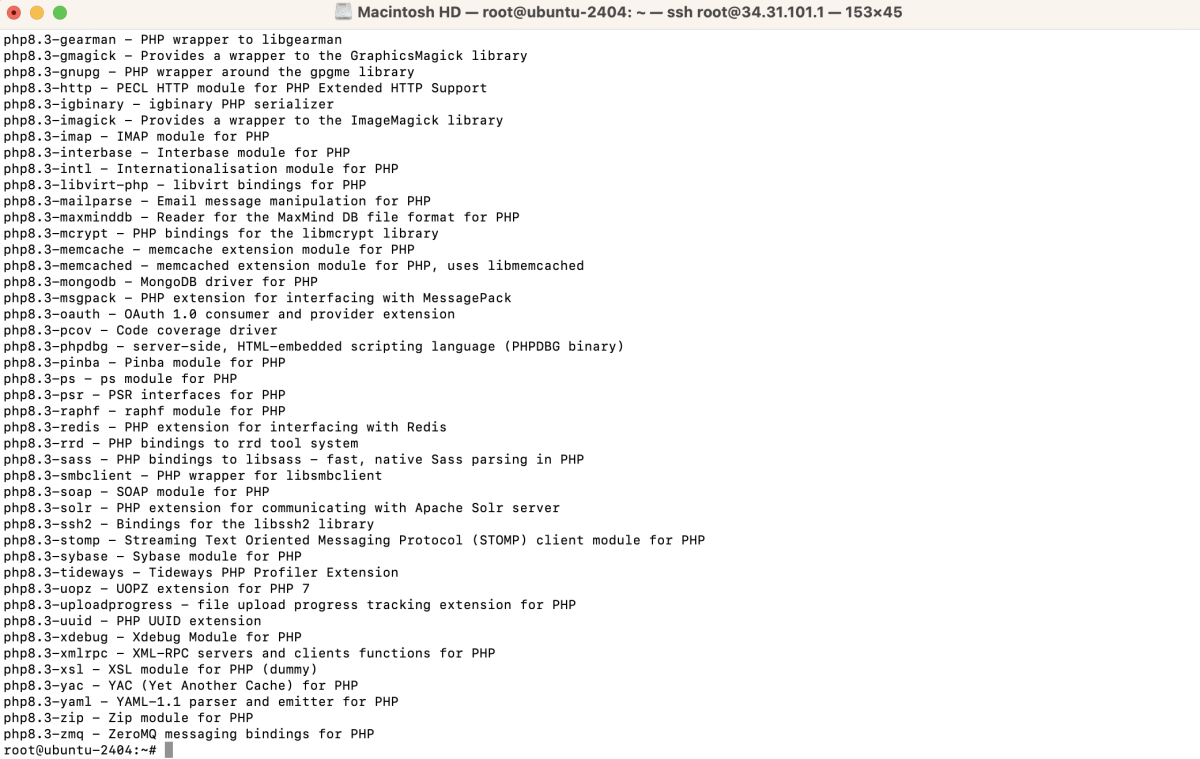
Step 2 : Find the available PHP versions using apt-cache search:
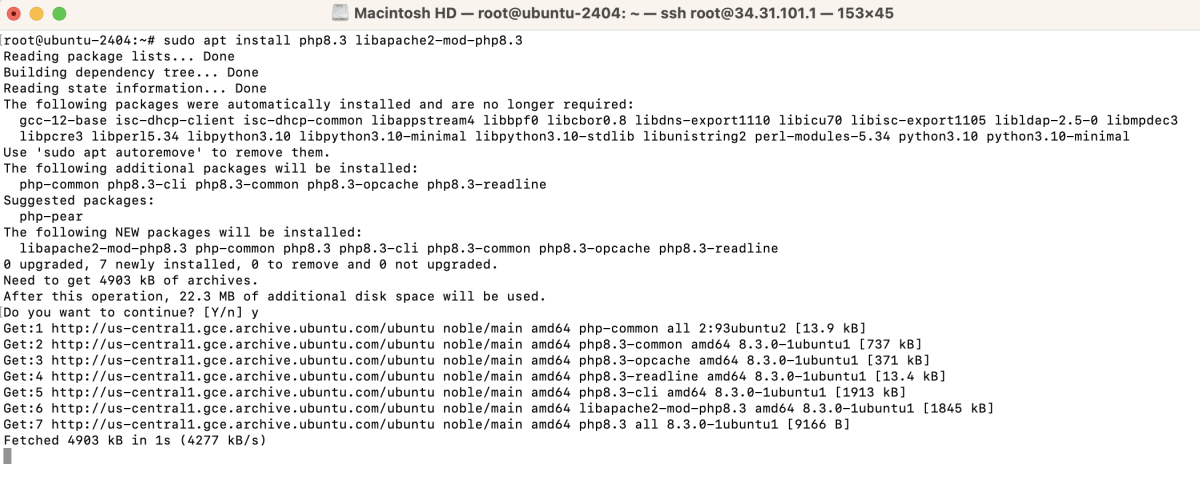
Step 3 : Install PHP 8.3 and libapache2-mod-php8.3
Install PHP 8.3 and the Apache PHP module:
Step 4 : Install commonly used PHP extensions like cgi, mysql, curl, xsl, gd...:
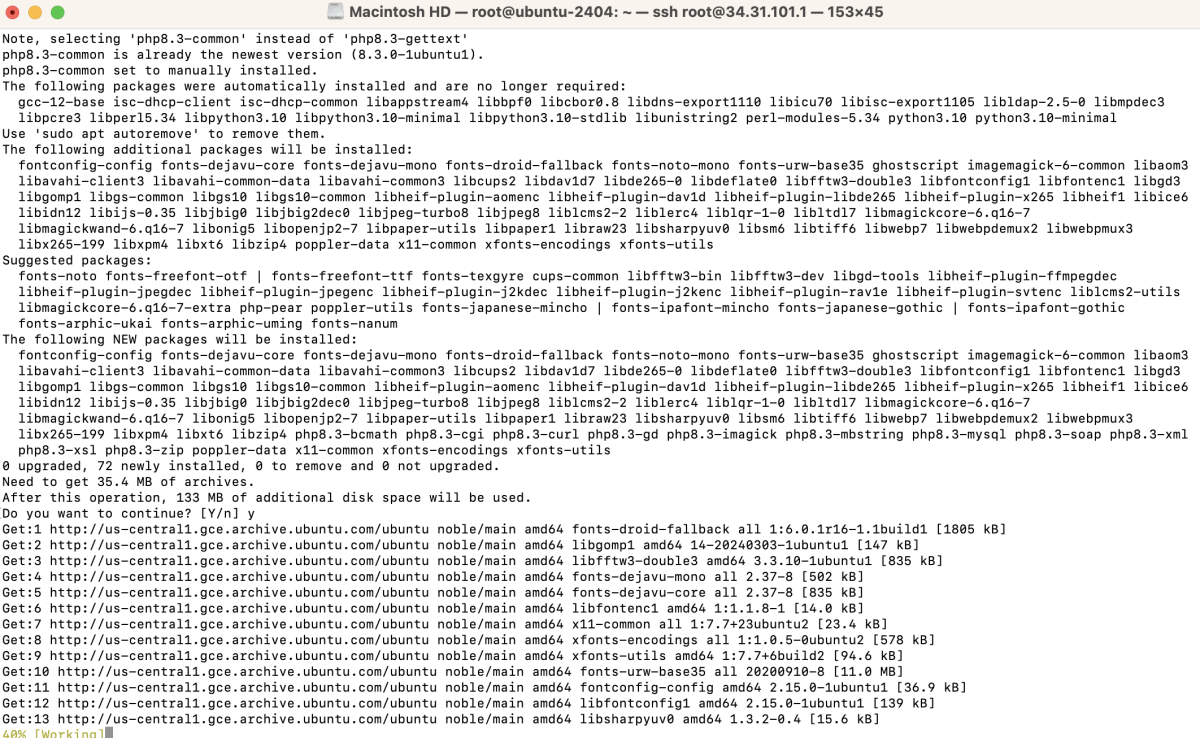
- cgi: Common Gateway Interface, allows PHP scripts to be executed as CGI.
- mysql: MySQL database connectivity.
- curl: Allows PHP to communicate with other servers using various protocols.
- xsl: XSLT processing for transforming XML documents.
- gd: Graphics library for image processing.
- common: Common functions and classes.
- xml: XML support for PHP.
- zip: ZIP archive management.
- soap: SOAP protocol support.
- bcmath: Arbitrary precision mathematics.
- mbstring: Multibyte string support.
- gettext: Internationalization support.
- imagick: PHP extension for ImageMagick.
Step 5 : Check the installed PHP version:

Step 6 :Enable the PHP module for Apache:

Step 7 : Restart Apache for the changes to take effect:

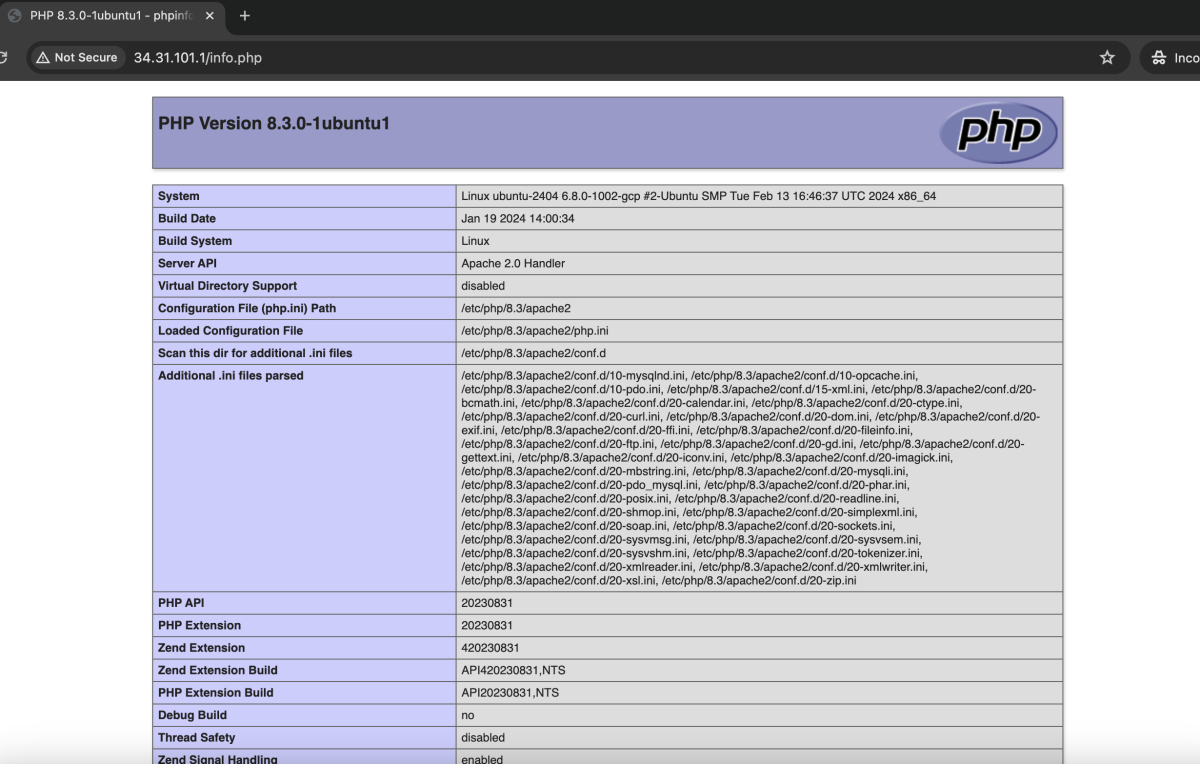
Step 8 : Create a PHP info file to test PHP processing:
Add the following content to the file:

Step 9 : Open a web browser and navigate to your domain, followed by /info.php (e.g., http://example.com/info.php) to see the PHP info page.
Congratulations! You have successfully installed and configured PHP 8.3 for Apache on Ubuntu 24.04.