Logo

How to Configure SSL for Nginx on Ubuntu 24.04

Mar 15, 2024

To configure SSL for Nginx on Ubuntu 24.04, follow the steps below.

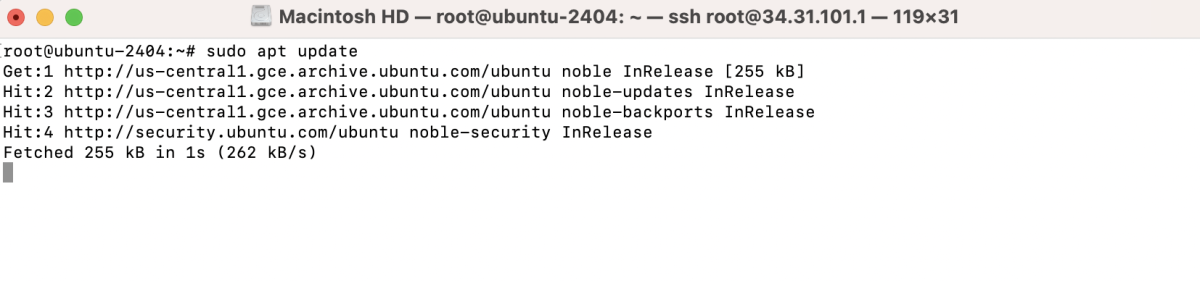
Step 1 : Make sure your system is up-to-date by running:

sudo apt update

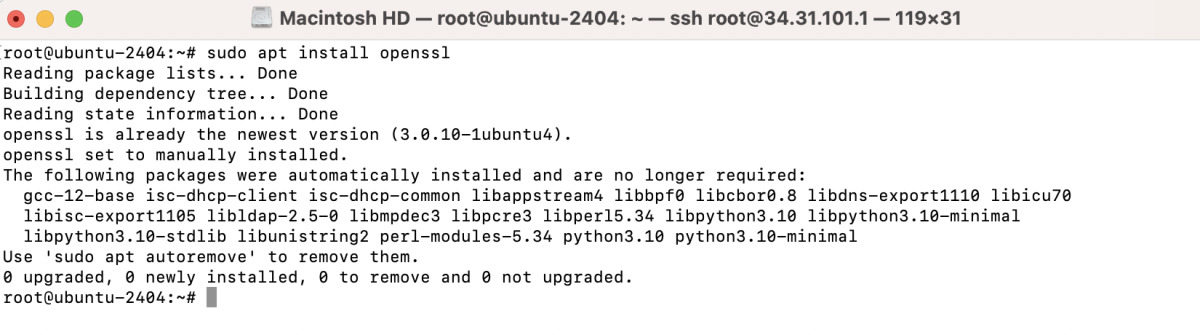
Step 2 : Install OpenSSL if not already installed

sudo apt install openssl

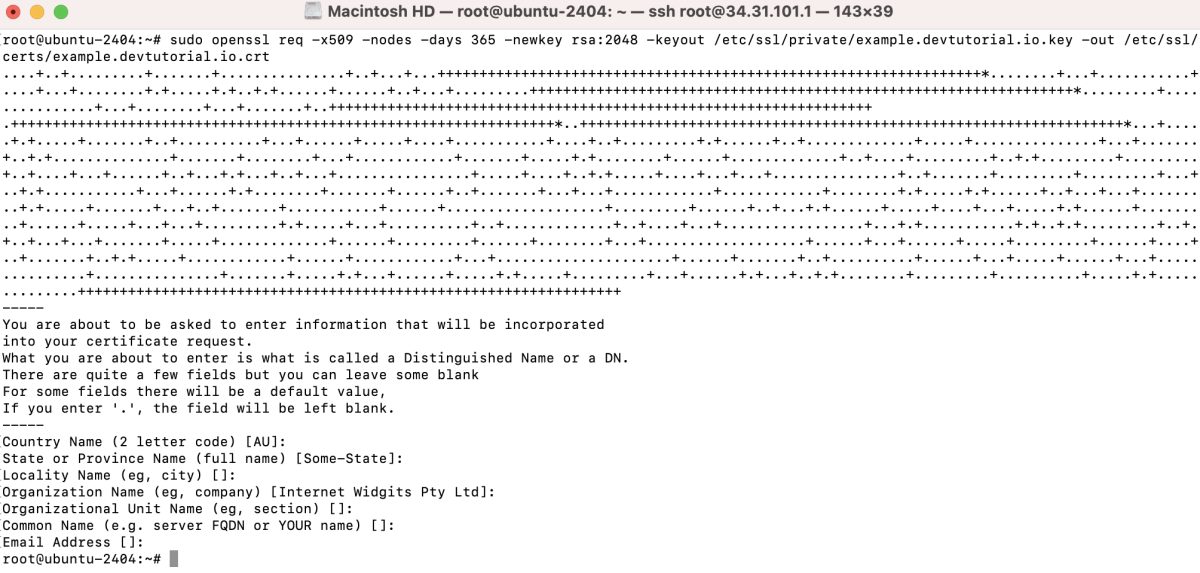
Step 3 : Generate SSL certificates using OpenSSL. Replace example.devtutorial.io with your domain:

sudo openssl req -x509 -nodes -days 365 -newkey rsa:2048 -keyout /etc/ssl/private/example.devtutorial.io.key -out /etc/ssl/certs/example.devtutorial.io.crt

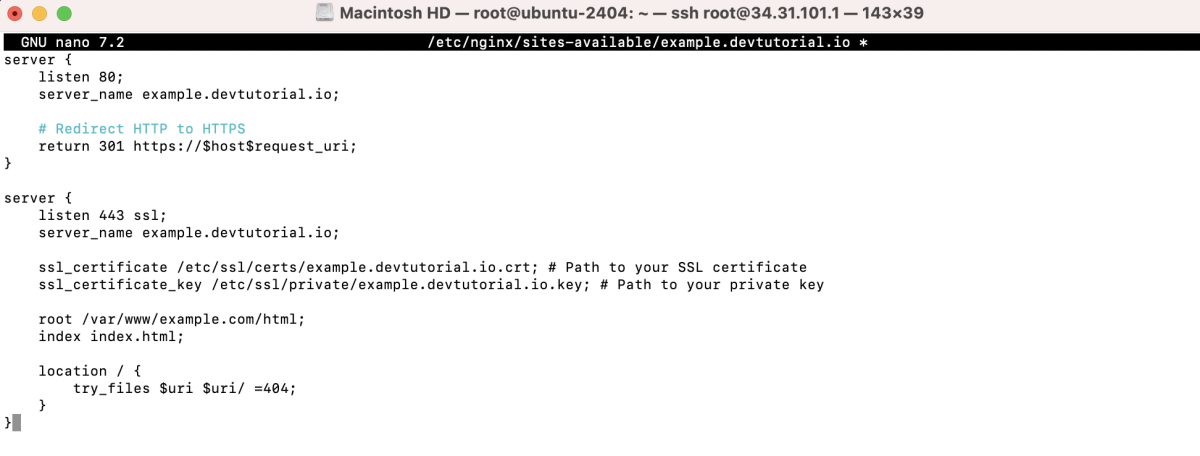
Step 4 : Create a new server block configuration file for your domain:

sudo nano /etc/nginx/sites-available/example.devtutorial.io

And add the following configuration:

server {
    listen 80;
    server_name example.devtutorial.io;

    # Redirect HTTP to HTTPS
    return 301 https://$host$request_uri;
}

server {
    listen 443 ssl;
    server_name example.devtutorial.io;

    ssl_certificate /etc/ssl/certs/example.devtutorial.io.crt; # Path to your SSL certificate
    ssl_certificate_key /etc/ssl/private/example.devtutorial.io.key; # Path to your private key

    root /var/www/example.com/html;
    index index.html;

    location / {
        try_files $uri $uri/ =404;
    }
}

Step 5 : Enable the Configuration

sudo ln -s /etc/nginx/sites-available/example.devtutorial.io /etc/nginx/sites-enabled/

Step 6 : Test Nginx Configuration

sudo nginx -t

Step 7 : Restart Nginx

sudo systemctl restart nginx

Step 8 : Visit your Domain

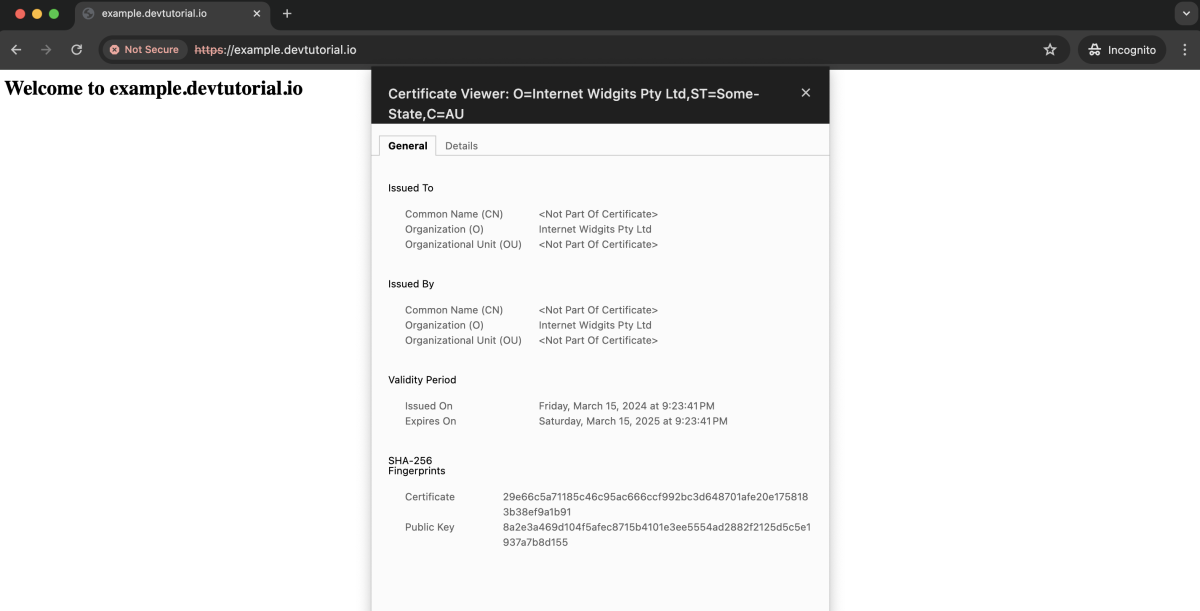
Go to your domain (e.g., https://example.devtutorial.io) in a web browser and ignore any security warnings.

Congratulations! You have successfully configured SSL for Nginx on Ubuntu 24.04.

Recommended