To set up an SFTP server on CentOS Stream 9, follow the steps below.
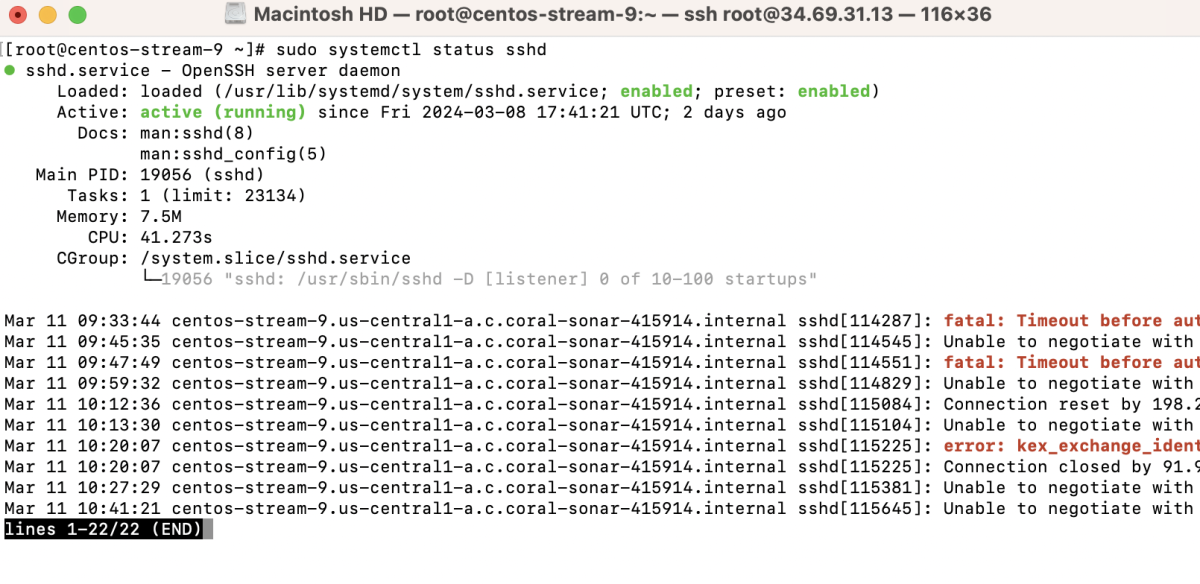
Step 1 : Ensure that the sshd is installed and running on your CentOS Stream system.
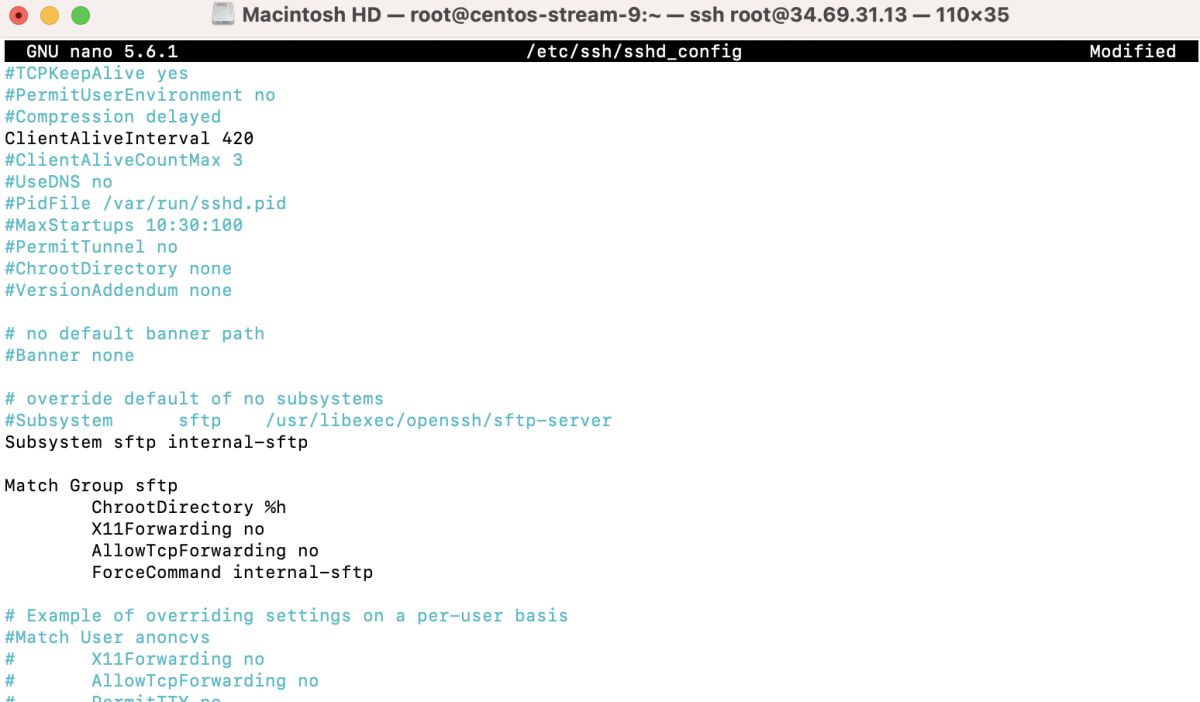
Step 2 : Open the sshd configuration file.
Add the following lines to enable SFTP:
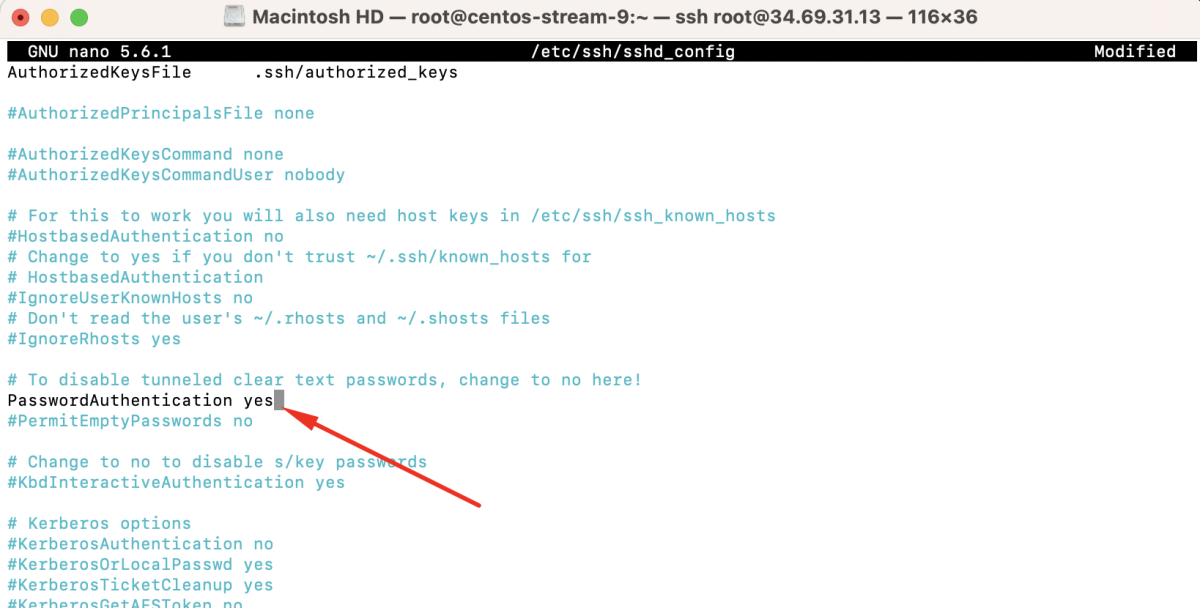
Step 3 : If you want to allow password-based logins, set PasswordAuthentication yes in the sshd_config file.
Step 4 : Restart the SSH server to apply the changes:

Step 5 : Create a group specifically for SFTP users:

Step 6 : Add a new user for SFTP access:

Step 7 : Set a password for the newly created user:

Step 8 : Add the user to the SFTP group:

Step 9 : Ensure that the directory structure for the SFTP user is appropriately set up.

Step 10 : Restart the SSH service again:

Step 11 : Test Connect
- Open your SFTP client (e.g., FileZilla).
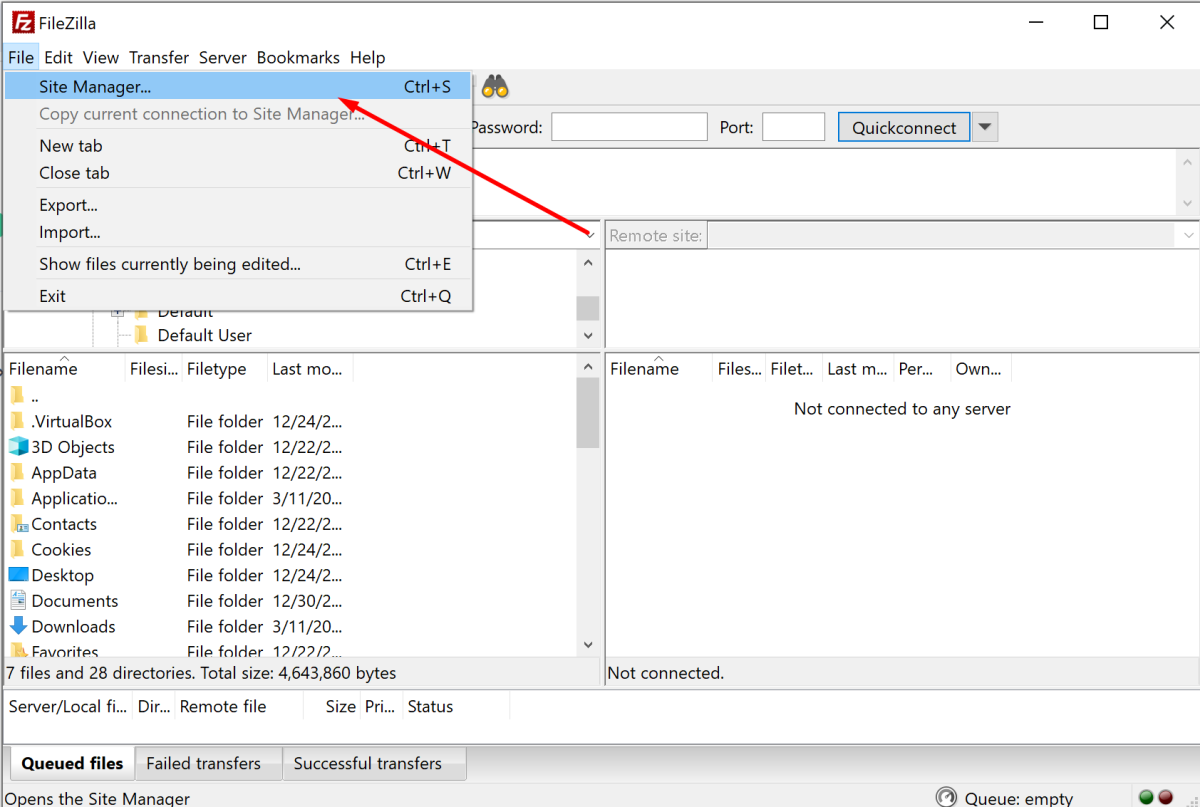
- Add a new site.
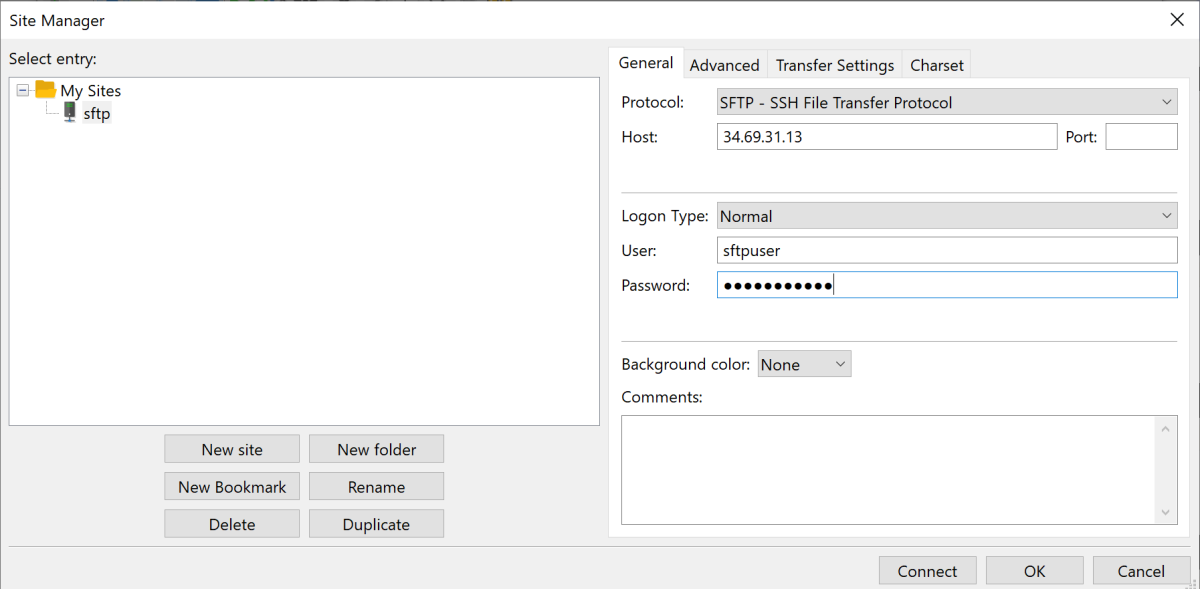
- Enter the "Host" (your server's IP or hostname).
- Choose "SFTP - SSH File Transfer Protocol."
- Set the "Port" to 22.
- Choose "Normal," enter the username and password.
- Click "Connect."
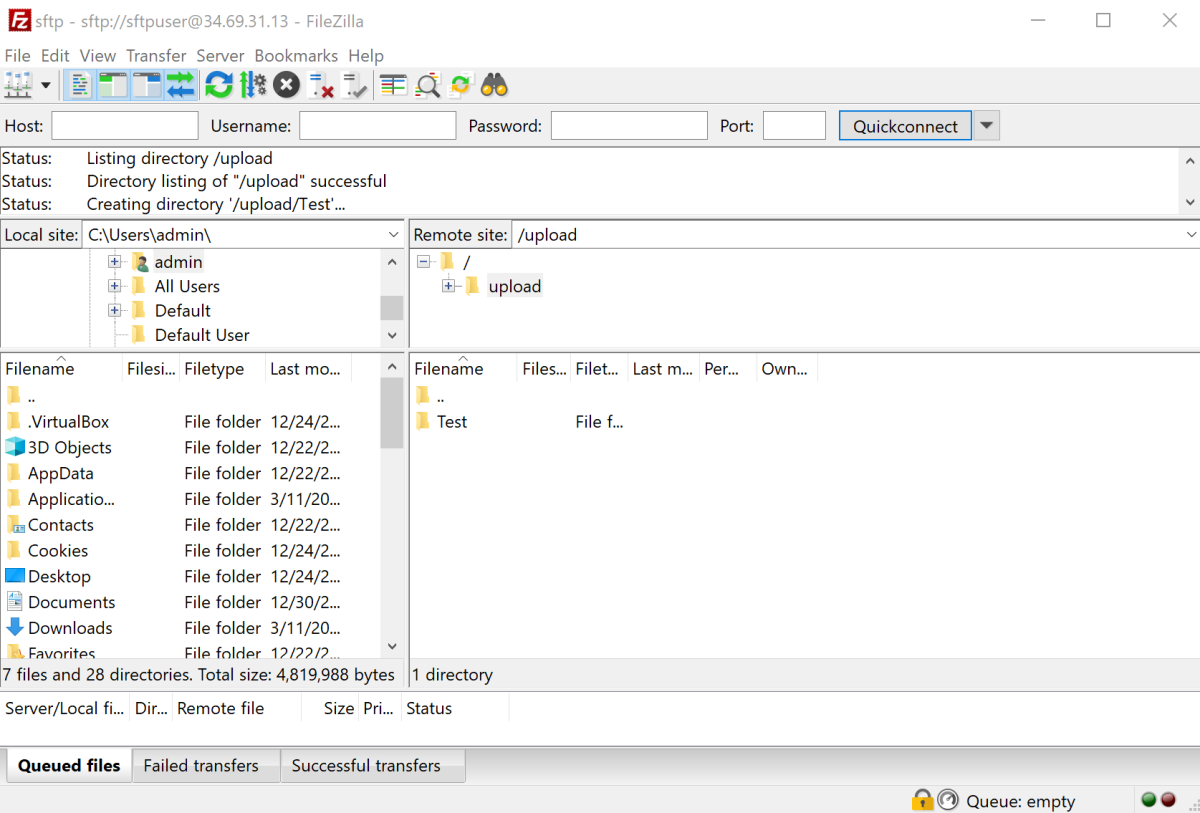
Congratulations, you have successfully set up an SFTP server on CentOS Stream 9.