To install phpMyAdmin with Apache on CentOS Stream 9, follow these steps:
Step 1 : Update.

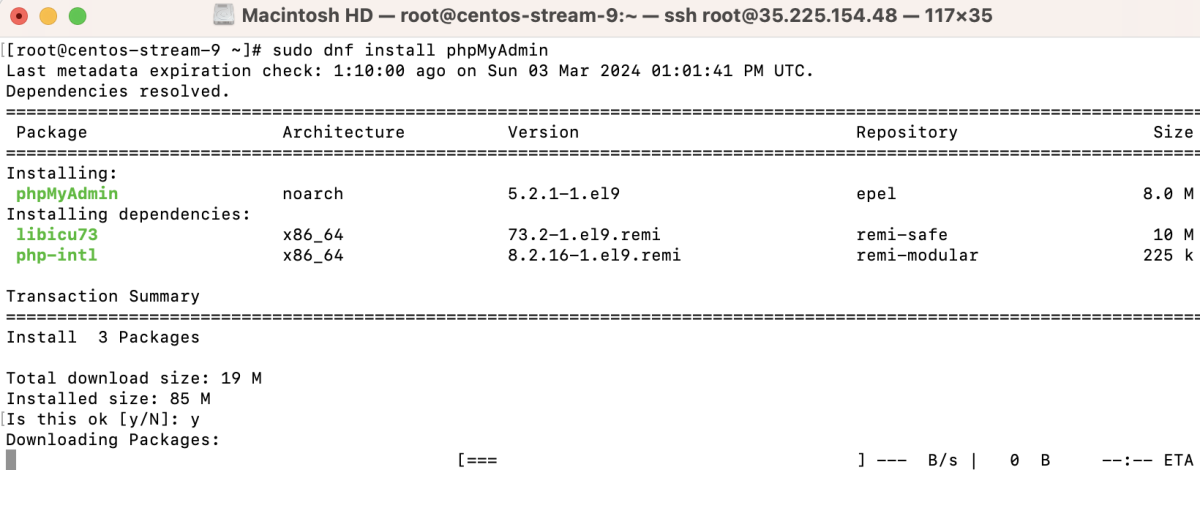
Step 2 : Install phpMyAdmin
Step 3 : Open the phpMyAdmin Apache configuration file and change the "Require" directive to allow all connections.
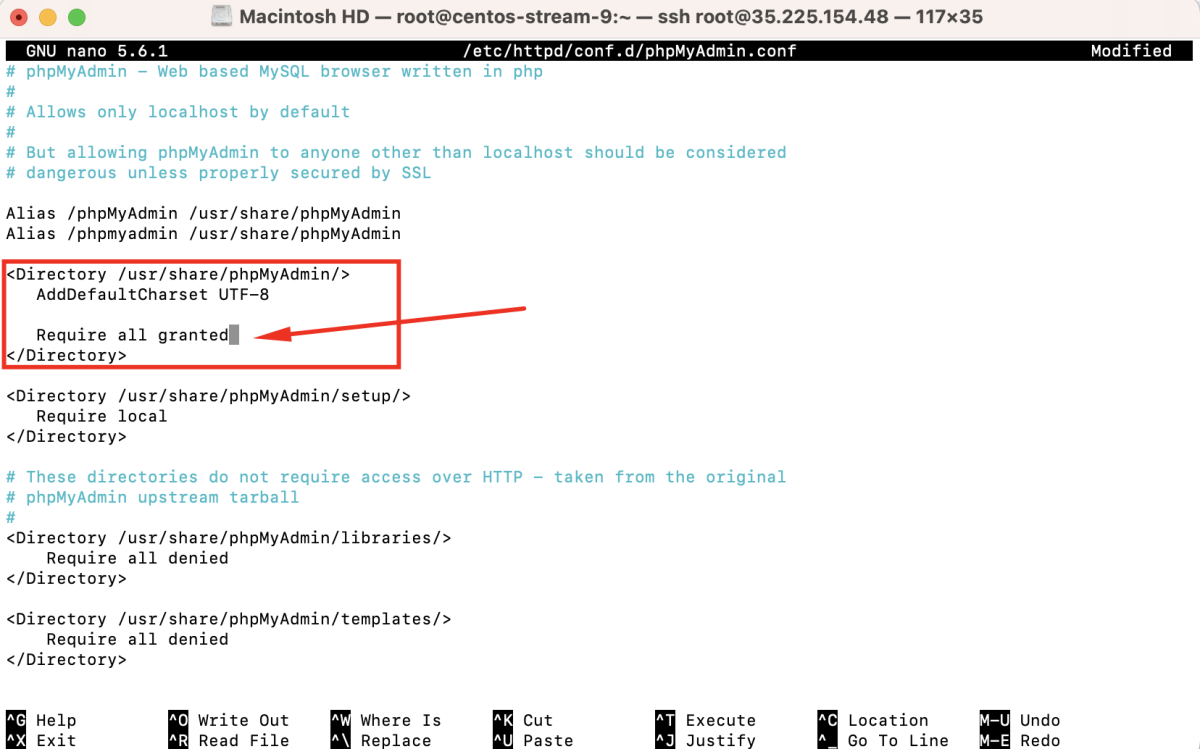
Find the line:
Replace it with:
Save the changes and exit the editor.
Step 4 : Restart the Apache web server to apply the configuration changes.

Step 5 : Access phpMyAdmin
Open a web browser and navigate to http://your_server_ip/phpmyadmin
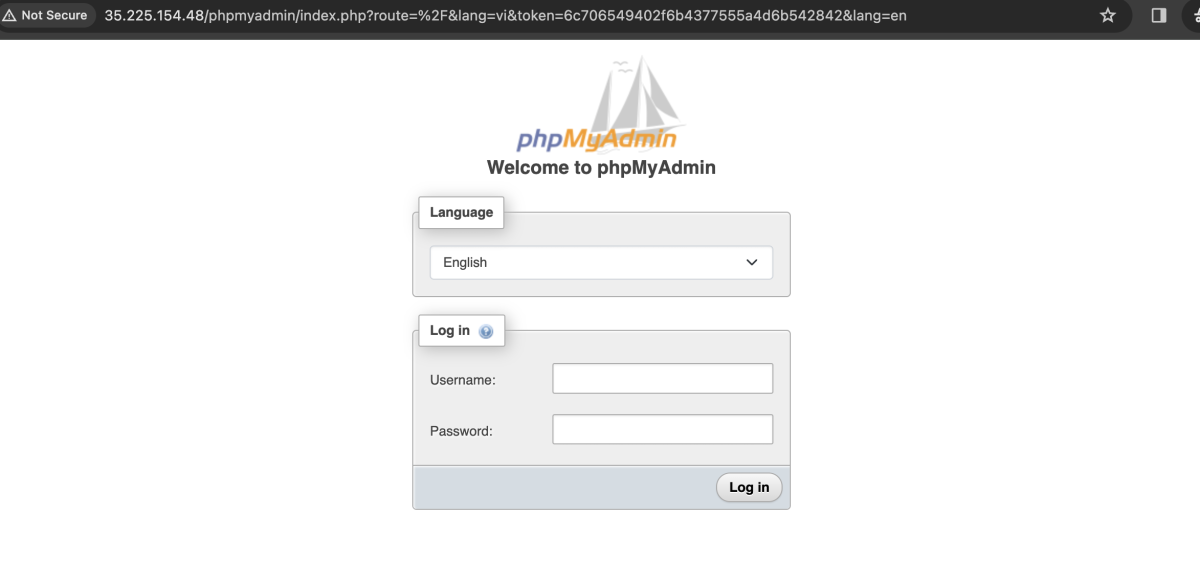
Log in using your MySQL or MariaDB credentials.
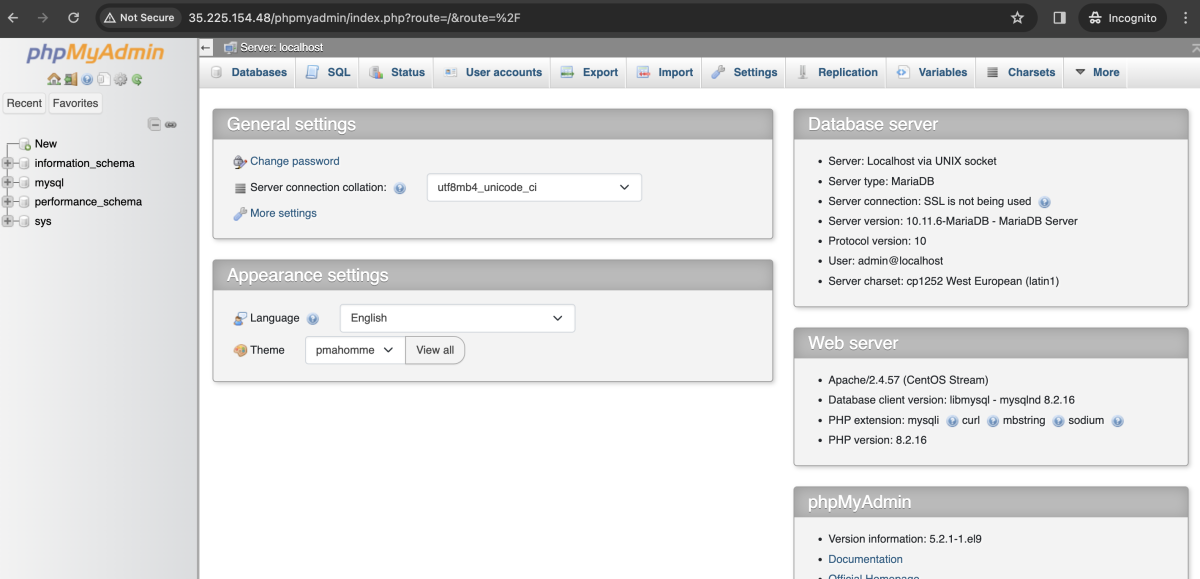
Congratulations! You have successfully installed phpMyAdmin with Apache on CentOS Stream 9.