To configure SELinux on CentOS Stream 9, follow the steps below.
Step 1 : SELinux is enabled by default. Check the current status using the command:

Step 2 : Display SELinux status details:
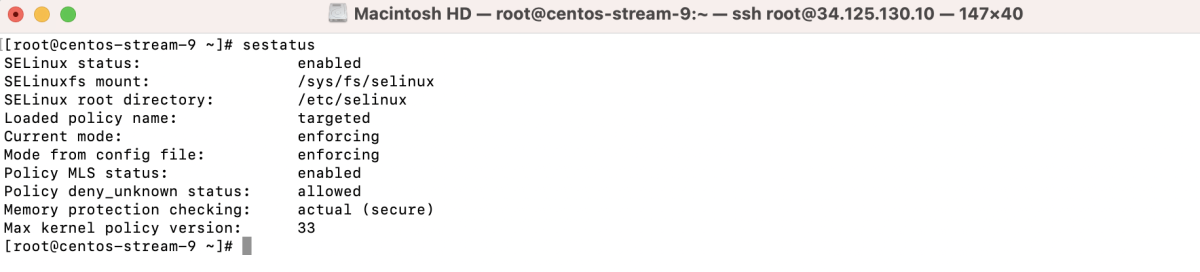
Step 3 : SELinux Modes:
- Enforcing: Enforces access controls and denies policy violations.
- Permissive: Logs policy violations but allows them to occur.
- Disabled: SELinux is turned off.
Step 4 : Disable SELinux:
- Disable temporarily:

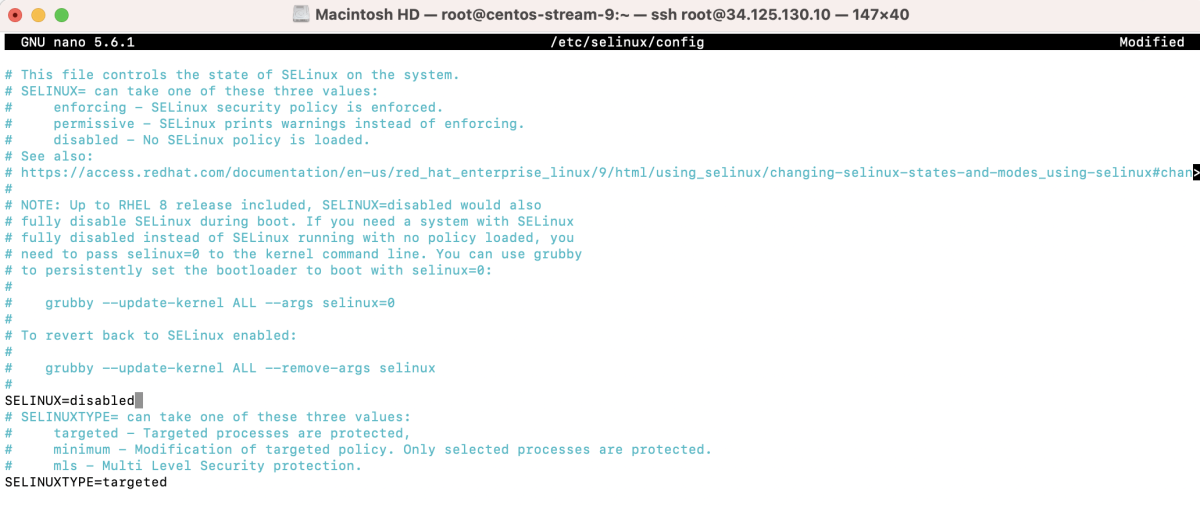
- Disable permanently:
Edit /etc/selinux/config
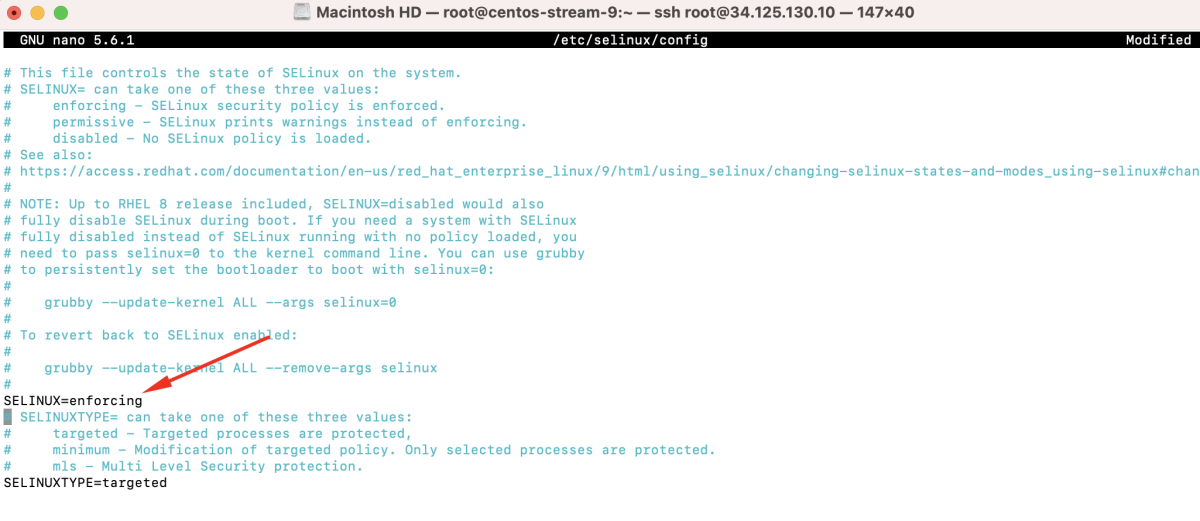
And set SELINUX=disabled.
- If disabled permanently, reboot the system.
Step 5 : Check the status again:

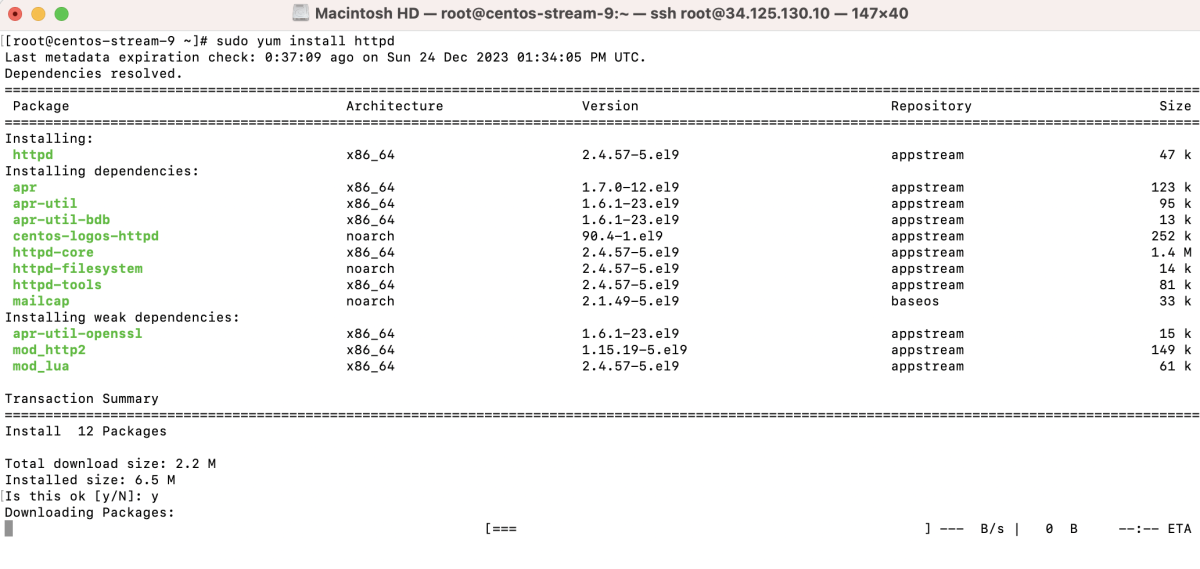
Step 6 : Basic SELinux Configuration (Example using Apache):
- Install Apache:
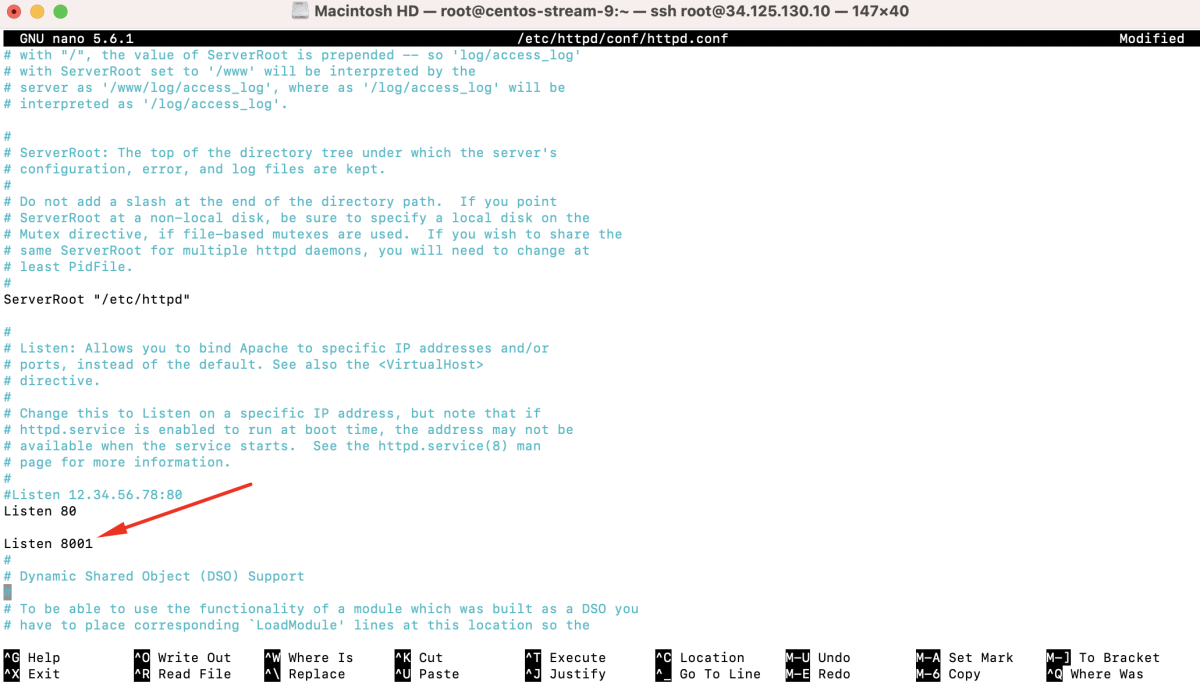
- Edit /etc/httpd/conf/httpd.conf and add:
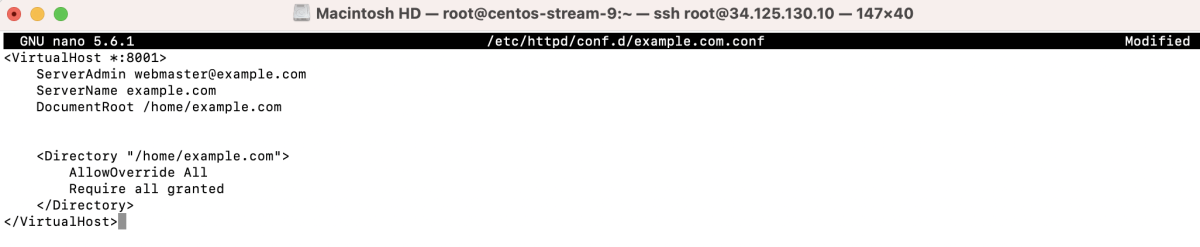
- Create a custom configuration for port 8001 and set the root folder to /home/example.com. Create a new configuration file : /etc/httpd/conf.d/example.com.conf:
- Create the index file and set permissions using chmod:

- Test the configuration:

- If using a firewall, open the configured port:

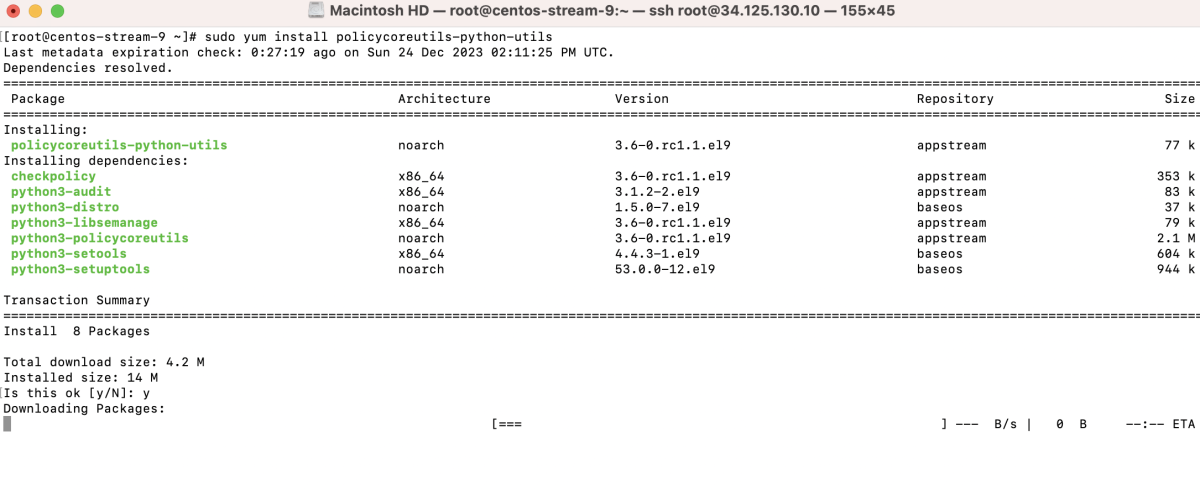
- Install policycoreutils-python-utils
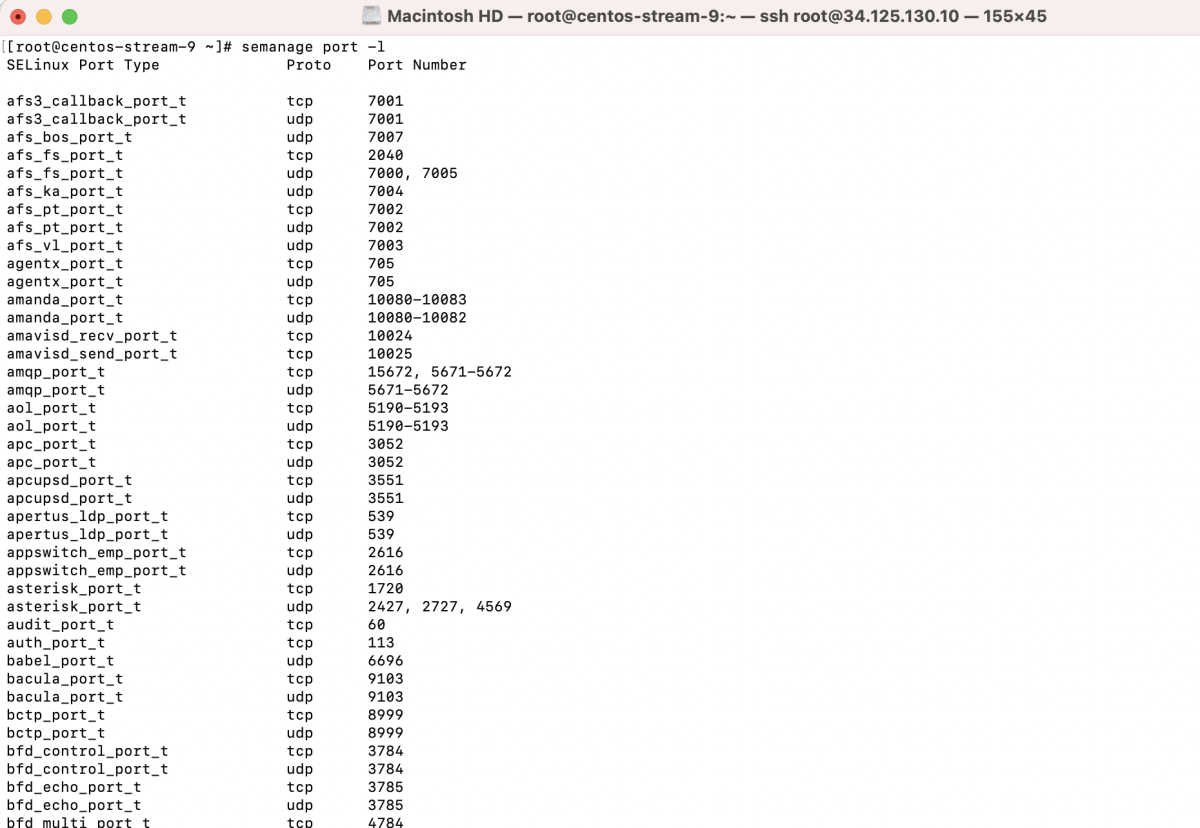
- View the current port settings:
- Filter and check for the port type:

- Add a new port context:

- Verify the port settings:

- Restart Apache:

- Match SELinux contexts:

- Apply the changes:

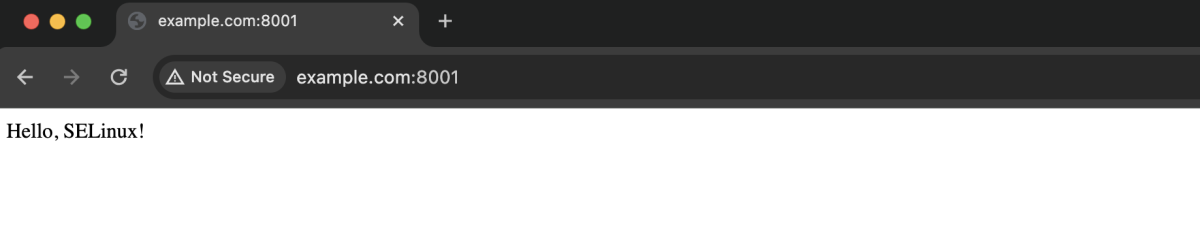
- Visit http://example.com:8001 in a web browser.
Congratulations! Your SELinux configuration for CentOS Stream 9 is now complete.