To install and configure a VNC server on Ubuntu 22.04 server, you can follow these steps:
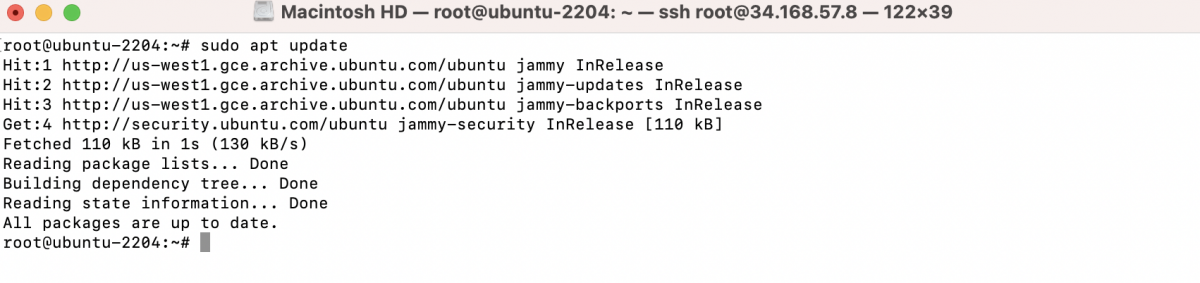
Step 1 : Update the package lists and upgrade existing packages:
Step 2 : Install the XFCE desktop environment and additional XFCE goodies:
Step 3 : Install the tightvncserver package, which provides the VNC server software:

Step 4 : Set up a VNC password by running the following command:
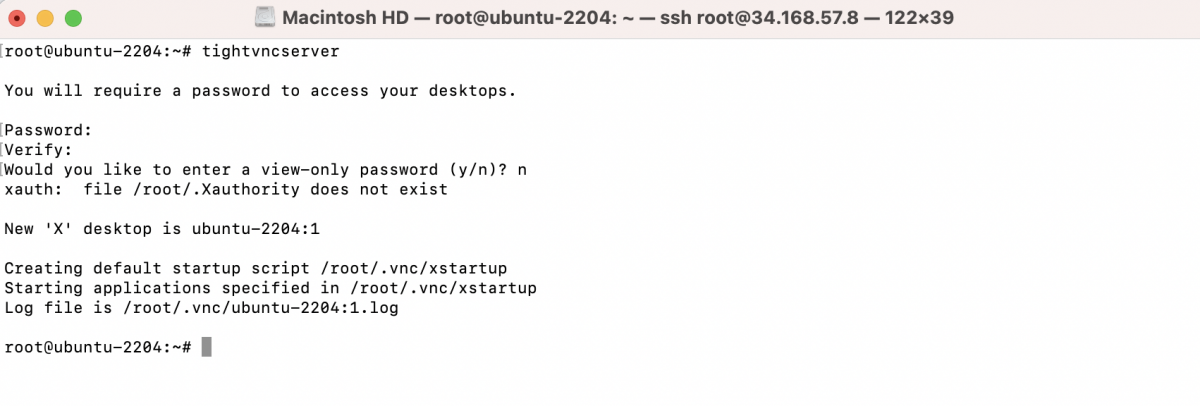
You will be prompted to enter a password for VNC access. Choose a strong password.
Step 5 : Stop the VNC server to make some configuration changes:

Step 6 : Create a new configuration file for the VNC server:
Step 7 : In the text editor, remove the existing content and replace it with the following lines:
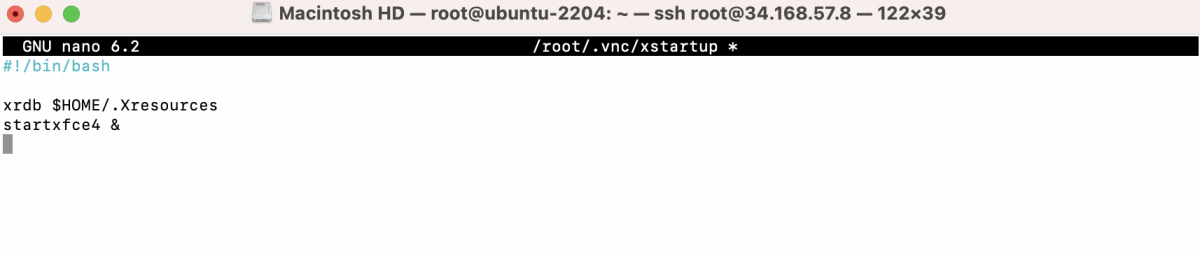
This configuration assumes that you want to use the XFCE desktop environment. If you prefer a different desktop environment, modify the startxfce4 command accordingly.
Step 8 : Save the file (Ctrl + O), and exit the text editor (Ctrl + X).
Step 9 : Make the xstartup file executable:

Step 10 : Start the VNC server again:
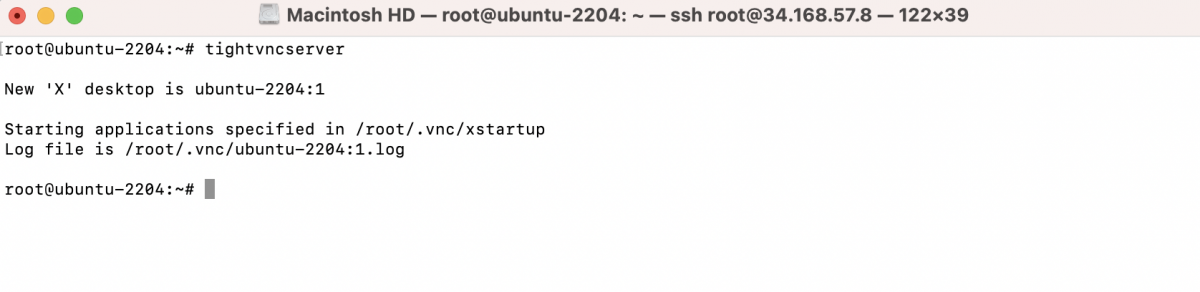
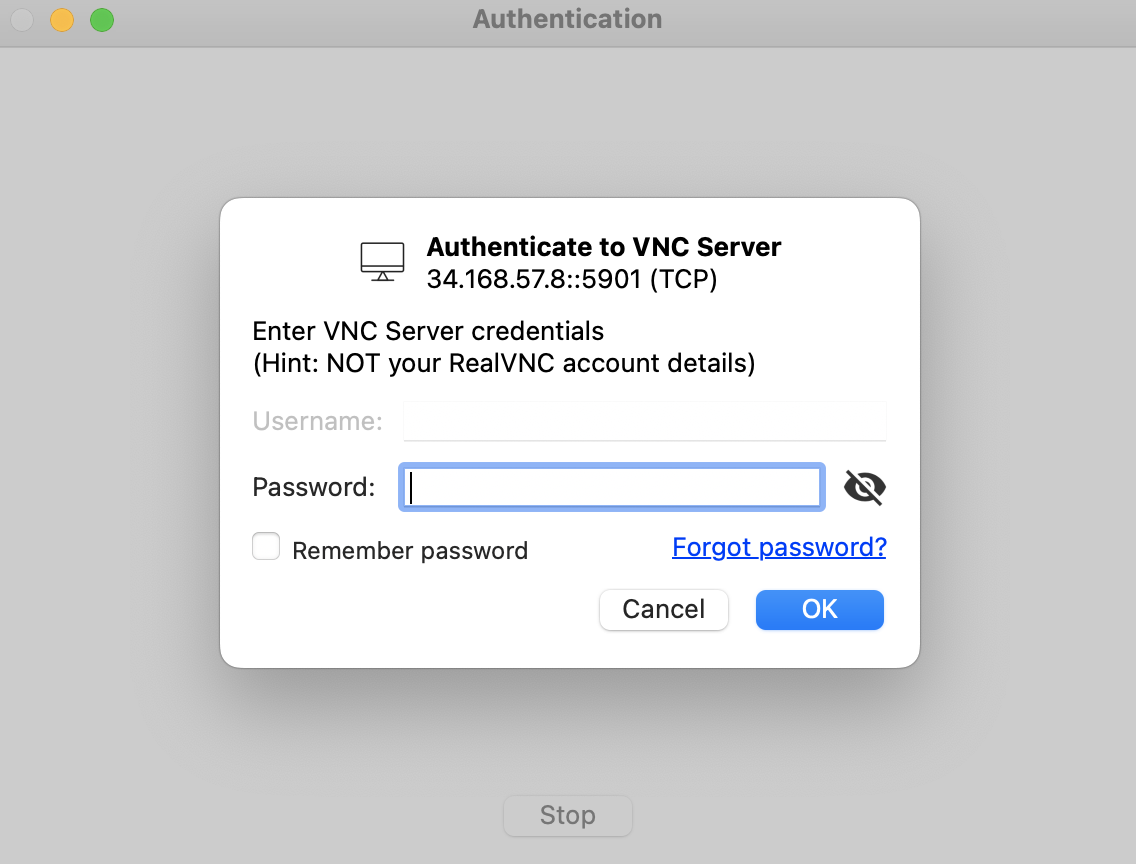
Step 11 : You should now be able to connect to your VNC server from a VNC client application using the server's IP address or hostname followed by :1 (e.g., 192.168.1.100:1). Enter the VNC password you set earlier.
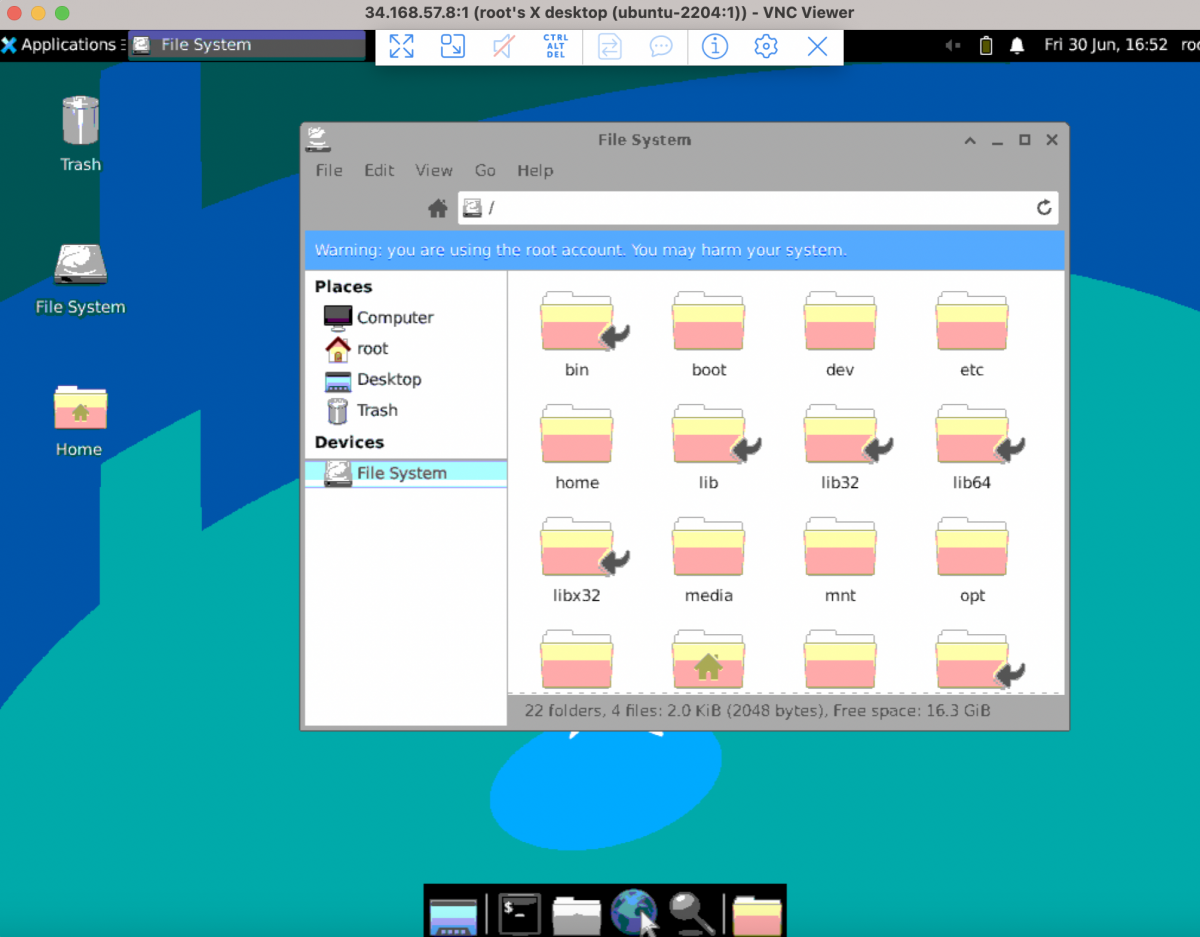
Congratulations! You have successfully installed and configured a VNC server on your Ubuntu 22.04 server. You can customize the configuration further based on your specific needs, such as changing the desktop environment or configuring a different resolution.