Here is a step-by-step guide to install NVM (Node Version Manager) on Ubuntu 22.04:
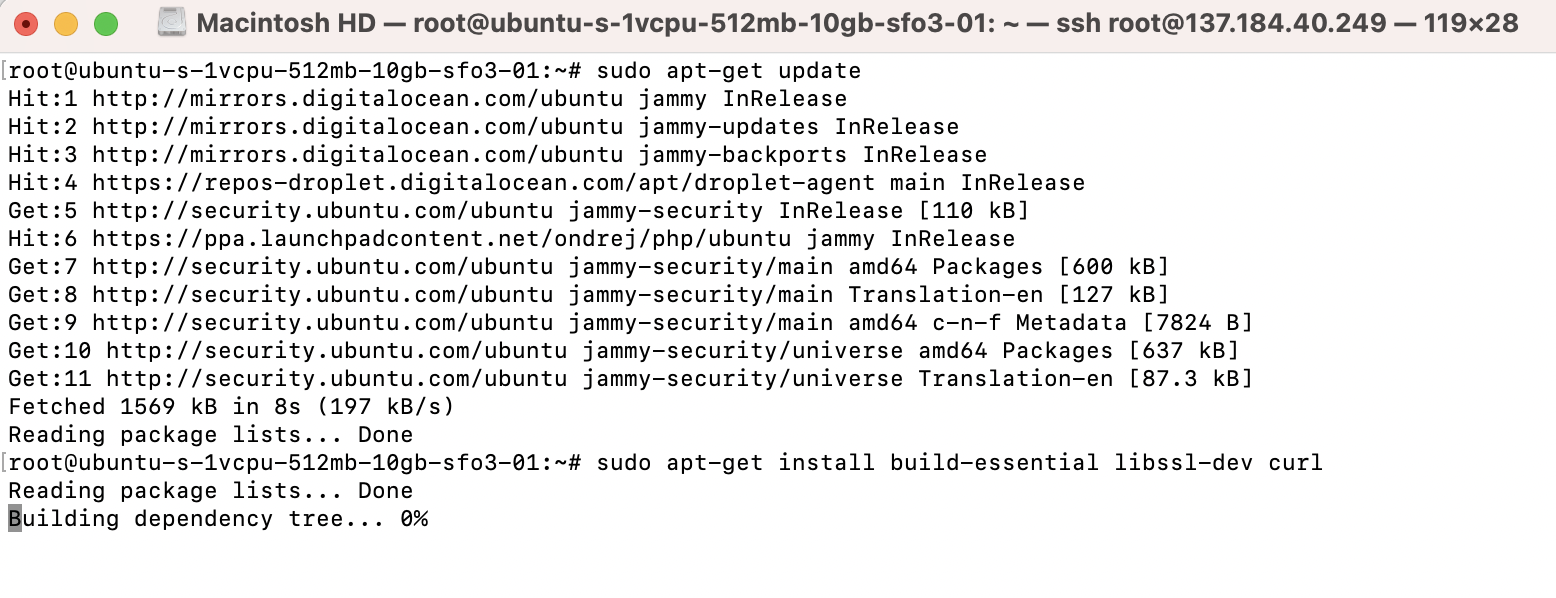
Step 1 : Install the required packages:
Step 2 : Download the NVM installation script:
To determine the latest version of NVM, you can go to the NVM repository on Github: https://github.com/nvm-sh/nvm.
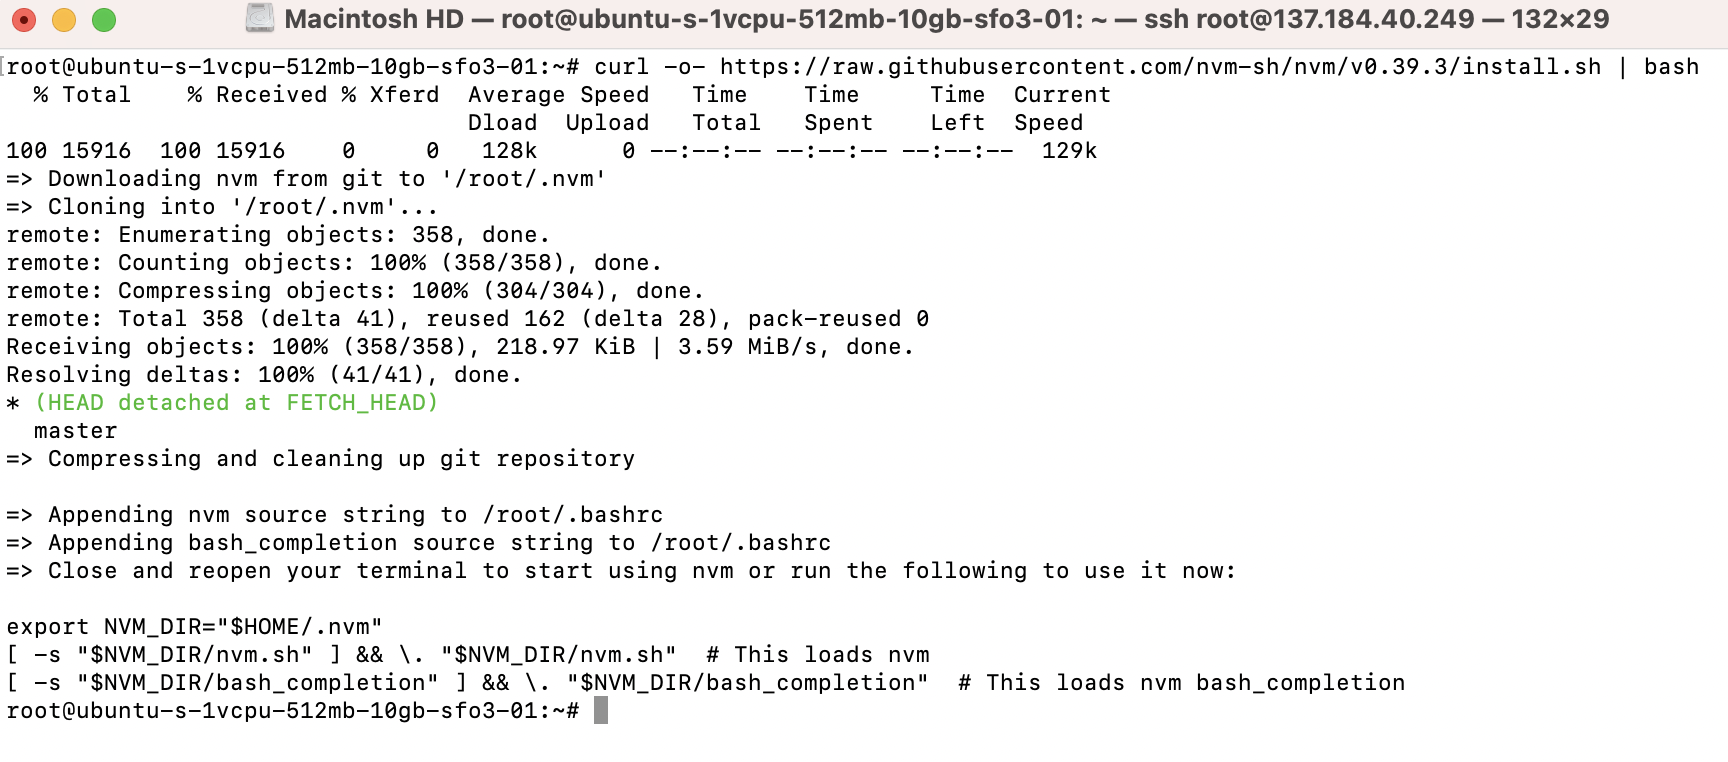
Step 3 : Load the NVM environment variables:

Step 4 : Verify the NVM installation:

Step 5 : Use NVM to install the latest version of Node.js:

Step 6 : Use NVM to install a specific version of Node.js:
Replace <version> with the desired version number (e.g. 16).

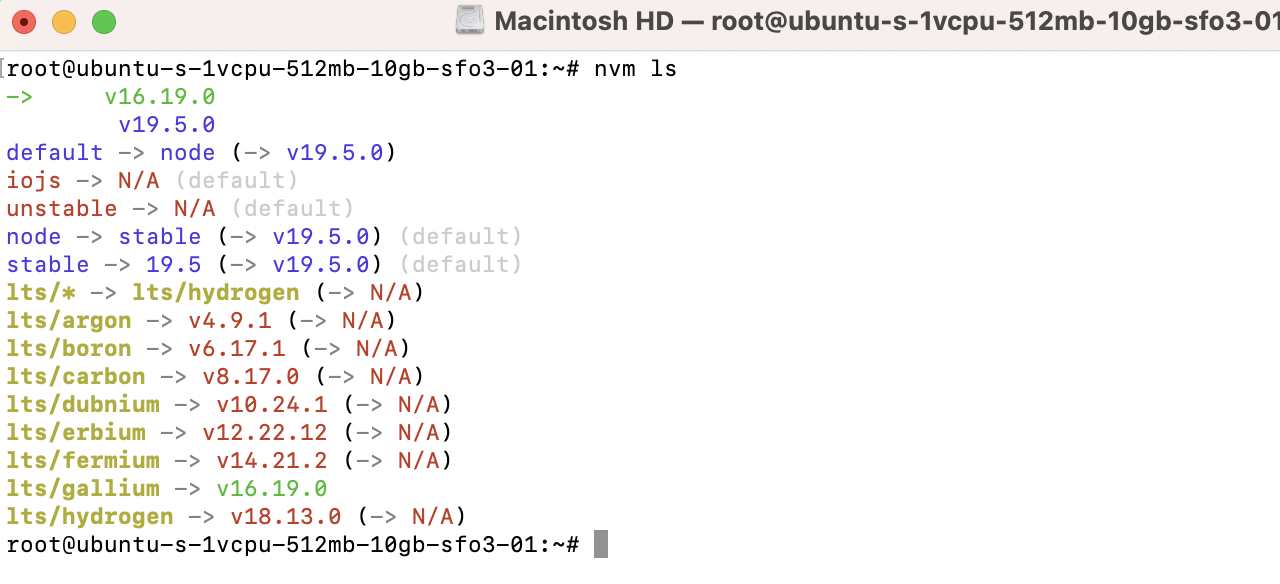
Step 7 : To list all installed versions of Node.js:
Step 8 : Use the following command to switch to the desired version:

Step 9 : Verify the currently active version of Node.js:

Step 10 : To set a default version of Node.js:
Replace <version> with the desired version number or node for the latest version.
