Getting the Ubuntu Installation Media
Step 1. First, download the "Ubuntu Server 22.04 LTS (Jammy Jellyfish)" image from the following URL: https://cdimage.ubuntu.com/.
Step 2. Once you have downloaded the image, you can either burn it to disk or use the methods in the following section to write it to a USB drive and configure your virtualization environment to treat it as a DVD drive. 3, Once you have downloaded the image, you can either burn it to disk or use the methods in the following section to write it to a USB drive and configure your virtualization environment to treat it as a DVD drive.
Step 3. Transferring the ISO Installation Image to a USB Flash Drive is step number three.
Step 4. Four, once you've downloaded the image, you can either burn it to a disk or follow the instructions in Section Four for writing the media to a USB drive and configuring your virtualization environment to treat it as a DVD drive.
Using the Ubuntu USB Image to Boot
Step 5. Insert the Ubuntu installation DVD into the proper drive and turn on the system. If the system tries to boot from the hard disk drive, you must access your computer's BIOS setup and modify the boot order so that it boots from the installation media drive first.
Ubuntu Installation
Step 6. Enter to select the first option (Install Ubuntu Server)


Step 7. When you start the installation procedure, the first screen will prompt you to choose a language.

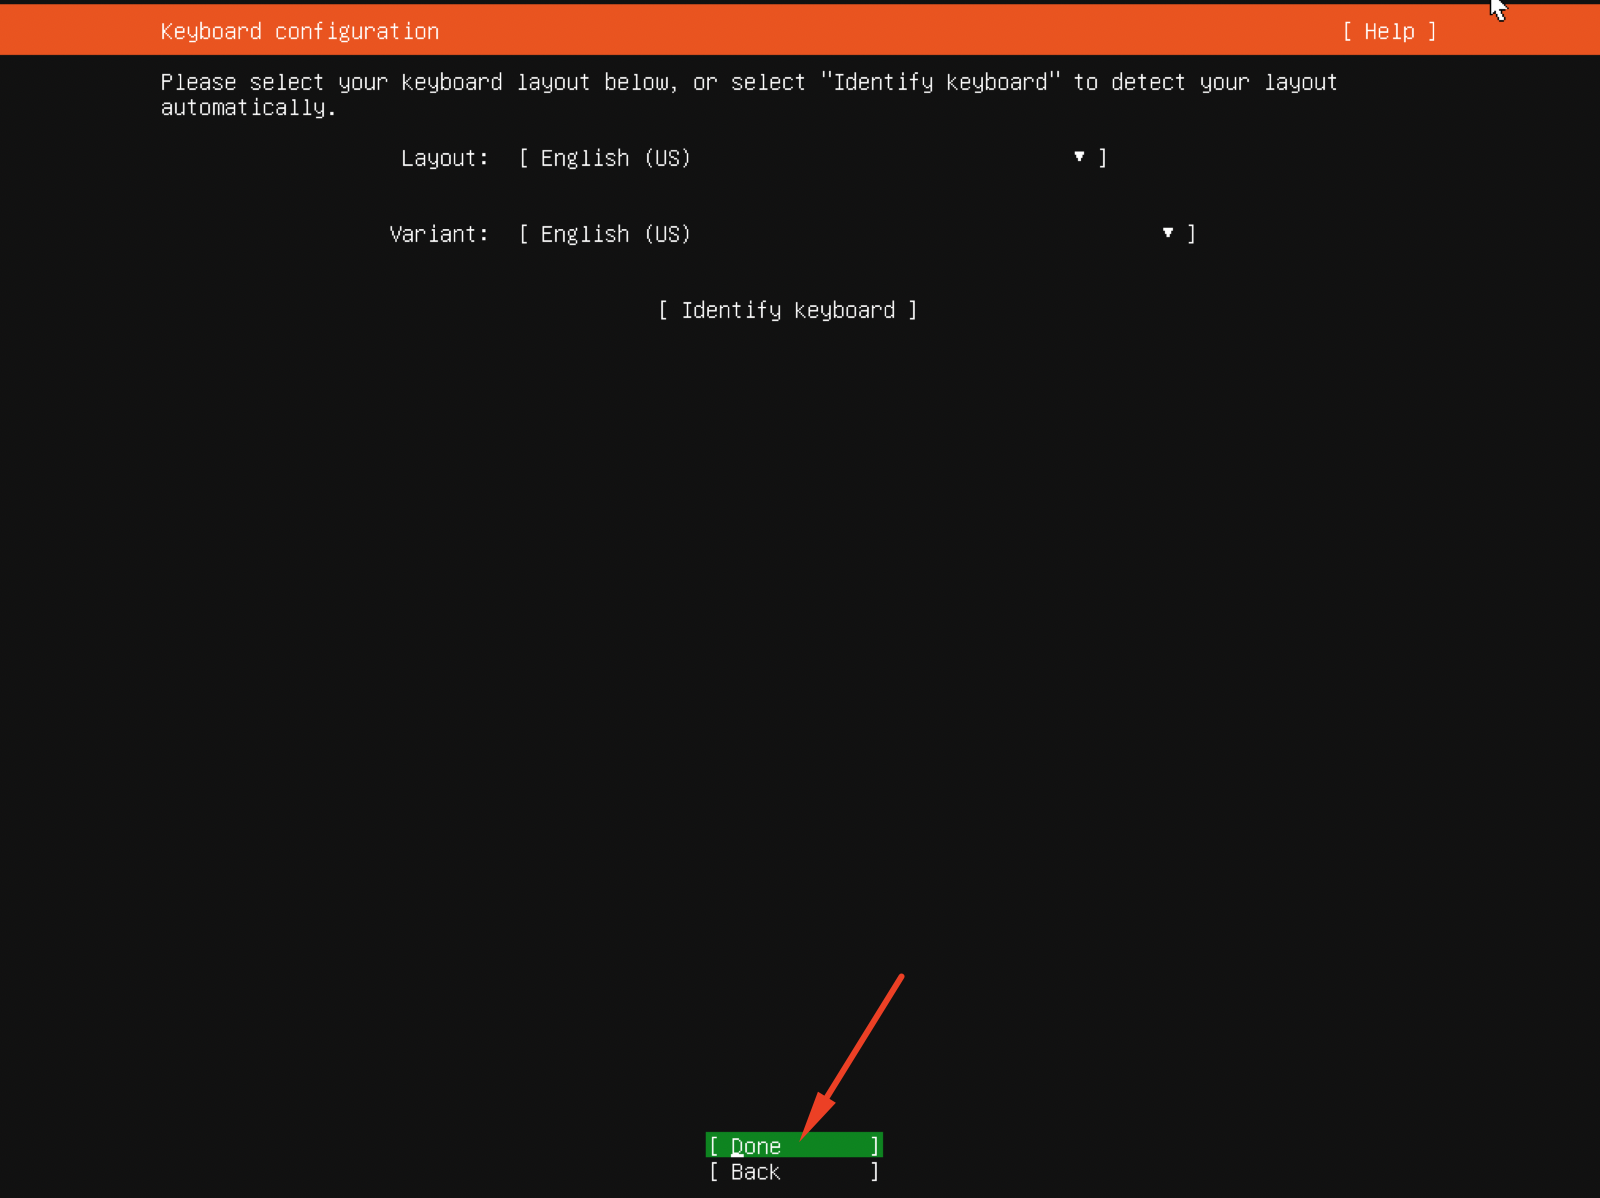
Step 8. The following screen will allow you to select your keyboard layout. If you don't use an English (US) keyboard, you can change it here. When you're finished, hit the down key to highlight Done and enter.
Step 9. The following screen will prompt you to choose a type of installation.

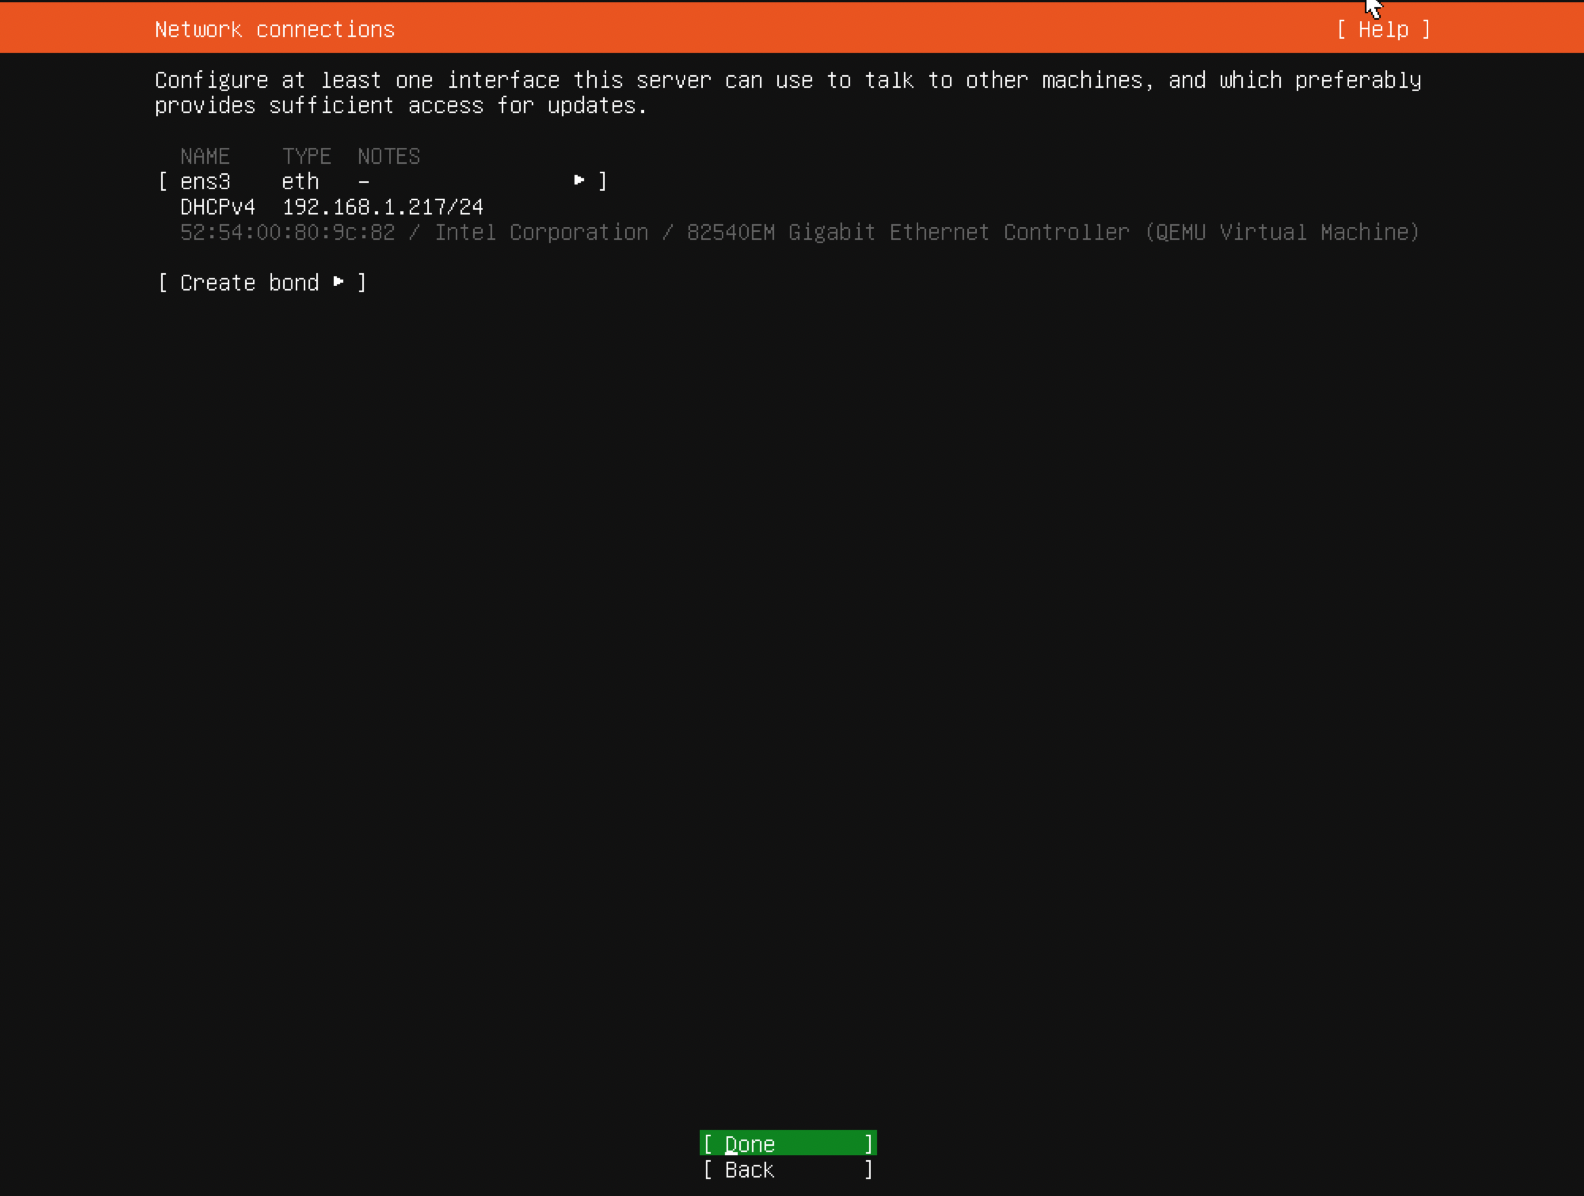
Step 10. On the next screen, you'll be able to configure your network connection. The default is DHCP, and if the initial connection was successful, you'll see an IP address here.
Step 11. The installation will then prompt you to enter your Proxy address, if you have one. Most readers will skip this by arrowing down to done and pressing Enter, but if you do have an actual proxy, enter it here:

Step 12. Following that, you'll be asked to input a Mirror address that will be utilized by Ubuntu's package manager (apt). To proceed, leave this URL alone and click Done:

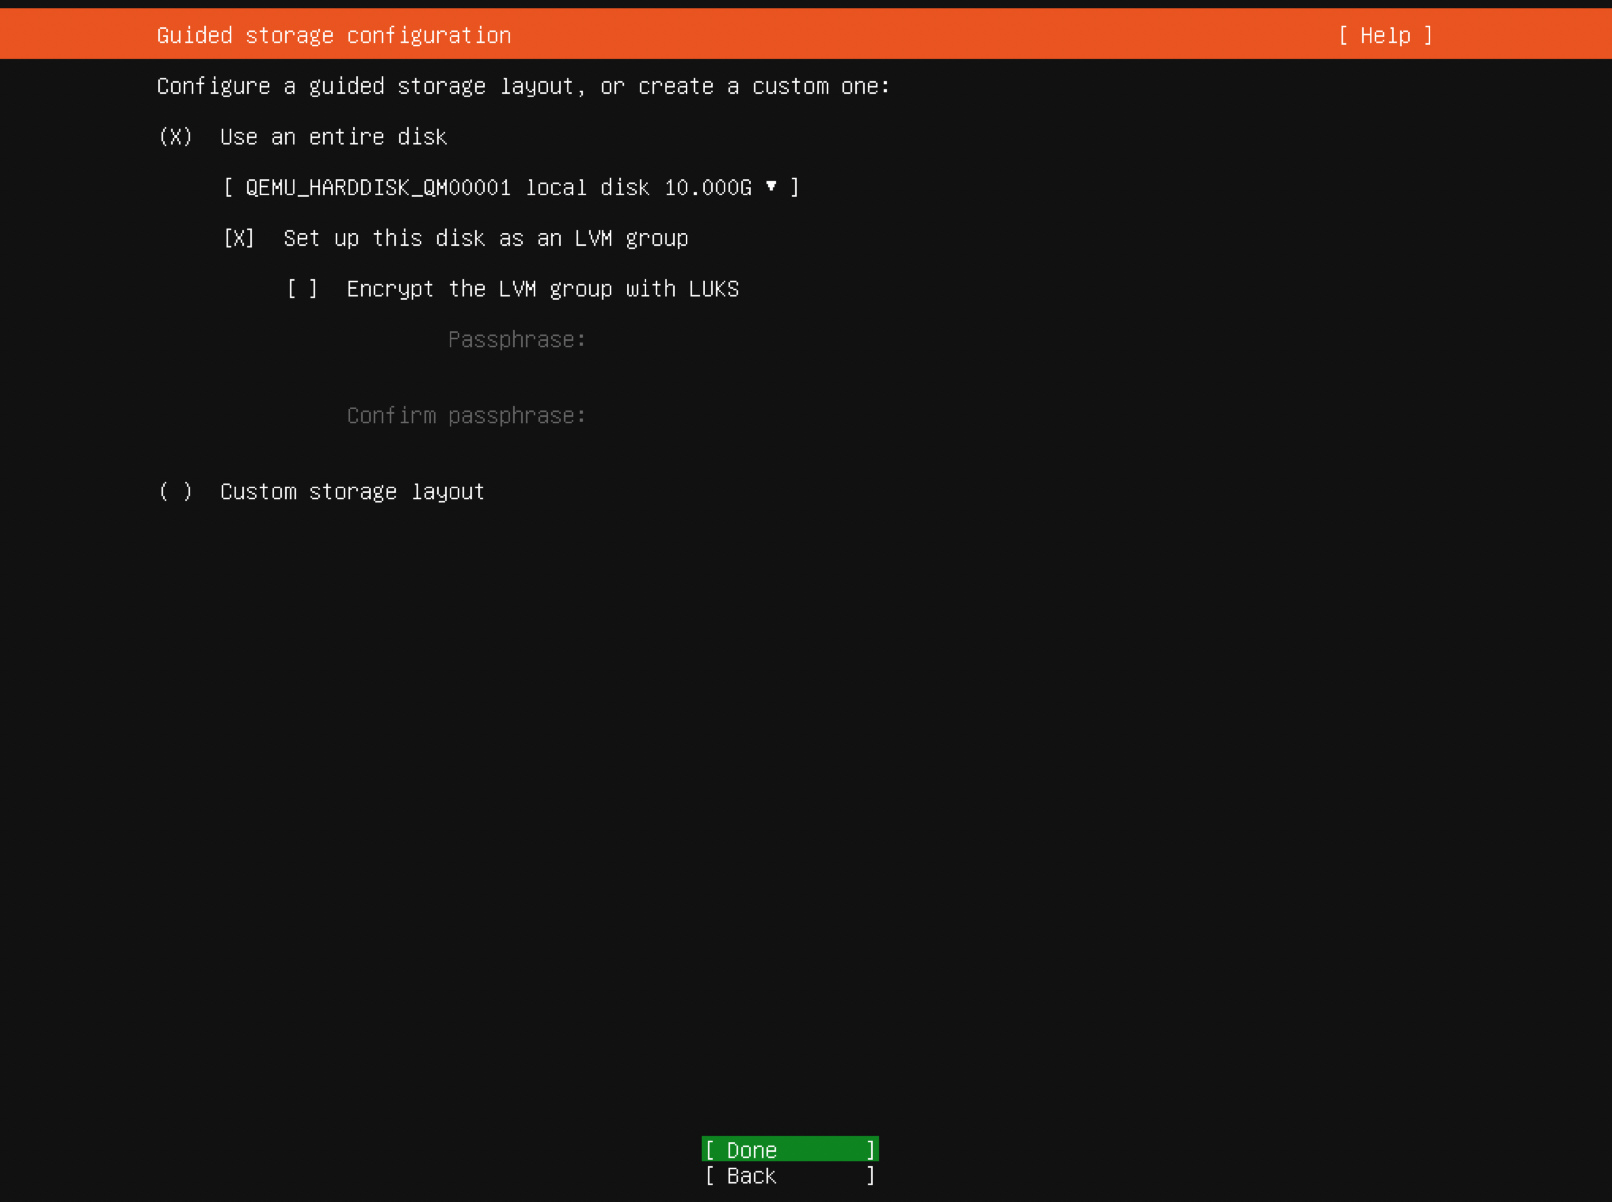
Step 13. In the same way that you planned the partitioning pattern earlier in the section Planning the partitioning pattern, you can create a custom partitioning scheme using the following screen. That is precisely what the Custom storage layout option will enable you to accomplish. However, that is outside the scope of this tutorial because we are only concerned with getting an installation up and running, so make your selection carefully. To continue, you must use the entire disk:
Step 14. After selecting Use a full disk, the following screen displays a summary of the disk operations that will be done. To continue with the default selections, click Done. Remember that your disk will be deleted as part of this procedure:

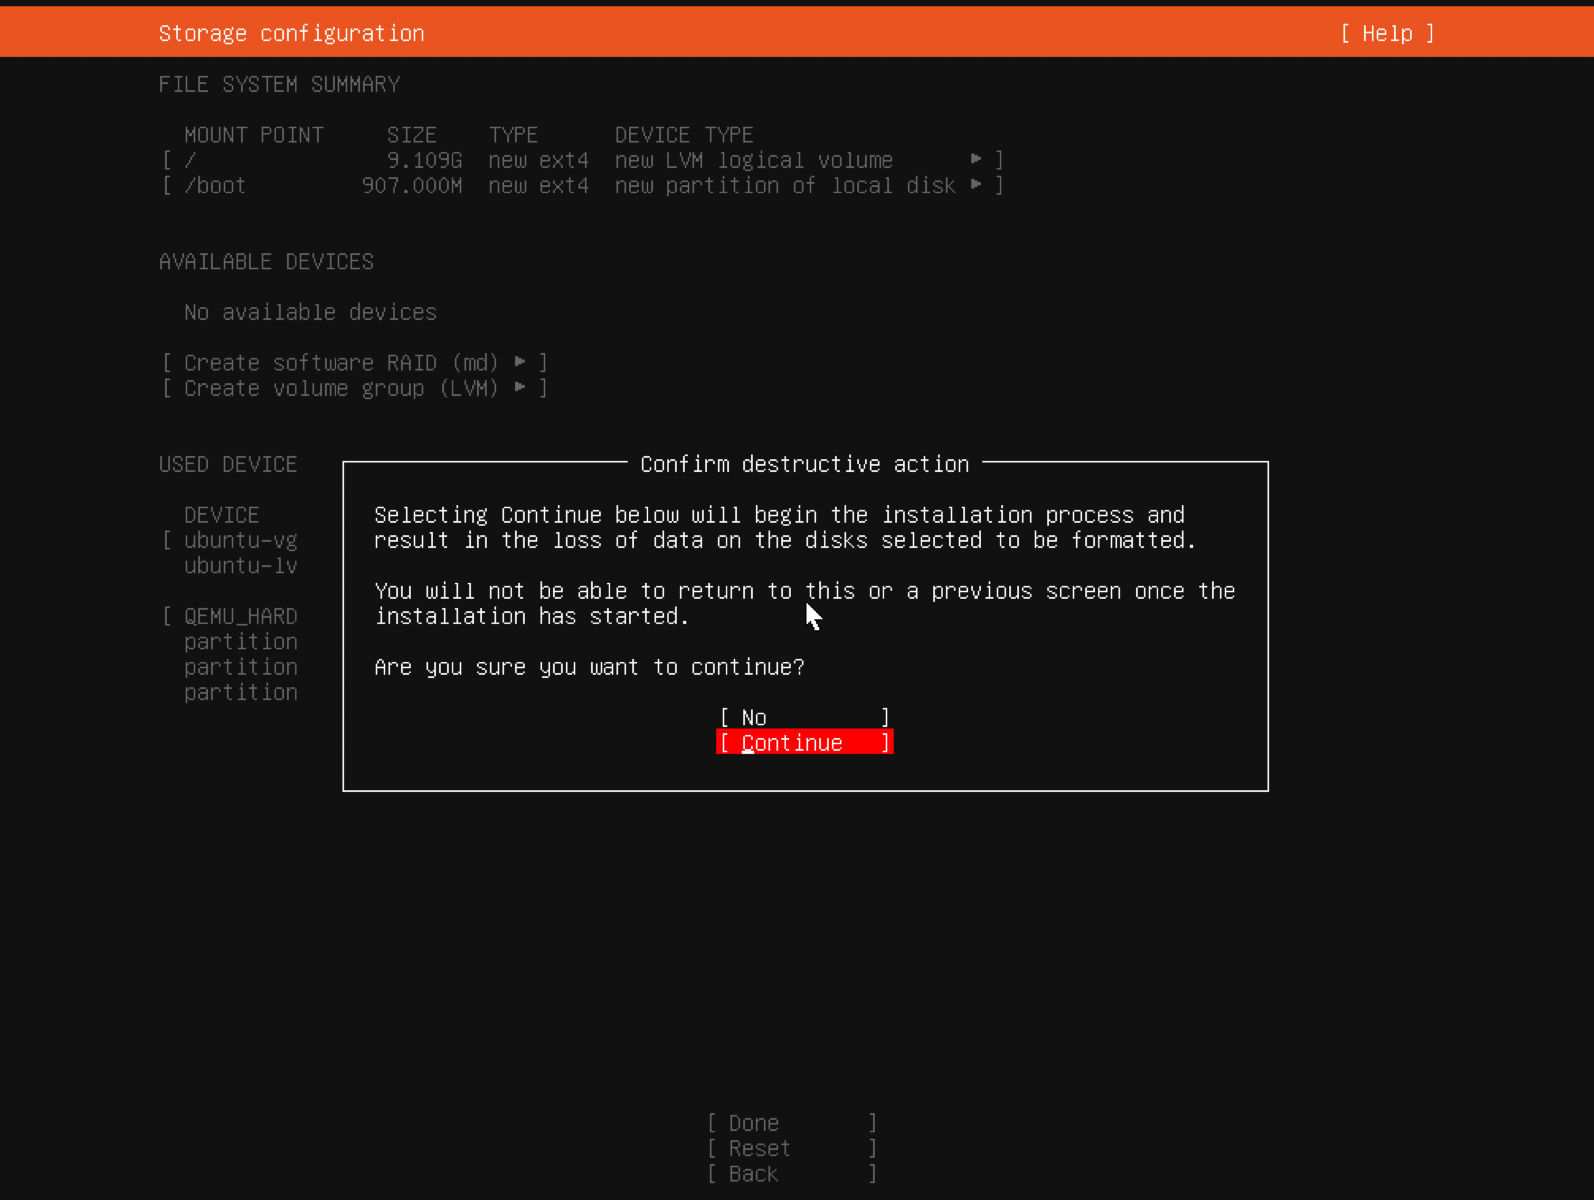
Step 15. To ensure that you understand that the disk will be wiped and that you are comfortable with this, the installer will display another warning. To proceed, select Continue at the next screen:
Step 16. Ubuntu Server will automatically create an initial user account for us as part of the installation process. This account will be used to configure and maintain the server after it has been successfully installed. The installer will allow us to give this user a name and create a password during this stage of the process.
Make sure to fill in all of the blanks on this screen with your personal information. Move your cursor down to Done and press the Enter key when you're finished:

Step 17. Following that, you'll be given the choice to install OpenSSH, which I strongly advise you to do. This will make it simple for you to login to your server and perform remote management. Because OpenSSH is the gold standard for remote access in Linux and UNIX, it will undoubtedly be useful.

Step 18. On the following screen, you'll notice a long list of other applications that can be added.
To proceed for the time being, select Done:

Step 19. The installer will proceed on its own.

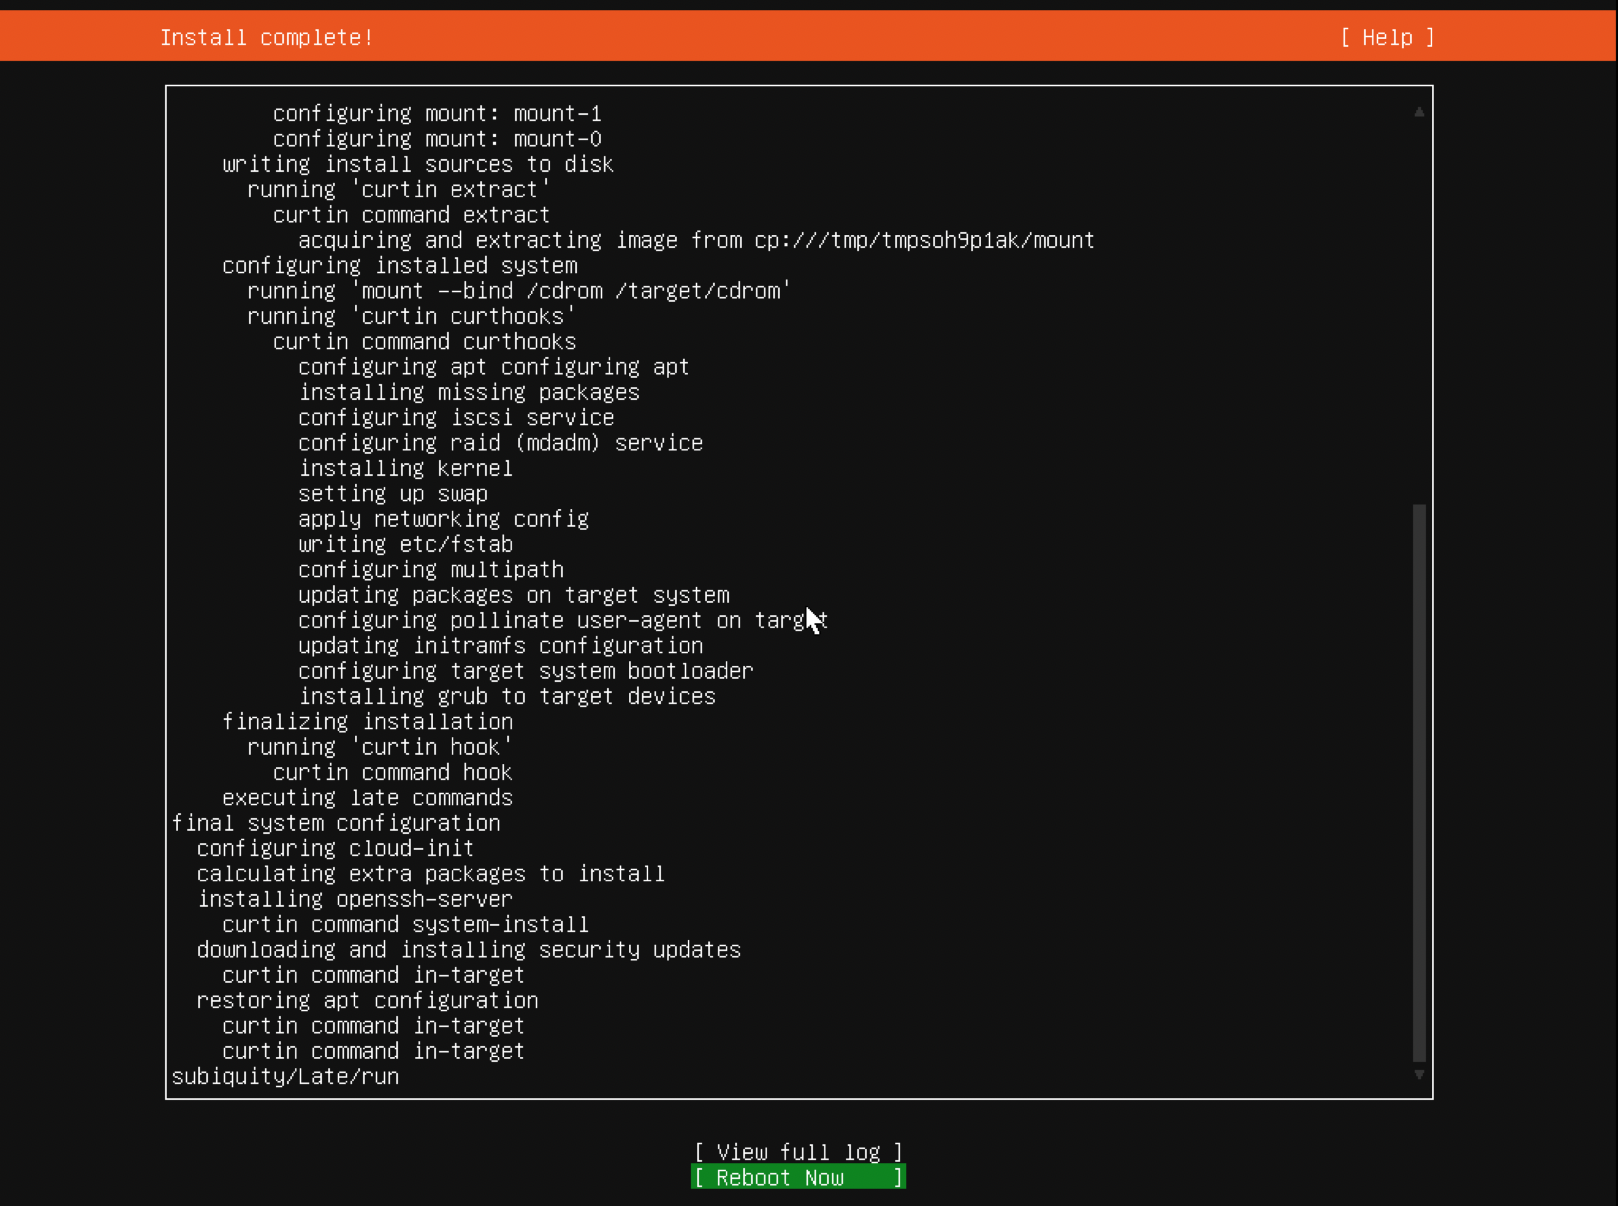
Step 20. When it's finished, you'll notice a Reboot option at the bottom of the screen; choose that:
Step 21. At this point, your server will reboot, and Ubuntu Server should boot up immediately.

Congratulations! You now have your very own Ubuntu Server setup!