To install and configure Jenkins on Ubuntu 22.04, you can follow these steps:
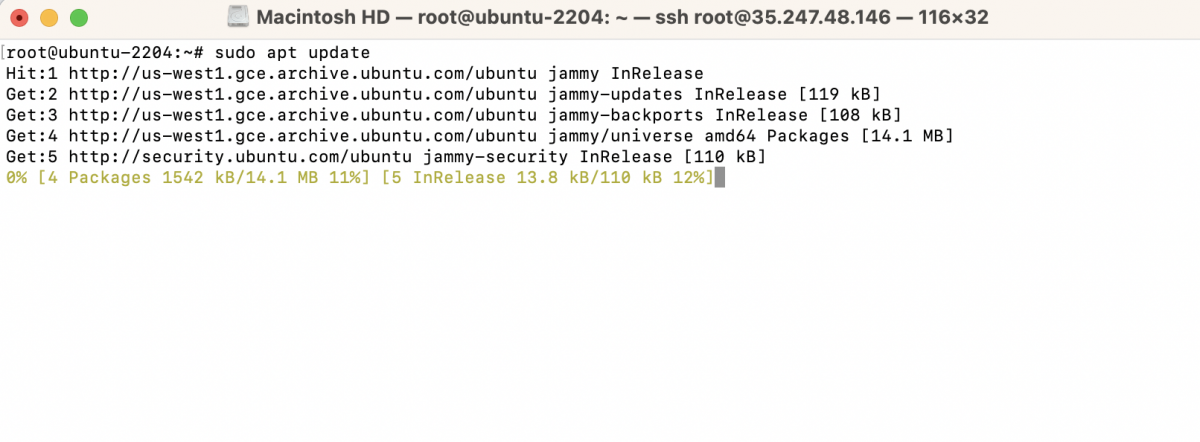
Step 1 : Update the package index:
Step 2 : Install Java Development Kit (JDK):
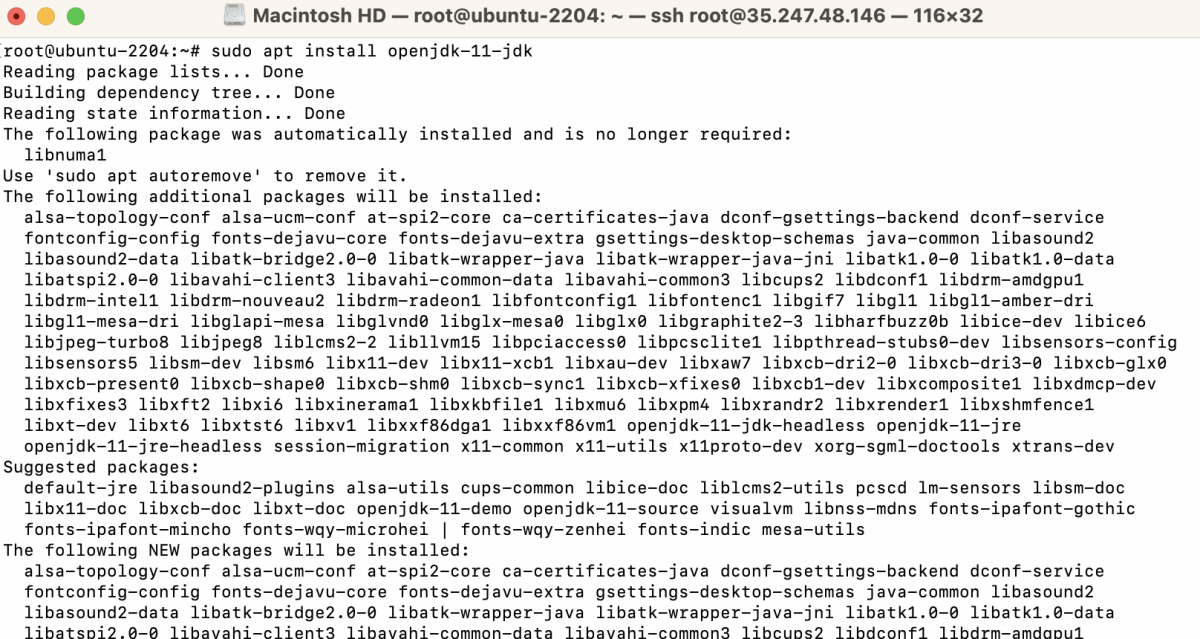
Jenkins requires Java to run. You can install OpenJDK using the following command:
Step 3 : Add the Jenkins repository key to your system:

Step 4 : Add the Jenkins repository to your system's package sources:

Step 5 : Update the package index again:

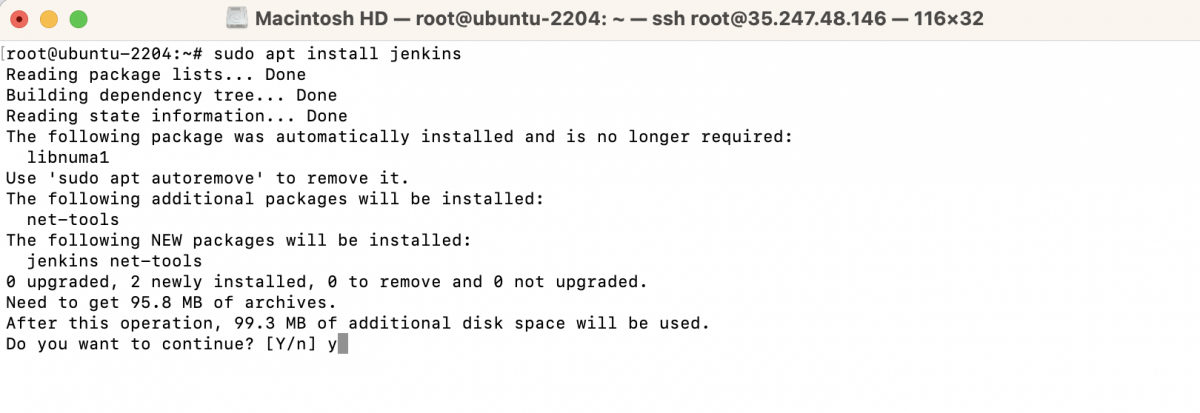
Step 6 : Install Jenkins:
Step 7 : Start the Jenkins service:

Step 8 : Enable Jenkins to start on boot:

Step 9 : Retrieve the Jenkins initial admin password:

This command will print the password to the terminal. Copy the password as you'll need it to complete the Jenkins setup.
Step 10 : Access Jenkins:
Open a web browser and enter the following URL:
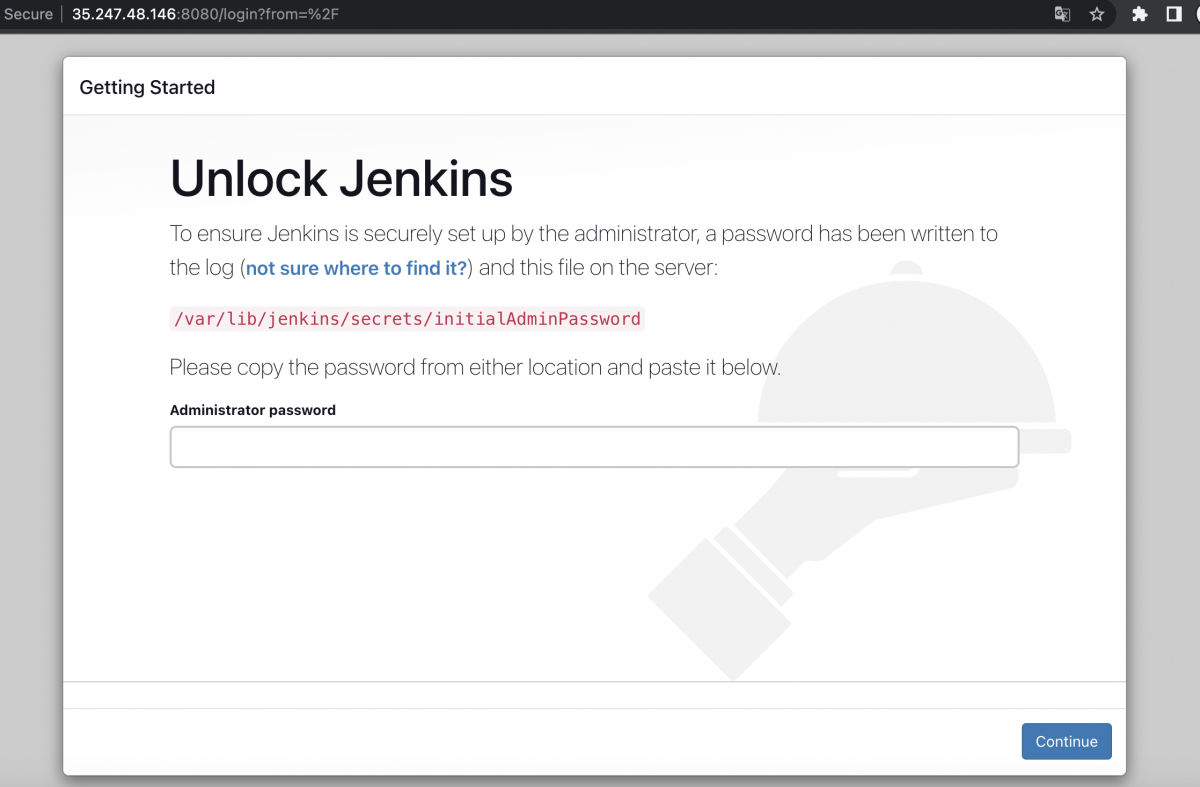
Replace your_server_ip_or_domain with the actual IP address or domain name of your Ubuntu server.
Step 11 : Complete the Jenkins setup:
- In the web browser, paste the copied password into the "Administrator password" field and click "Continue".
- On the "Customize Jenkins" page, you have two options: "Install suggested plugins" or "Select plugins to install". If you choose "Install suggested plugins", Jenkins will automatically install a set of commonly used plugins. This is suitable for most users. Proceed to the next step.

- Jenkins will now start the plugin installation process. This may take a few minutes depending on your internet connection and the number of plugins being installed.

- Once the plugins are installed, you will be prompted to create an admin user. Fill in the required details, such as username, password, full name, and email address.
- Click "Save and Finish" to complete the setup process.

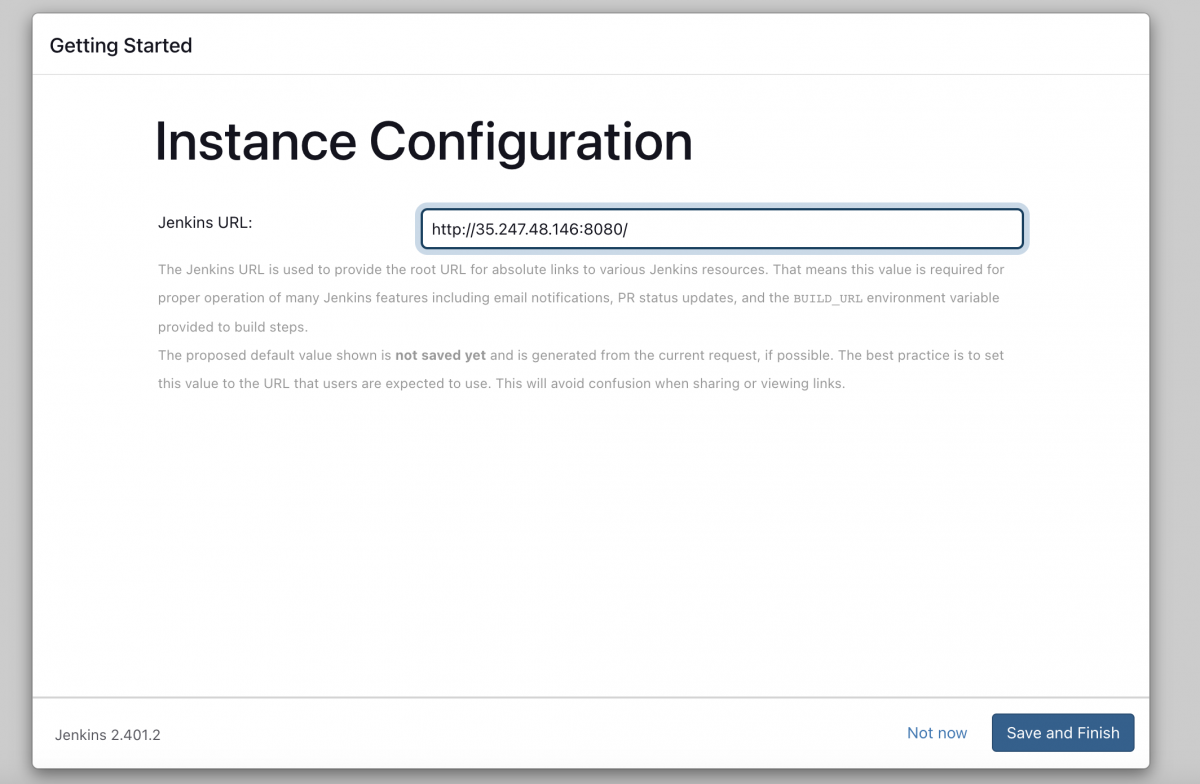
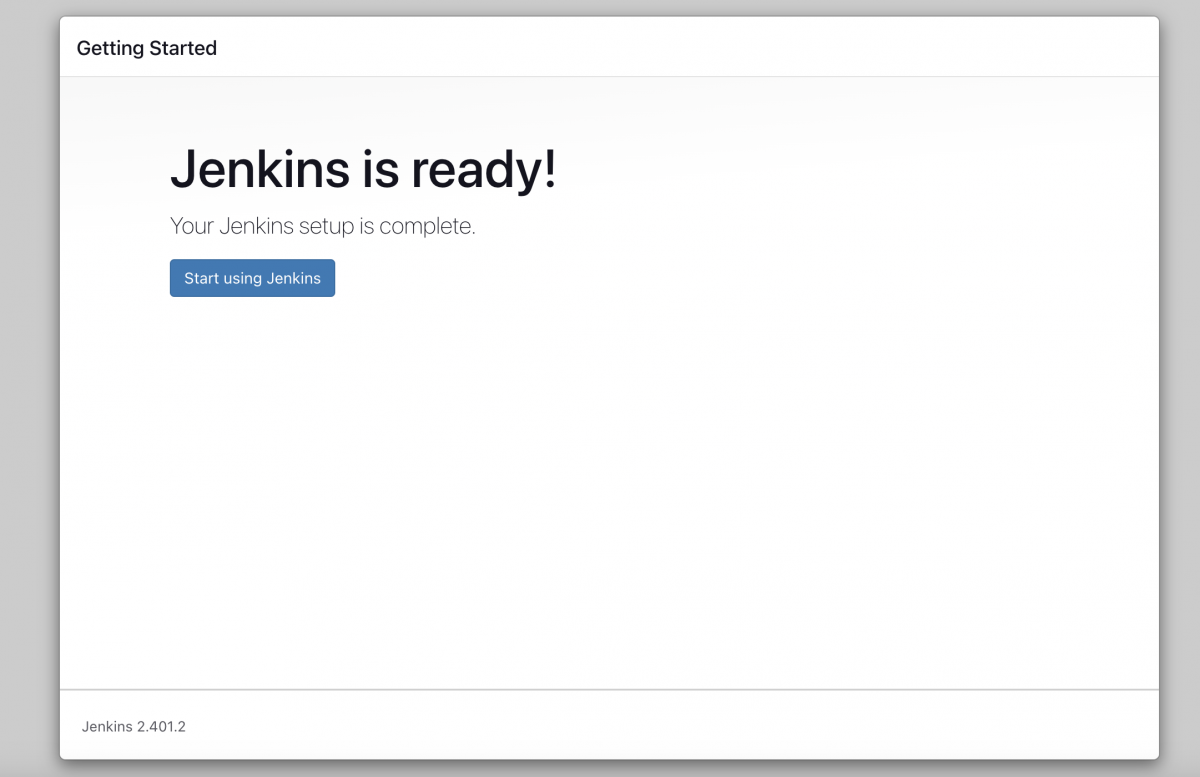
- Finally, you will see the "Jenkins is ready!" page. Click on the "Start using Jenkins" button to access the Jenkins dashboard.
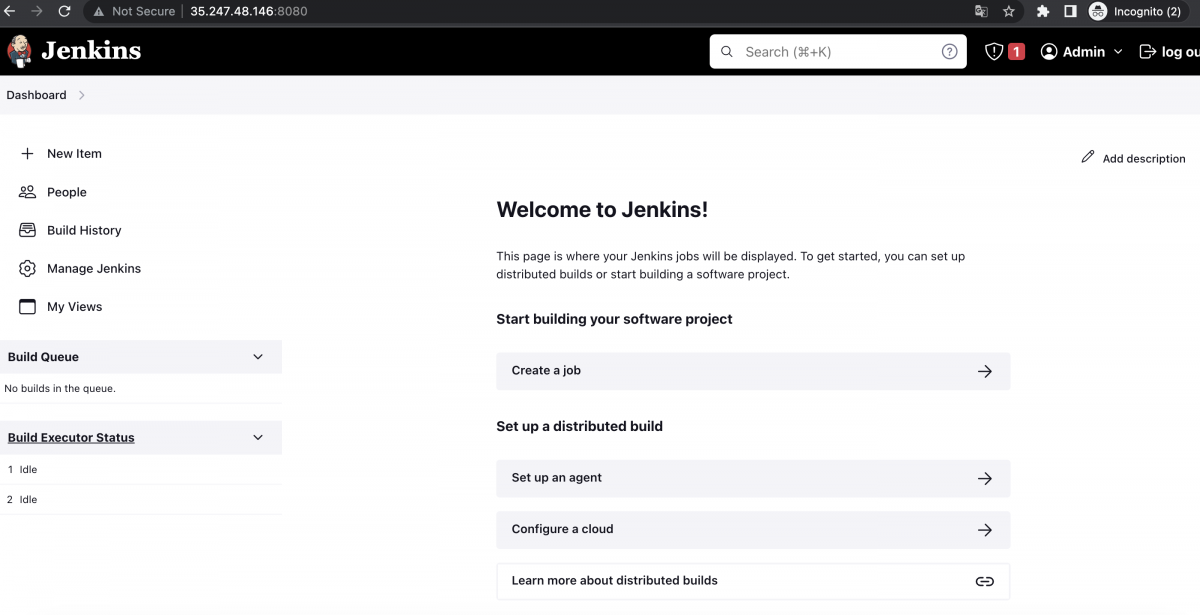
Congratulations! You have successfully installed and configured Jenkins on Ubuntu 22.04. From the Jenkins dashboard, you can create jobs, manage plugins, and configure your CI/CD pipeline as per your requirements.