To install WordPress with the LEMP stack (Linux, Nginx, MySQL, PHP) on Debian 12, you can follow these steps:
Step 1 : Follow the instructions in this post to set up the LEMP stack on Debian 12. The tutorial provides detailed steps and explanations for the installation process..
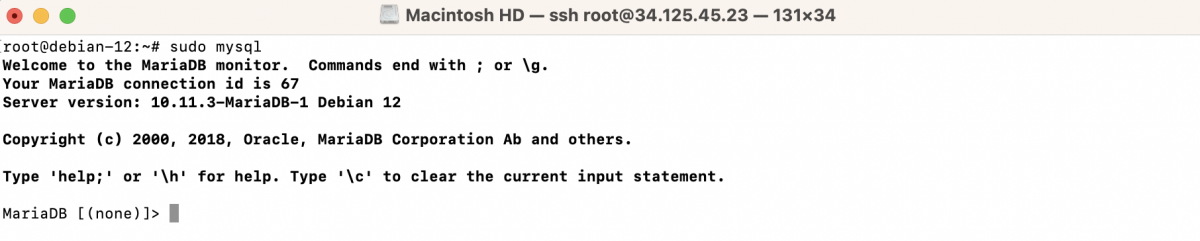
Step 2 : Create a MySQL database and user for WordPress:
- Log in to MySQL as the root user:
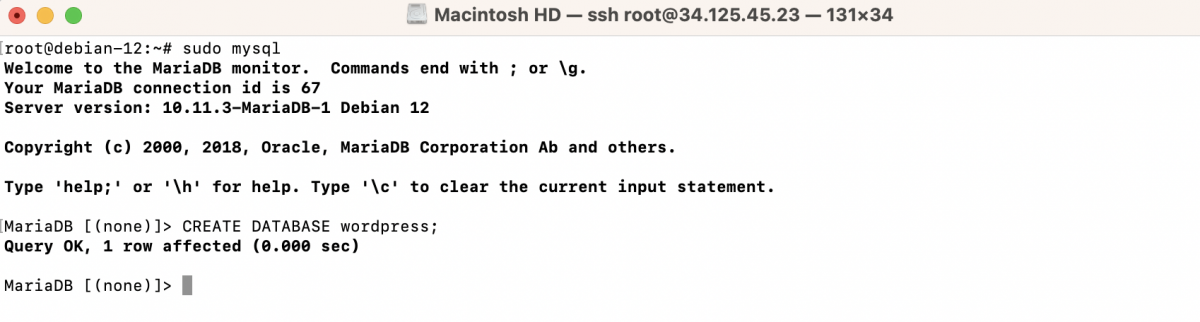
- Create a new database:
- Create a new user and grant privileges:
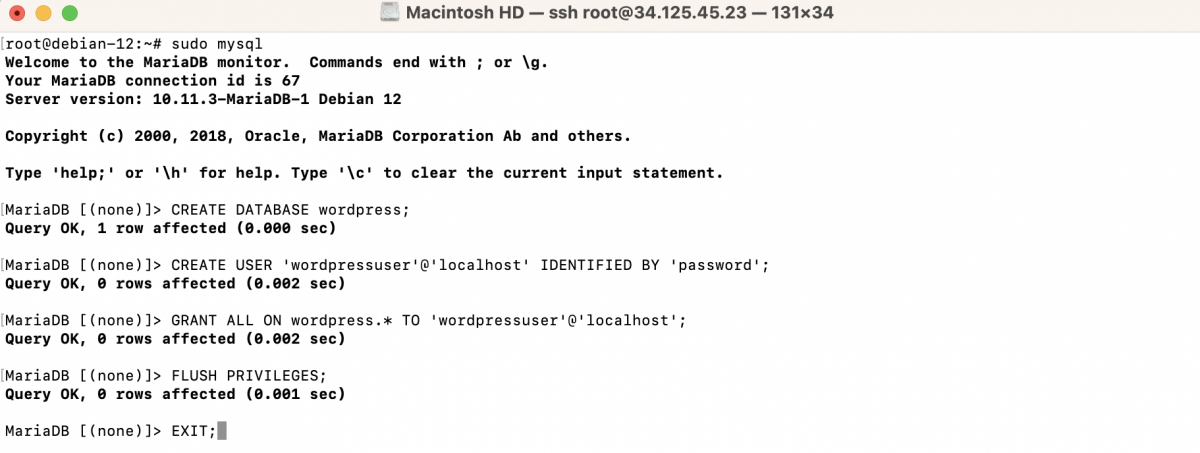
Replace 'password' with a strong password of your choice.
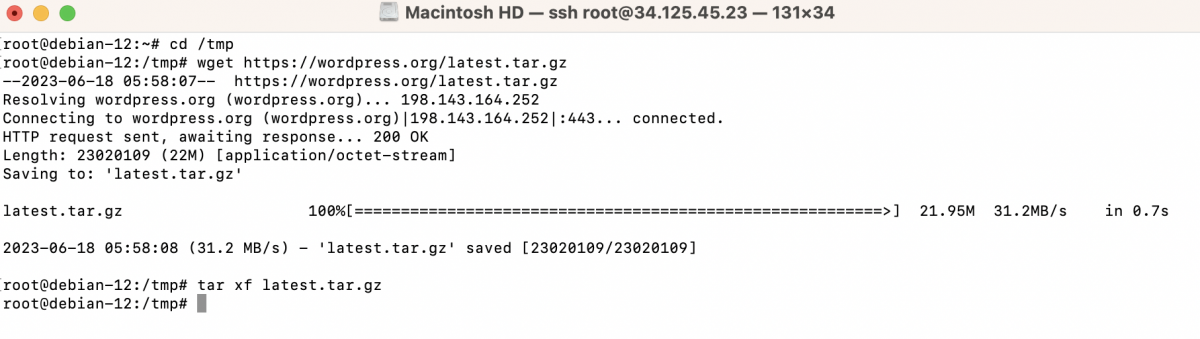
Step 3 : Download and extract the latest version of WordPress:
Step 4 : Move the extracted files to the web server's root directory:

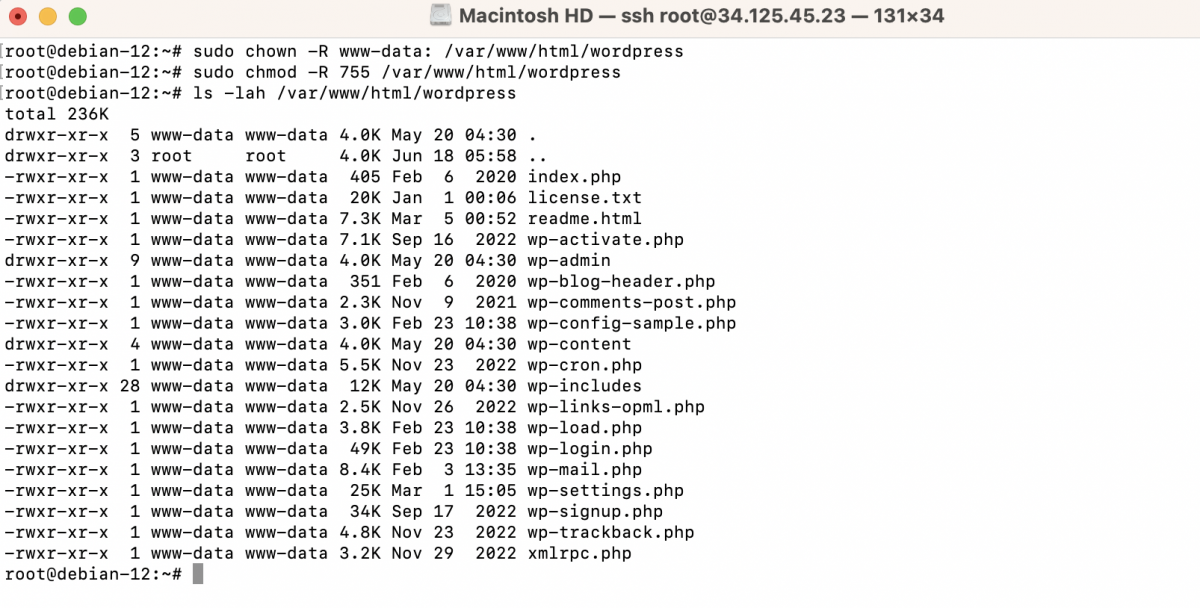
Step 5 : Set the correct ownership and permissions:
Step 6 : Create a new Nginx configuration file for WordPress:

Paste the following configuration into the file:
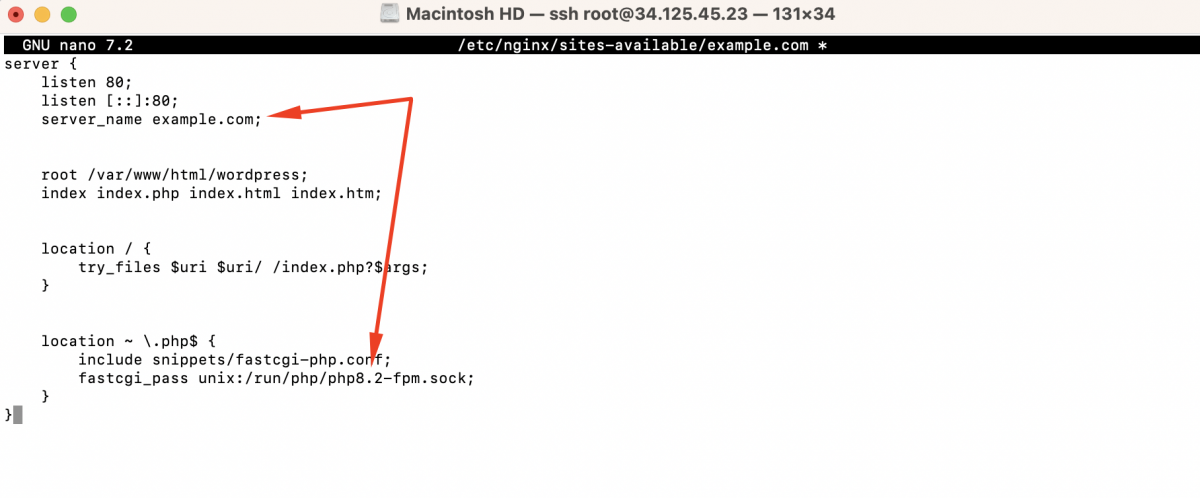
Replace domain with your actual domain name or IP address.
Save the file and exit the editor.
Step 7 : Enable the newly created Nginx configuration

Step 8 : Test the Nginx configuration:

If the configuration test is successful, restart Nginx:

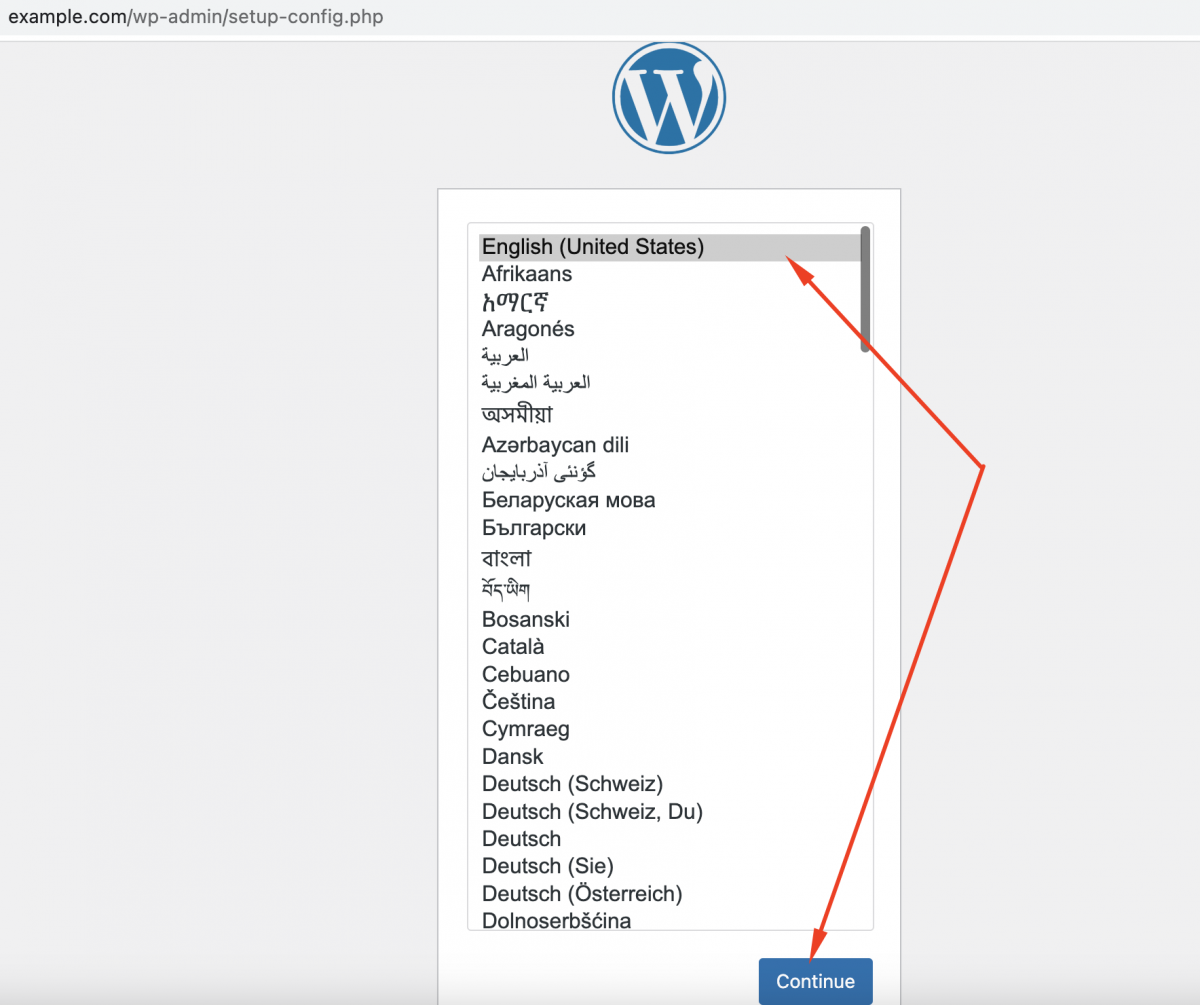
Step 9 : Complete the WordPress installation through the web browser. Open a web browser and navigate to http://your_domain/. The WordPress installation page should appear.
Step 10 : Select the desired language and click "Continue."
Step 11 : On the next page, you'll see information about the WordPress installation. Click on the "Let's go!" button to proceed.
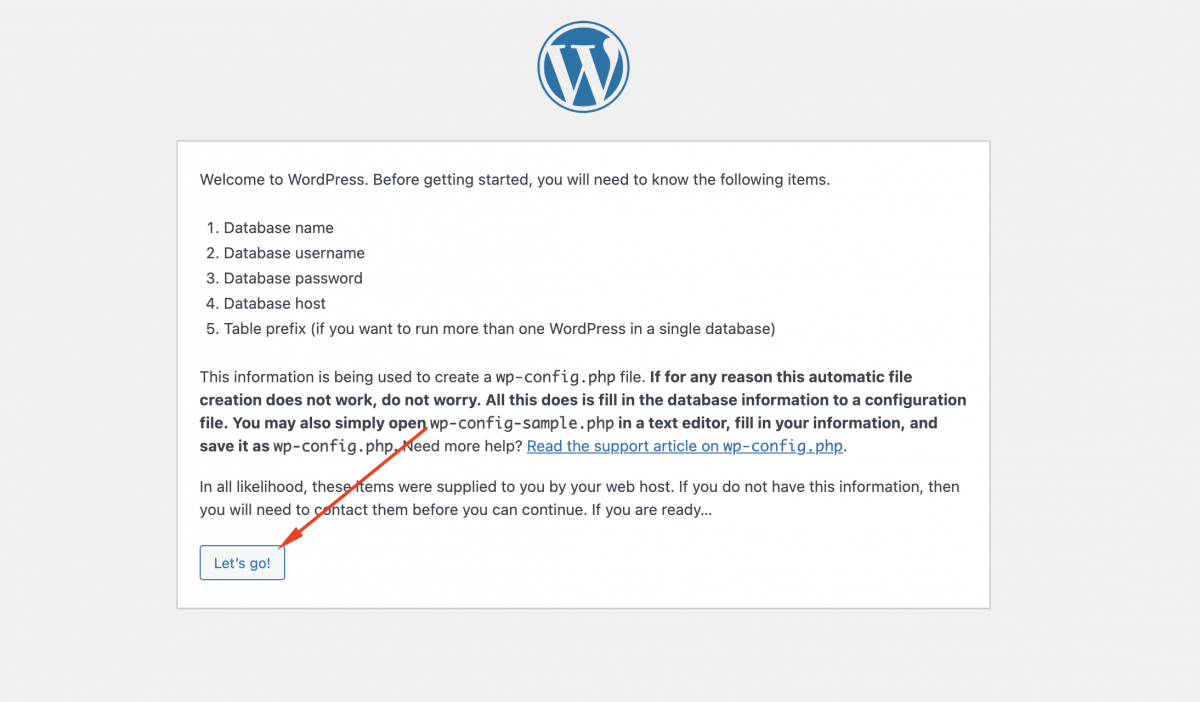
Step 12 : You will be prompted to enter the database details. Provide the following information:
- Database Name: Enter the name of the MySQL database you created earlier (e.g., "wordpress").
- Username: Enter the username for the MySQL user associated with the WordPress database.
- Password: Enter the password for the MySQL user.
- Database Host: Leave this as the default value, which is typically "localhost" since the database is running on the same server.
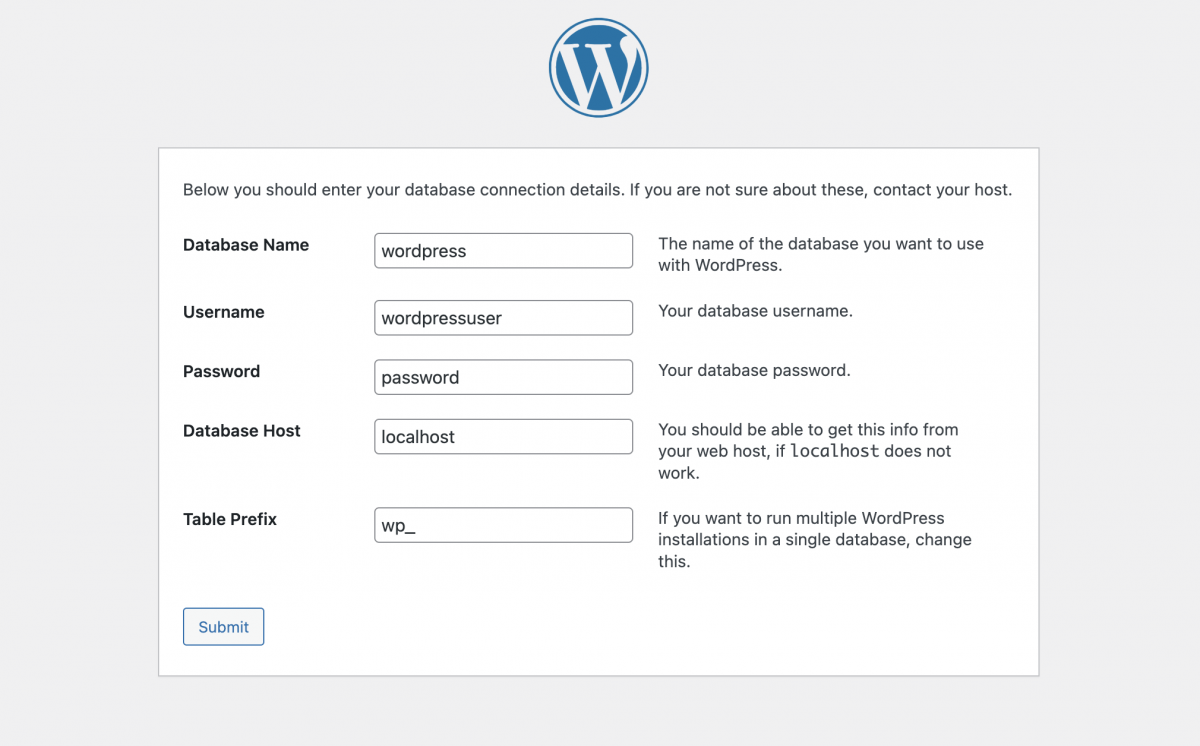
Click on the "Submit" button to continue.
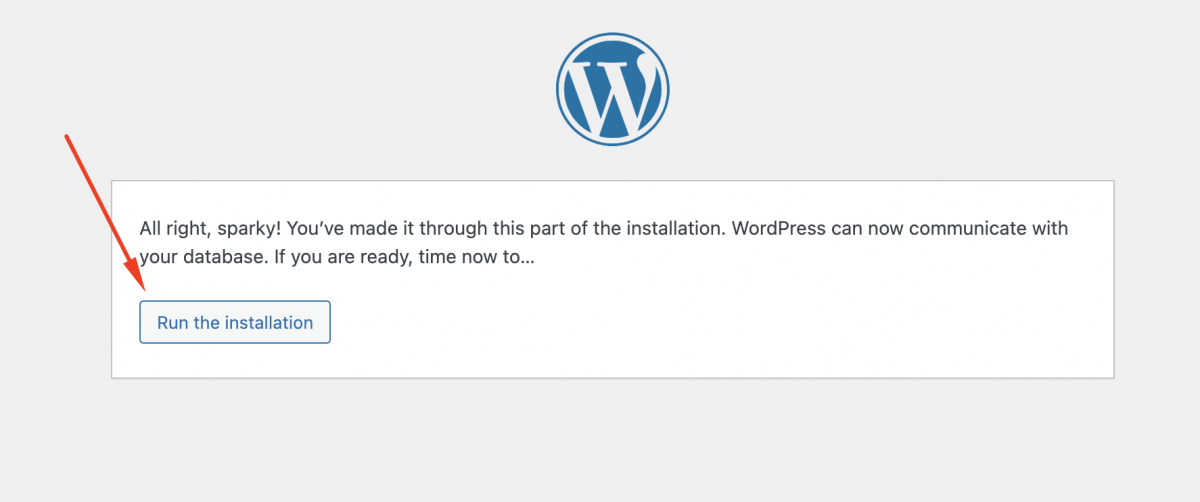
Step 13 : WordPress will now check the database connection and verify the provided information. If the connection is successful, you'll see a success message. Click on the "Run the installation" button.
Step 14 : On the next page, you'll need to provide additional information to set up your WordPress site:
- Site Title: Enter the name/title for your WordPress website.
- Username: Choose a username for your WordPress admin account.
- Password: Set a strong password for your admin account.
- Your Email: Enter your email address.
- Search Engine Visibility: Choose whether you want search engines to index your site.
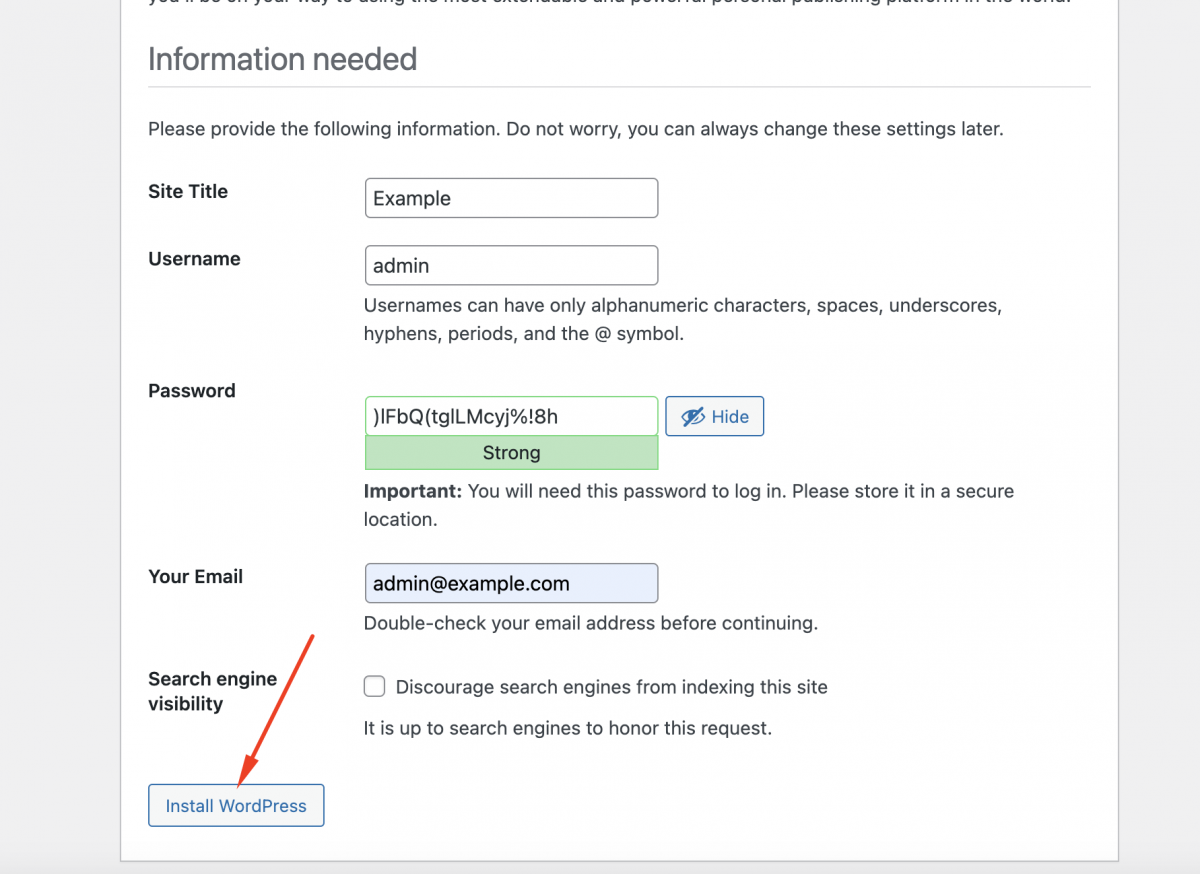
Fill in the required fields and click on the "Install WordPress" button.
Step 15 : WordPress will now install and set up your site. Once the installation is complete, you'll see a success message.
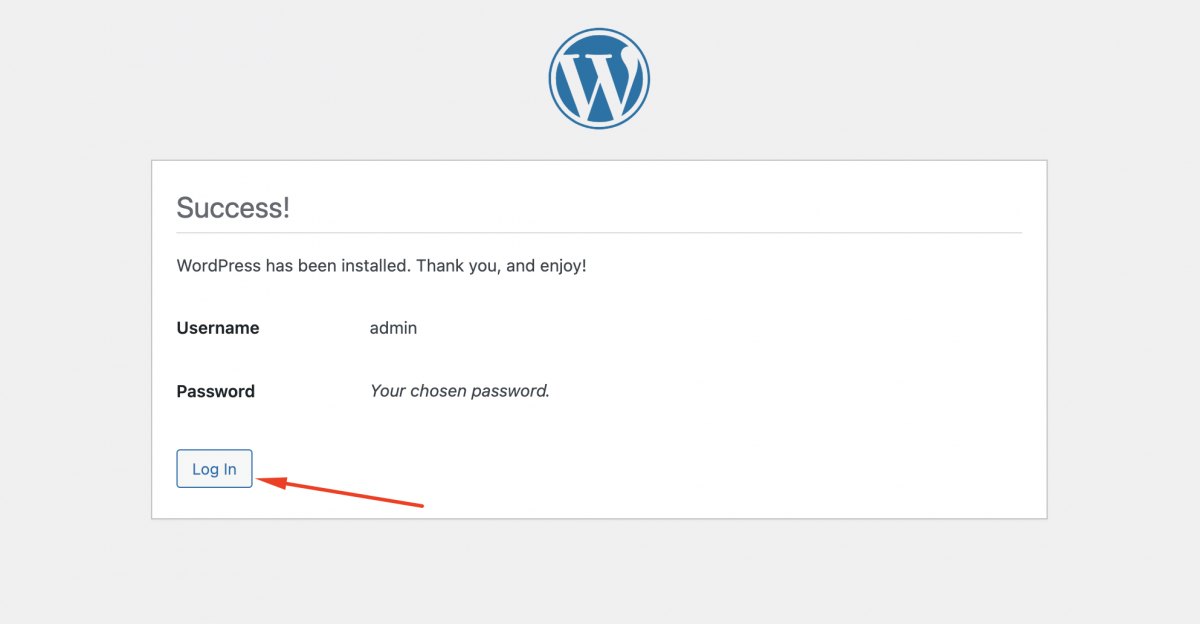
Step 16 : Click on the "Log In" button to access the WordPress admin dashboard.
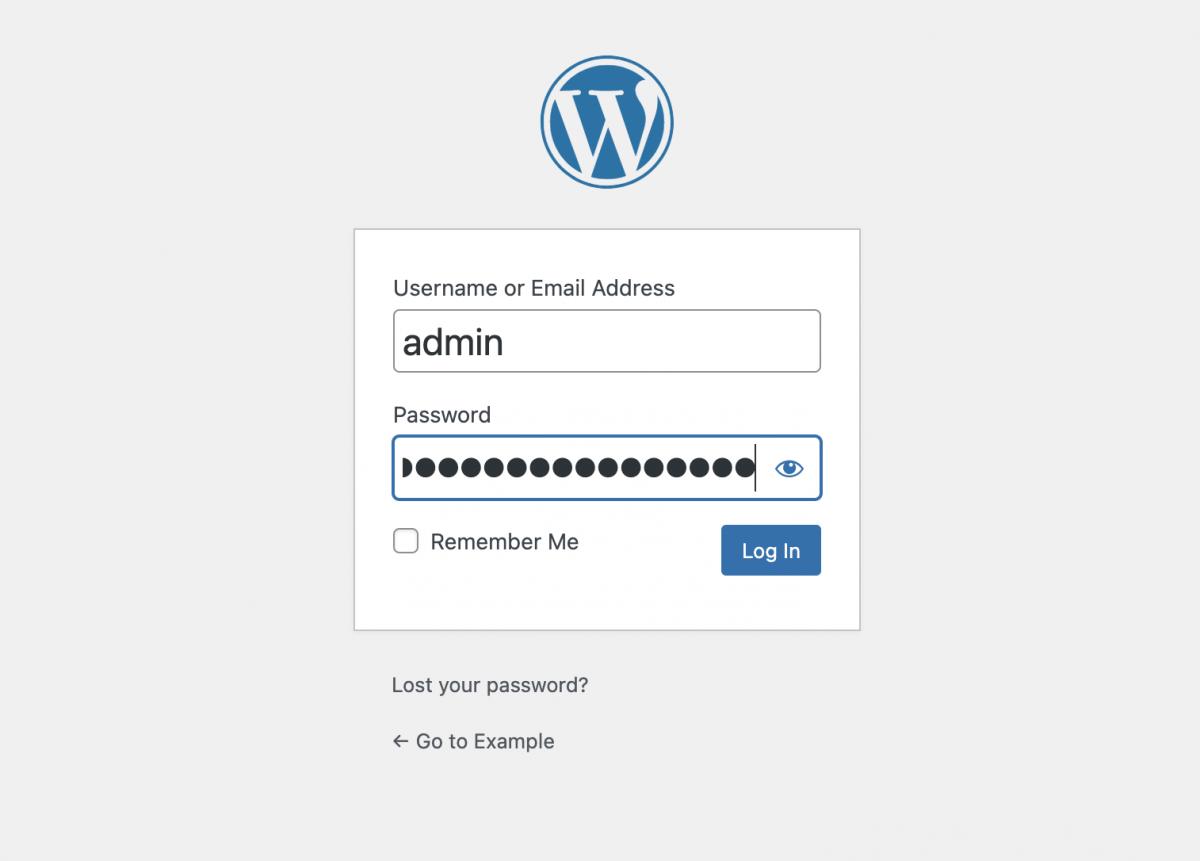
Step 17 : Enter the username and password you set during the installation process and click "Log In."
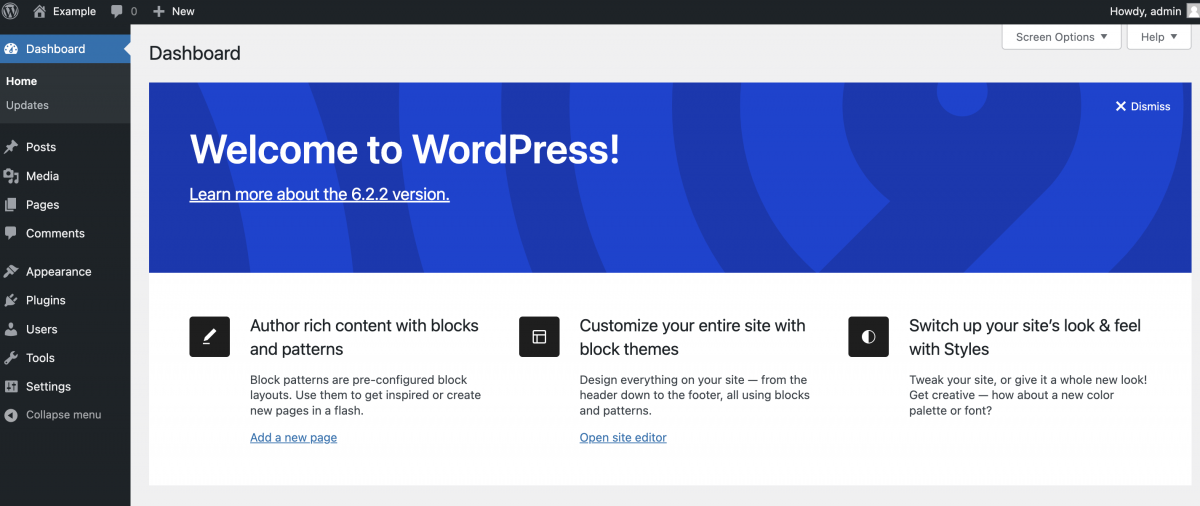
Congratulations! You have successfully installed WordPress. You can now start customizing your site, installing themes and plugins, and creating content.