To install Let's Encrypt SSL in Nginx on Debian 12, you can follow these steps:
Step 1 : Ensure that your domain is correctly pointed to your server's IP address and that Nginx is installed and running correctly.
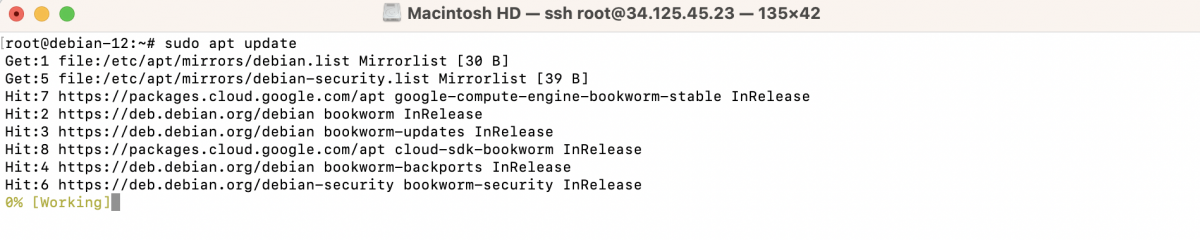
Step 2 : Open a terminal or SSH into your Debian 12 system.
Step 3 : Update the package lists by running the following command:
Step 4 : Install Certbot and the Nginx plugin by running the following command::

Step 5 : Configure Nginx
- Before obtaining the SSL certificate, you need to configure Nginx to serve your domain and enable HTTPS. Create a virtual host configuration file for your domain:

- Replace example.com with your actual domain name. Paste the following content into the file:

- Save and close the file.
- Enable the Configuration:

- Check the Syntax of the Configuration: If there are no errors, you will see the message "syntax is ok" and "test is successful".

- Restart Nginx

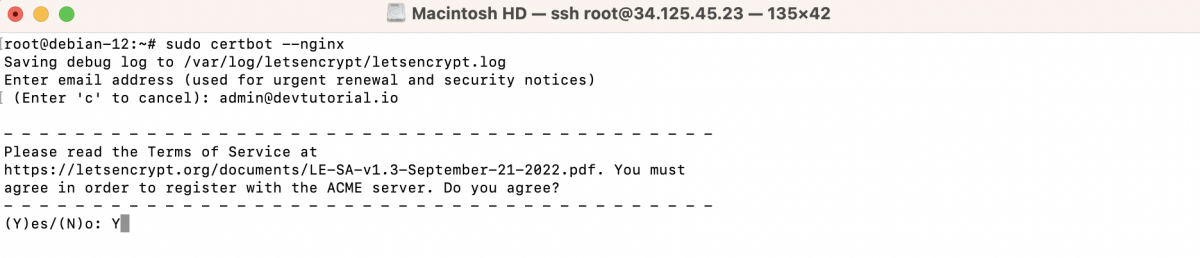
Step 6 : Once the installation is complete, you can use Certbot to obtain and install an SSL certificate for your domain. Run the following command:
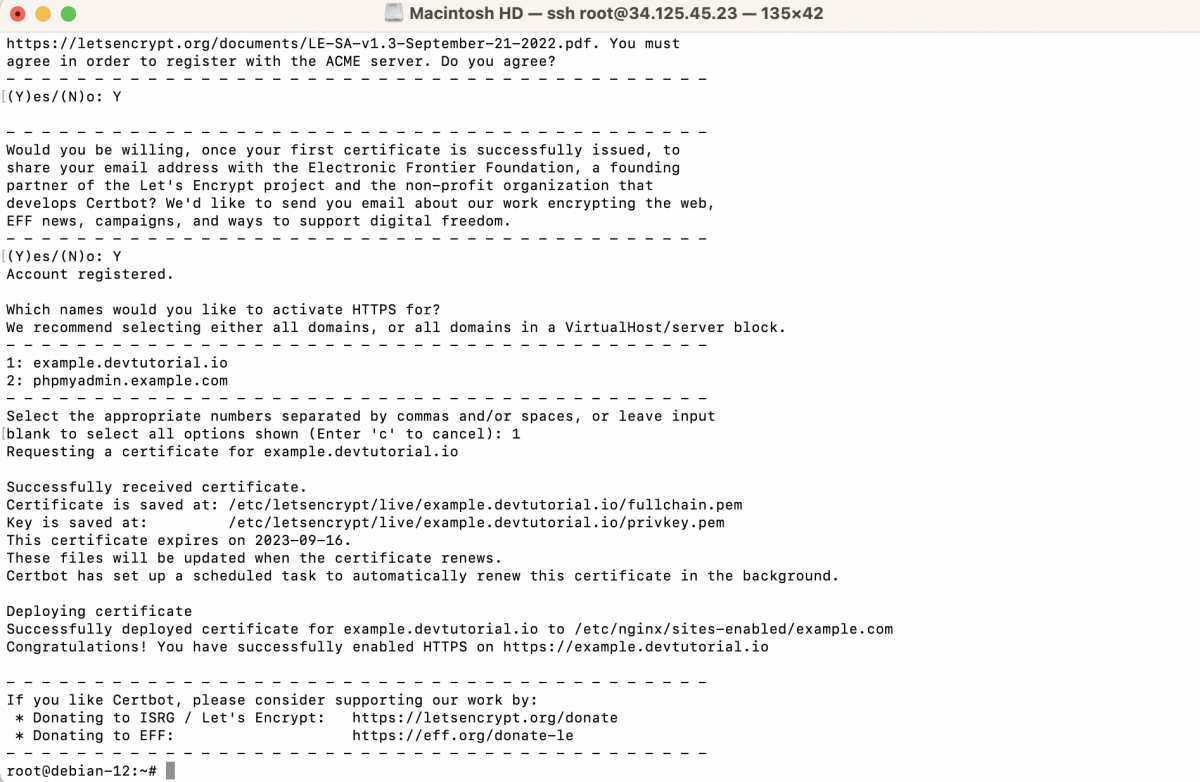
Step 7 : Certbot will detect the Nginx configuration for your domain and prompt you to enter an email address for important account notifications. Enter your email address and press Enter.

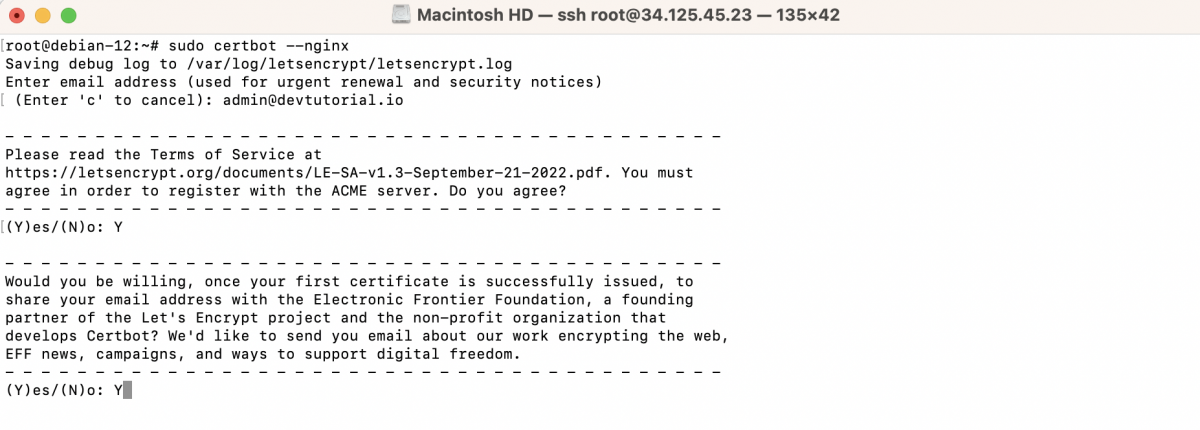
Step 8 : Agree to the terms of service by selecting "Agree" when prompted.
Step 9 : You will then be asked if you want to share your email address with the Electronic Frontier Foundation (EFF). This step is optional, and you can choose whether or not to share your email address..
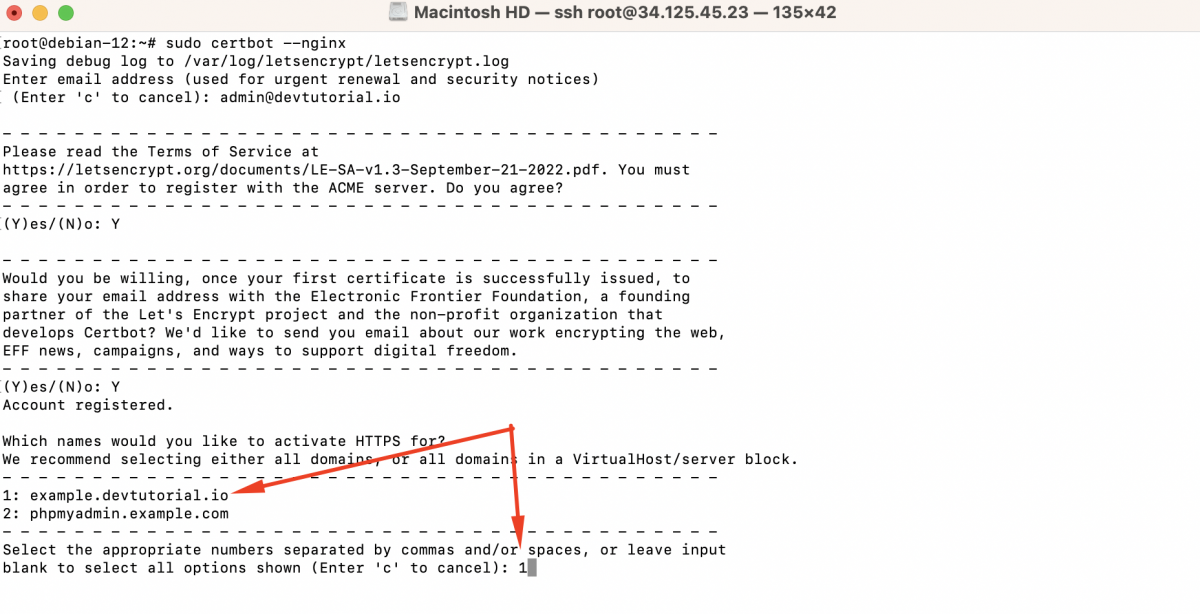
Step 10 : Certbot will display a list of domains detected in your Nginx configuration. Select the appropriate numbers corresponding to the domains for which you want to install the SSL certificate
Step 11 : Certbot will then communicate with the Let's Encrypt server, verify your domain ownership, and automatically configure Nginx to use the SSL certificate.
Step 12 : Once the process is complete, Certbot will display a message indicating the successful installation of the SSL certificate.
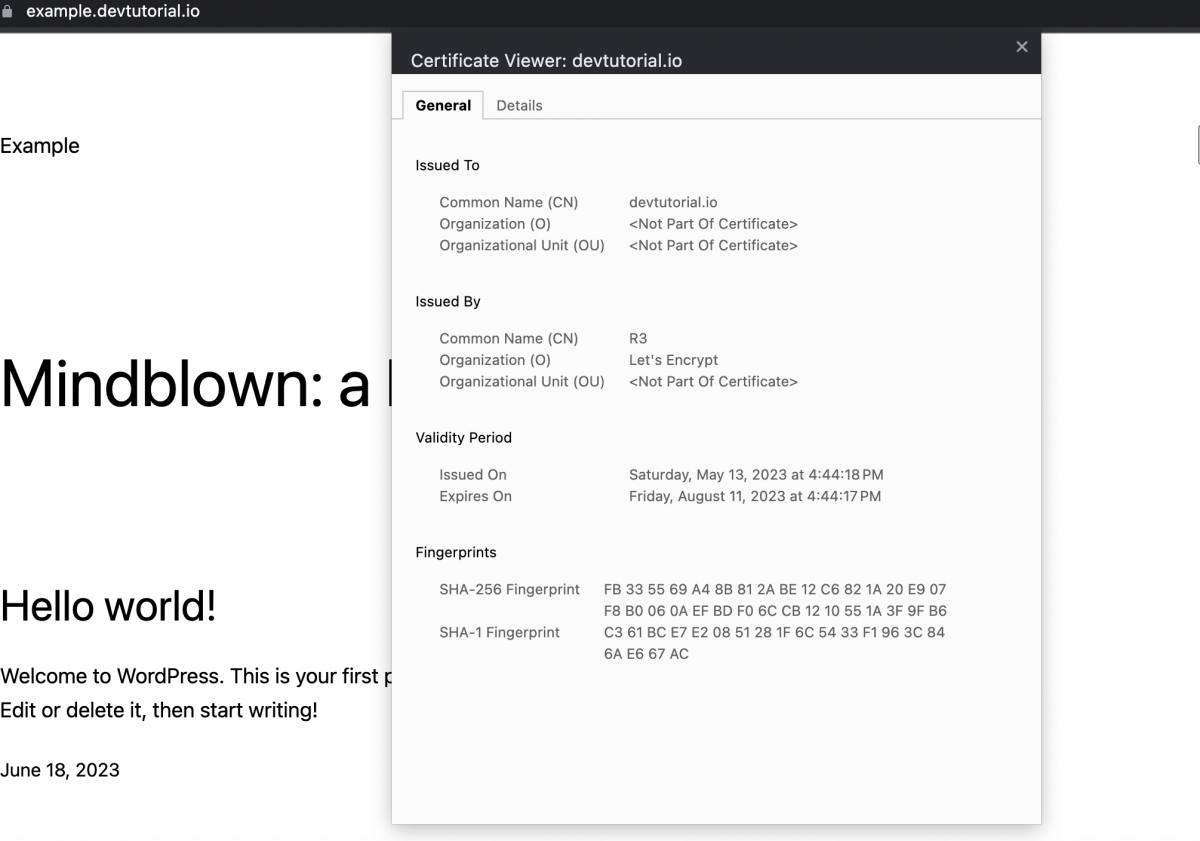
Step 13 : Your Nginx server should now be using the Let's Encrypt SSL certificate. You can verify it by accessing your website using HTTPS (https://yourdomain.com) in a web browser.
Step 14 : If you need to add a new domain and obtain an SSL certificate for it, run the following command:
Step 15 : Certbot will automatically renew the certificate before it expires, ensuring continuous security for your website.
You have successfully installed Let's Encrypt SSL in Nginx on Debian 12 using Certbot. Your website should now be accessible securely using HTTPS. The SSL certificate will automatically be renewed by Certbot when necessary.