NVM stands for Node Version Manager. It is a command-line tool that allows you to easily manage multiple versions of Node.js on your system. NVM provides a convenient way to install, switch between, and manage different versions of Node.js for different projects or applications.
To install NVM on Debian 12, you can follow these steps:
Step 1 : Open a terminal.
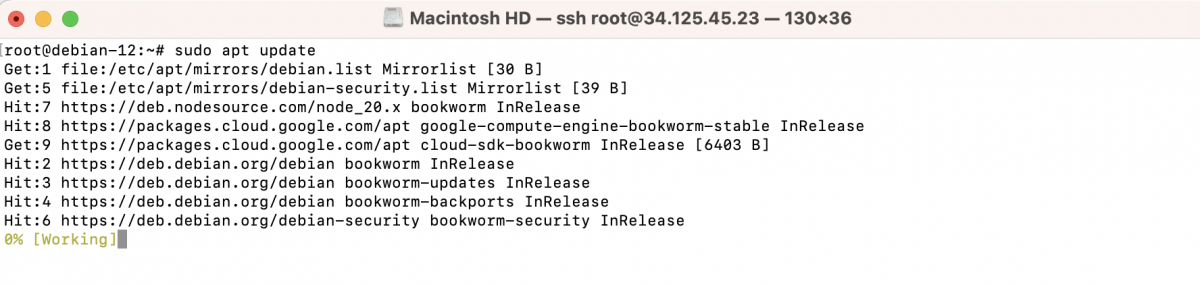
Step 2 : Update your package index:
Step 3 : Install the dependencies required for NVM:

Step 4 : Download the NVM installation script using curl:
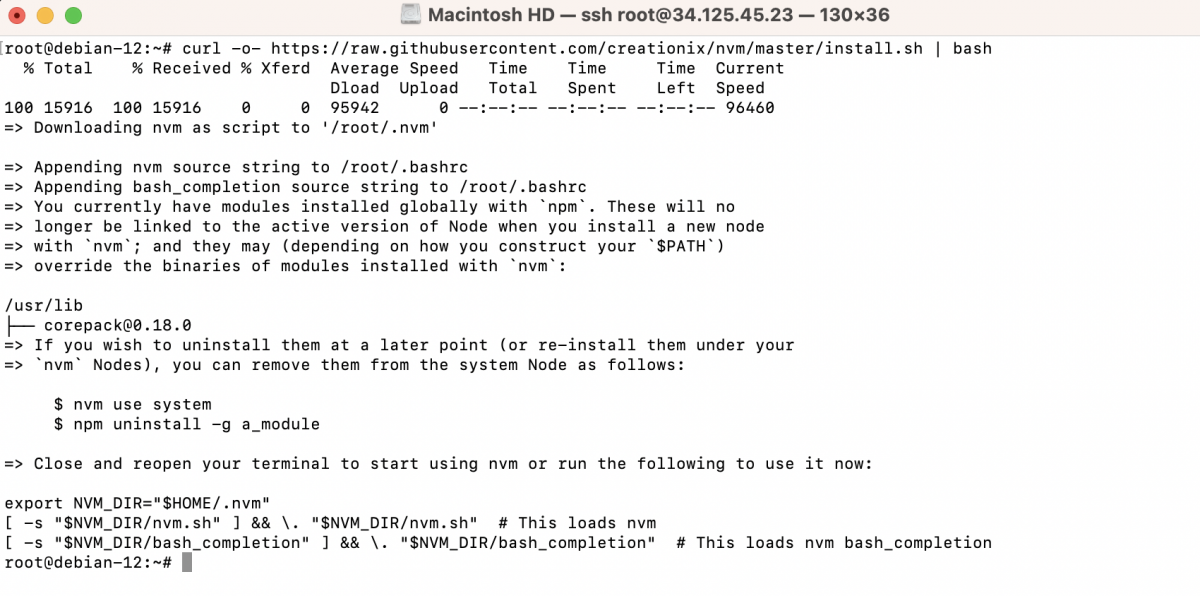
This command downloads the installation script from the NVM GitHub repository and executes it using the bash shell.
Step 5 : After the installation script finishes, it will add the necessary NVM environment variables to your profile. To apply these changes, either restart your terminal or run:

Step 6 : Verify that NVM is installed by running:

You should see the version number displayed, indicating that NVM is successfully installed.
Step 7 : Now you can install a specific version of Node.js using NVM. For example, to install Node.js version 16, run:

This command will download and install the specified version of Node.js.
Step 8 : Verify that Node.js is installed and active by running:

You should see the version number of the installed Node.js version.
Step 9 : You can switch between different Node.js versions installed using NVM. For example, to use Node.js version 16, run:

This command sets the active Node.js version to 16.
You have successfully installed NVM on Debian 12, allowing you to manage multiple versions of Node.js on your system.