To install the vsftpd FTP server on Debian 12 (Bullseye), you can follow these steps:
Step 1 : Connect to your Debian 12 server using an SSH client or access the server directly.
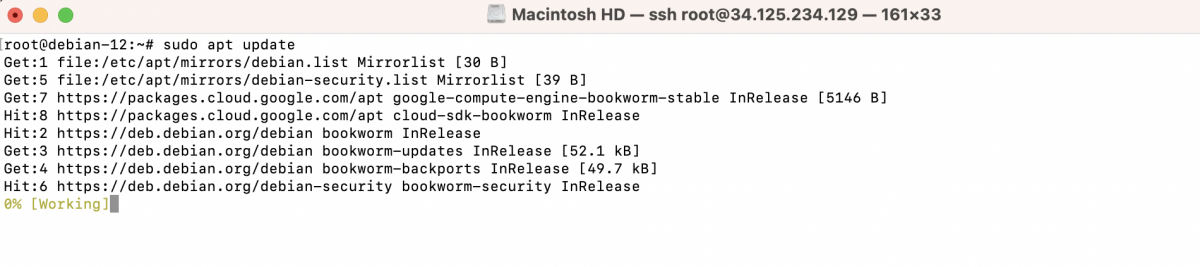
Step 2 : Update the package list and upgrade existing packages by running the following commands:
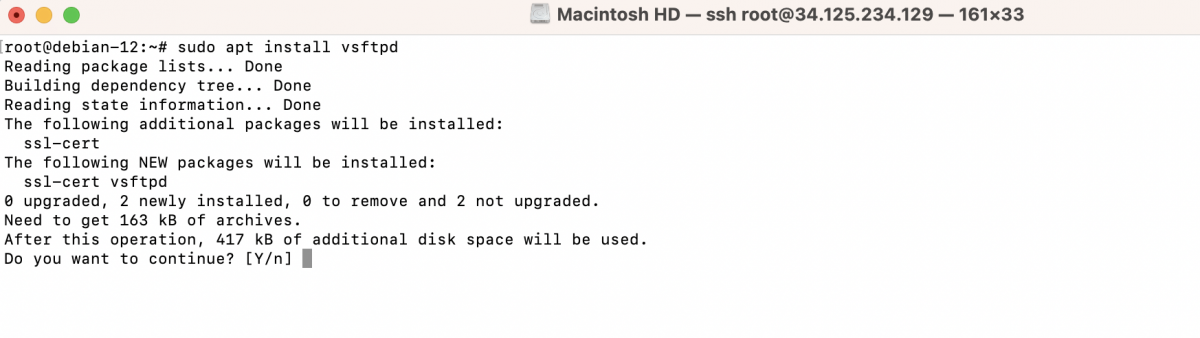
Step 3 : Install the vsftpd package by executing the following command:
Step 4 : Once the installation is complete, the vsftpd service will start automatically. You can verify the status of the service by running:
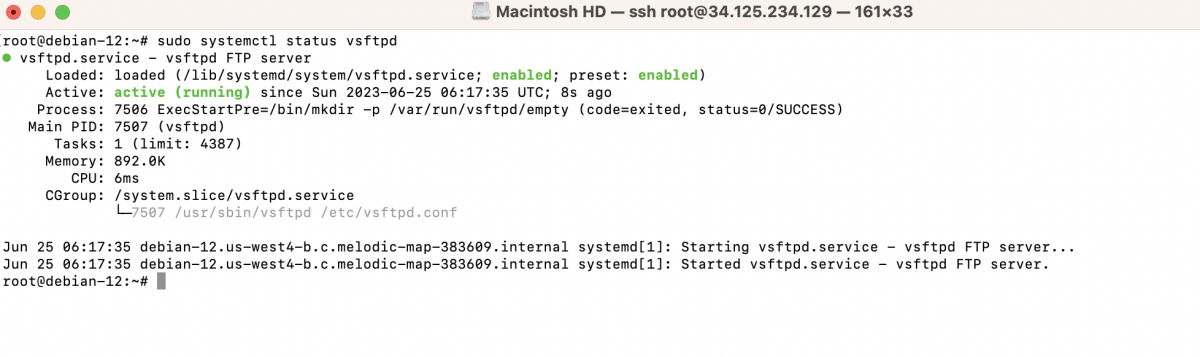
If everything is working correctly, you should see that vsftpd is active and running.
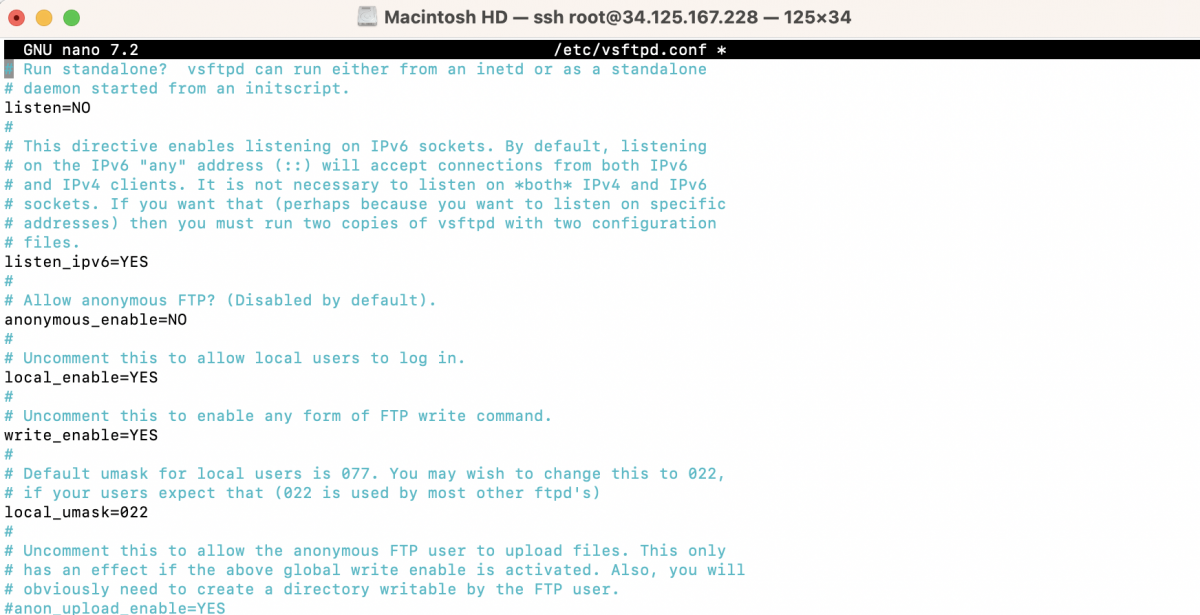
Step 5 : To configure vsftpd, open the configuration file /etc/vsftpd.conf in a text editor with elevated privileges. For example:
Step 6 : Inside the configuration file, you can make various customizations as needed. Some common configuration options you might want to consider:
- anonymous_enable: Set this option to YES if you want to allow anonymous FTP access. Otherwise, set it to NO to disable anonymous access.
- local_enable : This option enables or disables local user logins. Set it to YES to allow local users to log in via FTP.
- write_enable : Set this option to YES to allow FTP users to upload files. If set to NO, users will have read-only access.
- chroot_local_user : When set to YES, this option restricts FTP users to their home directories.
- user_sub_token=$USER
- local_root=/home/$USER
- allow_writeable_chroot=YES
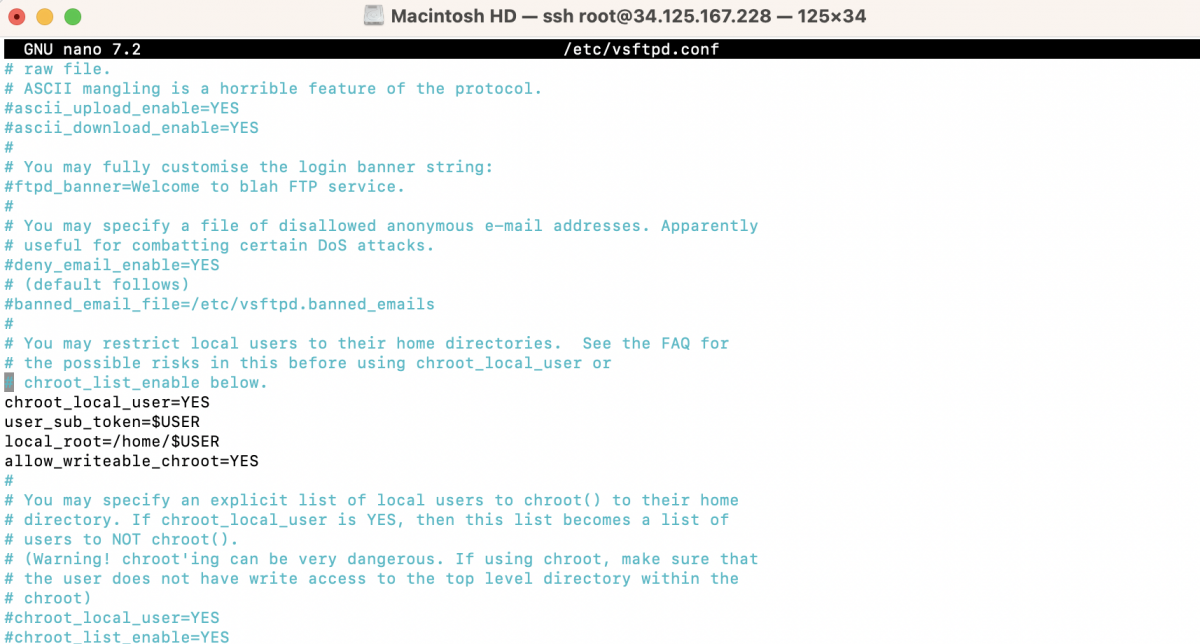
These additional configurations will enforce chrooting for local users, set their home directory as the root directory for FTP access, and allow writable chroots for users. This helps enhance security and ensures that each user is restricted to their respective home directory.
Step 7 : Save the changes and exit the text editor.
Step 8 : Restart the vsftpd service to apply the new configuration:
Step 9 : If you're using UFW (Uncomplicated Firewall) to manage your server's firewall, you can add rules to allow FTP connections. Assuming UFW is already installed, run the following commands:
The first command allows incoming TCP traffic on port 21, the default port for FTP control connections. The second command allows the passive FTP port range (40000 to 50000) for passive mode transfers. The third command enables the UFW firewall.
Step 10 : Verify the status of UFW to ensure that the FTP rules are active:
You should see the FTP rules listed in the output.
Step 11 : To create a user for FTP access, follow these steps:
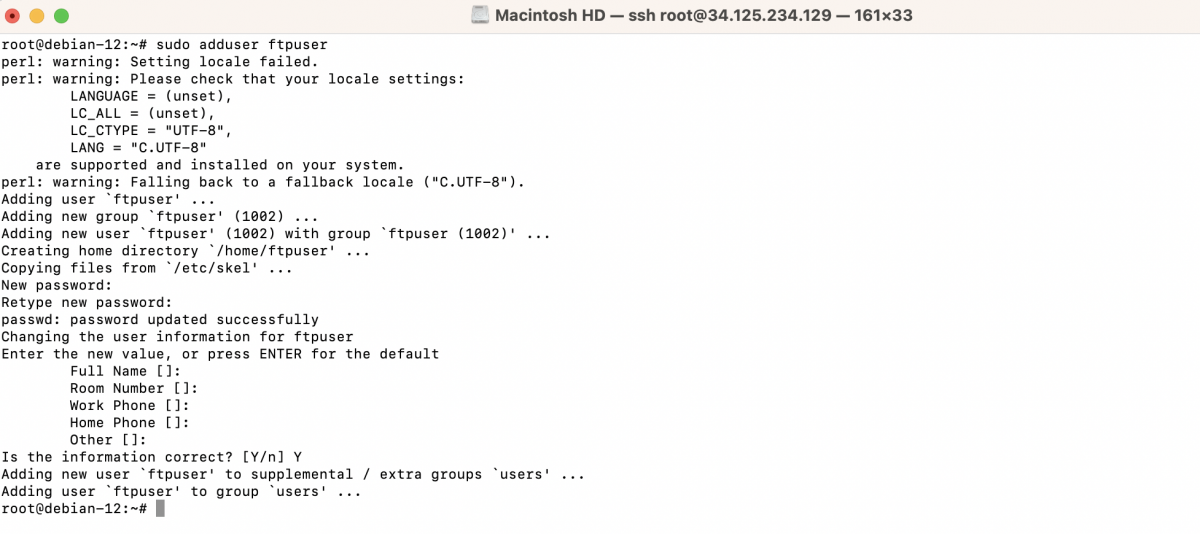
- To create a new user, use the adduser command followed by the desired username. For example, to create a user named "ftpuser", run the following command:
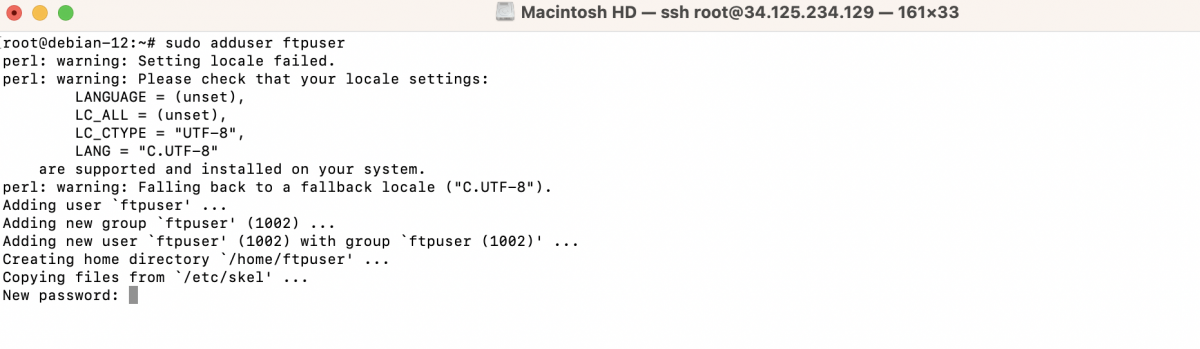
- Set a password for the new user when prompted. Follow the instructions and provide a secure password.
Step 12 : You can now use the newly created user credentials to connect to the FTP server. Use the server's IP address or domain name, FTP port (default is 21), and the FTP username and password you set for the user.
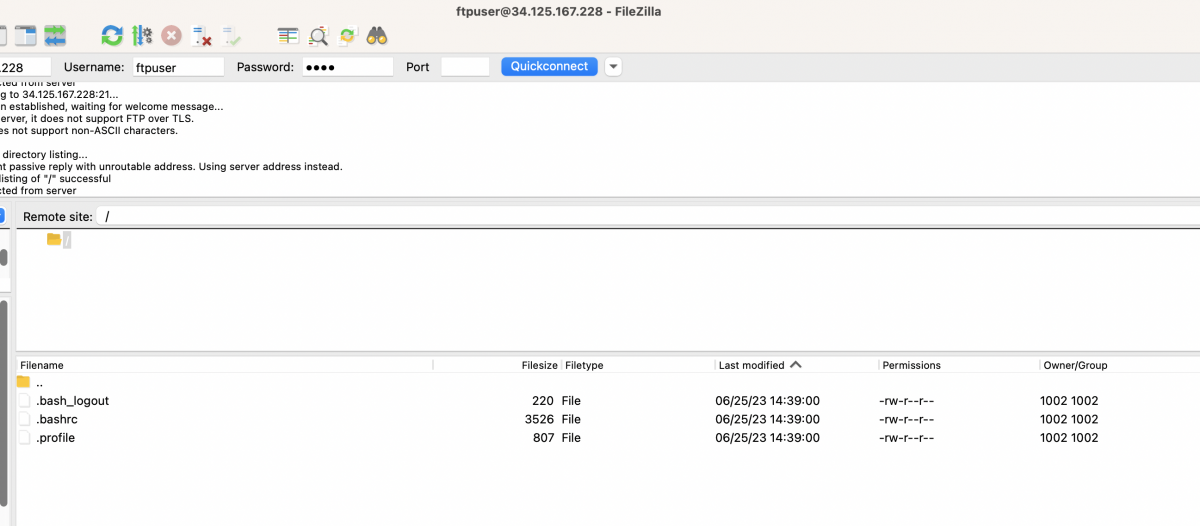
Your vsftpd FTP server is now installed, configured, and accessible through the specified ports.
Remember to consider security best practices when configuring your FTP server, such as configuring appropriate user permissions, enabling encryption, and implementing firewall rules if necessary.