To install phpMyAdmin with Apache on Fedora 40, follow these steps:
Step 1 : Ensure your system is up-to-date by running:

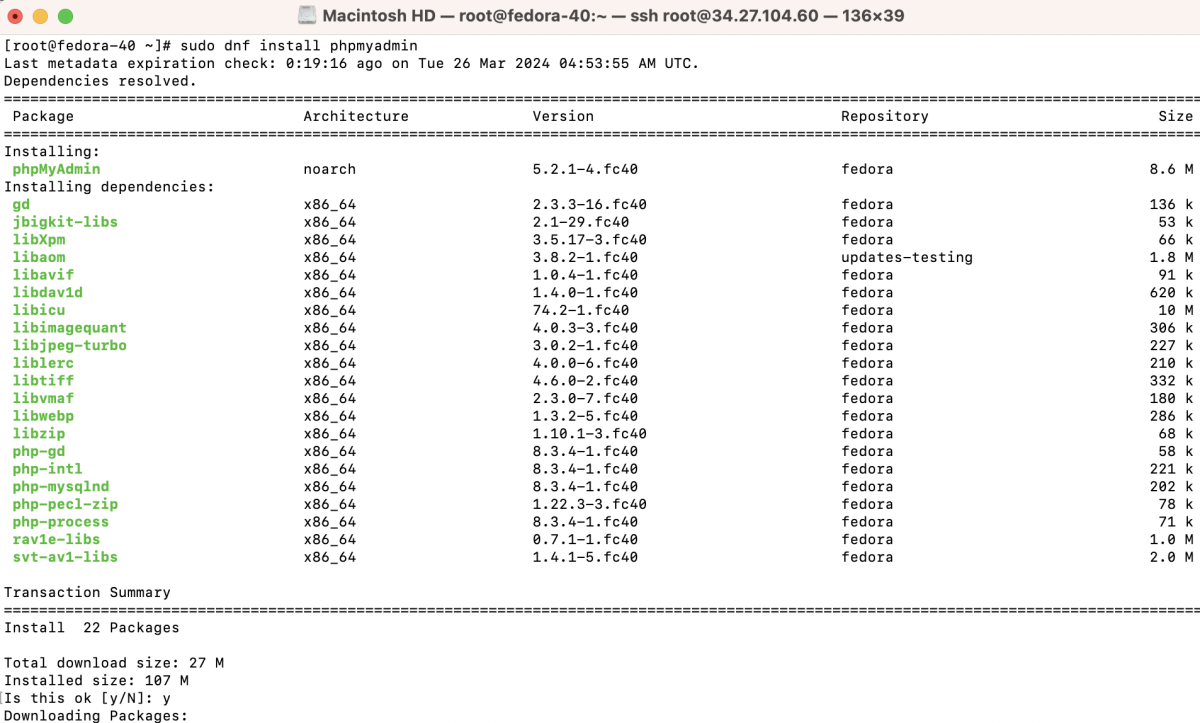
Step 2 : Install phpMyAdmin using the following command:
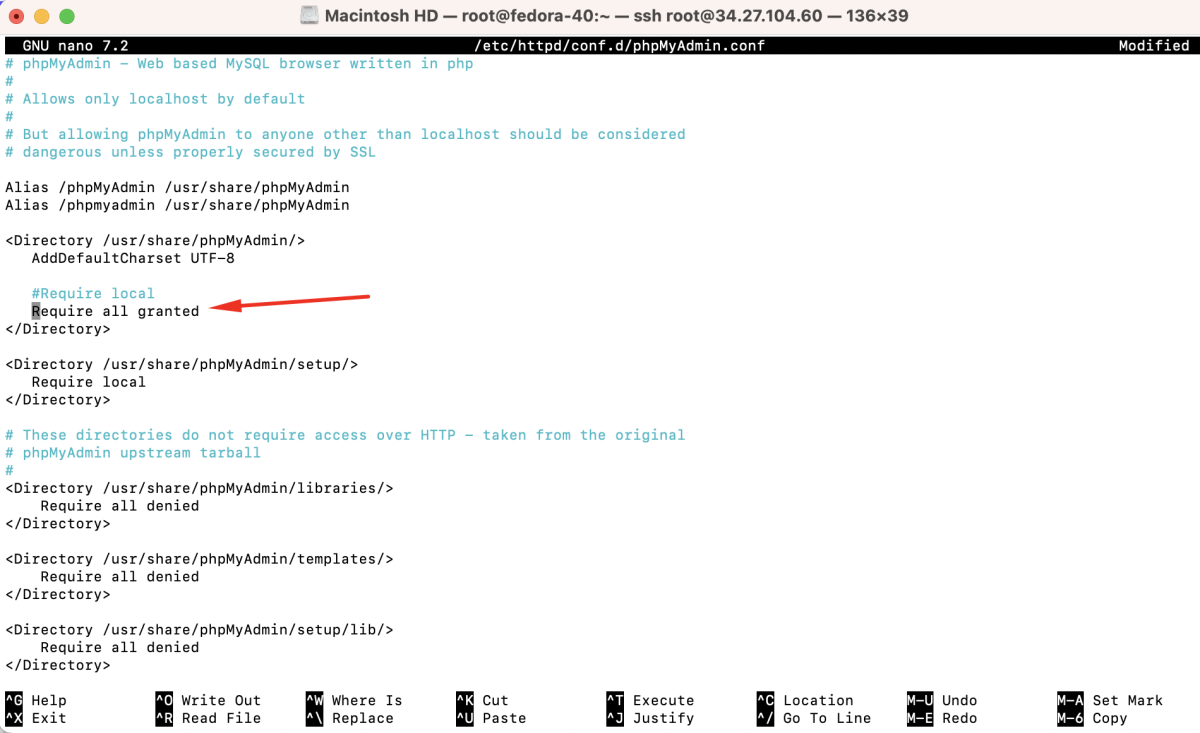
Step 3 : Open the phpMyAdmin configuration file using a text editor:
Find the line containing "Require local" and replace it with "Require all granted".
Step 4 : After modifying the configuration, restart Apache to apply the changes:

Step 5 : You can now access phpMyAdmin by navigating to http://your_server_ip/phpmyadmin in your web browser.
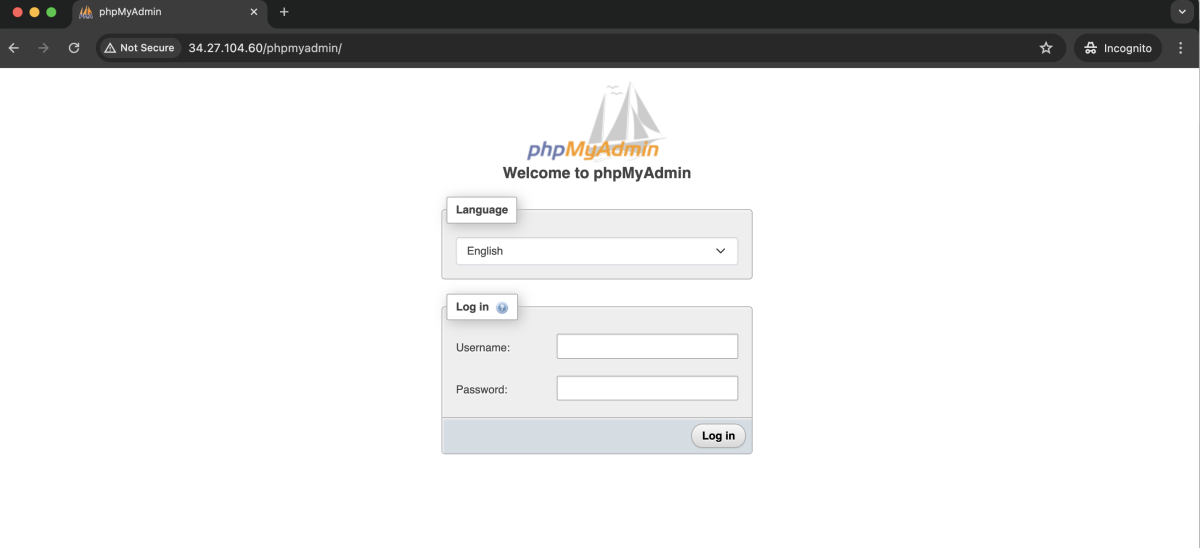
- Enter your MySQL username and password to log in and start managing your databases using phpMyAdmin.
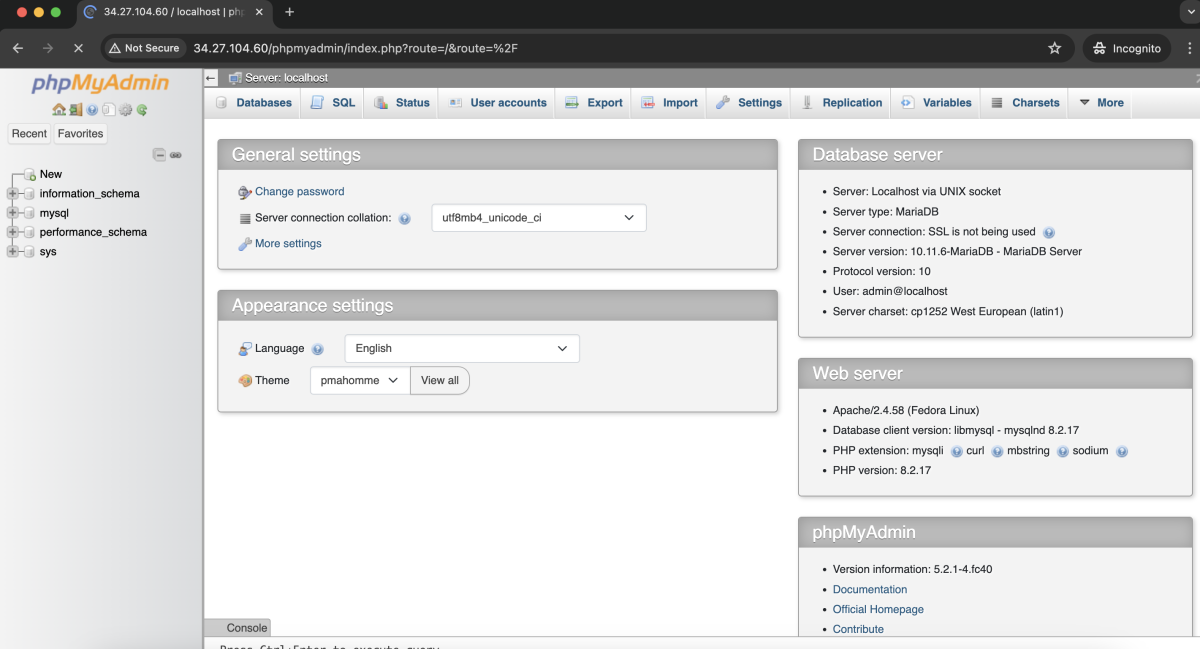
Congratulations! You have successfully installed phpMyAdmin with Apache on Fedora 40.