In this post, we'll see how Git creates blob, tree, and commit objects in the repository. We'll also learn about the three stages of creating a commit.
Step 1 : Making a Change
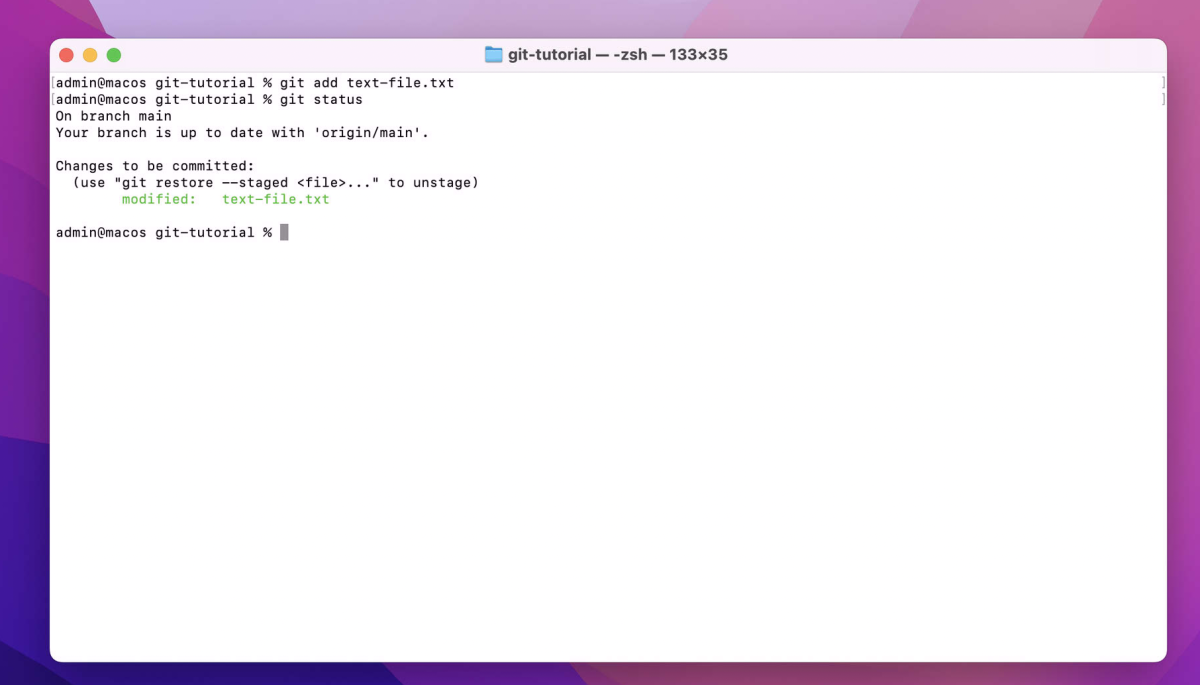
First, we'll modify a file and check the current Git status:
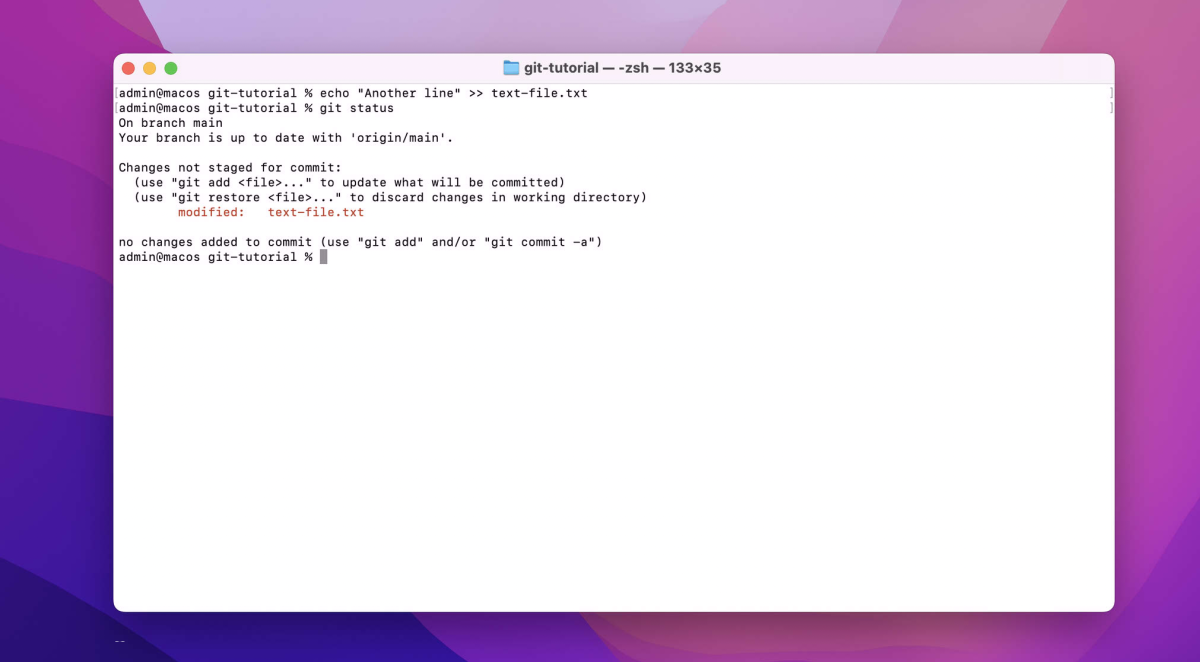
At this point, the file is modified in the working directory but has not been staged yet.
Step 2 : Adding to the Staging Area
Let's add text-file.txt to the staging area and check the status again:
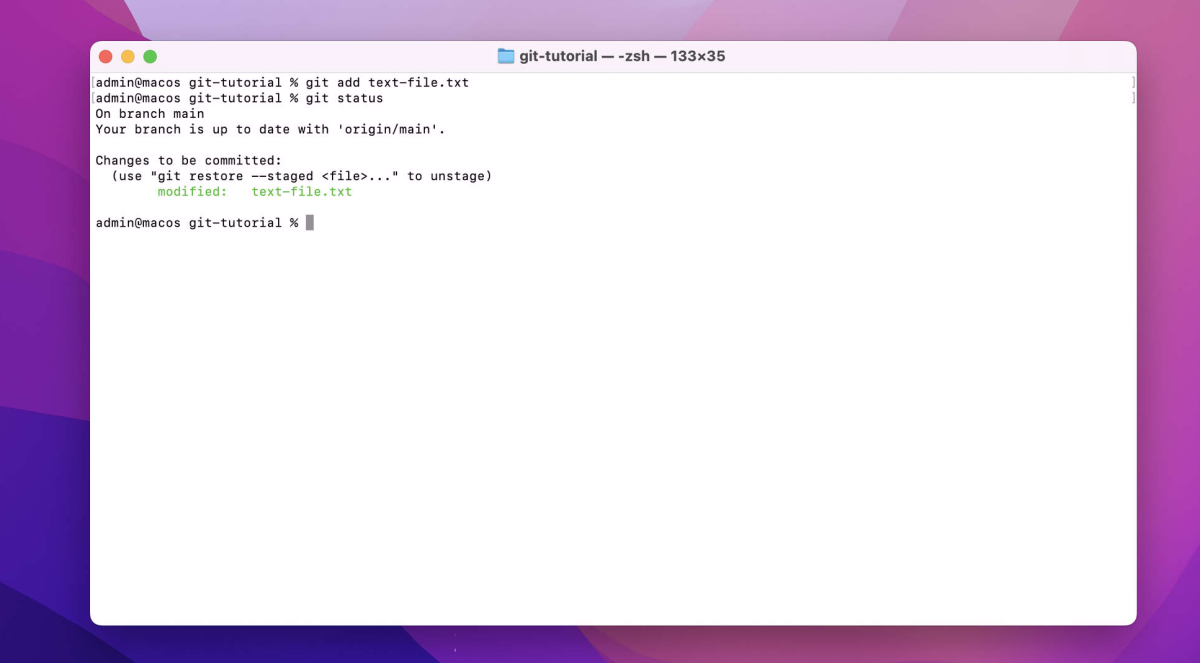
Now, the file is staged, meaning Git has created a blob object for this version of the file.
Step 3 : Modifying the File Again
We can edit the file again and check the status:
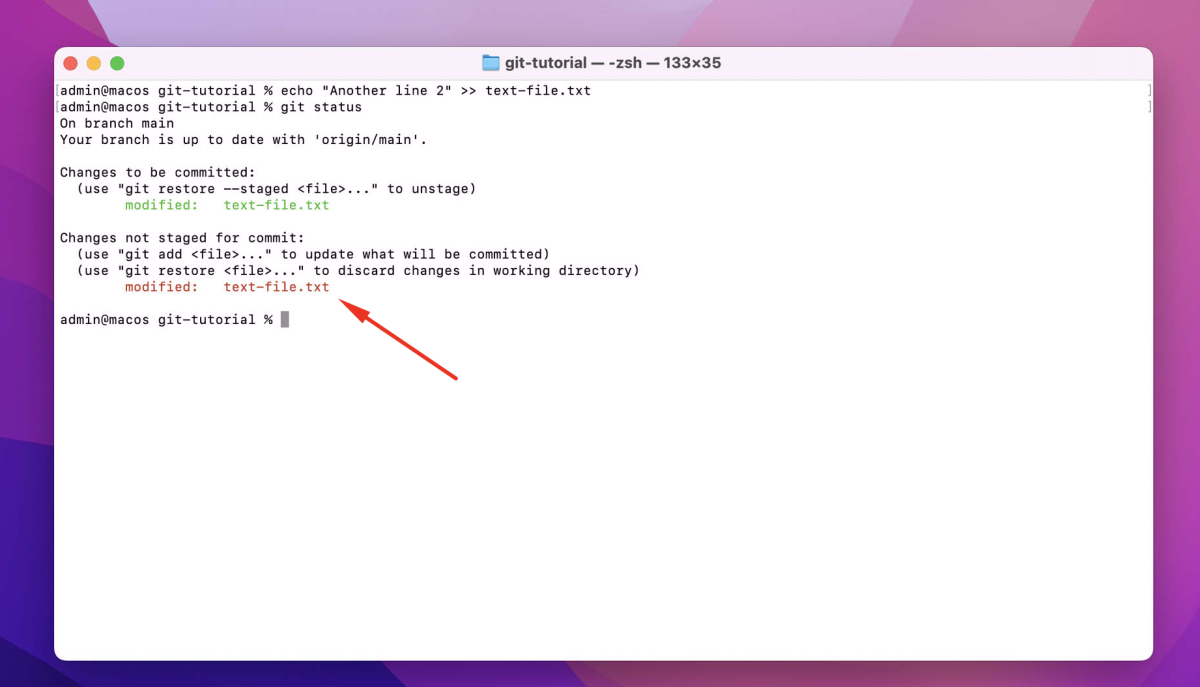
At this point, the working directory has new changes, but the staged version remains unchanged.
Step 4 : Staging the Second Change
Let's add the second change:
Git updates the blob object, and the new version of the file is now staged.
Step 5 : Committing the Changes
Now, all staged changes are ready to be committed:
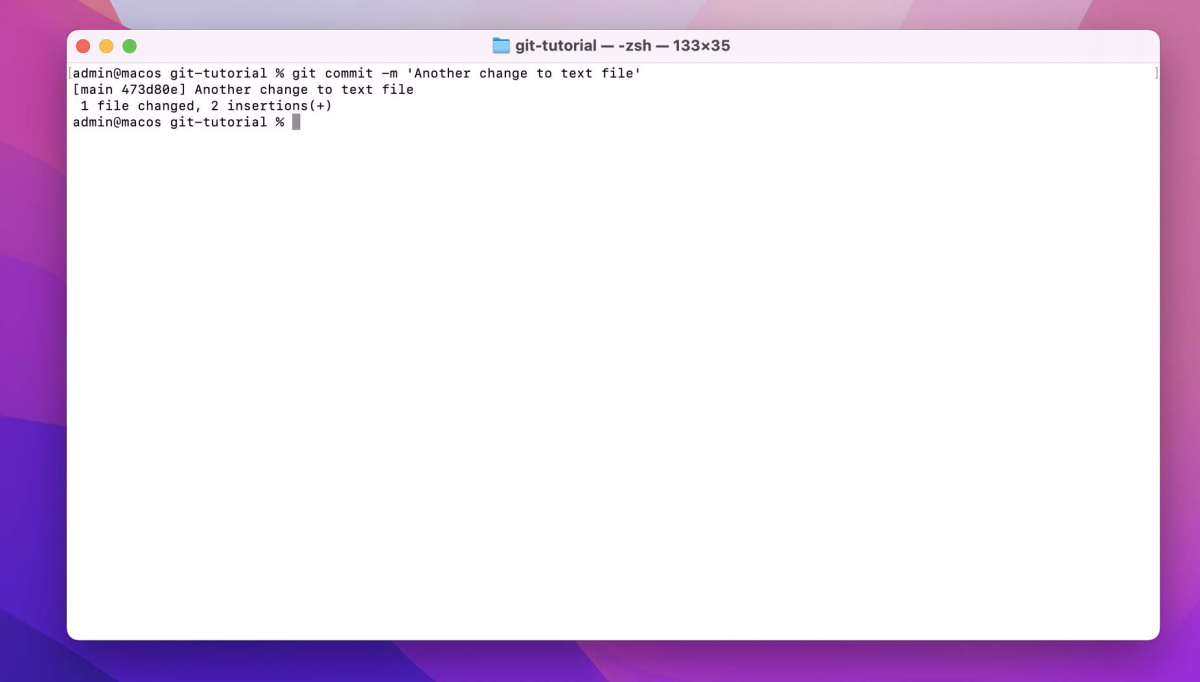
This creates a commit object, linking it to a tree object that represents the current state of the project.
Step 6 : Viewing Git Objects
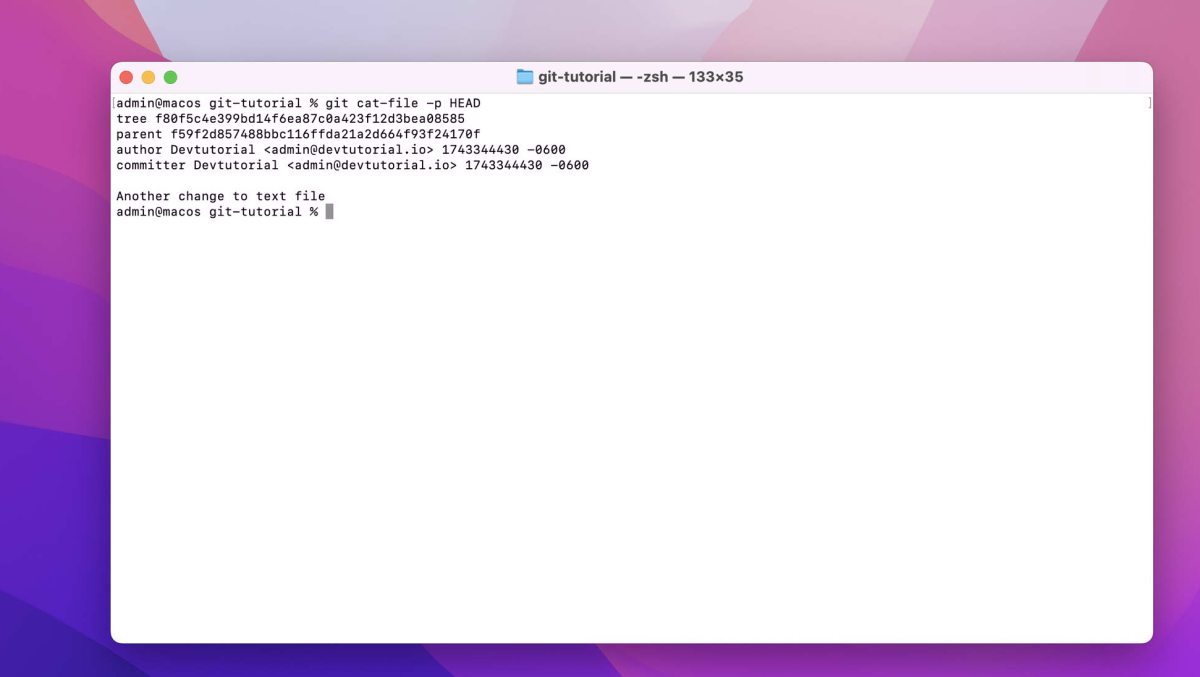
The git add command creates blob objects, while the git commit command creates both tree and commit objects. We can inspect the latest commit:
Step 7 : Viewing the Root Tree
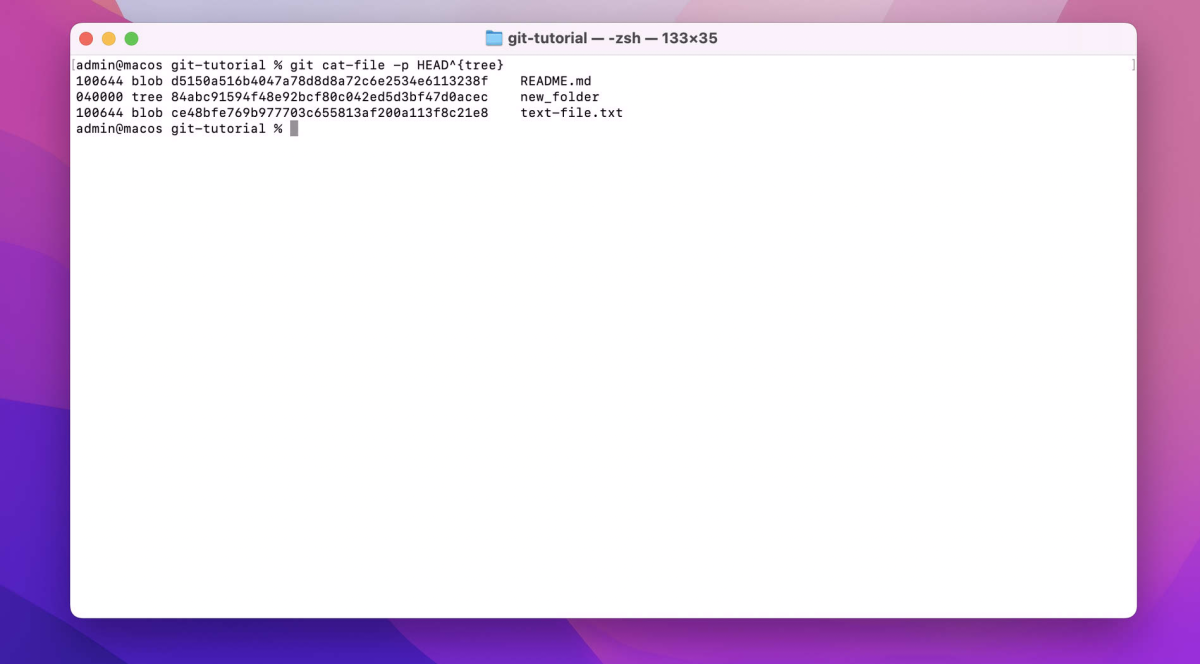
The root tree object from the commit can be displayed using:
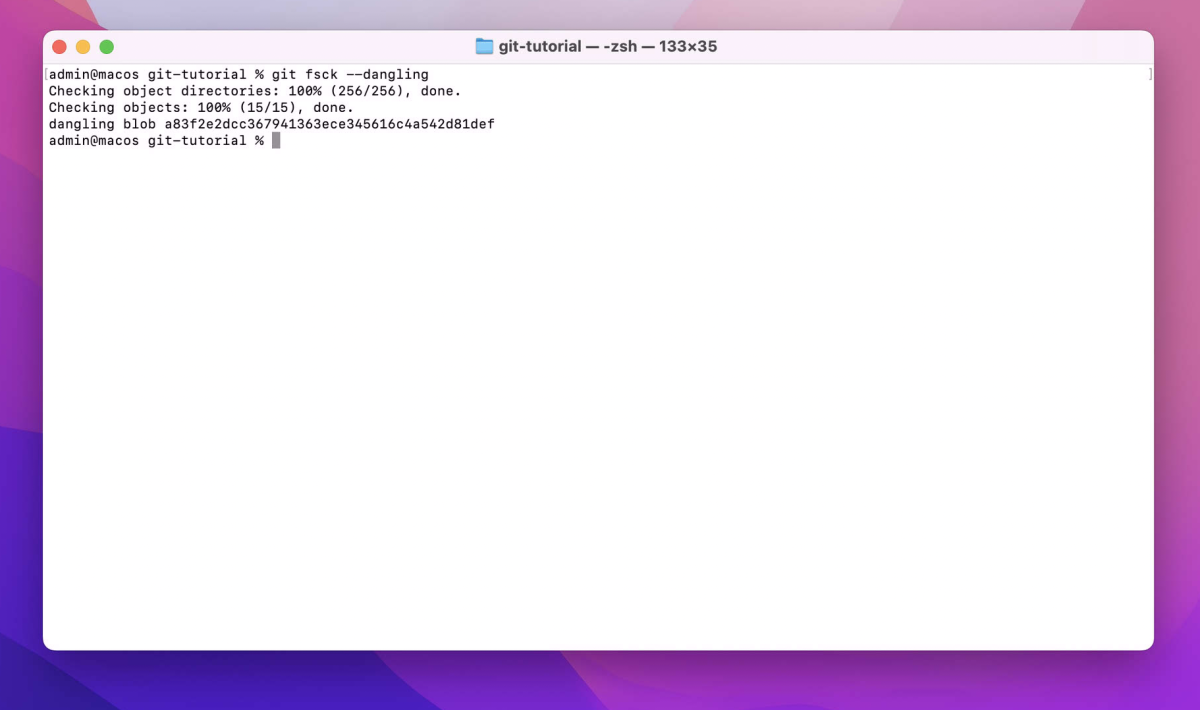
Step 8 : Checking for Dangling Objects
We can use git fsck to find dangling objects—objects that are not referenced by commits:
Step 9 : Inspecting a Blob Object
Let's check the content of a specific blob object:

This will display the contents of the file as it was when it was first added to the staging area.
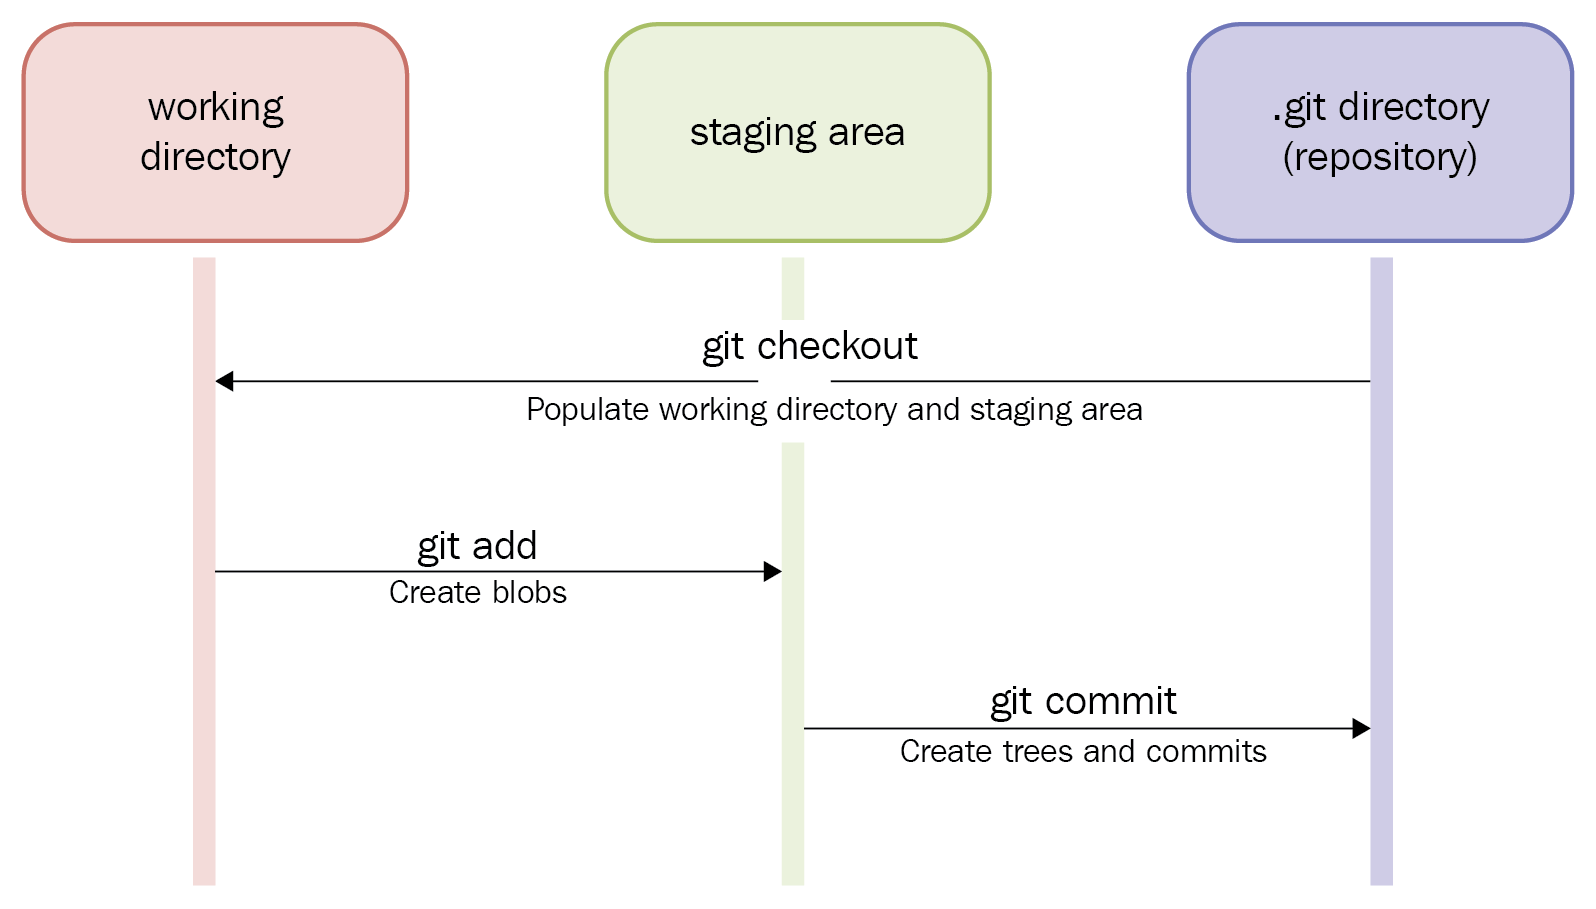
The following diagram describes the three stages and the commands used to move between them: