Let's start by creating a few local branches.
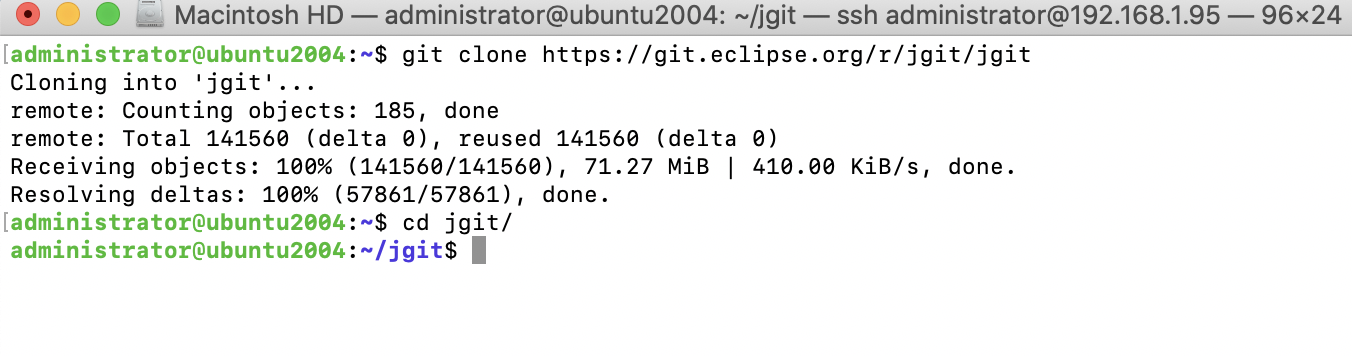
Step 1 : Use the following command to clone the jgit repository to match:
Step 2 : Whenever you start working on a bug fix or a new feature in your project, you should create a branch. You can do so using the following code:

Step 3 : The newBugFix branch points to the current HEAD you were on at the time of the creation. You can see the HEAD with git log -1:

Step 4 : If you want to add a description to the branch, you can do this with the --edit-description option for the git branch command:
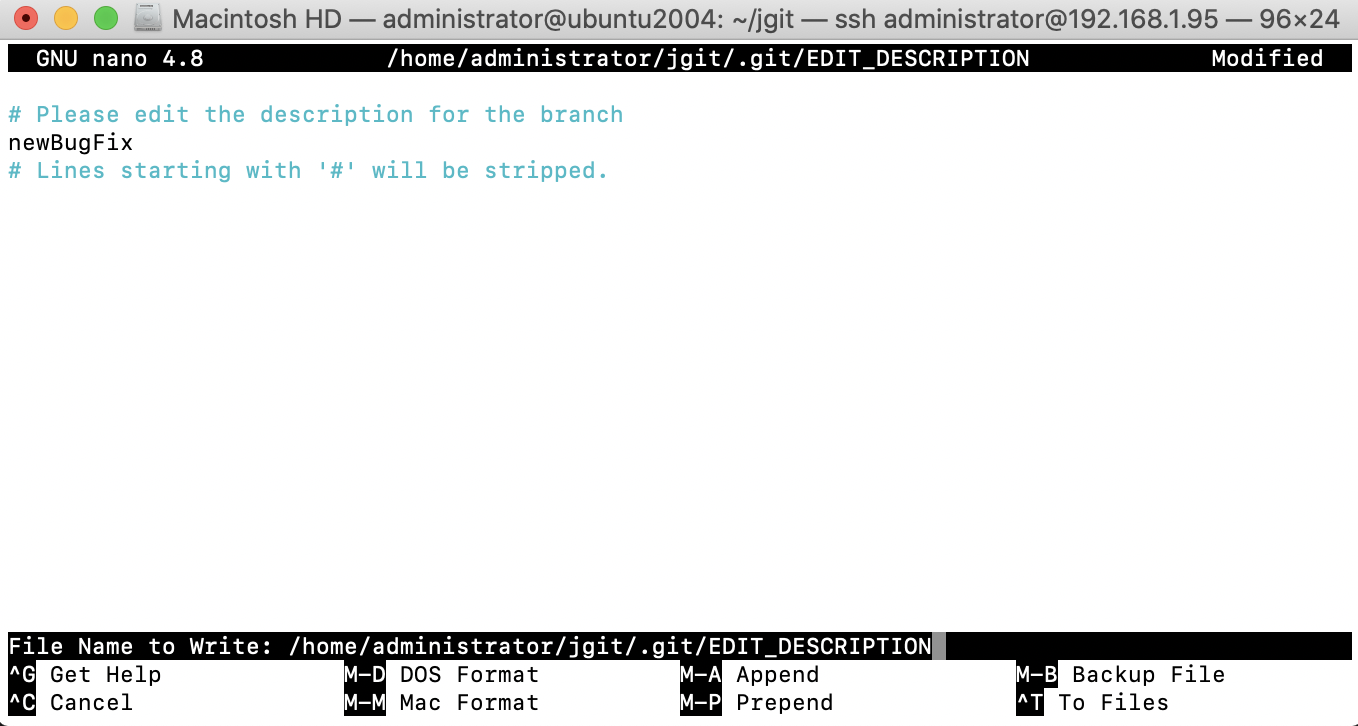
Step 4 : Close the editor and the message will be saved.
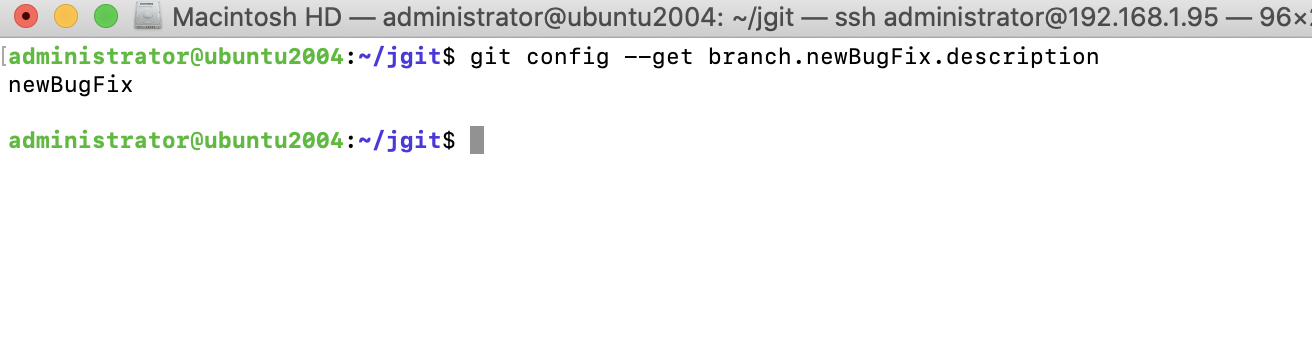
Step 5 : To retrieve the description for the branch, you can use the --get flag for the git config command:
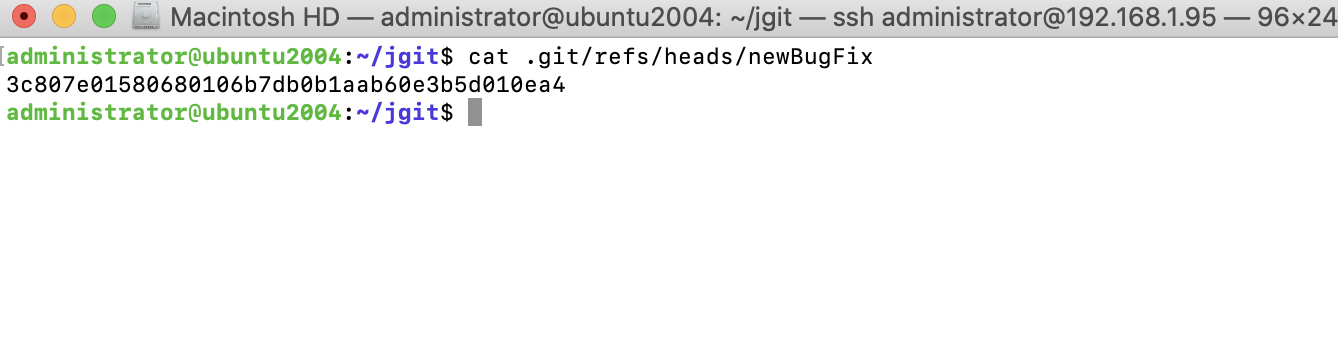
Step 6 : The branch information is stored as a file in .git/refs/heads/newBugFix:
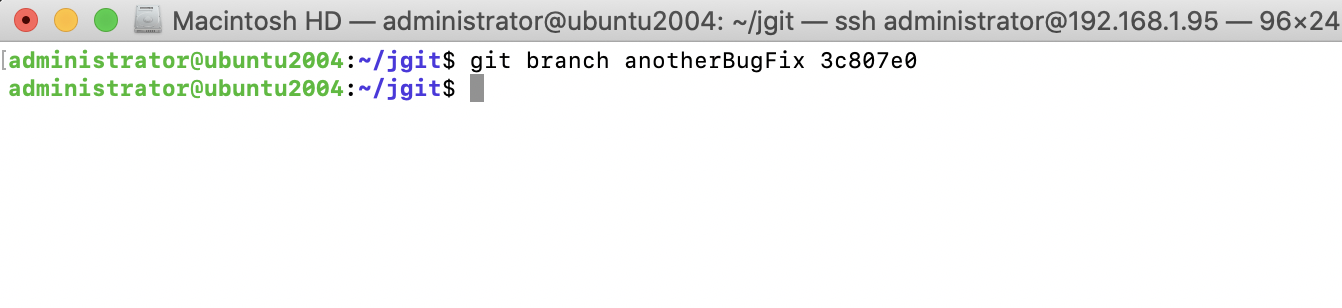
Step 7 : If you need a branch from a specific commit hash, you can create it with the git branch command as follows:
Step 8 : As you can see, the abbreviated commit hash is shown when you use %h, and the full commit hash is shown when you use %H. You can see that the abbreviated commit hash is the same as the one used to create the branch. Most of the time, you want to create and start working on the branch immediately:
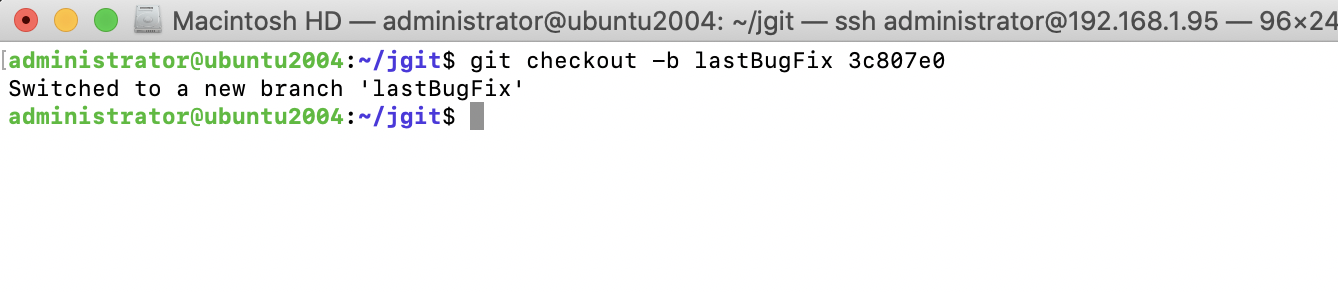
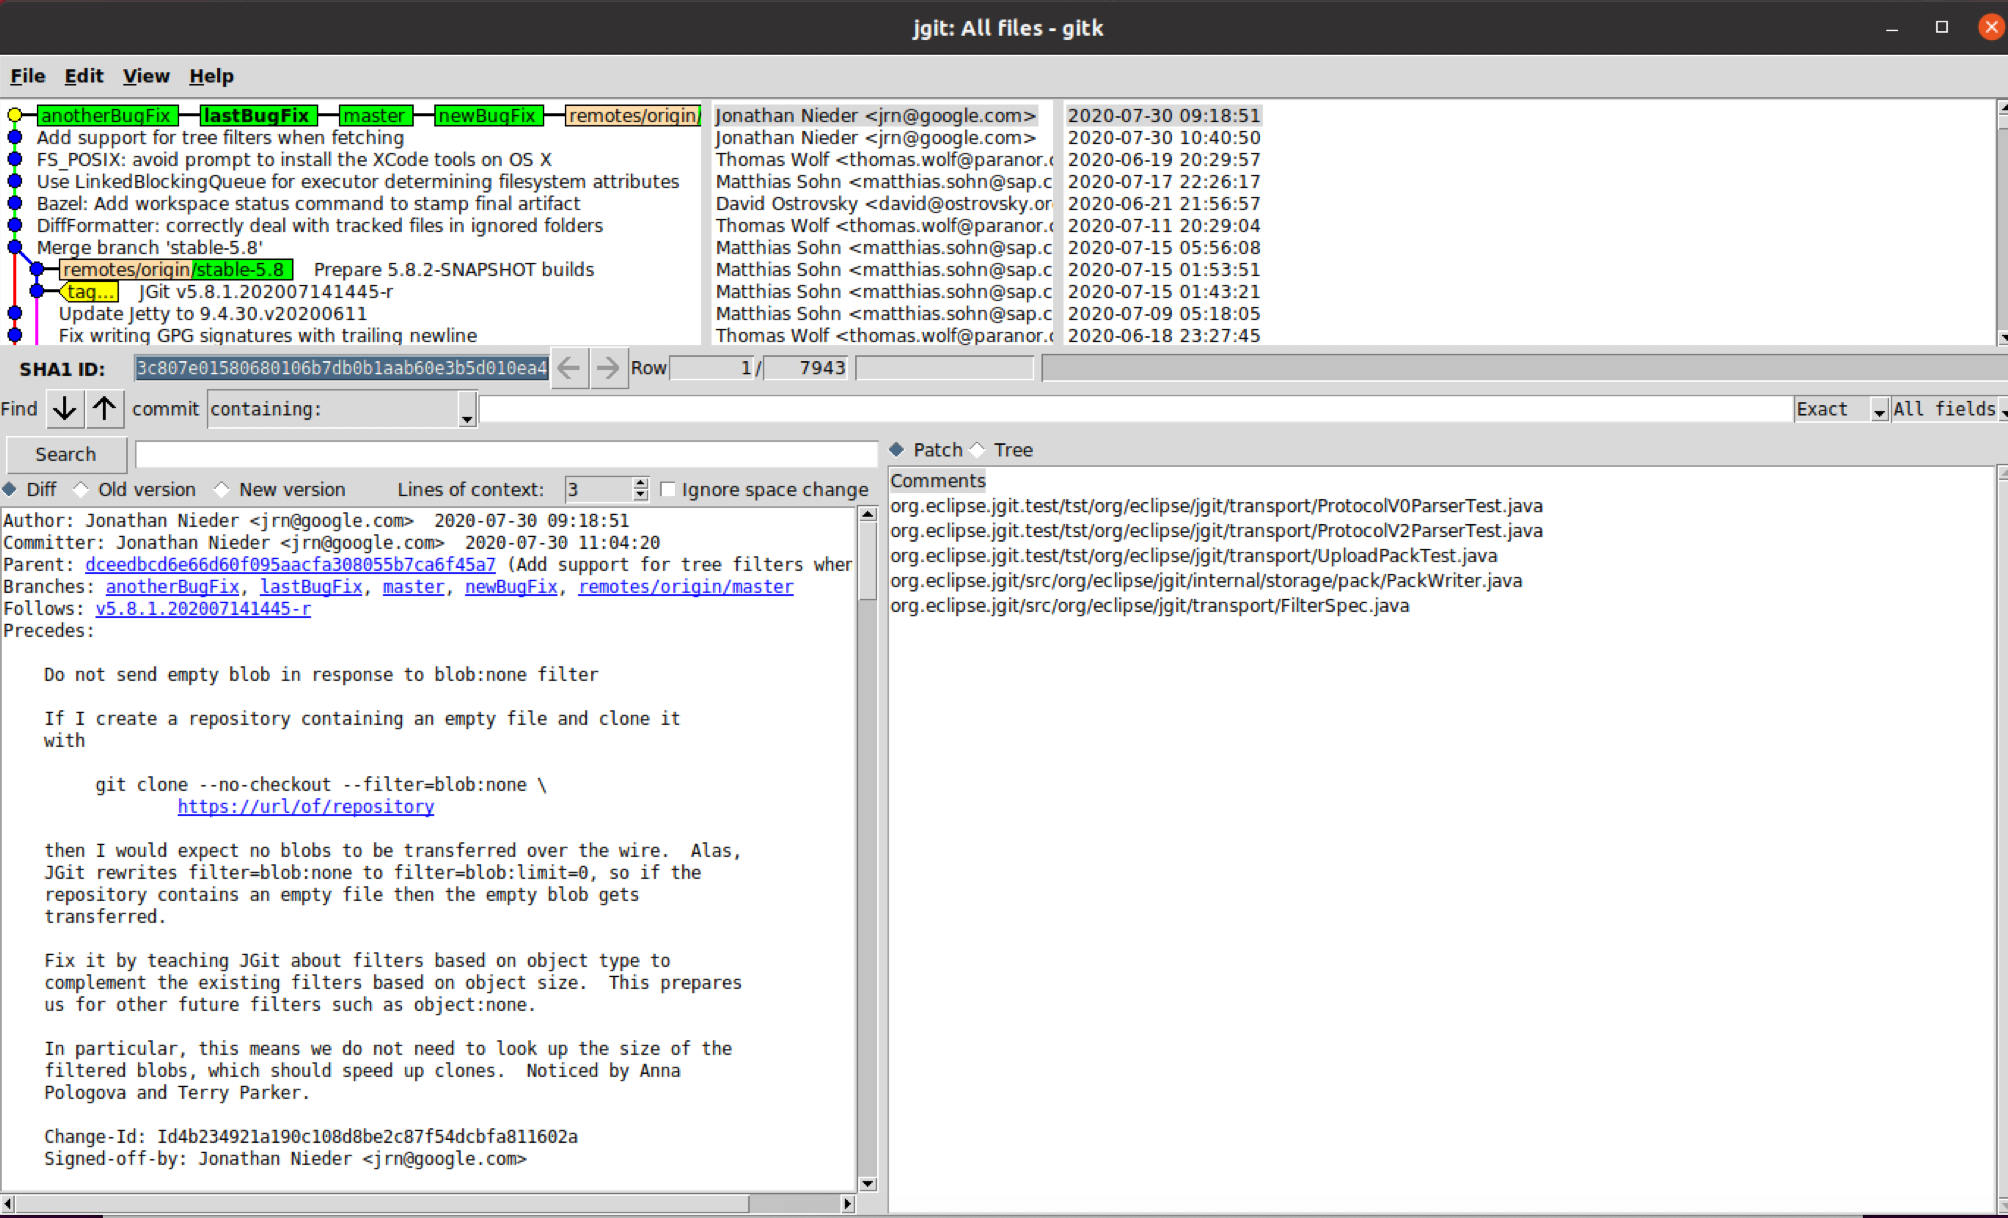
Step 9 : Git switches to the new branch immediately after it creates the branch. Verify with gitk to see whether the lastBugFix branch is checked out and another BugFix branch is at the same commit hash
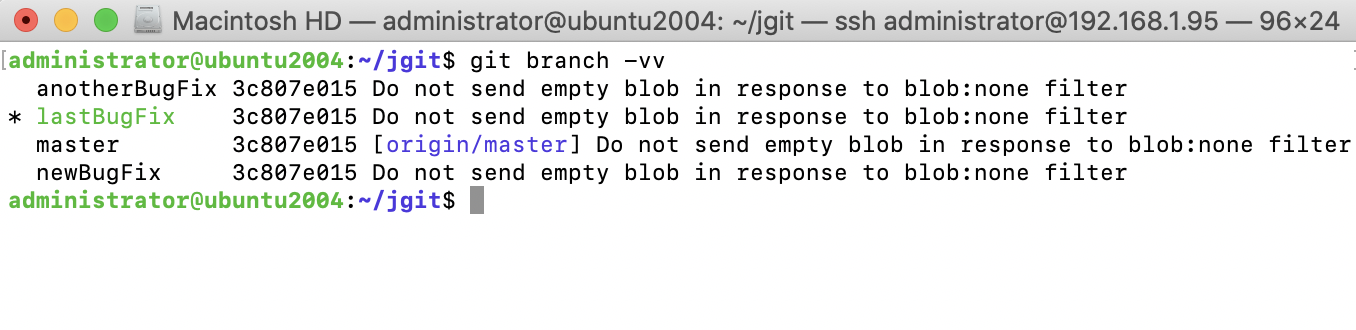
Step 10 : Instead of using Gitk, you can also add -v to the git branch command or even another -v:
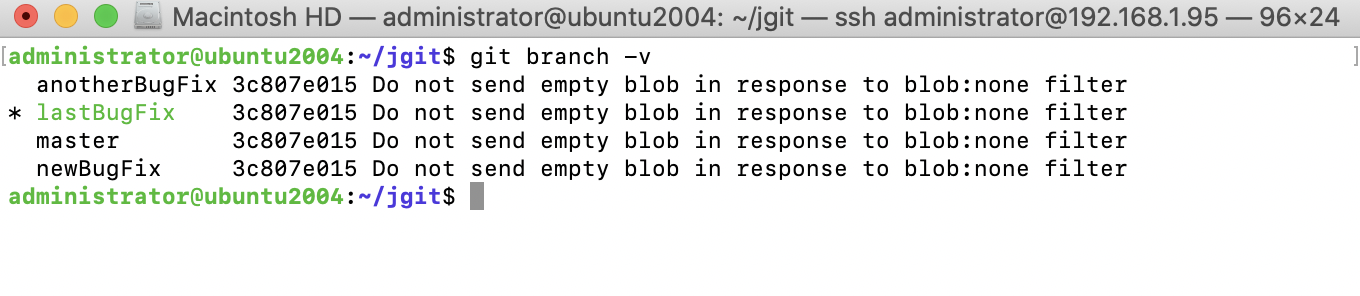
Step 11 : With -v, you can see the abbreviated commit hash for each branch, and with -vv, you can also see that the master branch tracks the origin/master branch: