We will create a branch from origin/master so we are ready to add commits to our fix. Let's start with something like this:

Step 1 : Start by echoing some text into README.md:
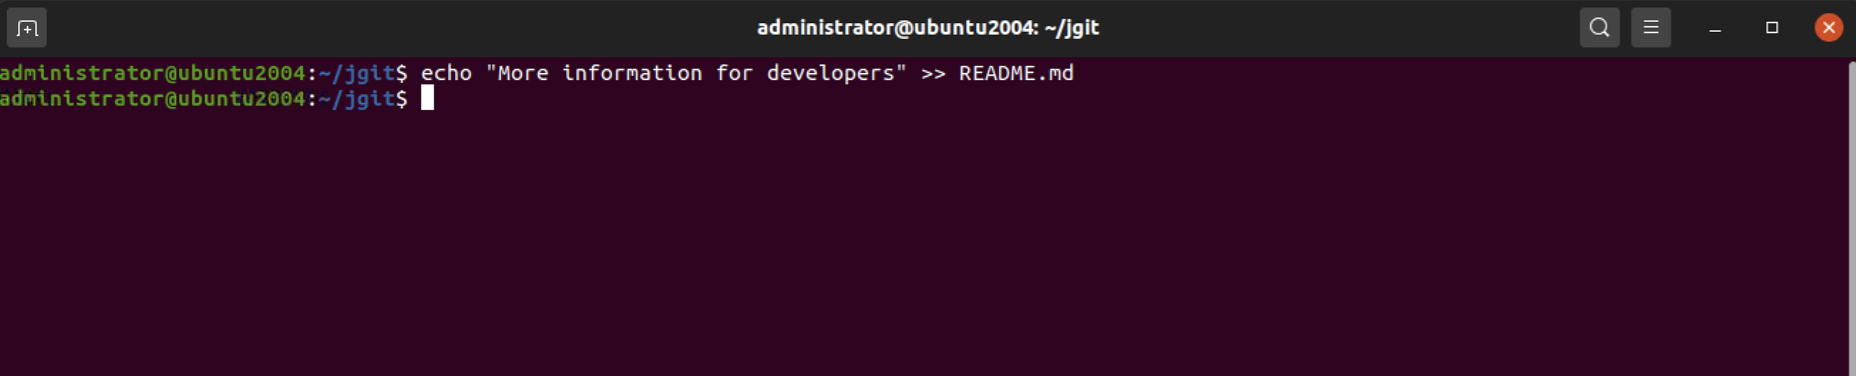
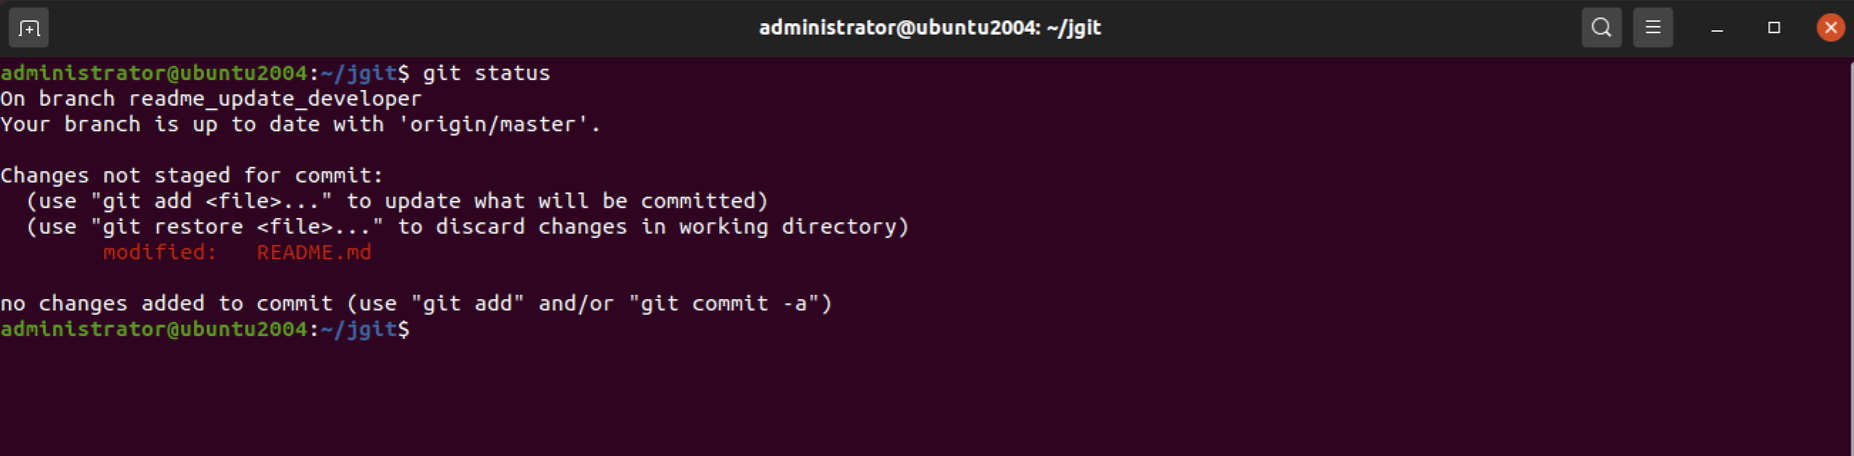
Step 2 : This will append more information to README.md for developers; verify that the file has changed using the Git status as follows:
Step 3 : Now, we want to add and commit this. We can do this with the commit command using the -a flag, which will add any unstaged changes to the commit, as shown in the following command:

After you create the commit, remember the abbreviated commit hash; we have highlighted it in bold in the command output
Step 4 : To continue, we will add three commits to the branch, and we would like to squash two of these with the first commit, as shown in the following command:

Step 5 : This is the first commit. Pay attention to why we needed to store the abbreviated hash of the first commit—we used it with the --squash option for git commit. This option will create the commit with the subject of the commit specified. It will also add squash! to the start of the subject. This is to indicate that Git should squash this commit when performing a rebase. Now, create the second commit, as shown in the following command

Step 6 : We have added two commits that we would like to squash with the first commit. Now, we will create the last commit; we don't want to squash this commit:

Step 7 : We add the final commit, which does not have anything to do with the first three commits we added. This is why we did not use the --squash option. We can now squash the commits together using git rebase -i:
Step 8 : You will get the rebase's to-do list up in the configured commit editor. What we would have expected was to have Git configure a squash for the commits we wanted to squash, as shown in the following command:
Step 9 : What you can see is that Git inserted squash to the subject of two of the commits, but besides this, we did not get what we had expected. Git requires you to specify --autosquash to the git rebase -i command. Close the editor and Git will perform the rebase and give the following output:
Step 10 : Let's try again with --autosquash and see what happens with the rebase's to-do list:
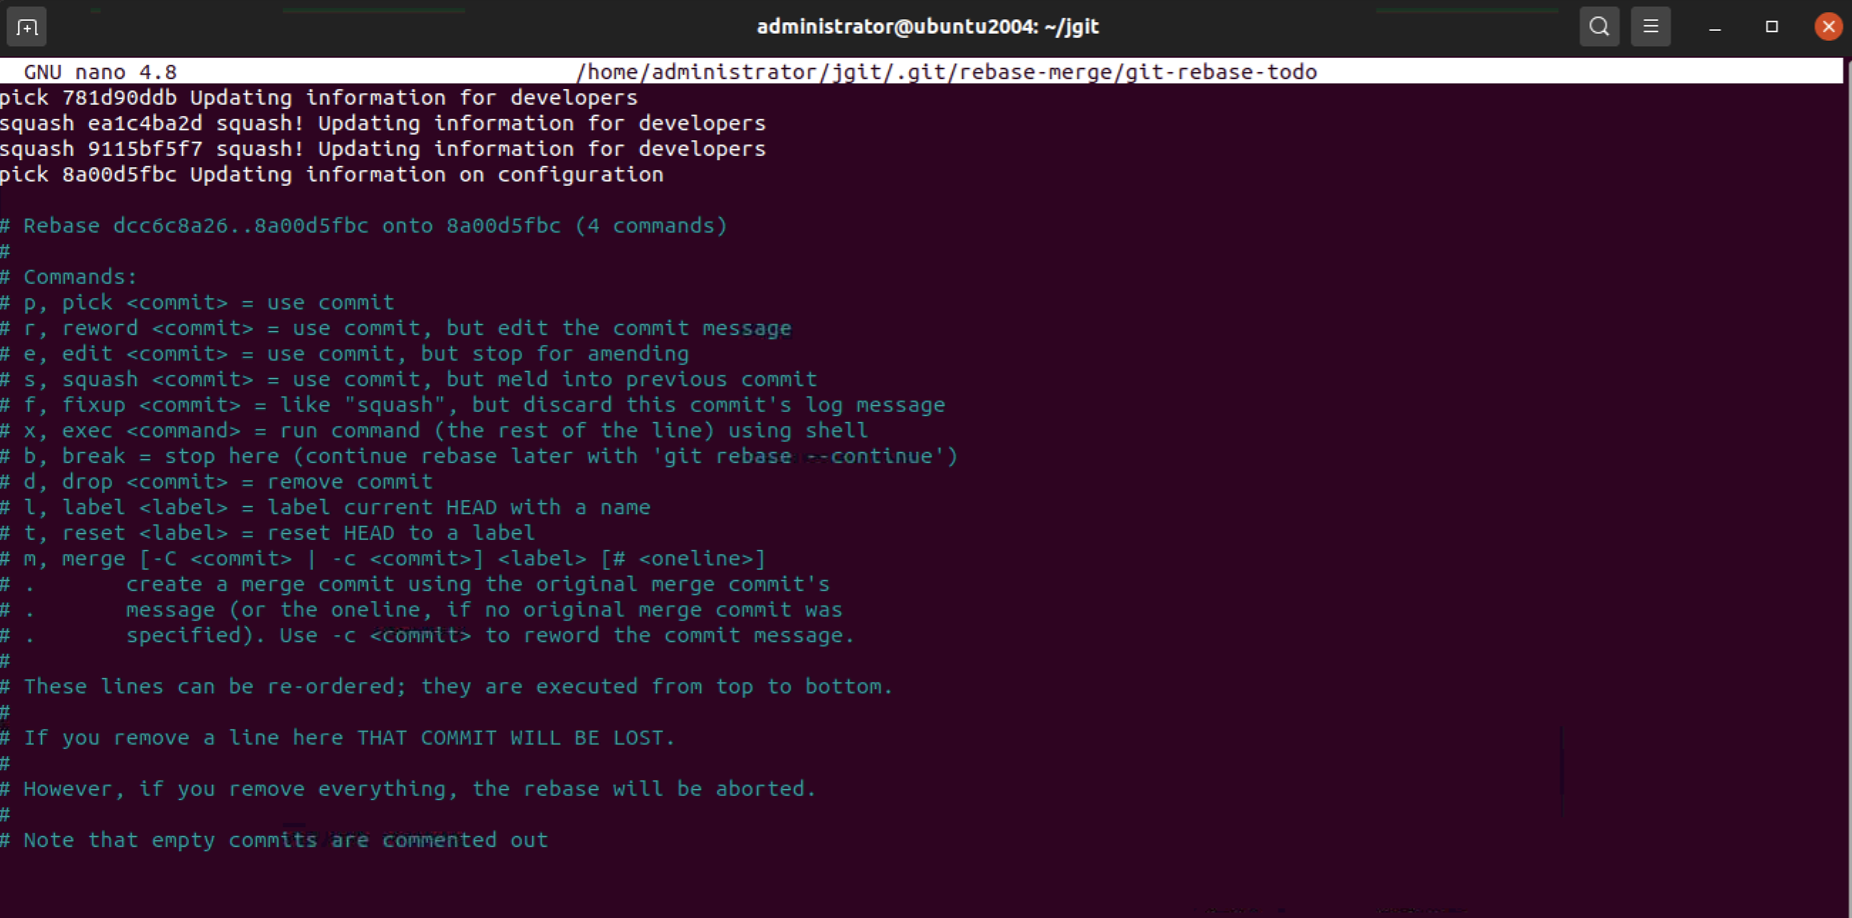
Now, the rebase's to-do list looks much more as we expected. Git has preconfigured the to-do list to show which commits it will squash and which commits it will keep.
Step 11 : Closing the to-do list now will start the rebase, and we don't want that (the next step will show what we really want). If you clear the to-do list (deleting all lines), save and close the editor, the rebase will be aborted. This is what we want. The output will be as follows:

Step 12 : What we really want to do is just run git rebase -i and Git will use --autosquash as the default. This can be achieved with git config rebase.autosquash true; try it and then run git rebase -i:
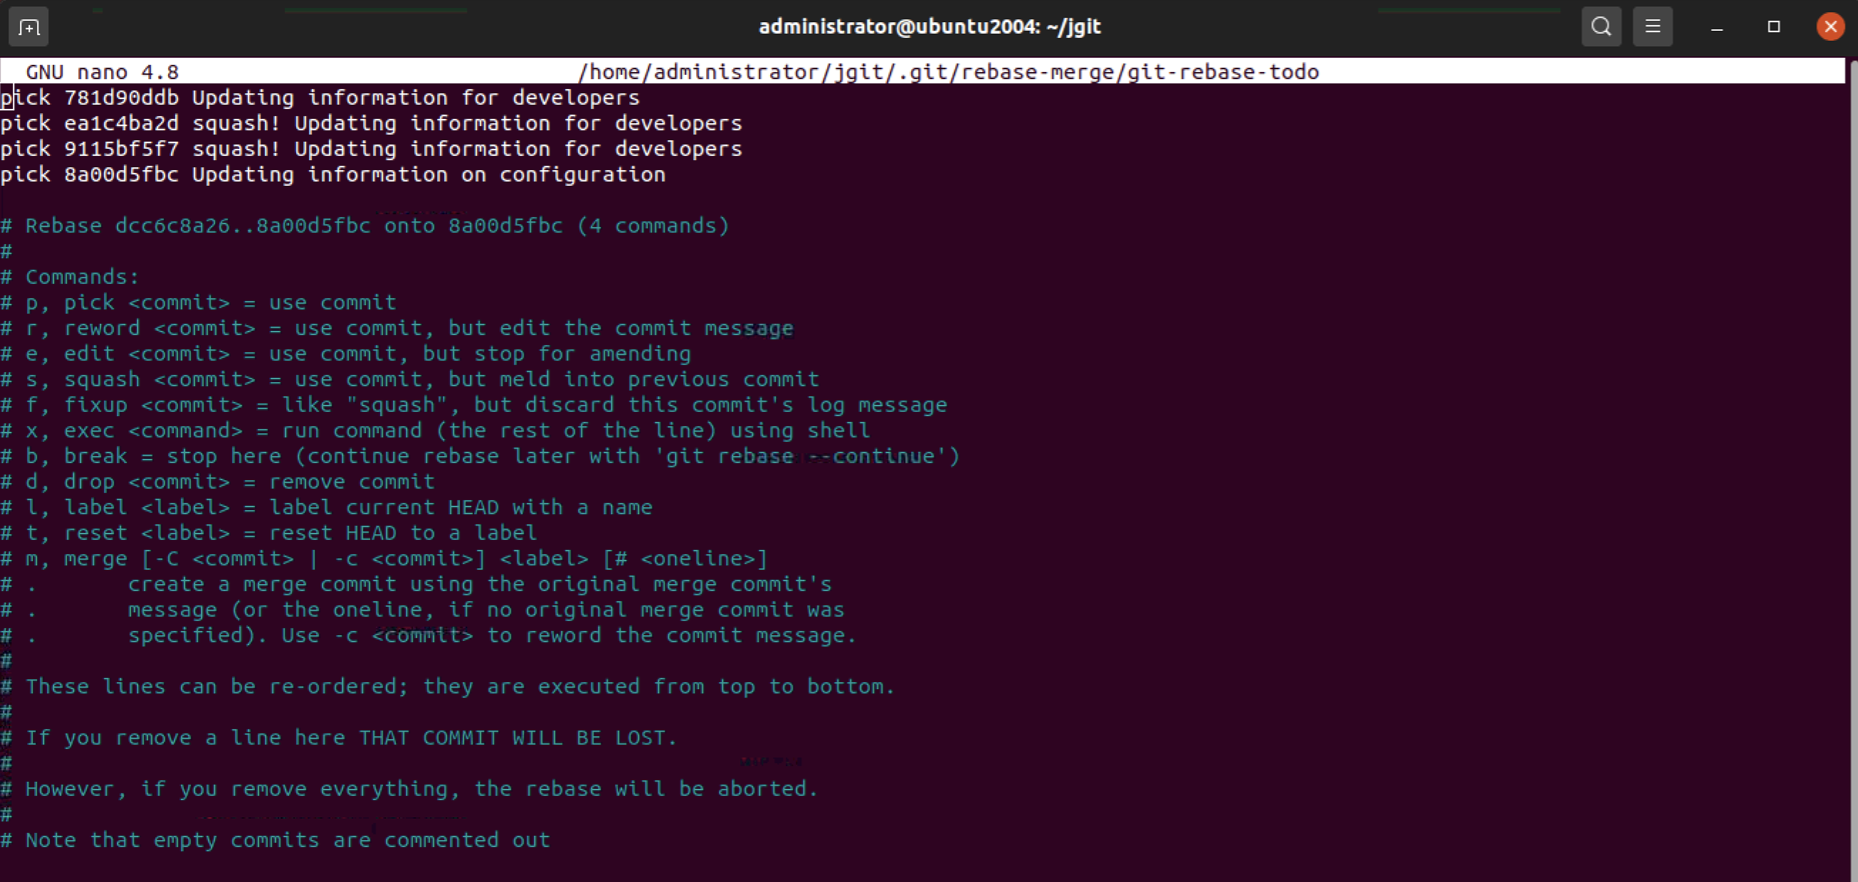
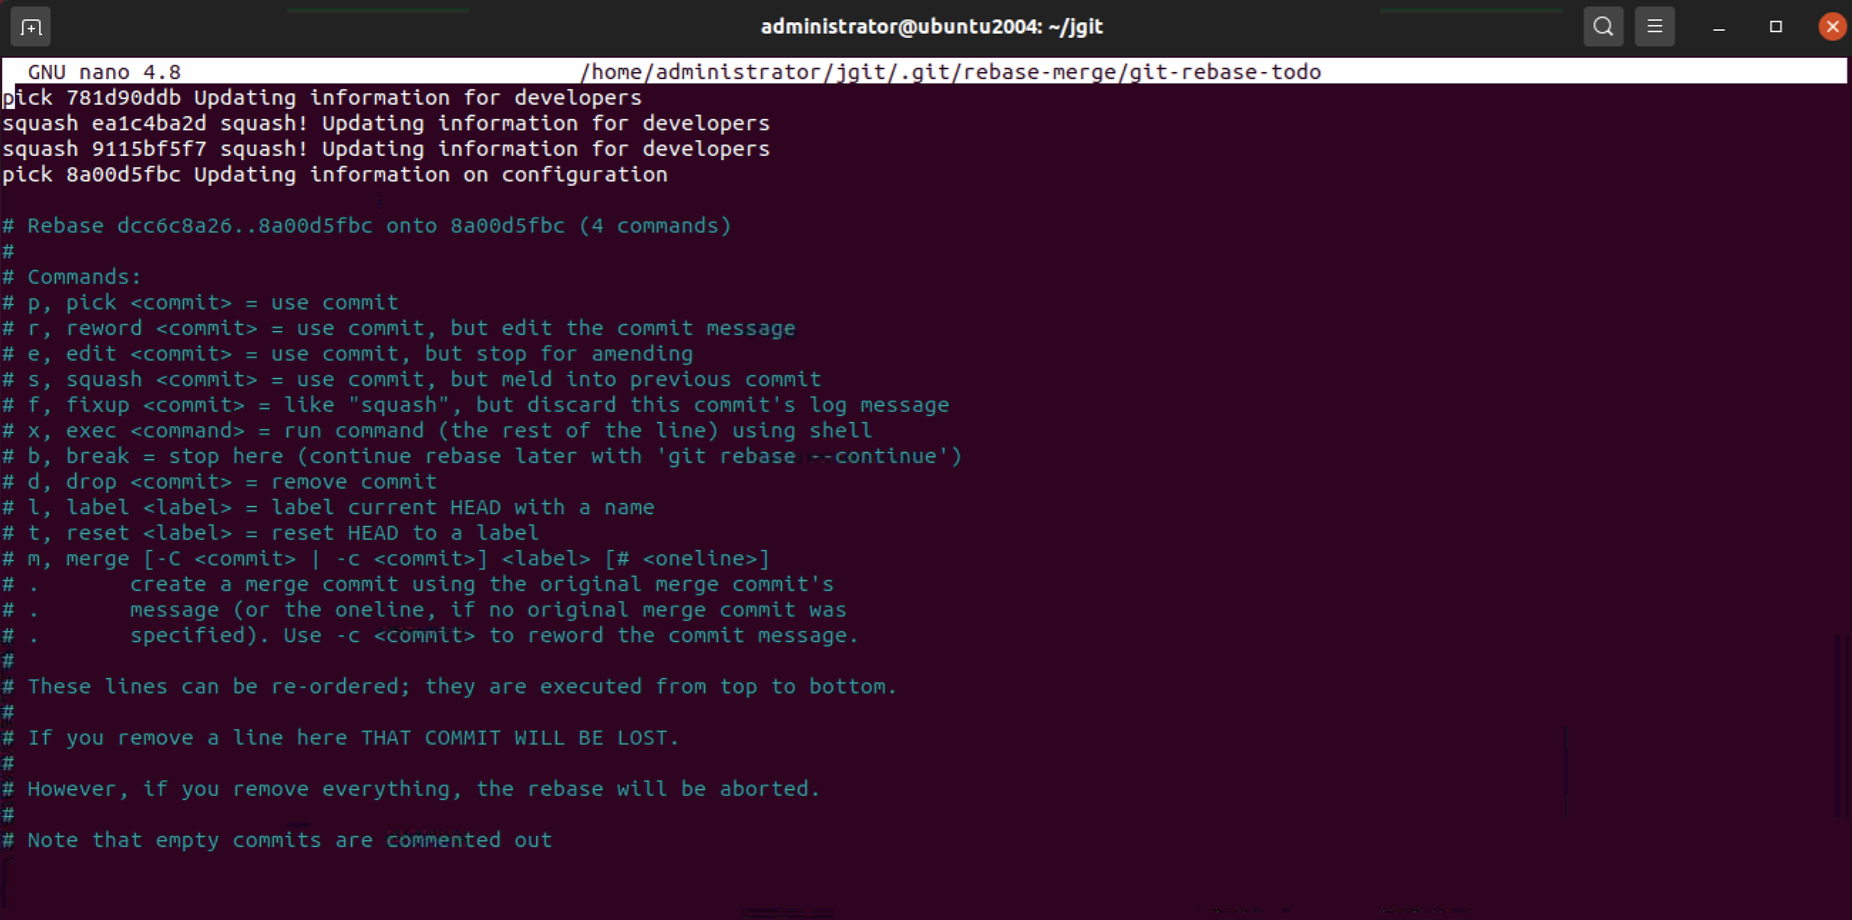
Step 13 : The rebase's to-do list pops up, and we have the expected result as follows:
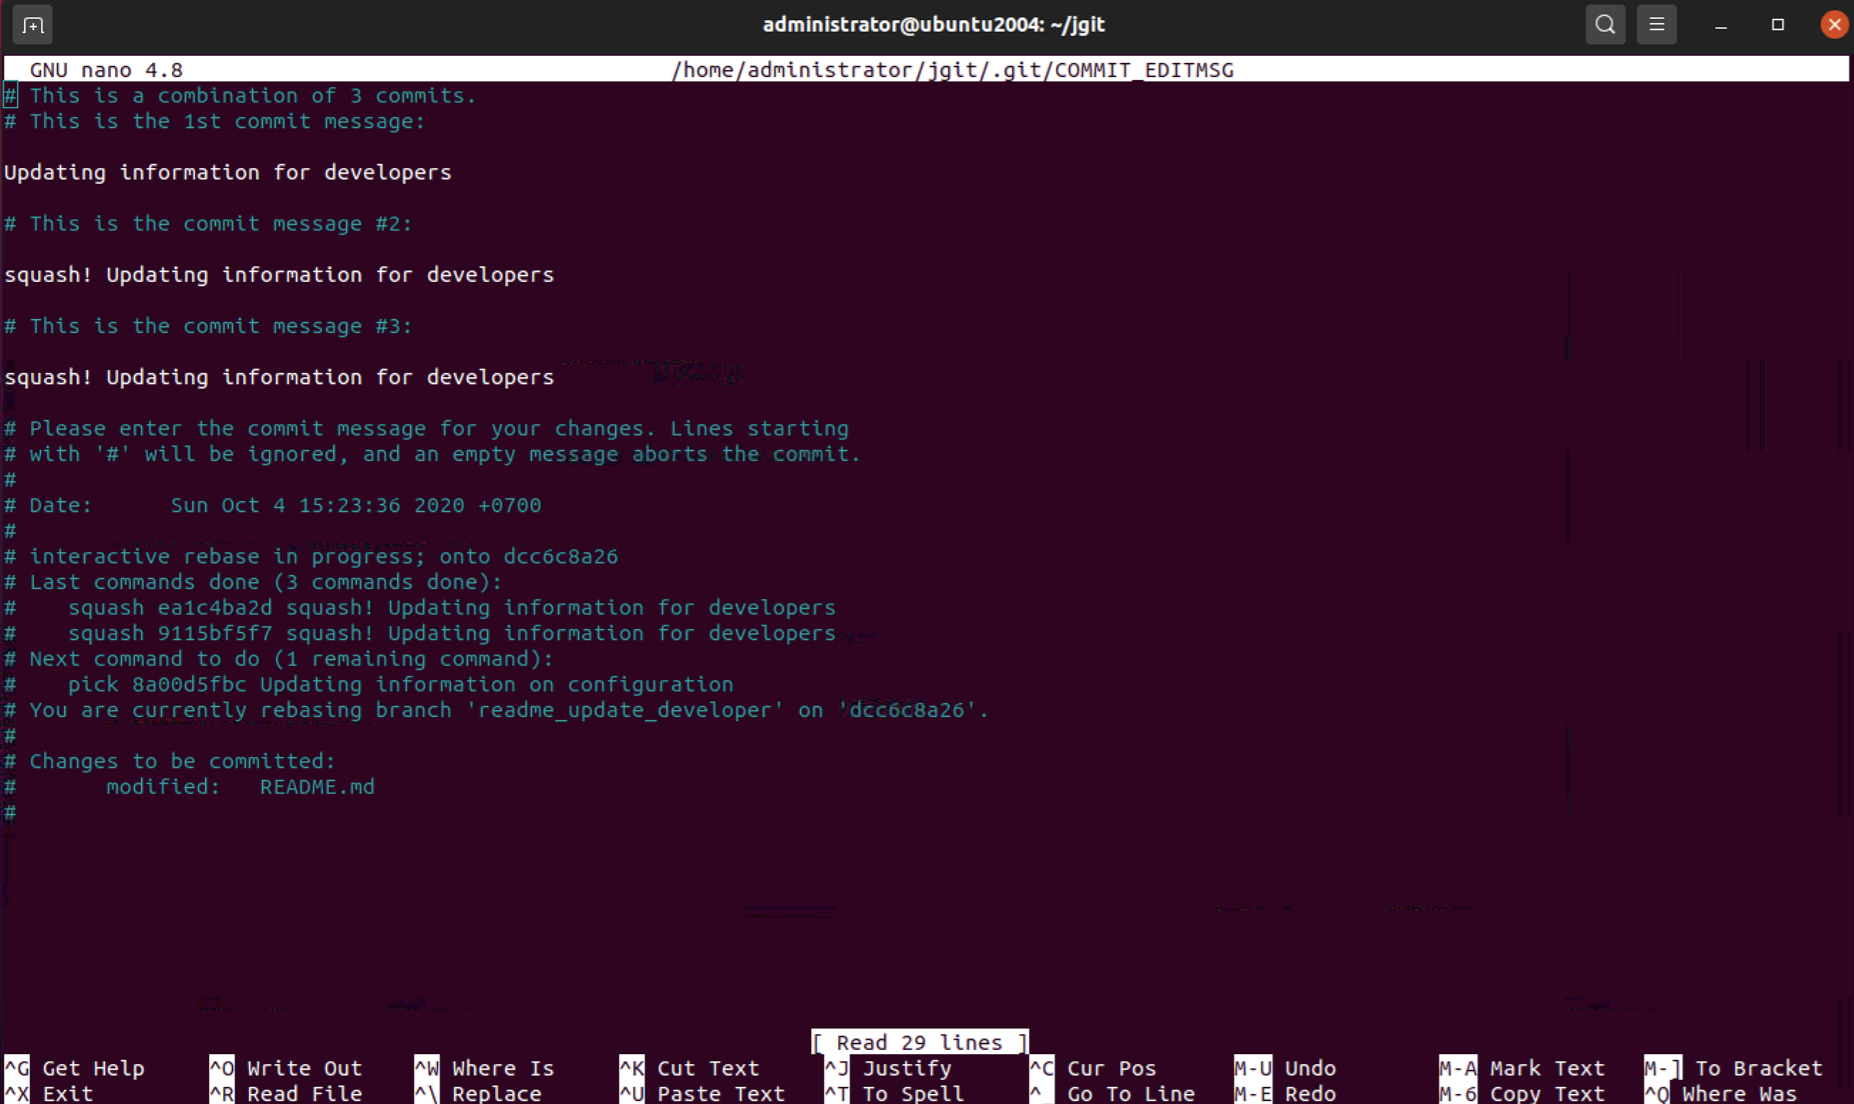
Step 14 : Now close the editor and allow the rebase to start. The editor opens and you can change the commit message for the combined message, as shown in the following command:
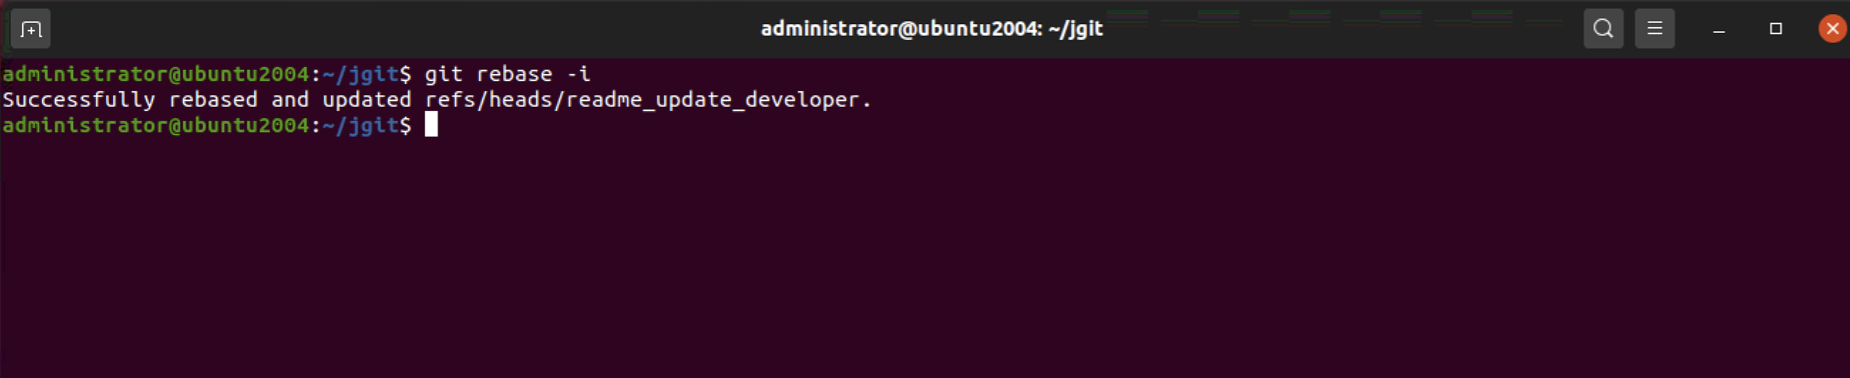
Step 15 : Modify the message and close the editor; Git continues with the rebase and ends with the following message:

As expected, we now have two commits on top of the origin/master commit.