We will add some extra information to the already released code. If we were doing it in the actual commits, we would see the commit hashes change.
Step 1 : Before we start, we need a repository to work in; you can use the previous clone of jgit, you can clone the jgit repository as follows:
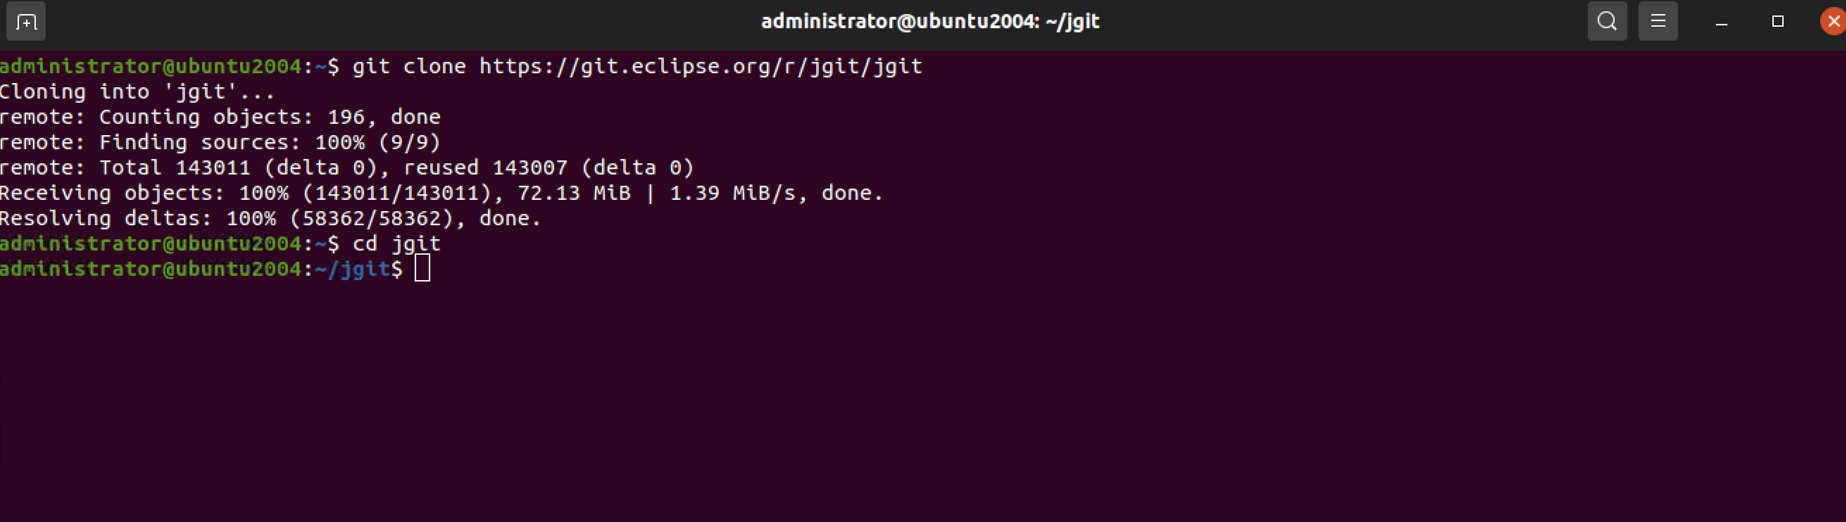
Step 2 : Checkout the branch notesMessage tracking origin/stable-3.2

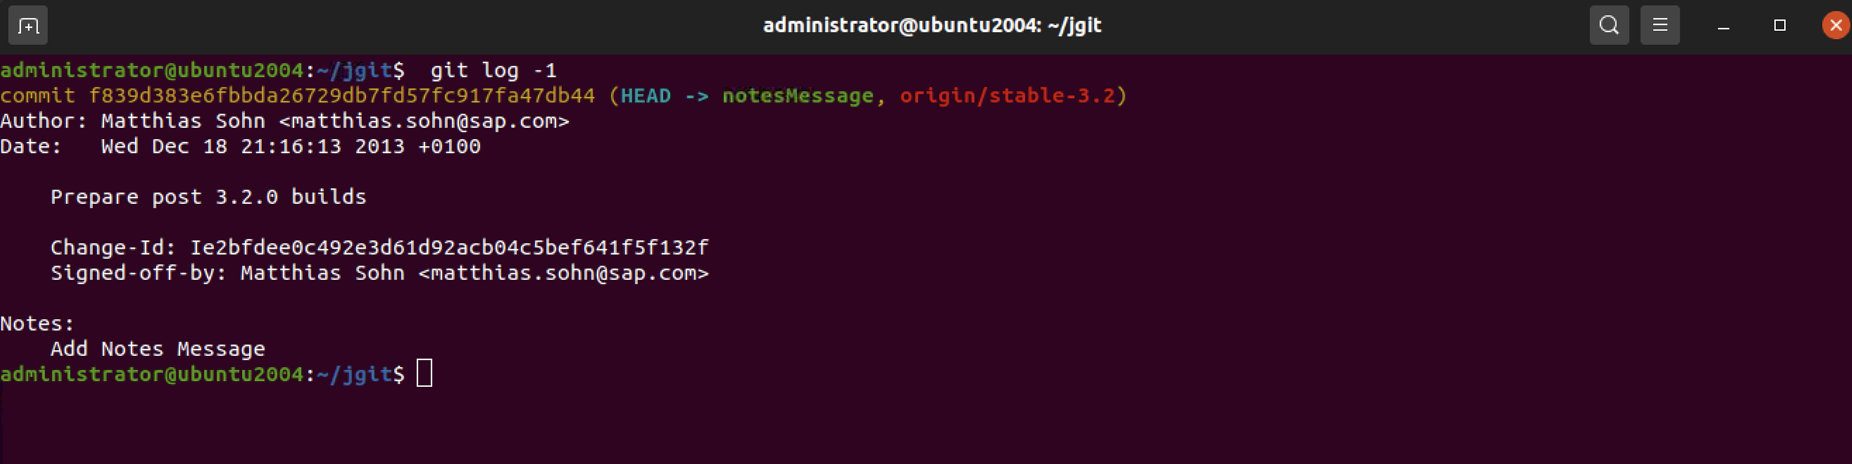
Step 3 : List the commit hash of the HEAD of your branch:

Step 4 : Change the commit message by amending the commit using git commit --amend, and, following that, add a line above the Change-Id: line with Update MANIFEST files:

Step 5 : Now, we list the commit again and see that the commit hash has changed:
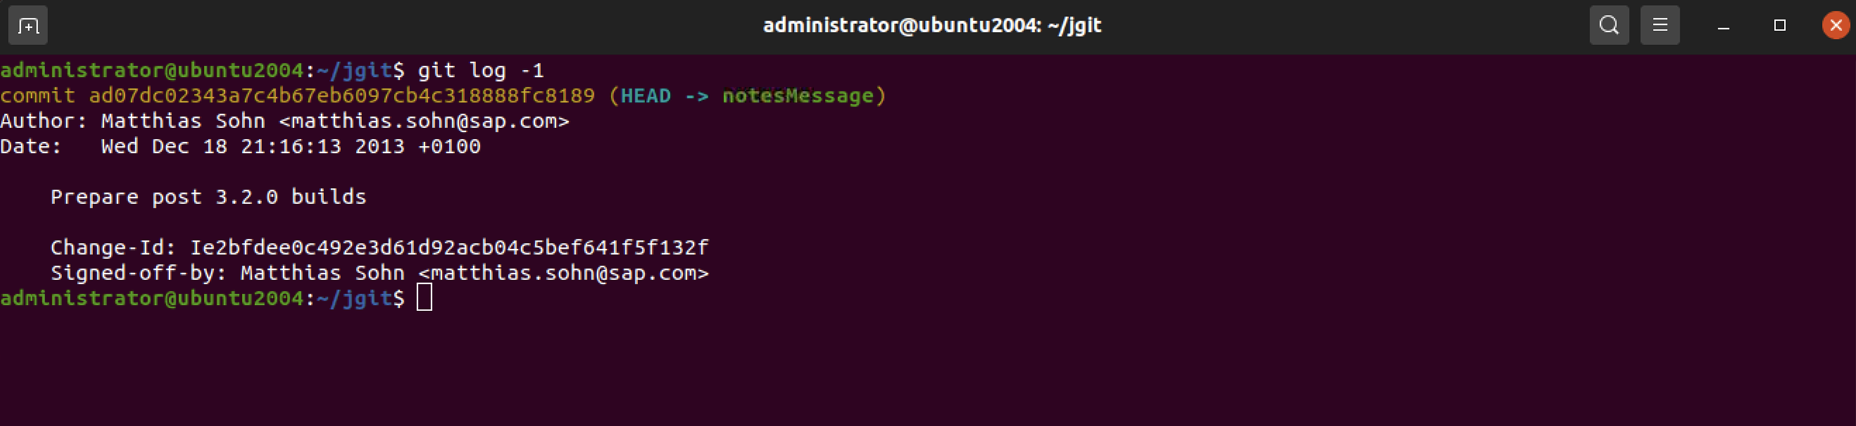
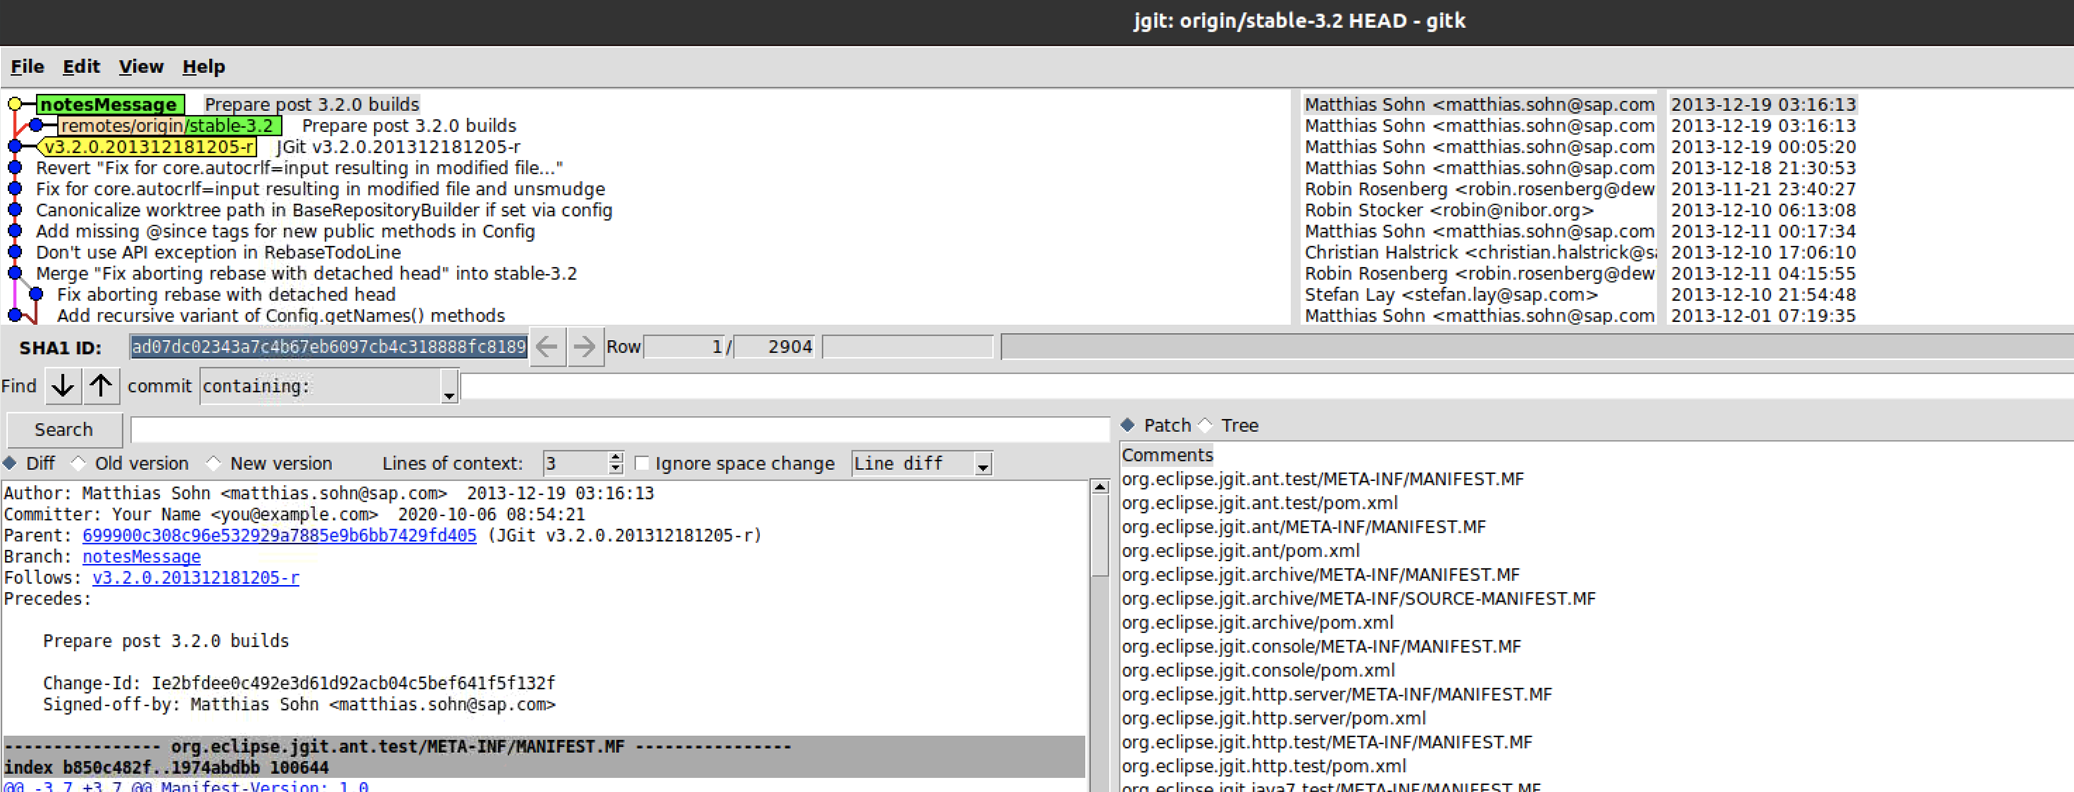
Step 6 : Notice that the commit parts have changed from f839d383e6fbbda26729db7fd57fc917fa47db44 to ad07dc02343a7c4b67eb6097cb4c318888fc8189, as the commit is derived from the content in the commit, the parents of the commit, and the commit message. So, the commit hash will change when updating the commit message. Since we have changed the content of the HEAD commit, we are no longer based on the HEAD commit of the origin/stable-3.2 branch. This becomes visible in gitk and git status:
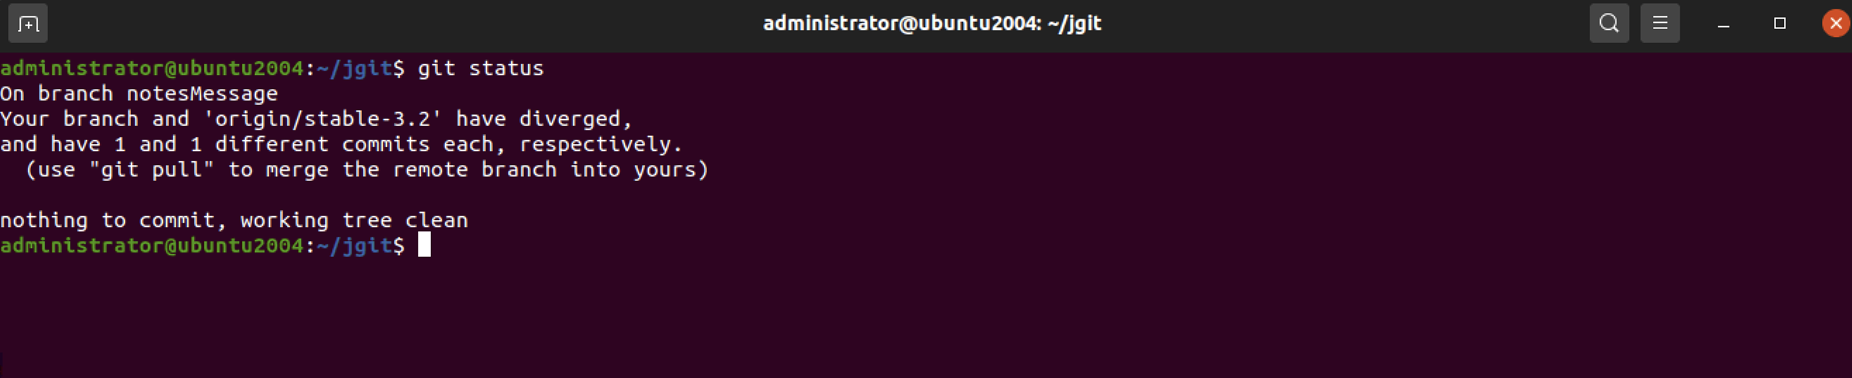
Step 7 : As you can see from the output, our branch has diverged from origin/stable-3.2; this is also visible from gitk. Note that we can specify which branches and commits we want to see with gitk. In this case, we want to see origin/stable-3.2 and HEAD:
Step 8 : To prevent this result, we can add a note to the commit message. Let's start by resetting the branch to origin/stable-3.2 and then adding a note to the commit:

Step 9 : Now, add the same message as the previous one, but just as a note:

Step 10 : We have added the note directly from the command line without invoking the editor by using the -m flag and then a message. The log will now be visible when running git log:
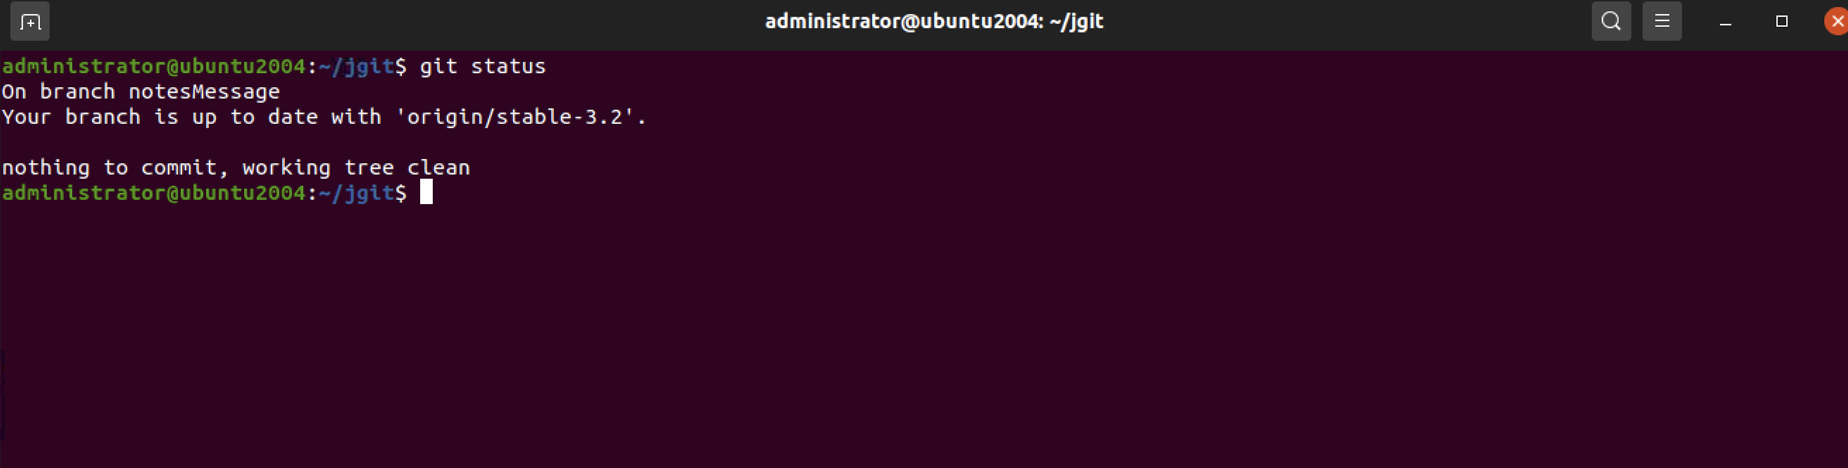
Step 11 : As you can see from the log output, we have a Notes: section with our note. Although it does not add the note directly in the commit message as the --amend option does, we still have our important addition to the commit message. We can verify with git status that we have no longer diverged:
Step 12 : you have your notes for your commit and now you want to add to them. You have the option to append, edit, or force the note to be created. Start by trying to add the note again with additional information:

Step 13 : As predicted, we cannot add the note but we can do it with the -f flag:

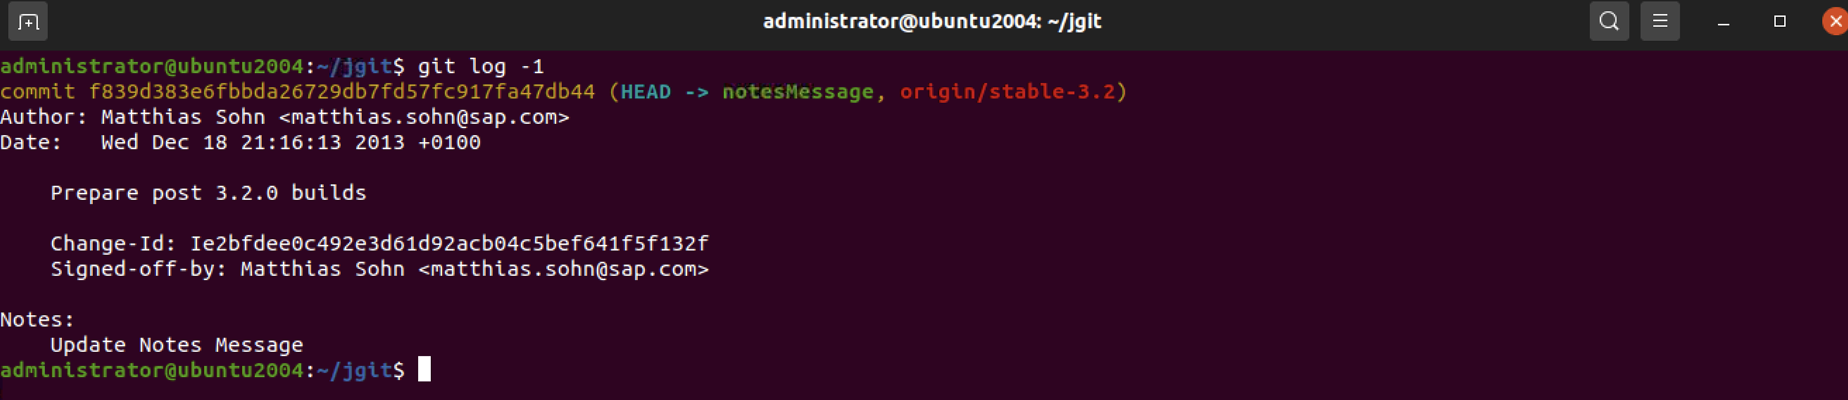
Step 14 : Git overwrites the existing notes due to the -f flag. You can also use --force, which is the same. Verify it with git log:
Step 15 : You can also append a current note with git notes append:

Step 16 : You can verify this by using git log again.
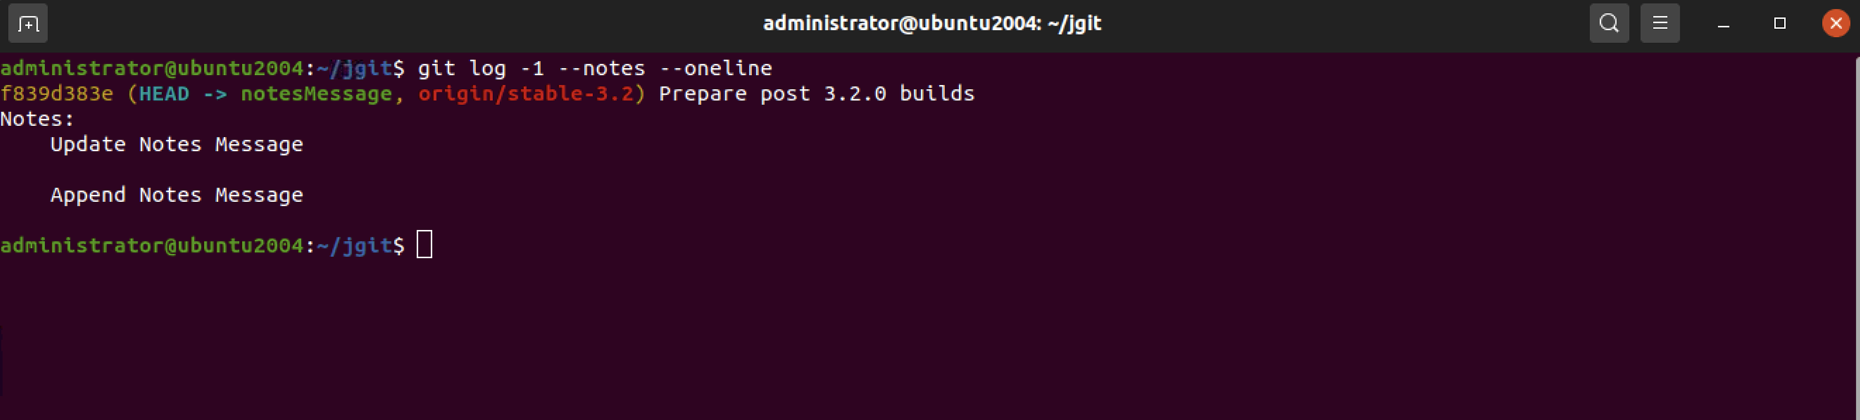
Step 17 : As we can see from the output, we have the line appended to the note. If you try to use the edit option, you will see that you can only use this with the -m flag. This makes good sense, as you should edit the note and not overwrite or append an already created note:

Git rejects editing the note and mentions other ways of doing it. The git notes add and git notes edit commands without any arguments will do exactly the same, that is, open the configured editor and allow you to write a note to the commit.