To install phpMyAdmin on Fedora 39 and integrate it with Apache, follow the steps below.
Step 1 : Begin by ensuring your system is up-to-date. Open a terminal and run the following command:

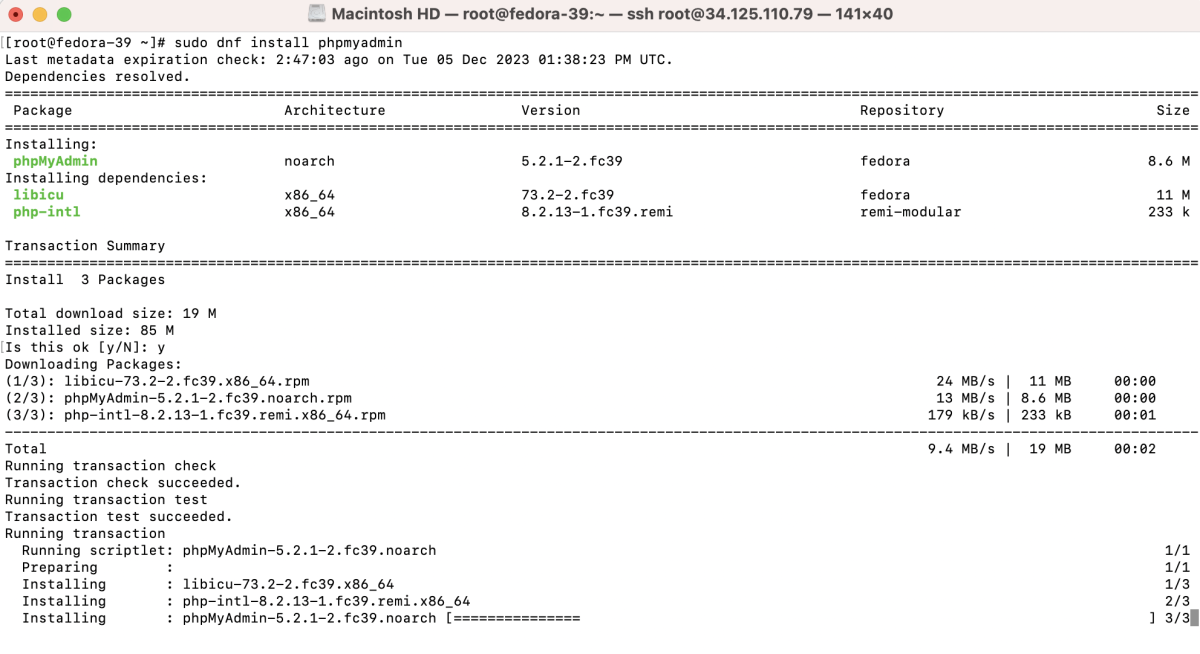
Step 2 : Next, install phpMyAdmin using the DNF package manager:
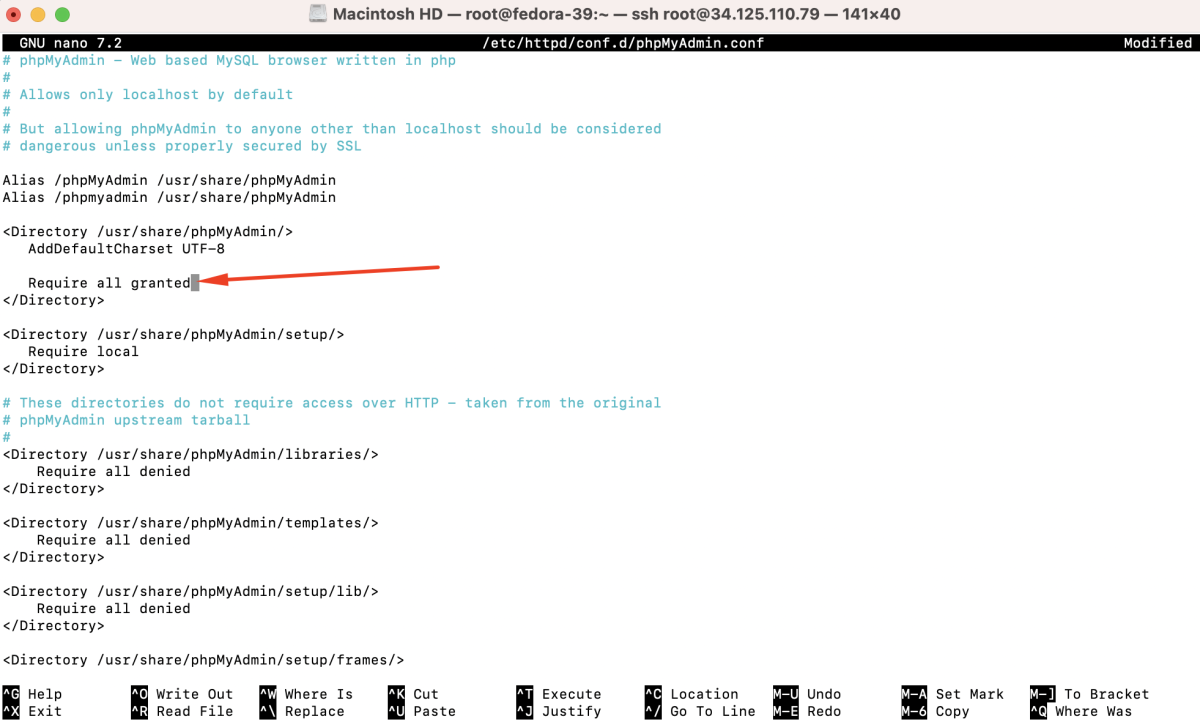
Step 3 : Modify phpMyAdmin Configuration
Open the phpMyAdmin configuration file in a text editor. In this case, we'll use the following command to open the file:

Within the file, locate the line that contains "Require local" and change it to "Require all granted". Save the changes and exit the text editor.
Step 4 : After phpMyAdmin installation, restart the Apache web server to apply the changes:

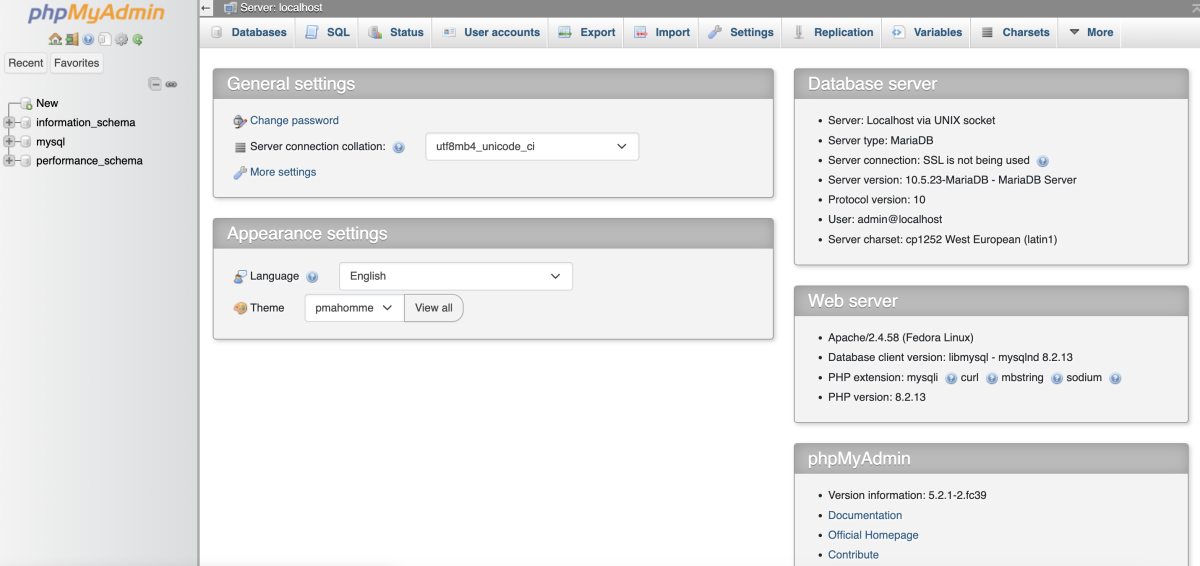
Step 5 : Access phpMyAdmin
After installation, phpMyAdmin should be accessible via your web browser. Open a browser and enter the following URL:
Replace "your_server_ip" with the actual IP address or domain name of your server.

Log in using your MySQL/MariaDB credentials, and you should have access to the phpMyAdmin interface.
Congratulations! You have successfully installed phpMyAdmin on Fedora 39 and configured it to work with Apache.