How to Use MySQL from the Command Line on Ubuntu Server 20.04
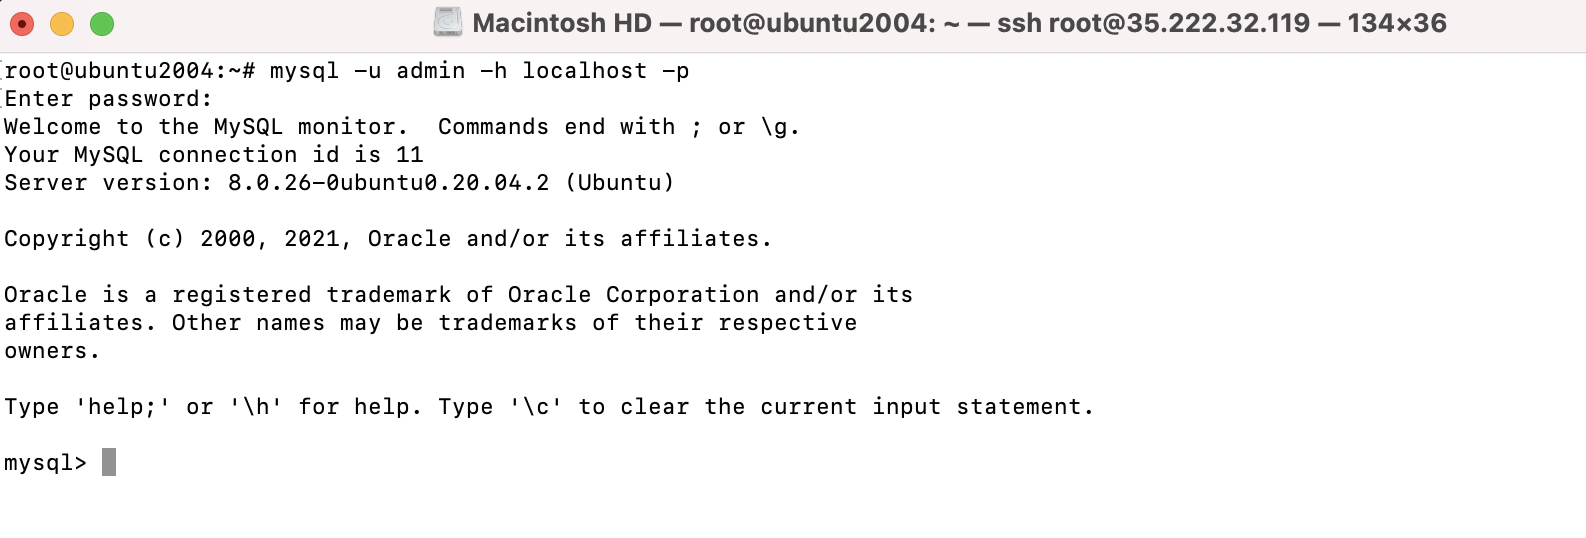
Step 1 : First, we will need to connect to the MySQL server
mysql -u admin -h localhost -p
Replace admin with a user account on the MySQL server
Step 2 : Enter the password for the admin account
Step 3 : Create a database with the following query.
mysql> create database blog;
Step 4 : Check all databases with a show databases query.
mysql> show databases;
Step 5 : Select a database to work with
mysql> use blog;
Step 6 : Create a table to store our data. Use the following query to create a table
mysql> CREATE TABLE `persons` (
`id` int(11) NOT NULL AUTO_INCREMENT,
`last_name` varchar(255) NOT NULL,
`first_name` varchar(255) NOT NULL,
`address` varchar(255) NOT NULL,
`city` varchar(255) NOT NULL,
PRIMARY KEY (`id`)
) ENGINE=InnoDB AUTO_INCREMENT=1;
Step 7 : You can check tables with the show tables query
mysql> show tables;
Step 8 : let’s insert some data in our table.
mysql> INSERT INTO `persons` (`id`, `last_name`, `first_name`, `address`, `city`)
VALUES (NULL, 'Santos', 'Matt', 'Kelley Road', 'Gulfport');
Step 9 : The following query will select all records from the articles table
mysql> Select * from persons;
Step 10 : Retrieve the selected records from the table
mysql> Select * from persons where id = 1;
Step 11 : Update the selected record
mysql> Update persons set last_name="New last_name" where id=1;
Step 12 : Delete the record, using the following command
mysql> Delete from persons where id = 1;