You need to set up an NGINX server on the Google Cloud Console to create a Linux Virtual Machine using Google Compute Engine. This provides unlimited access to the NGINX web server via the cloud-hosted OS.
The first step is using the Google Compute Engine to set up a Linux Virtual Machine on the Google Cloud Console. Once you’ve done this, you’ll be able to make changes to the OS whenever needed. It’ll also launch a functional NGINX web server that you can use in combination with the new VM.
Step 1. Launch Google Cloud Console and log in.
Step 2. Select Compute on the primary menu. Then, select Compute Engine.
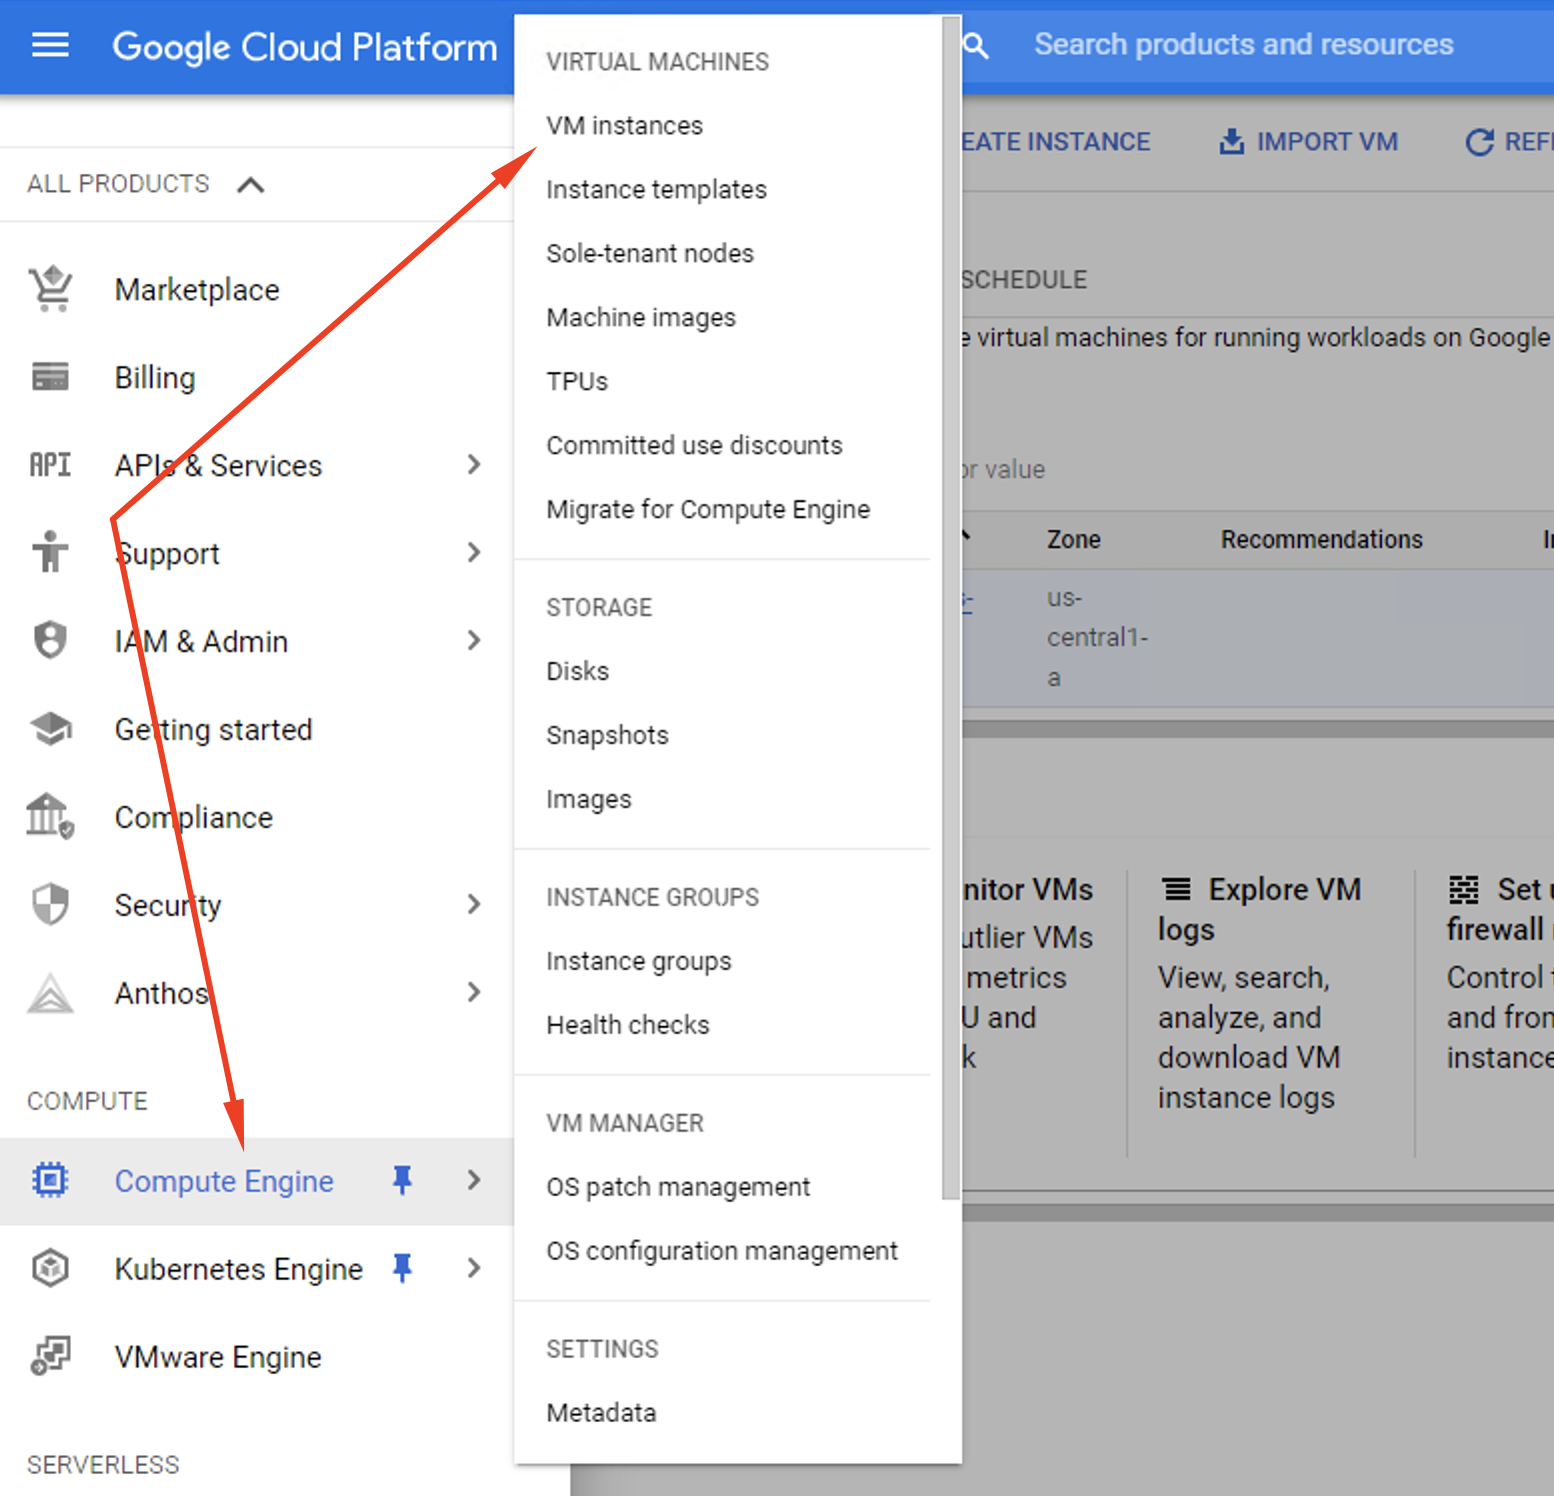
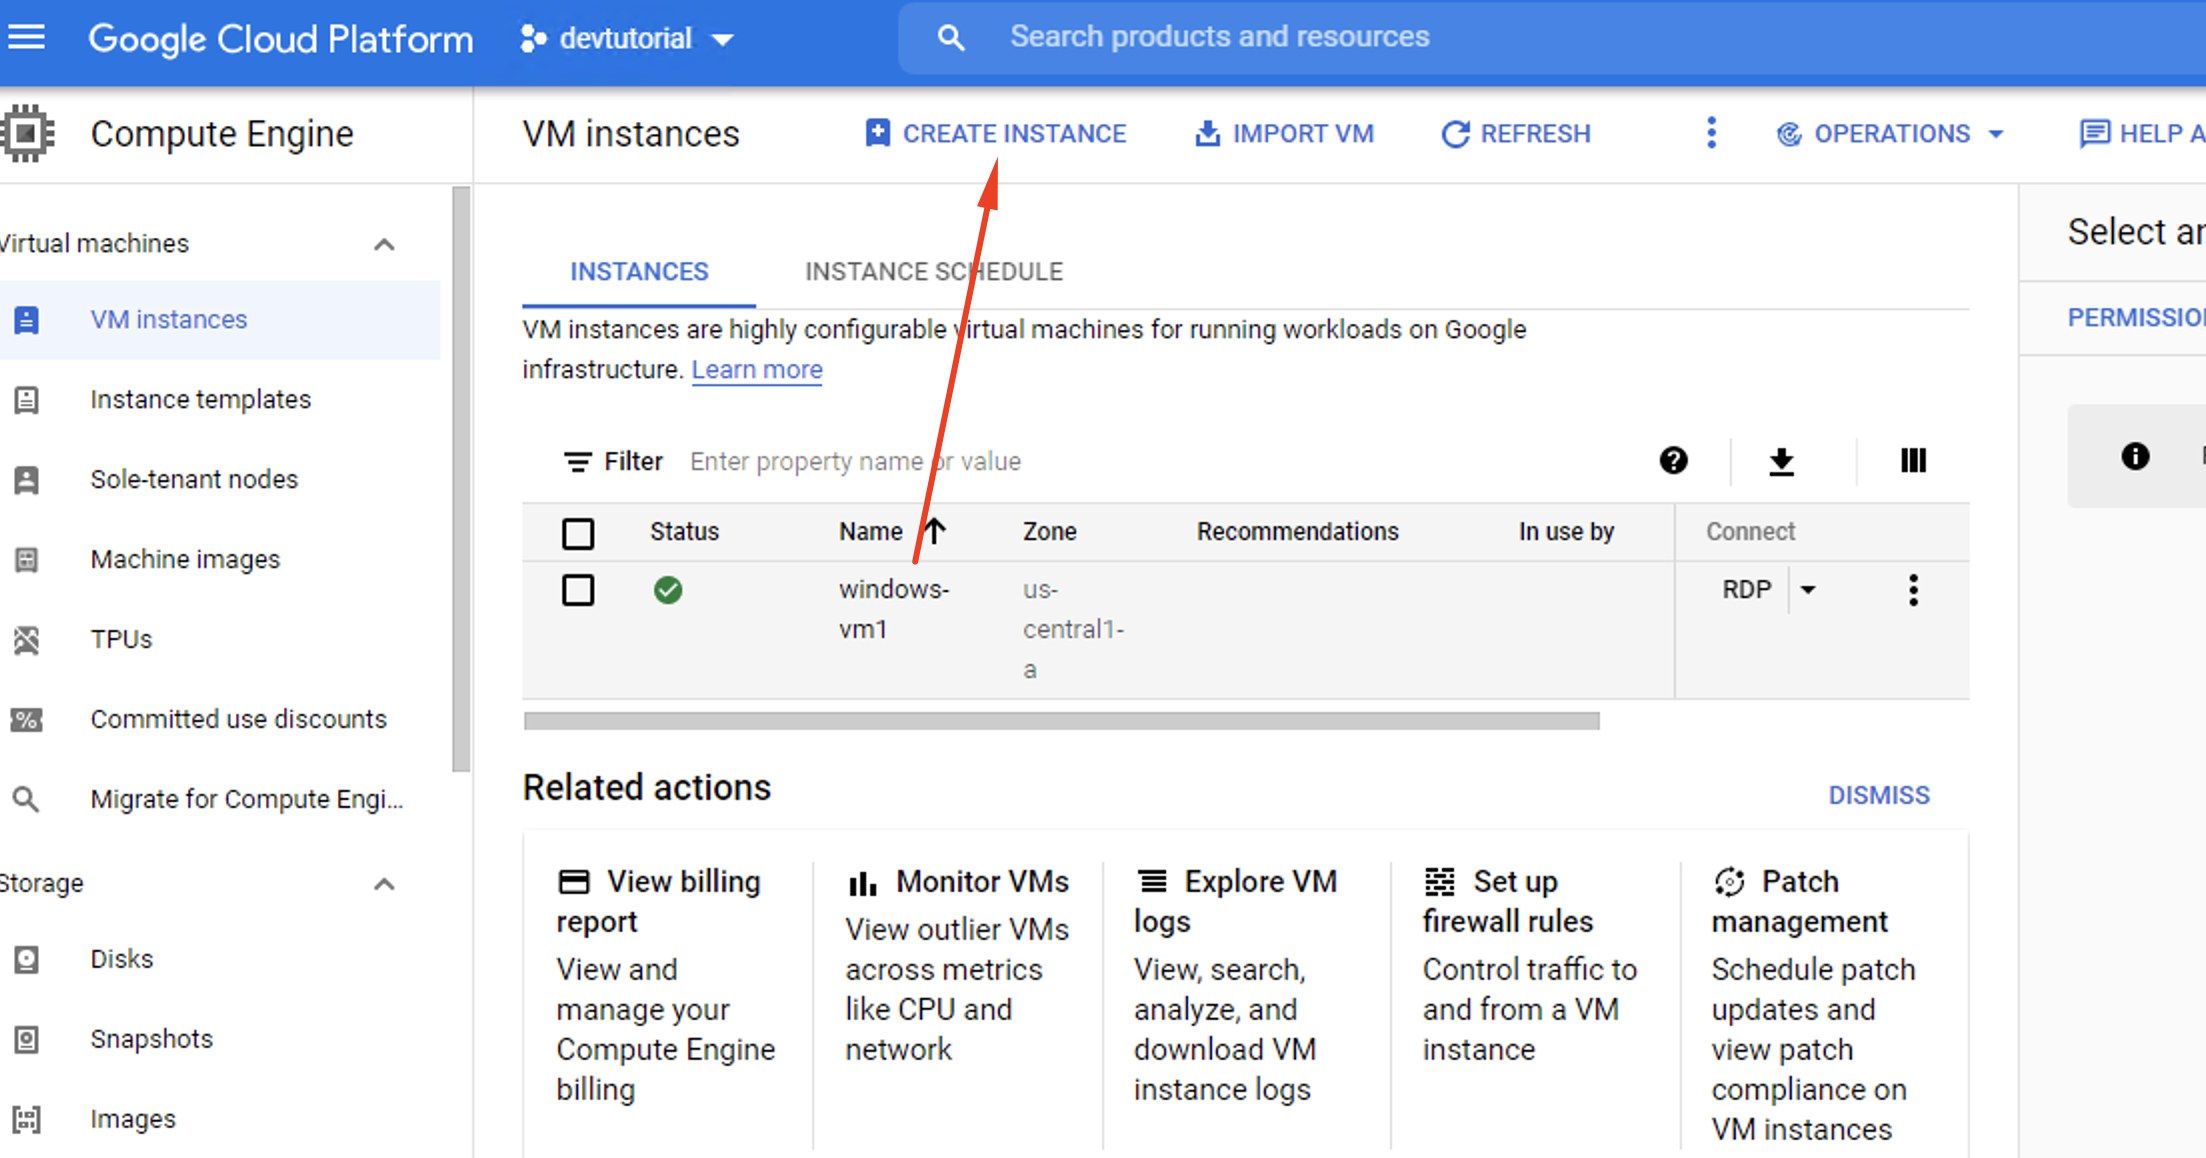
Step 3. In the next menu, find and click the option VM instances. Select Create.
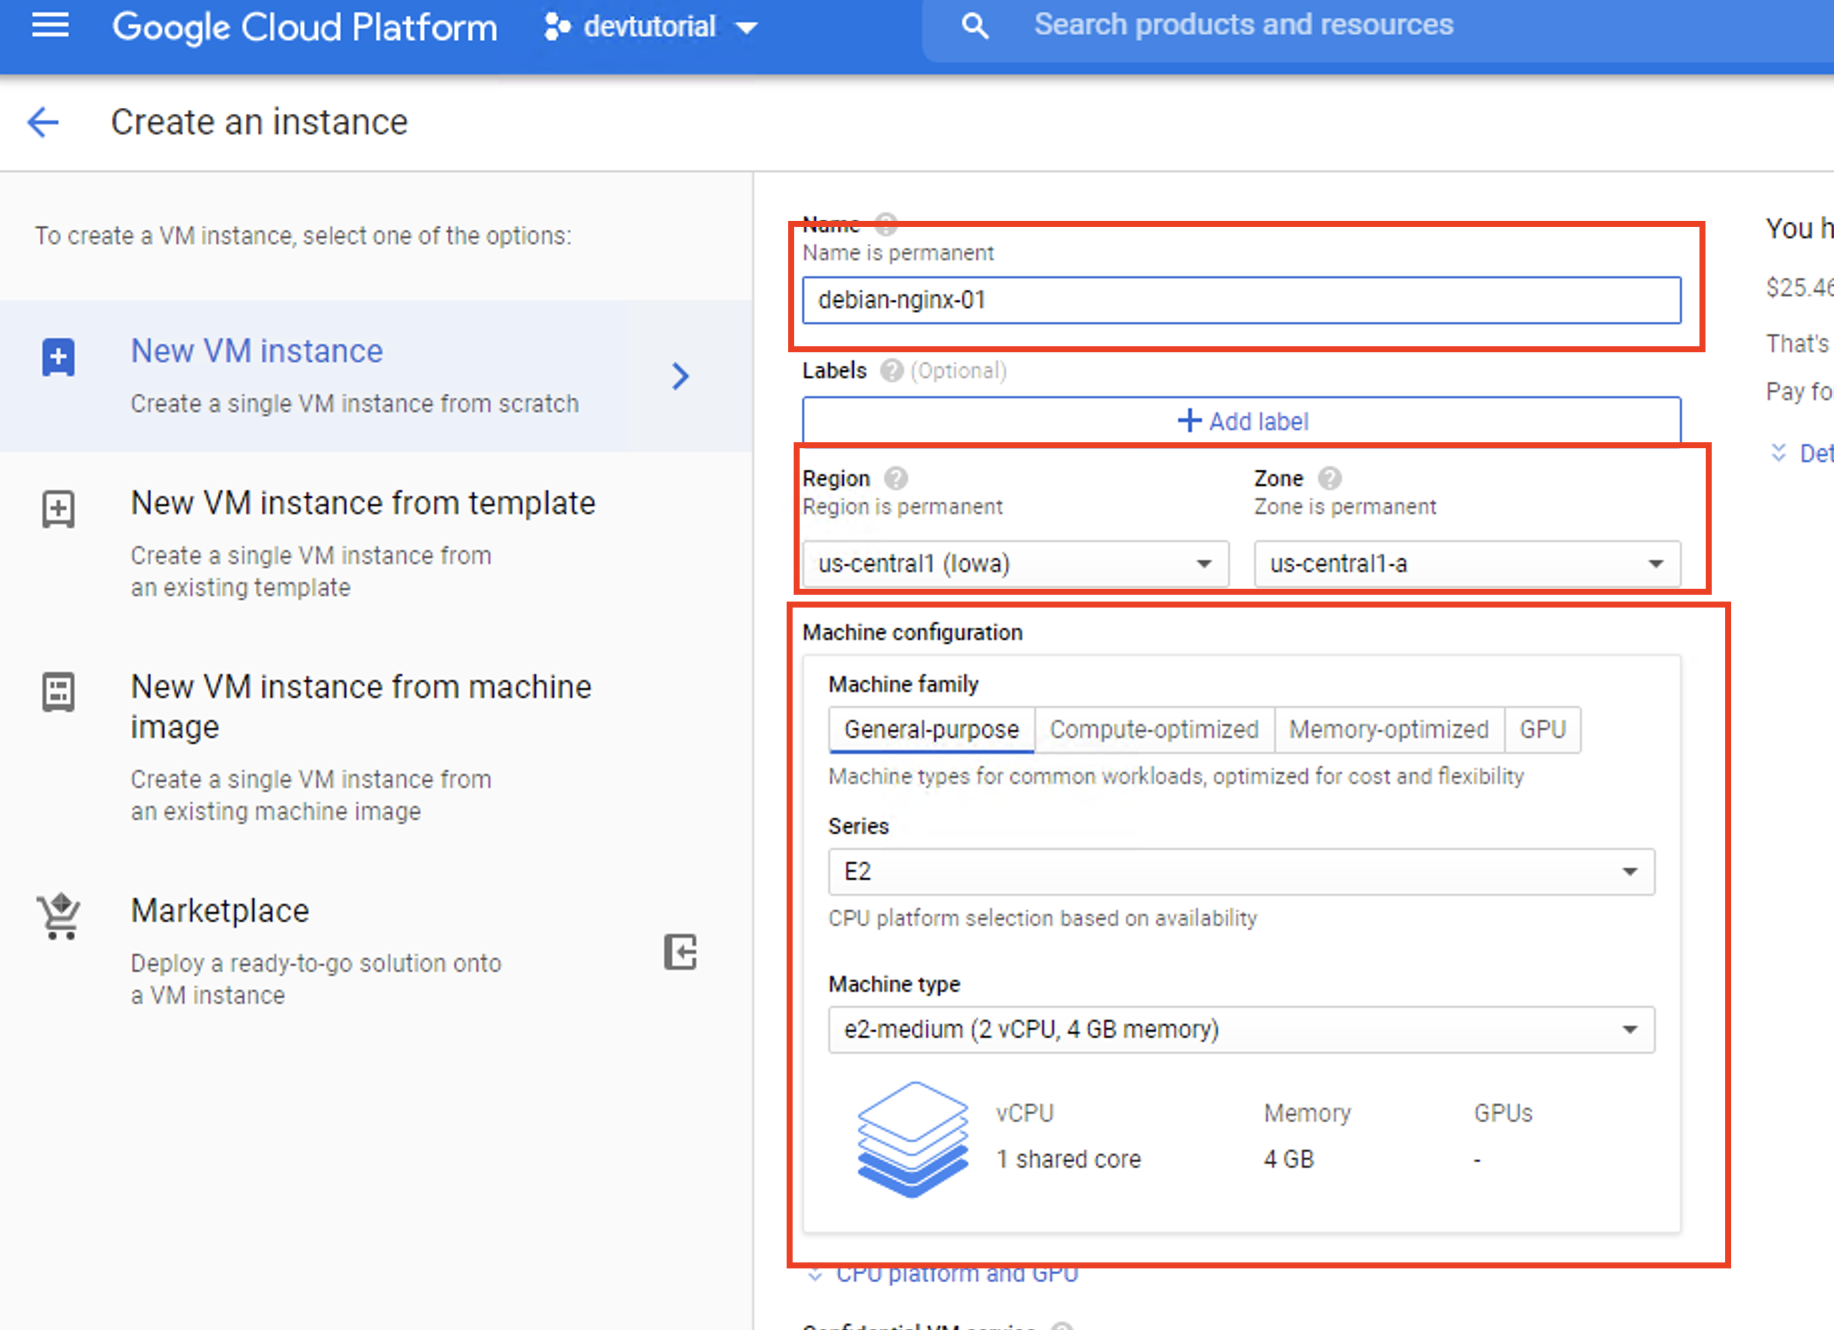
Step 4. Pick a name for your Virtual Machine.
Step 5. Select a Region and Zone for your Virtual Machine.
Step 6. Browse the Machine configuration options and pick one which suits your requirements. Or create a custom configuration if you know how.
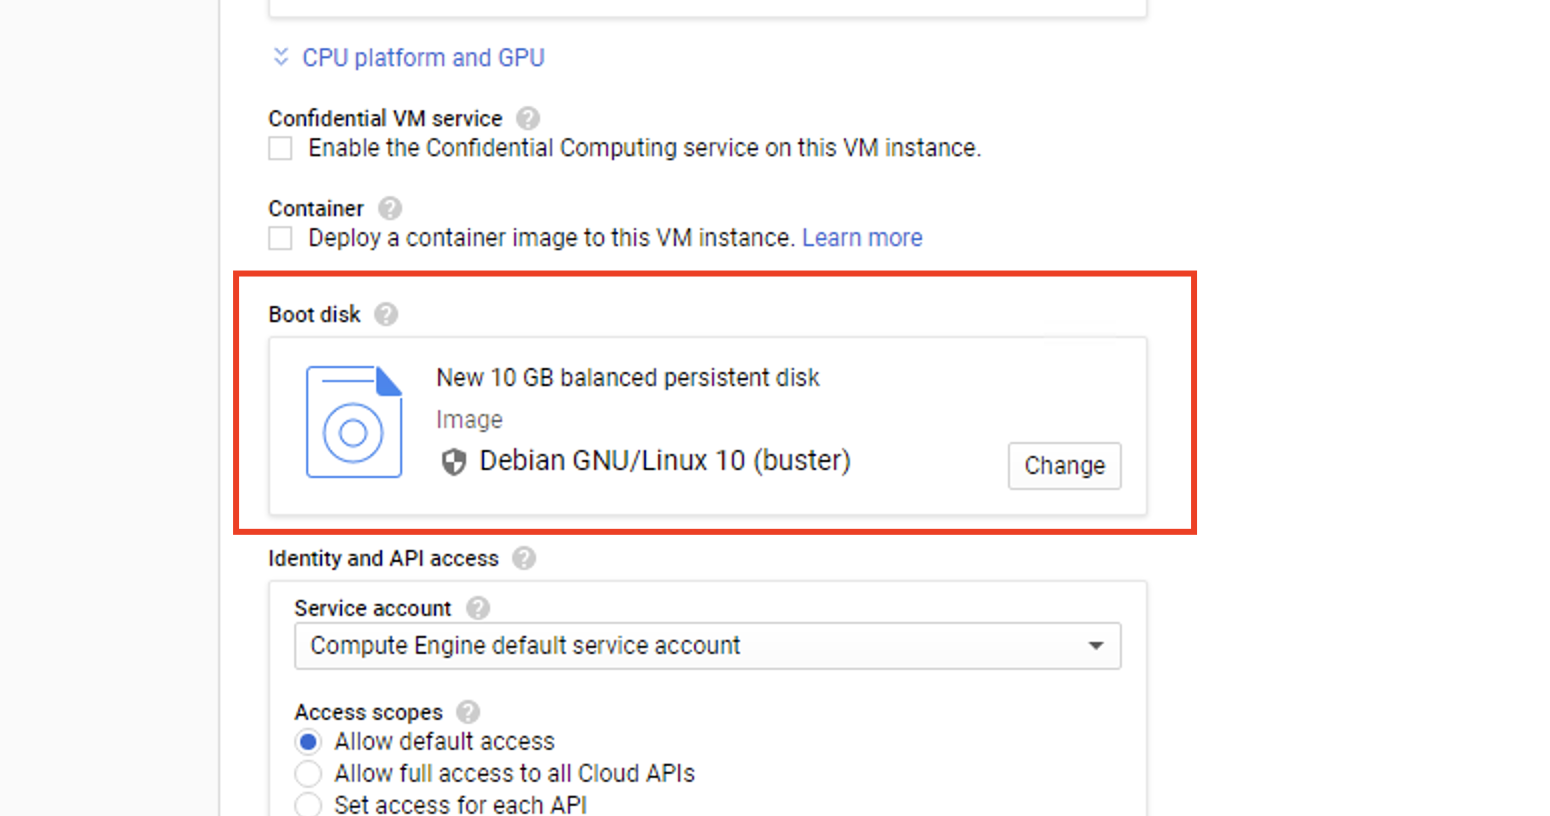
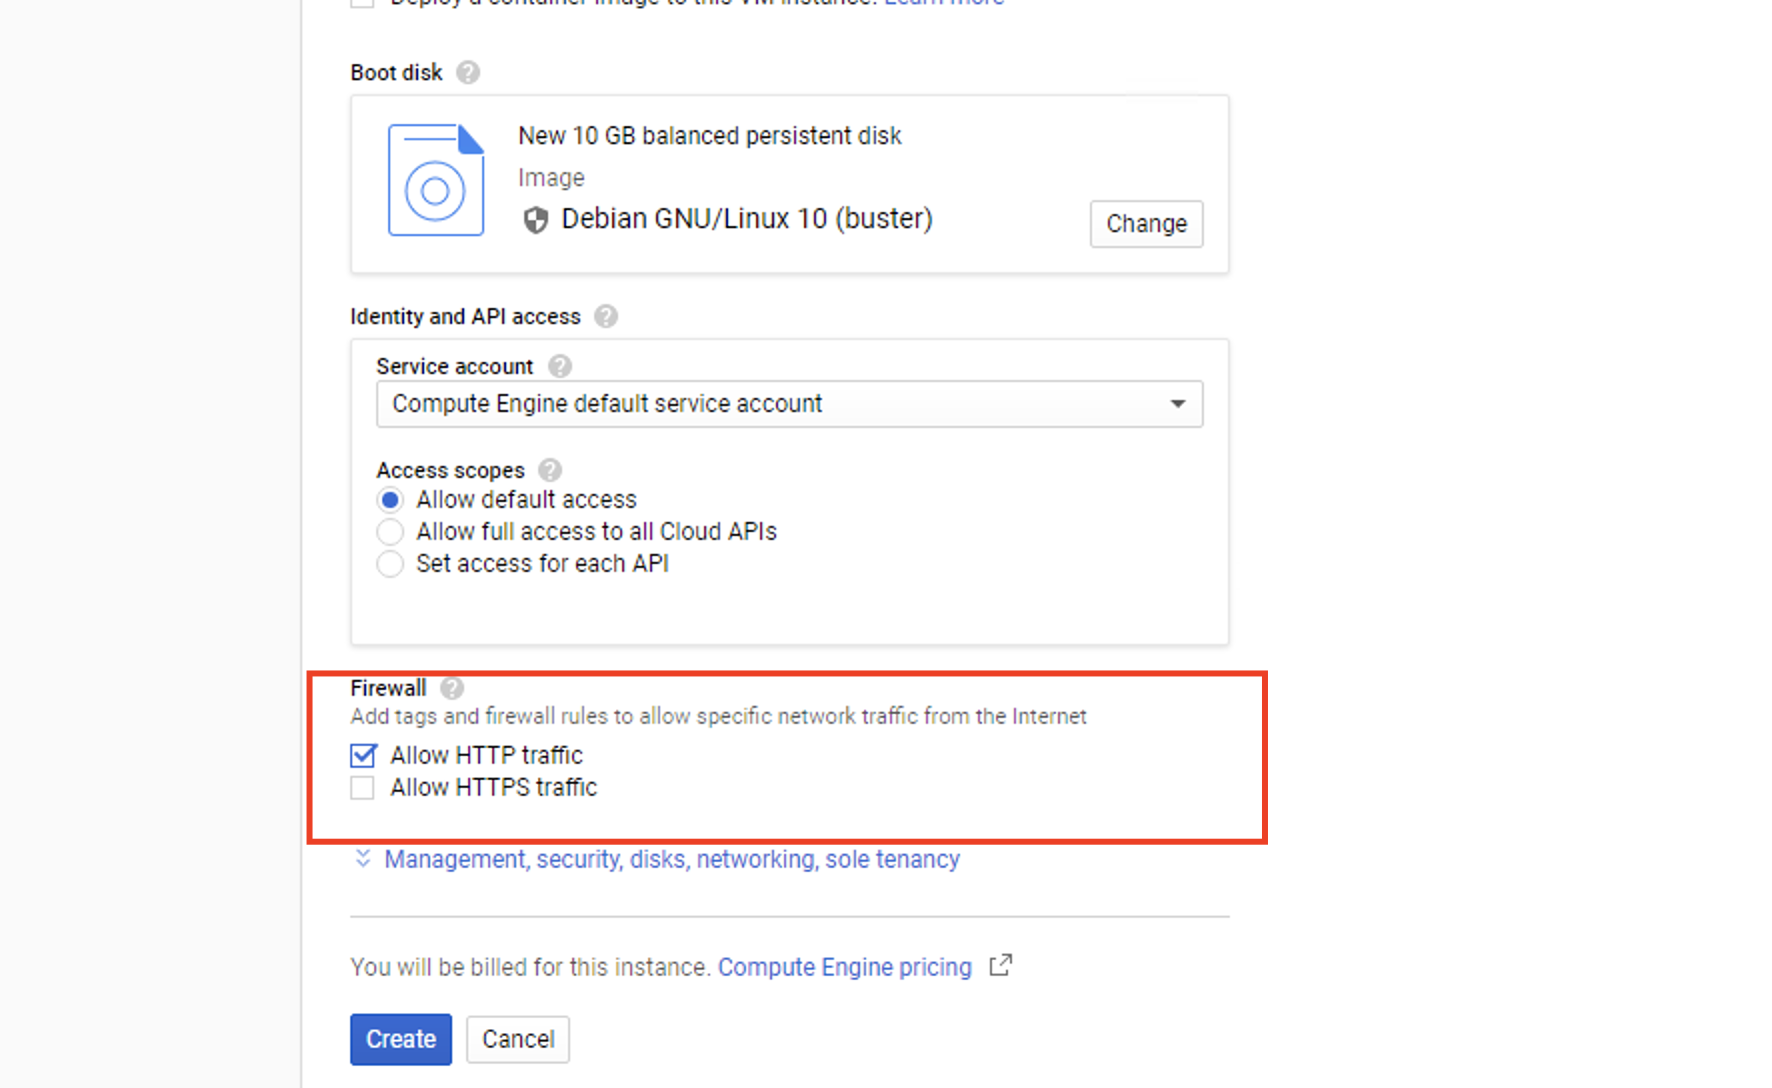
Step 7. Set the boot disk configuration to Debian GNU/Linux 10 (buster) if it isn’t already.
Step 8. Check the box that says Allow HTTP traffic to the instance.
Step 9. Hit the Create button to start building your VM.
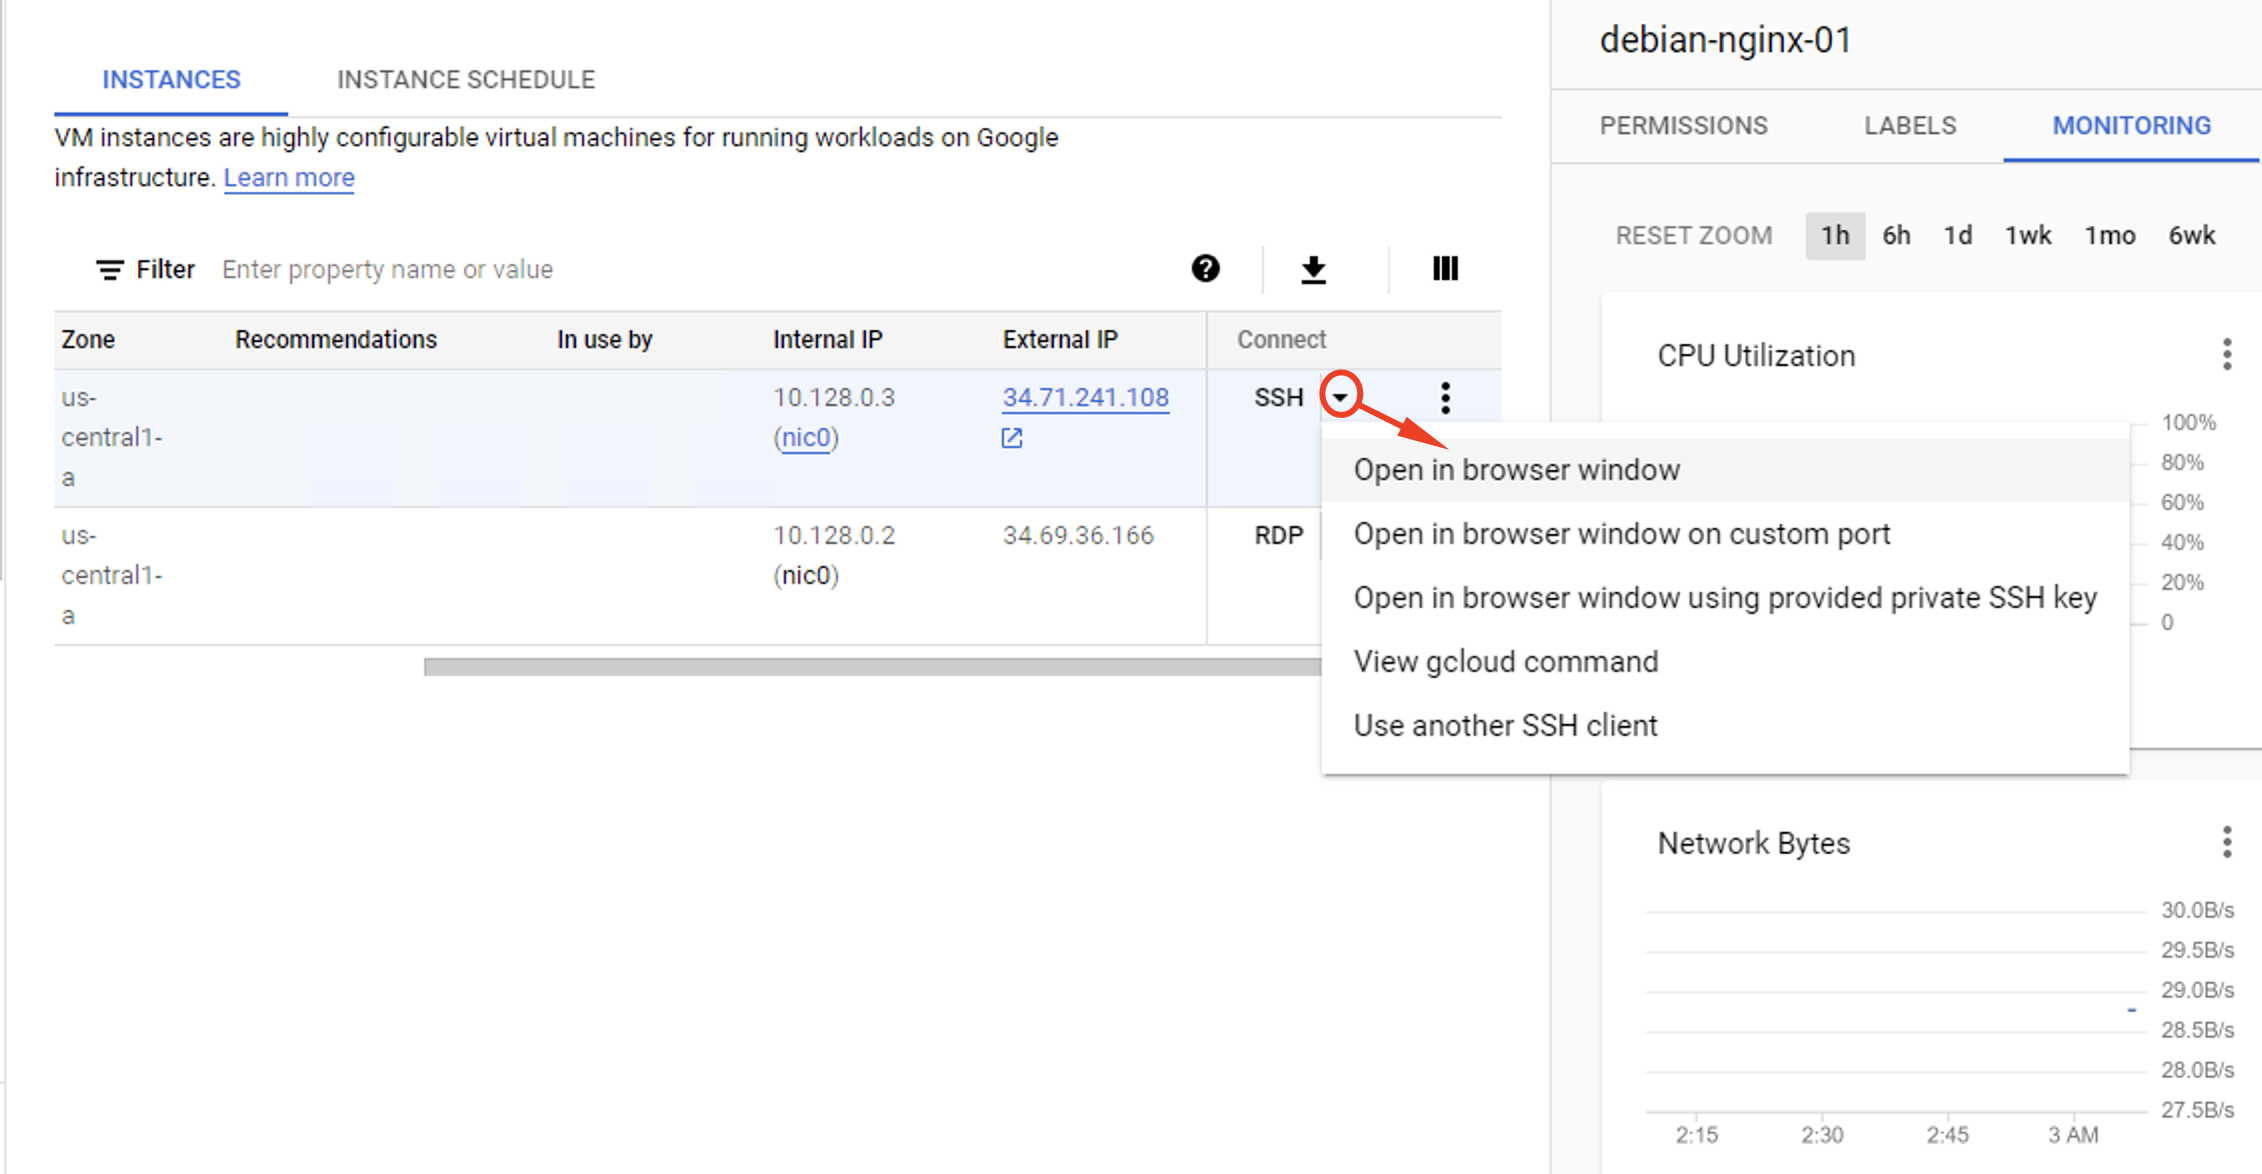
Step 10. Be patient while your Virtual Machine launches. When it’s ready, select the SSH (secure shell connection) option, then hit Open in the browser window.
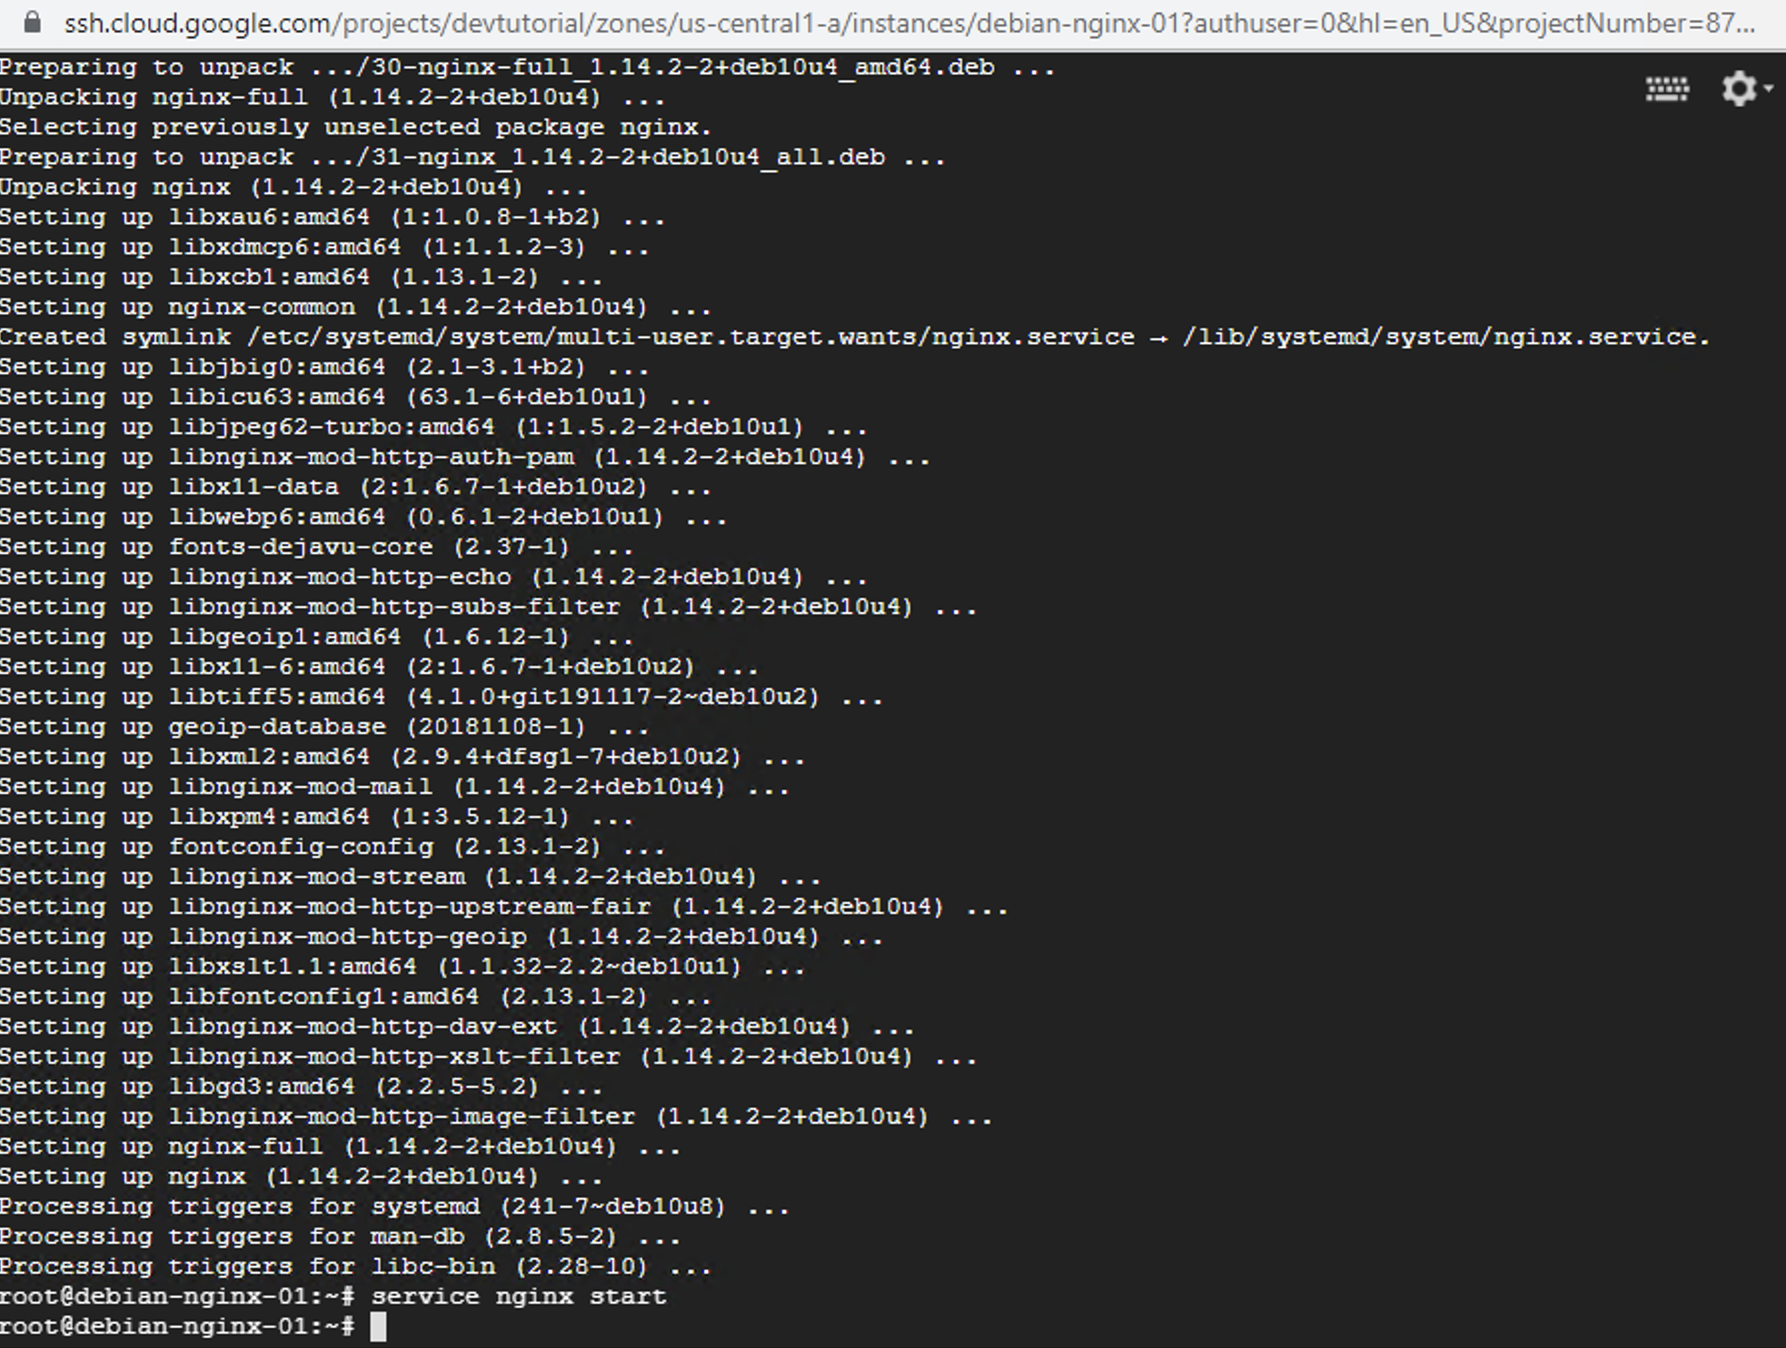
Step 11. When the VM window pops up, type in the following instructions - exactly as they appear here - to complete the NGINX web server installation:
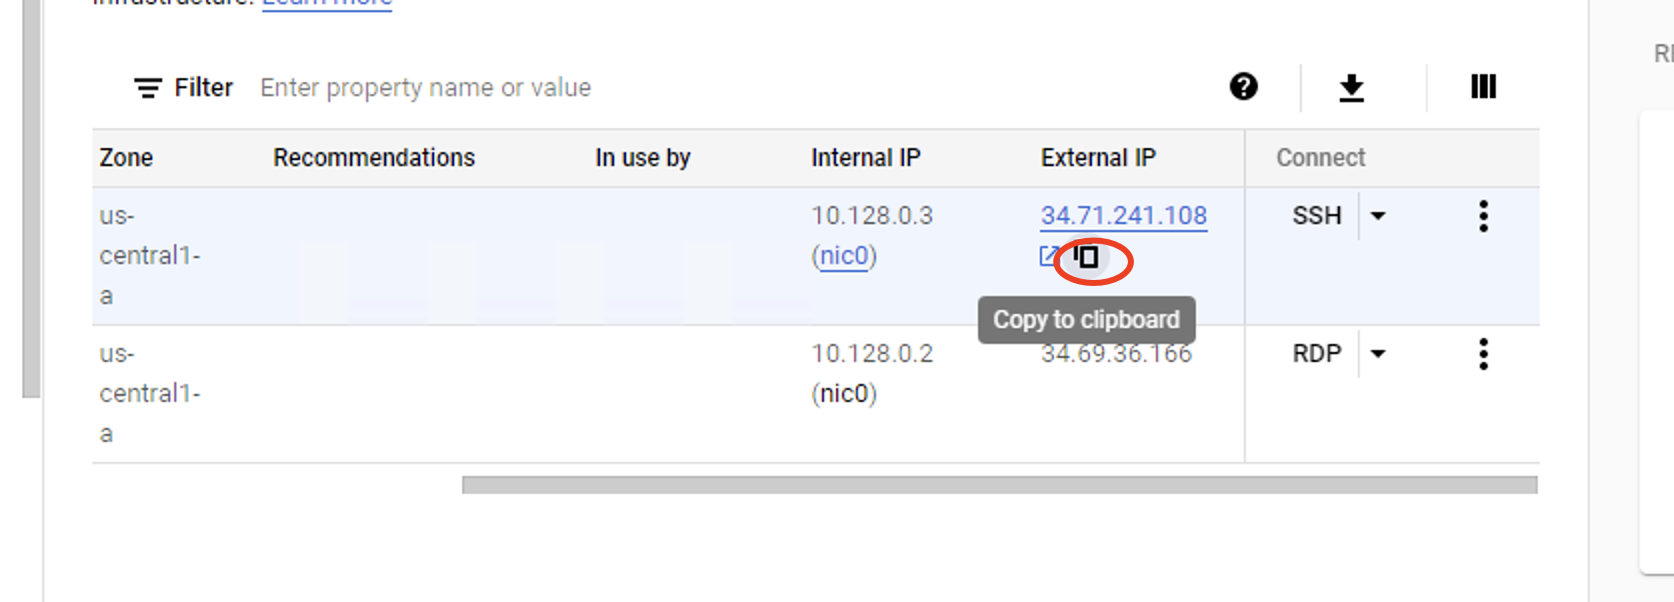
Step 12. Find the IP address for your newly launched server on the Cloud Console. Click it to open a browser page using the web server.
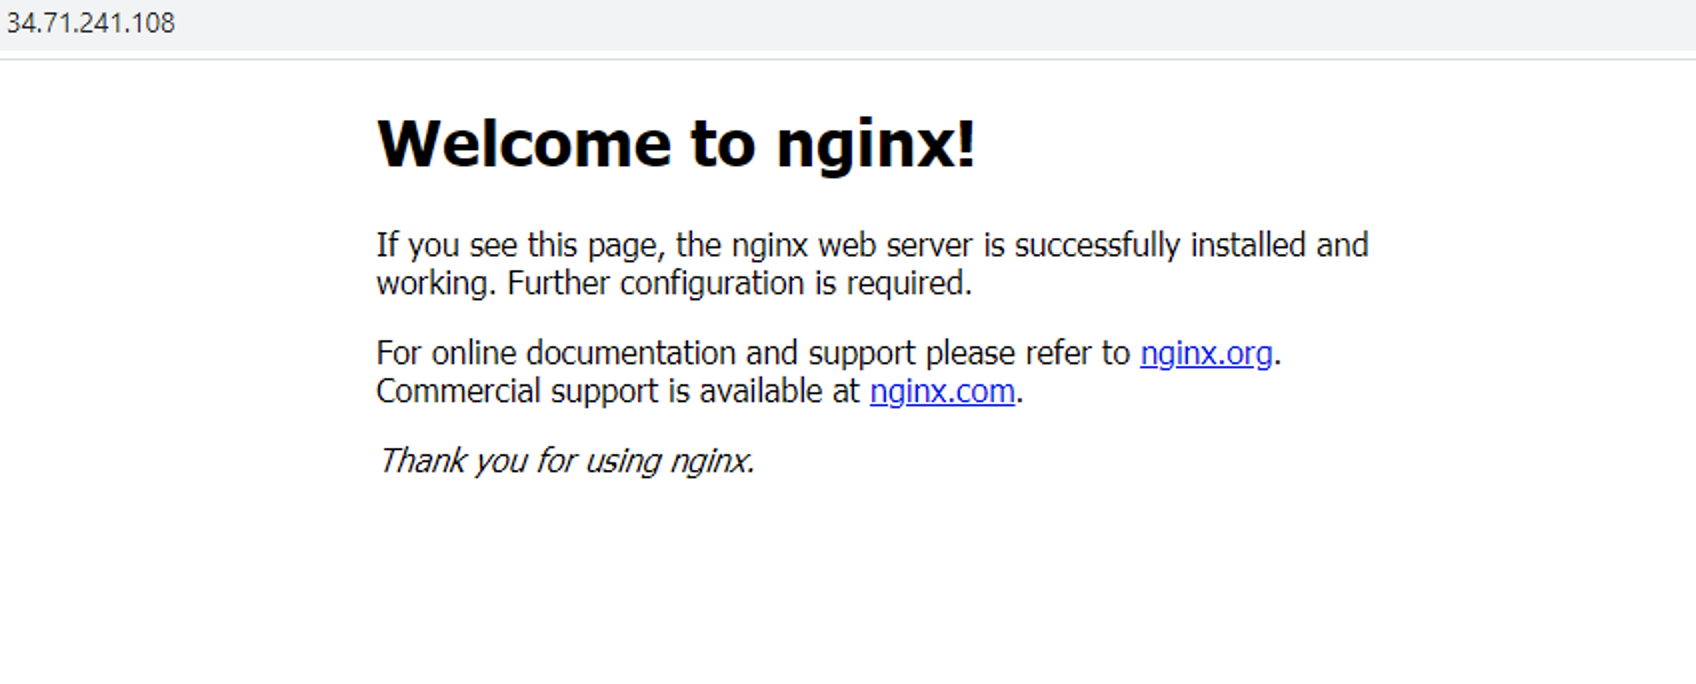
This is one of the quickest ways to launch a Linux Virtual Machine on the Google Cloud Console. The last few steps will help you set up a workable NGINX server which runs on Google Cloud’s SSH browser.
Don’t forget to check the box that says ALLOW HTTP traffic to the Virtual Machine or your new server may not run correctly.