To make sure the clusters you launch on Kubernetes always perform optimally, take a moment to check their node numbers. If necessary, redistribute some nodes to spread the load evenly between clusters and better support your browsing habits.
Prerequisites
Activate Kubernetes Engine API
Make sure your cluster is active before you try to resize it
Resizing a Cluster
Step 1 - Launch Google Cloud Console and log in.
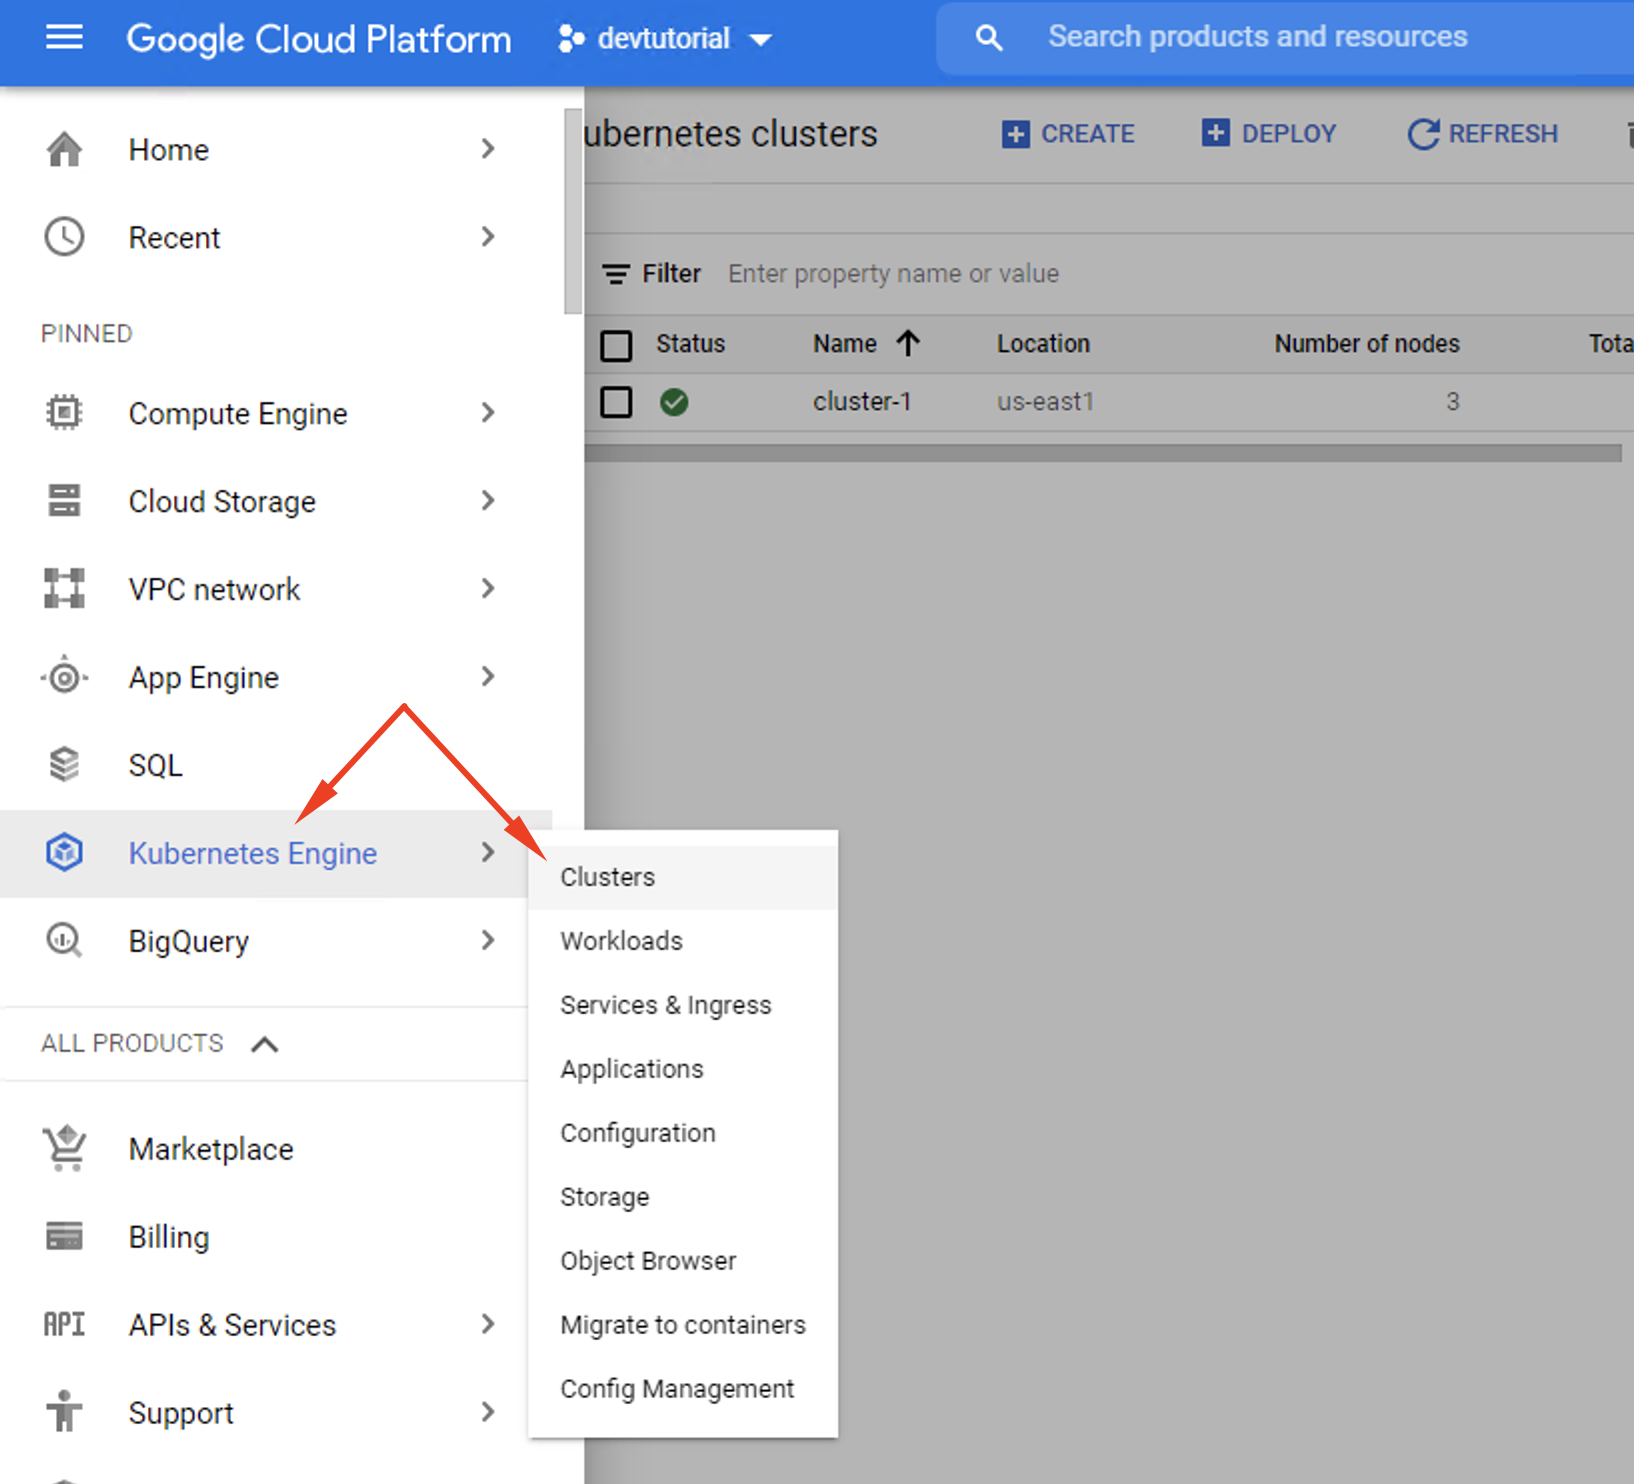
Step 2 - Select Compute on the primary menu. Then, select Kubernetes Engine.
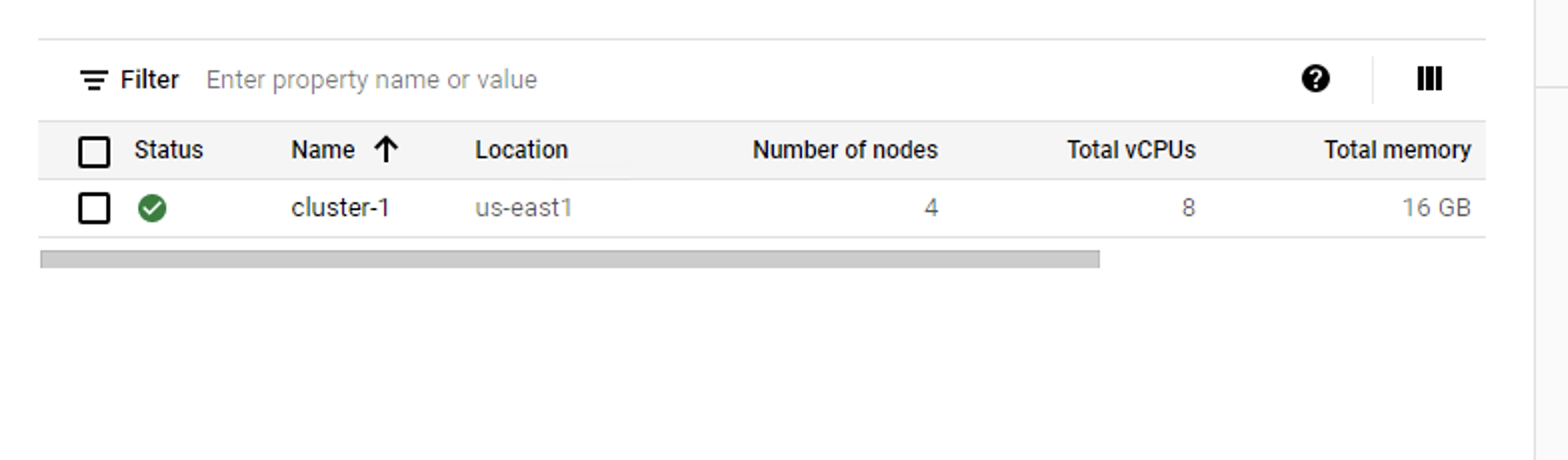
Step 3 - The next step assumes you’ve already completed the setup procedure for at least one cluster. If you need help with this, refer to increase the number of nodes in cluster-1.
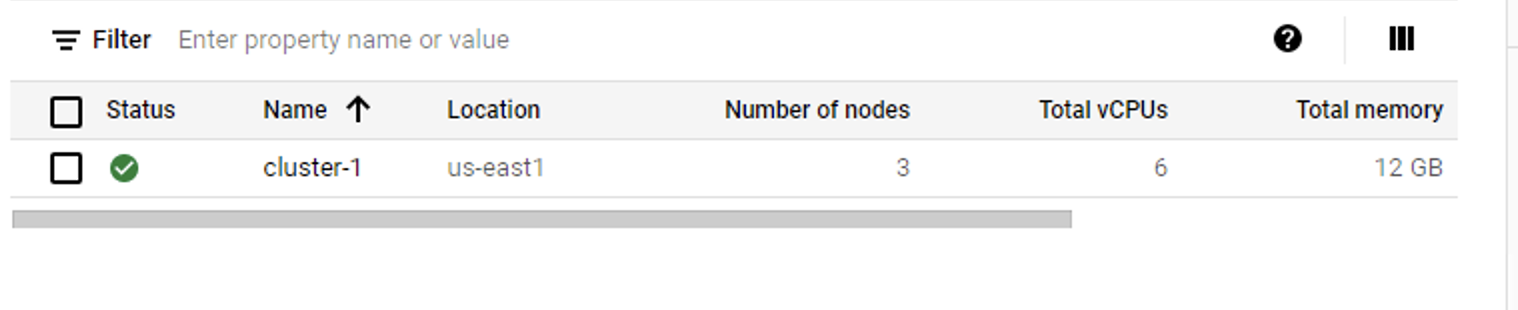
Step 4 - Find your cluster (e.g. cluster-1) and select it.
Step 5 - Next, select the Nodes option that appears underneath. There should be at least one node pool listed here provided you’ve set up your cluster correctly.
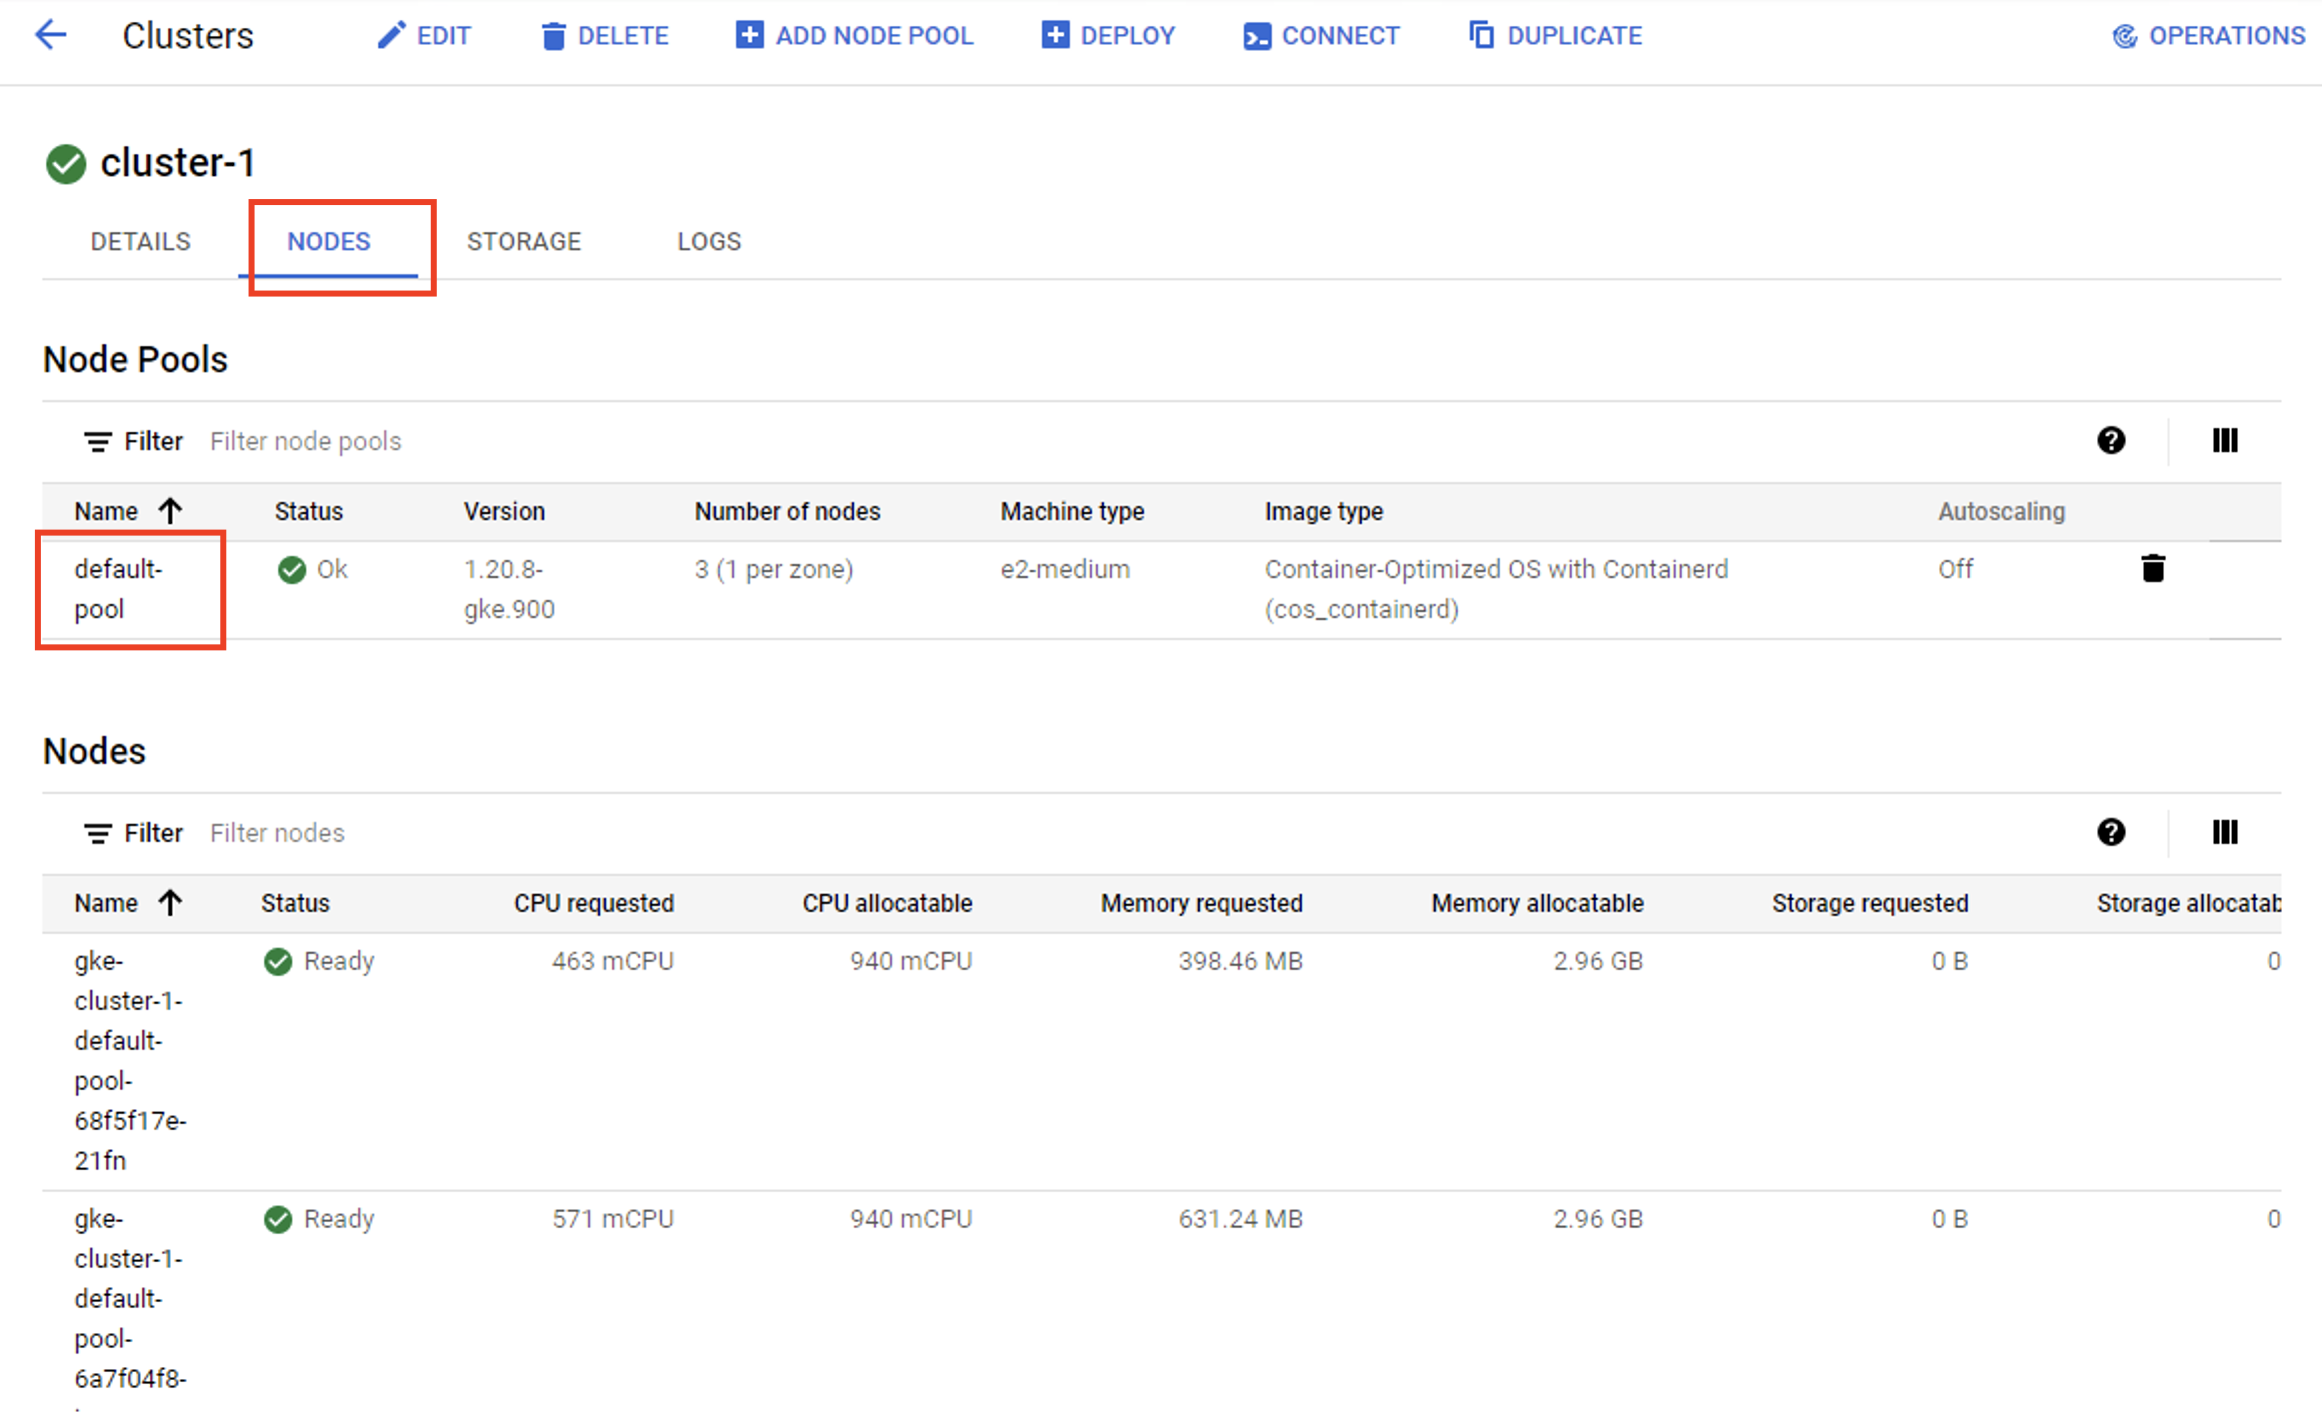
Step 6 - Find the pool labelled default-pool and select it.
Step 7 - Select the ‘Edit’ option at the top of the node pool menu.
Step 8 - Now, you can lower or raise the default number of nodes per cluster. For instance, you might want to add more nodes by raising the default from 3 to 4. There’s also an automated option that allows you to link the number of nodes to the cluster’s taskload. If you prefer to do it this way, click the ‘Enable Autoscaling’ option.
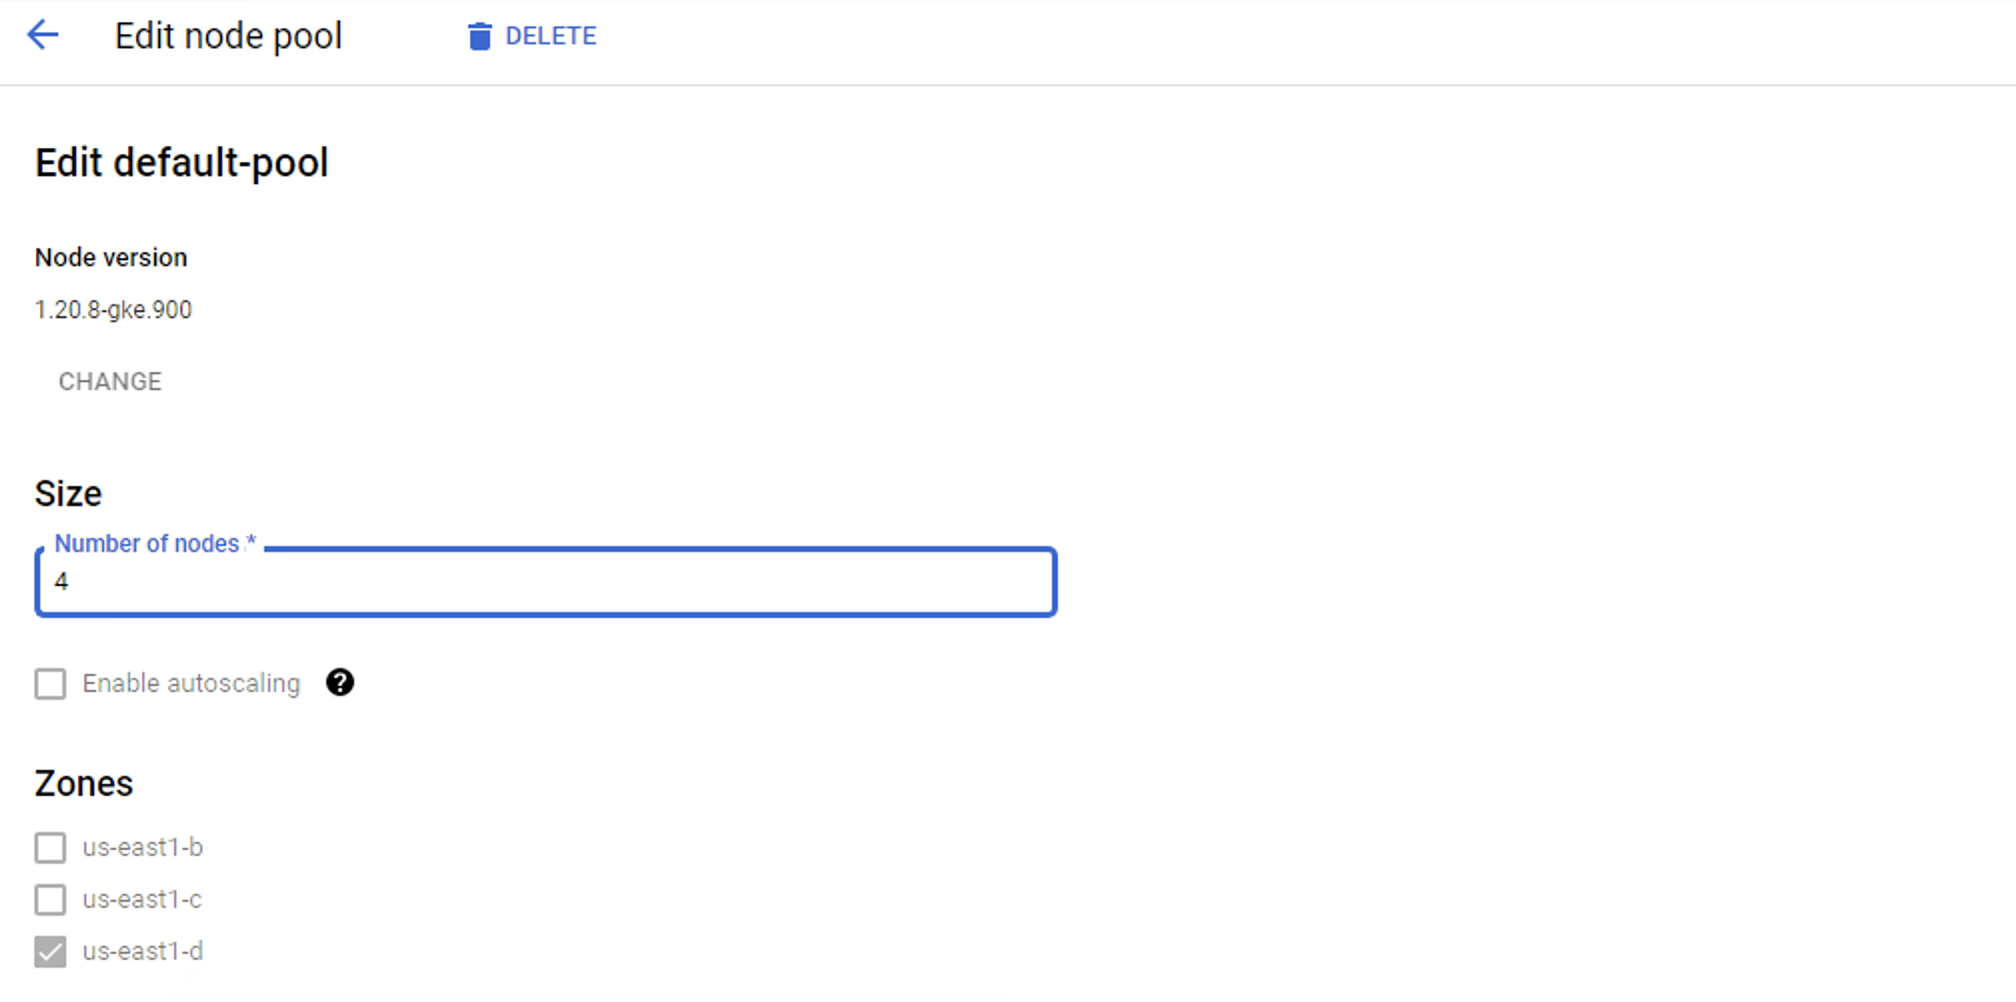
Step 9 - Make sure to hit Save before you exit the menu or the updated configurations won’t be launched.
Step 10 - Be patient and give the system a minute or two to update the clusters.
It takes minutes to rescale the number of nodes in a pool and redistribute task-loads more evenly between clusters. If you enable the auto-scaling option, you only have to do it once. The number of nodes will automatically rise and fall depending on the traffic patterns and utilisation needs of the clusters.
You can specify an upper or lower limit for the auto-scaling of node pools.