List all groups
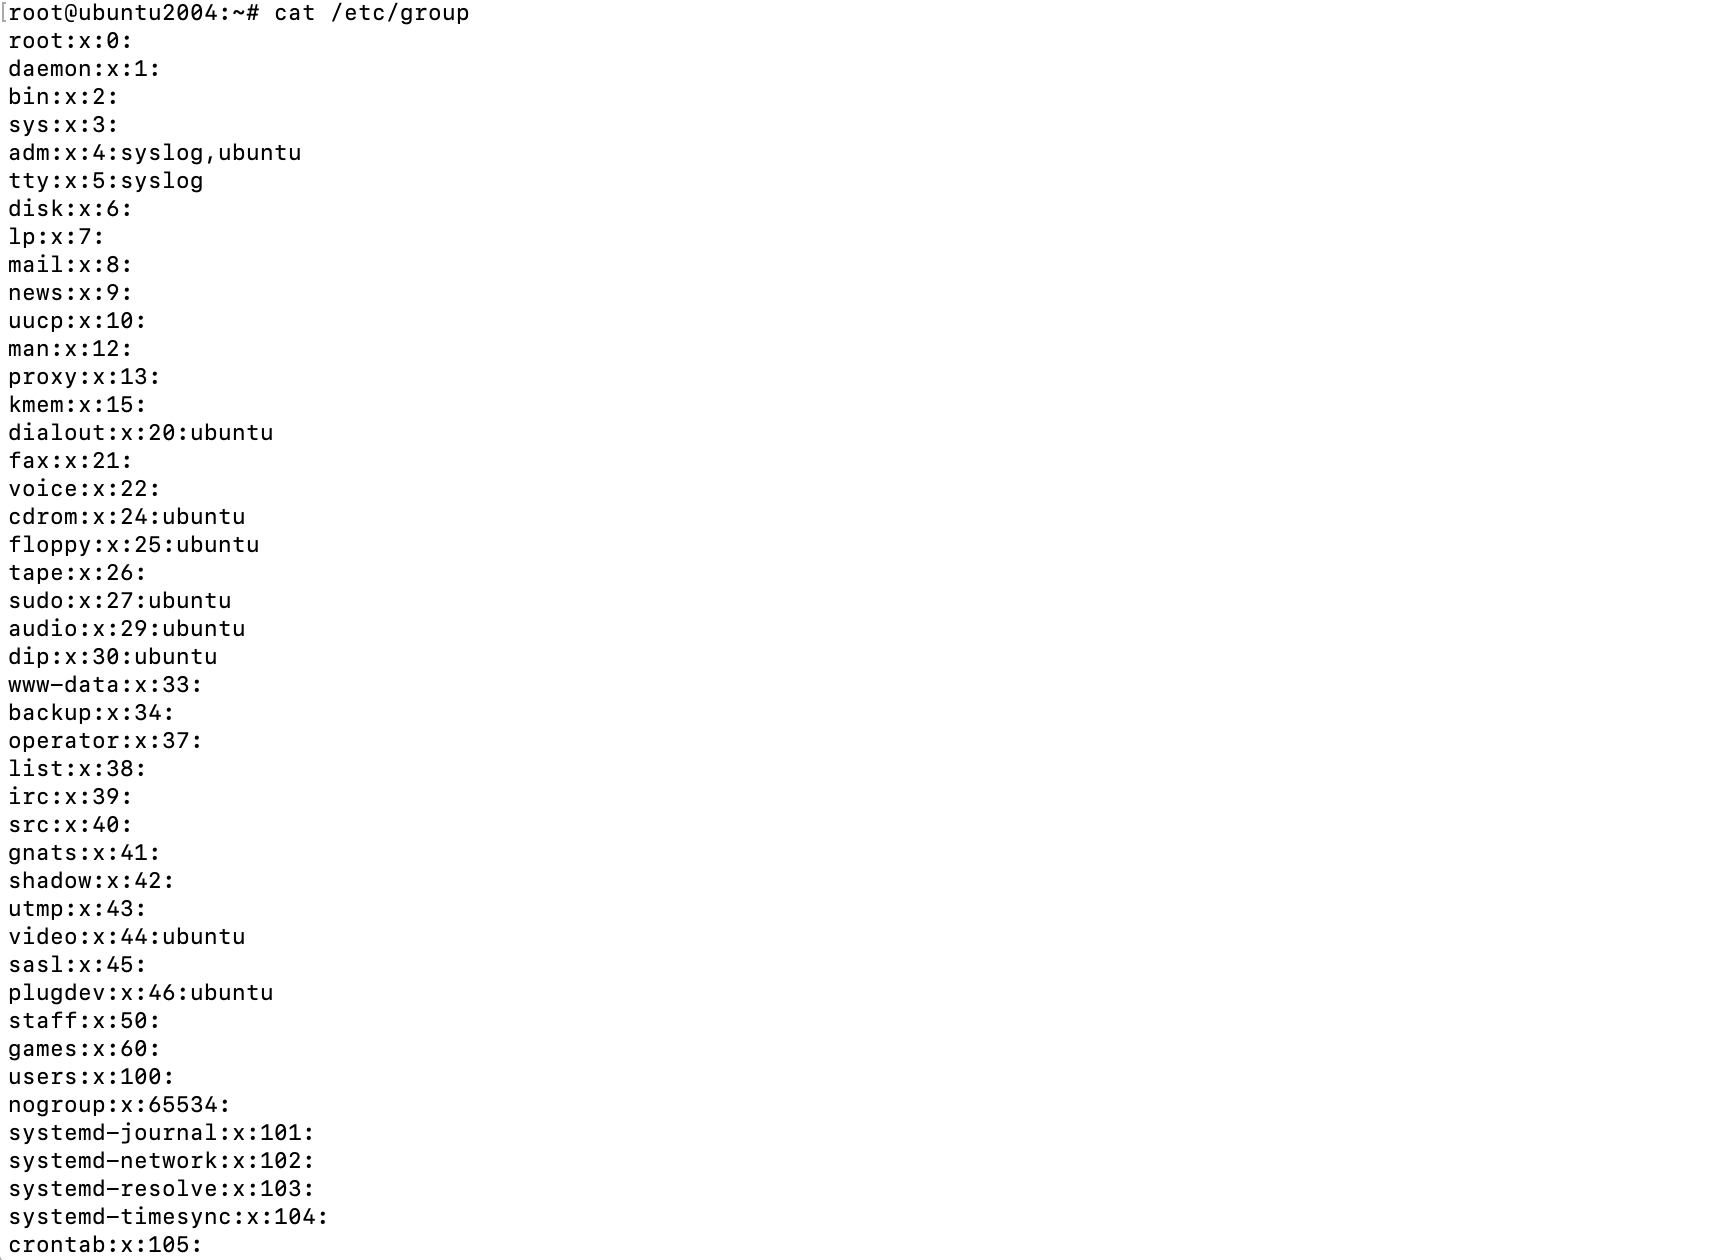
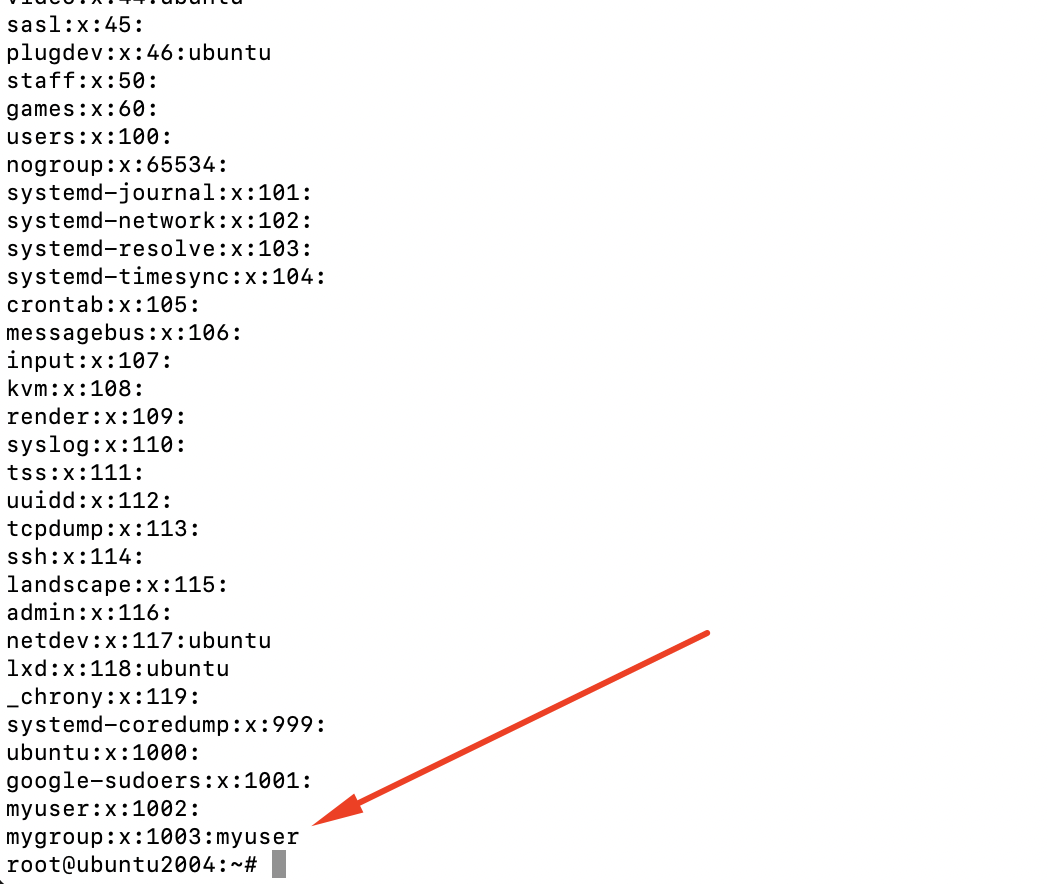
Step 1 : The /etc/group file contains information regarding the groups that have been created on your system. Go ahead and take a look at this file on your system:
Creating new groups
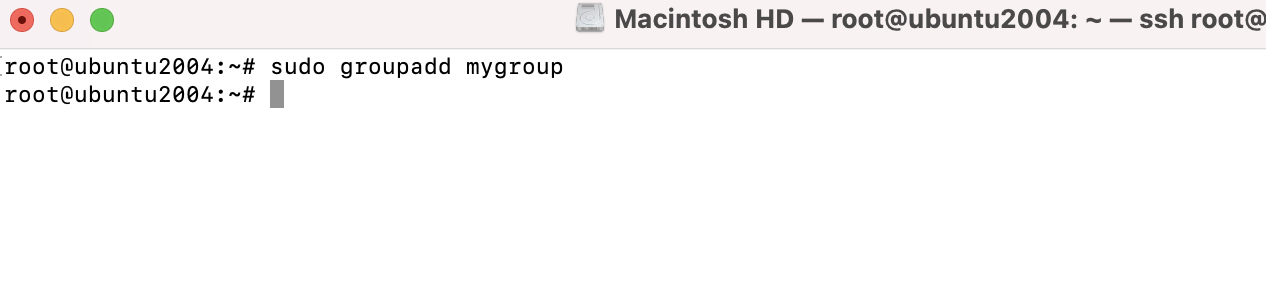
Step 2 : The groupadd command allows you to create new groups.
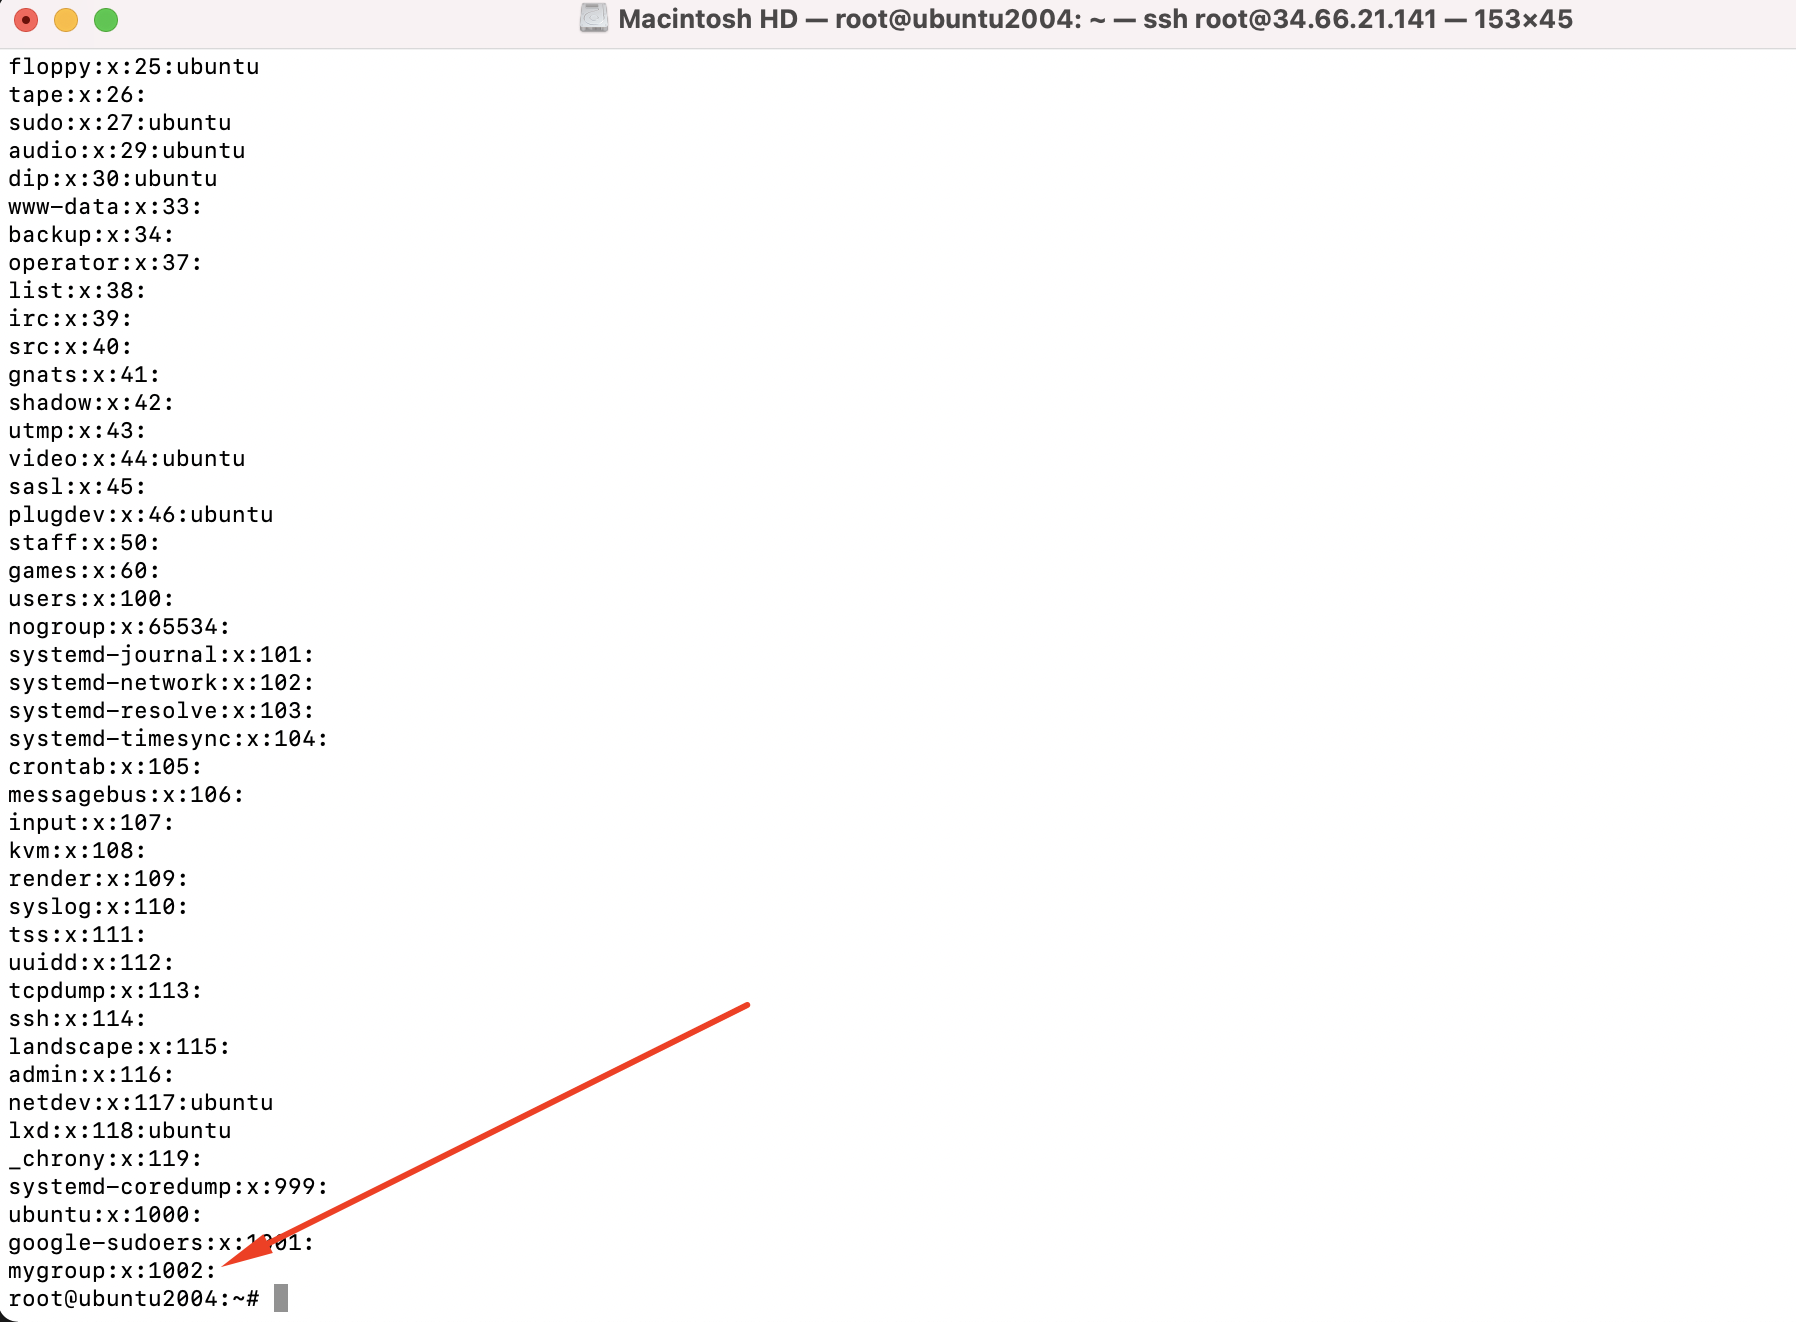
Step 3 : If you take a look at the /etc/group file again after adding a new group, you'll see that a new line was created in the file
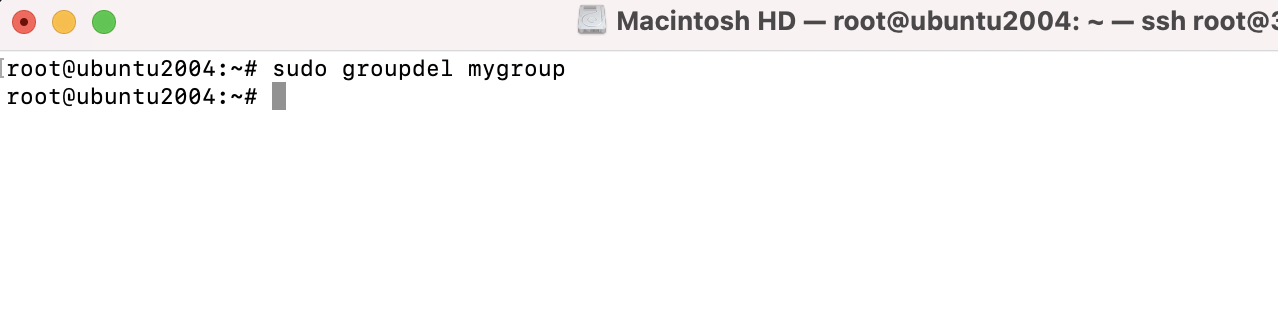
Removing a group
Step 4 : Removing a group is just as easy. Just issue the groupdel command followed by the name of the group you wish to remove:
Associating users with a group
Step 5 : If we wanted to add a user to our mygroup group, we would issue the following command:

The example I gave only adds the user to additional groups, it doesn't replace their primary group (-aG : we're supplying the -a option, which means append, and immediately following that we're using -G)
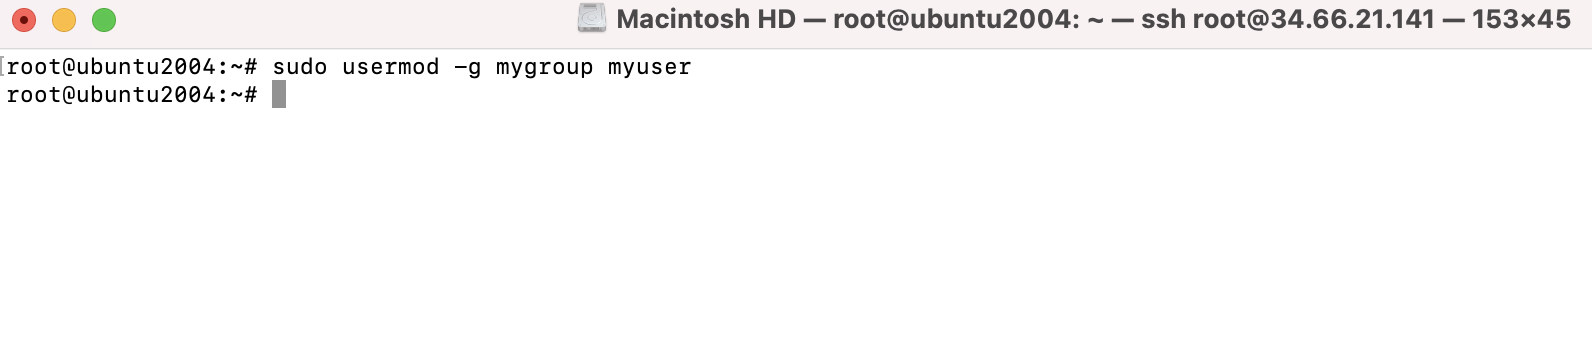
Step 6 : If you wanted to change a user's primary group, you would use the -g option instead (lowercase g)
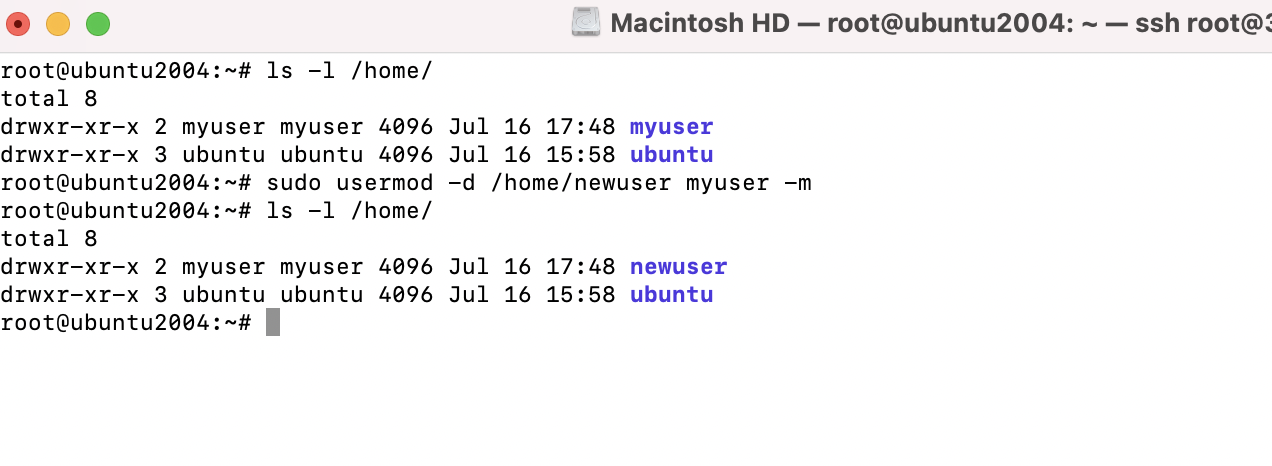
Changing username and home directory
Step 7 : We're moving the home directory for myuser to /home/newuser
Step 8 : We're changing the username from myuser to newuser

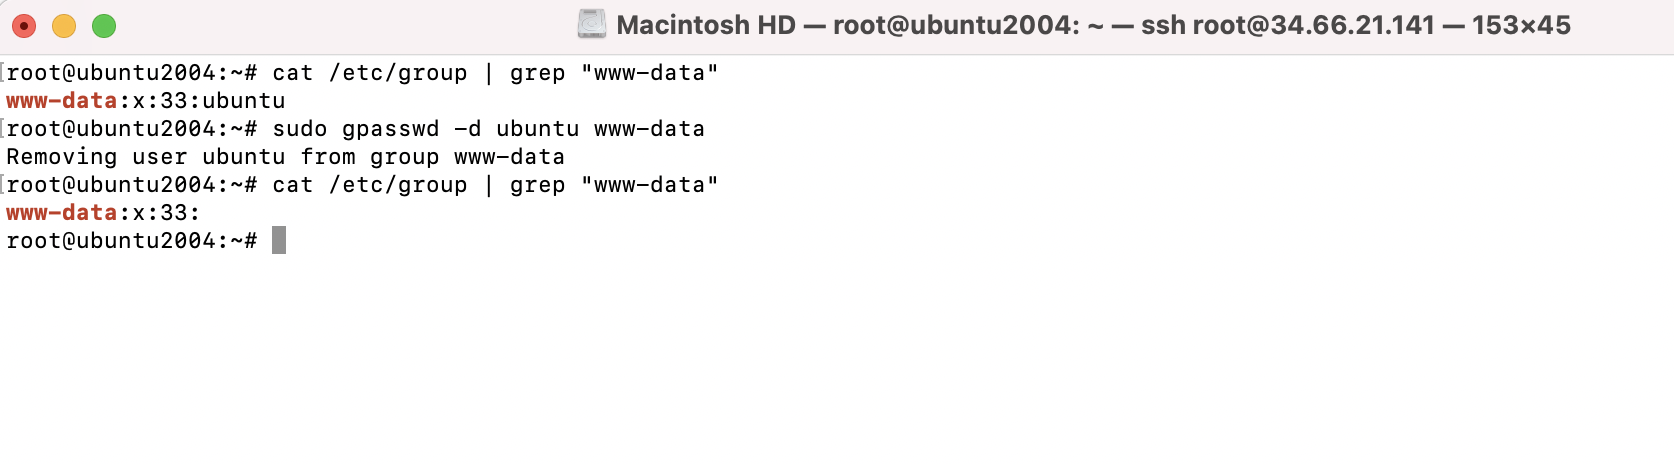
Removing a user from a group
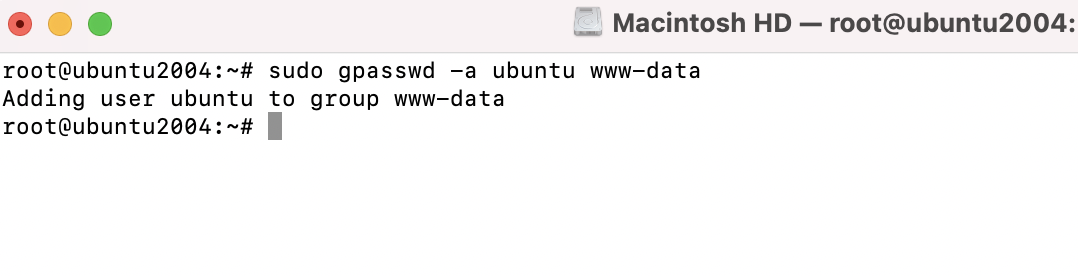
Step 9 : If you wish to remove a user from a group, you can use the gpasswd command to do so. gpasswd -d will do the trick:
Step 10 : gpasswd can also be used in place of usermod to add a user to a group: