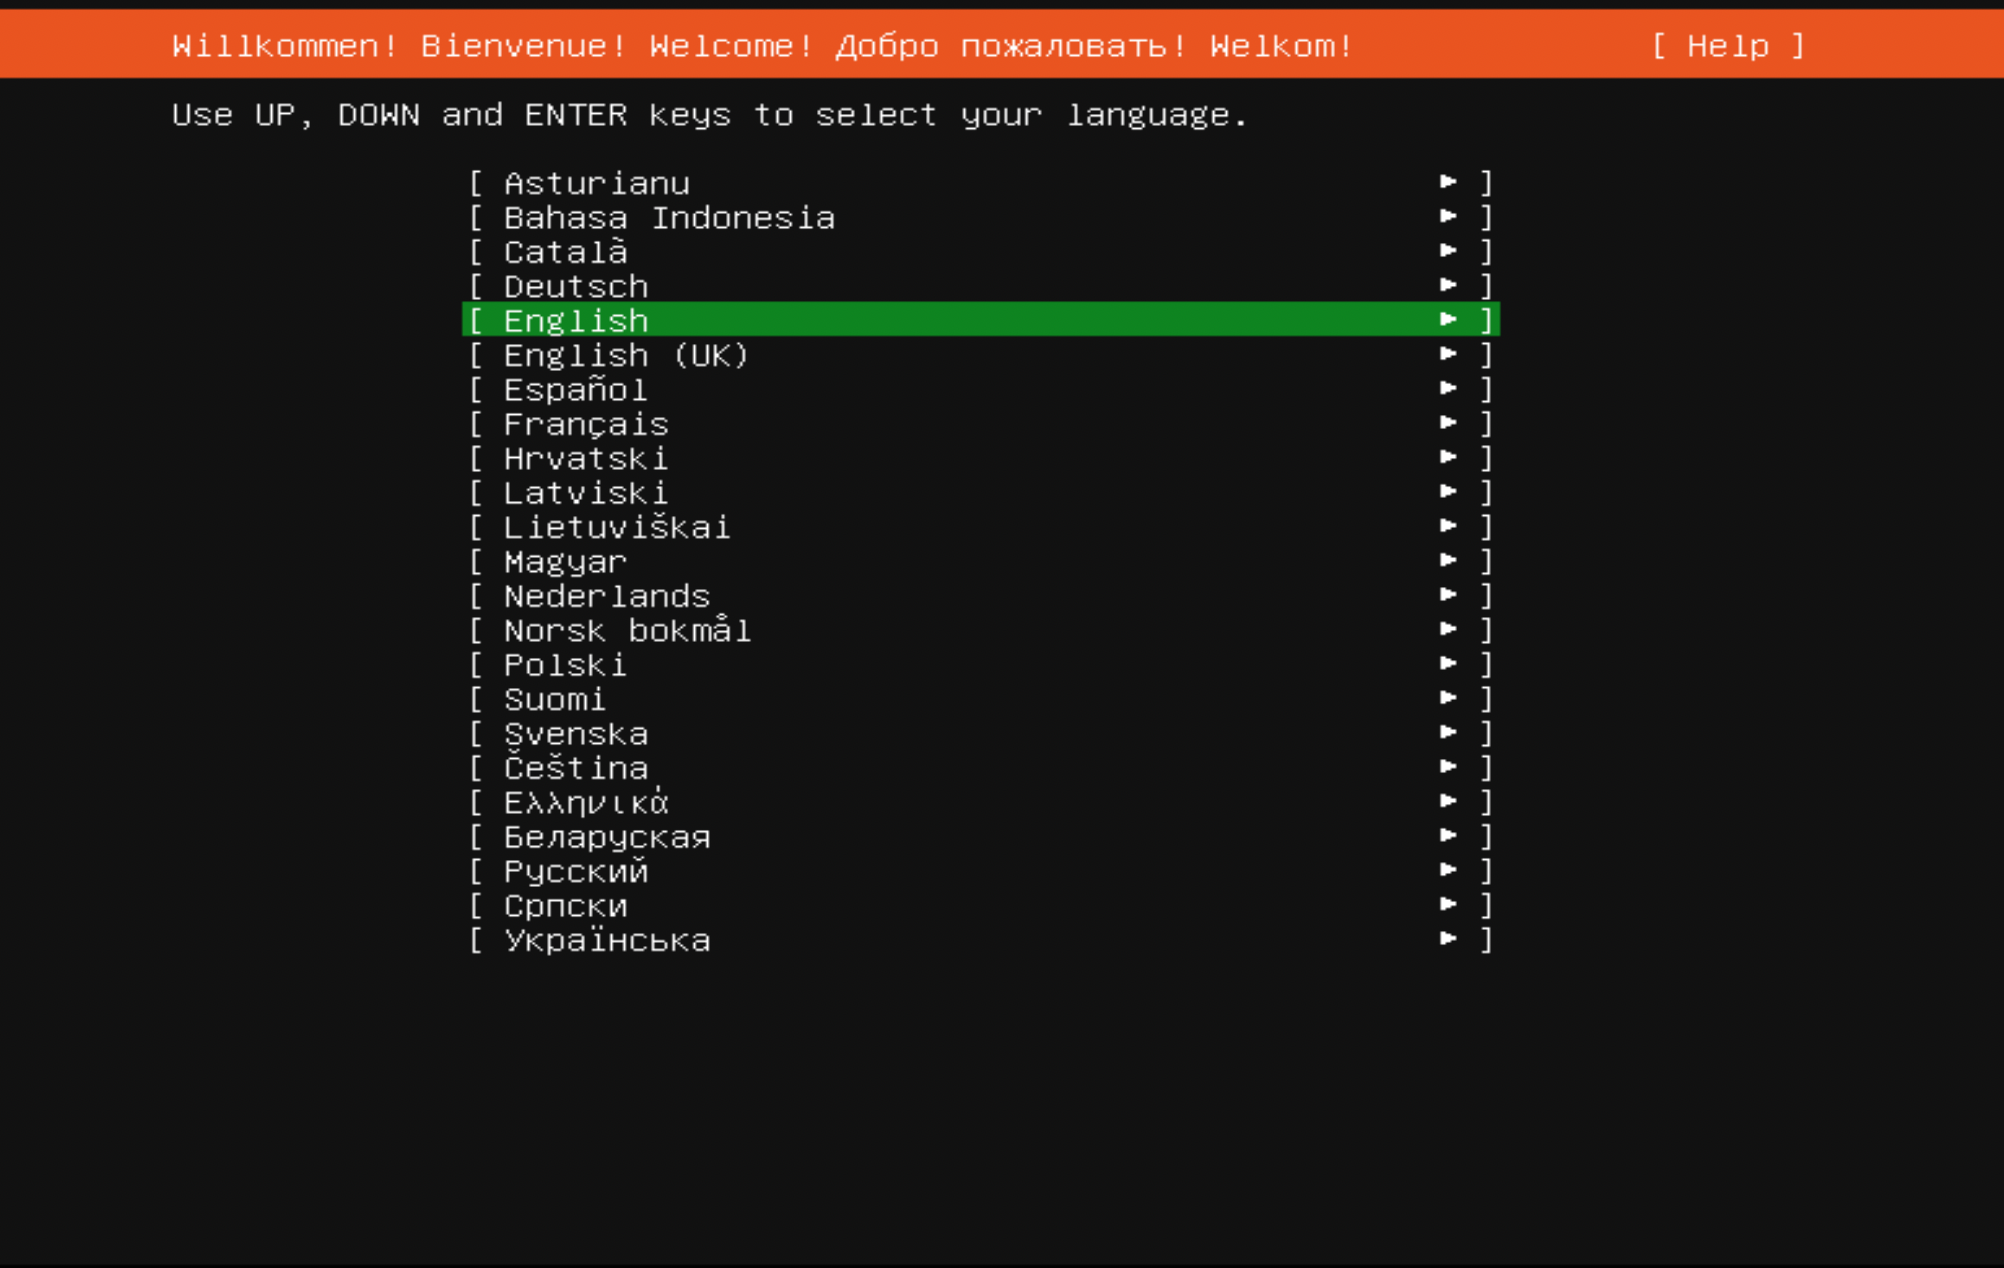
Step 1 : Insert the Ubuntu installation media into the appropriate drive, power on the system and follow the onscreen instructions to open the boot menu. The key you press at the beginning of the POST process differs from one machine to another, but it's quite often F10, F11, or F12. . Once you successfully boot from the media, on the welcome screen, select your preferred language before clicking on the Continue button to proceed to the next screen:
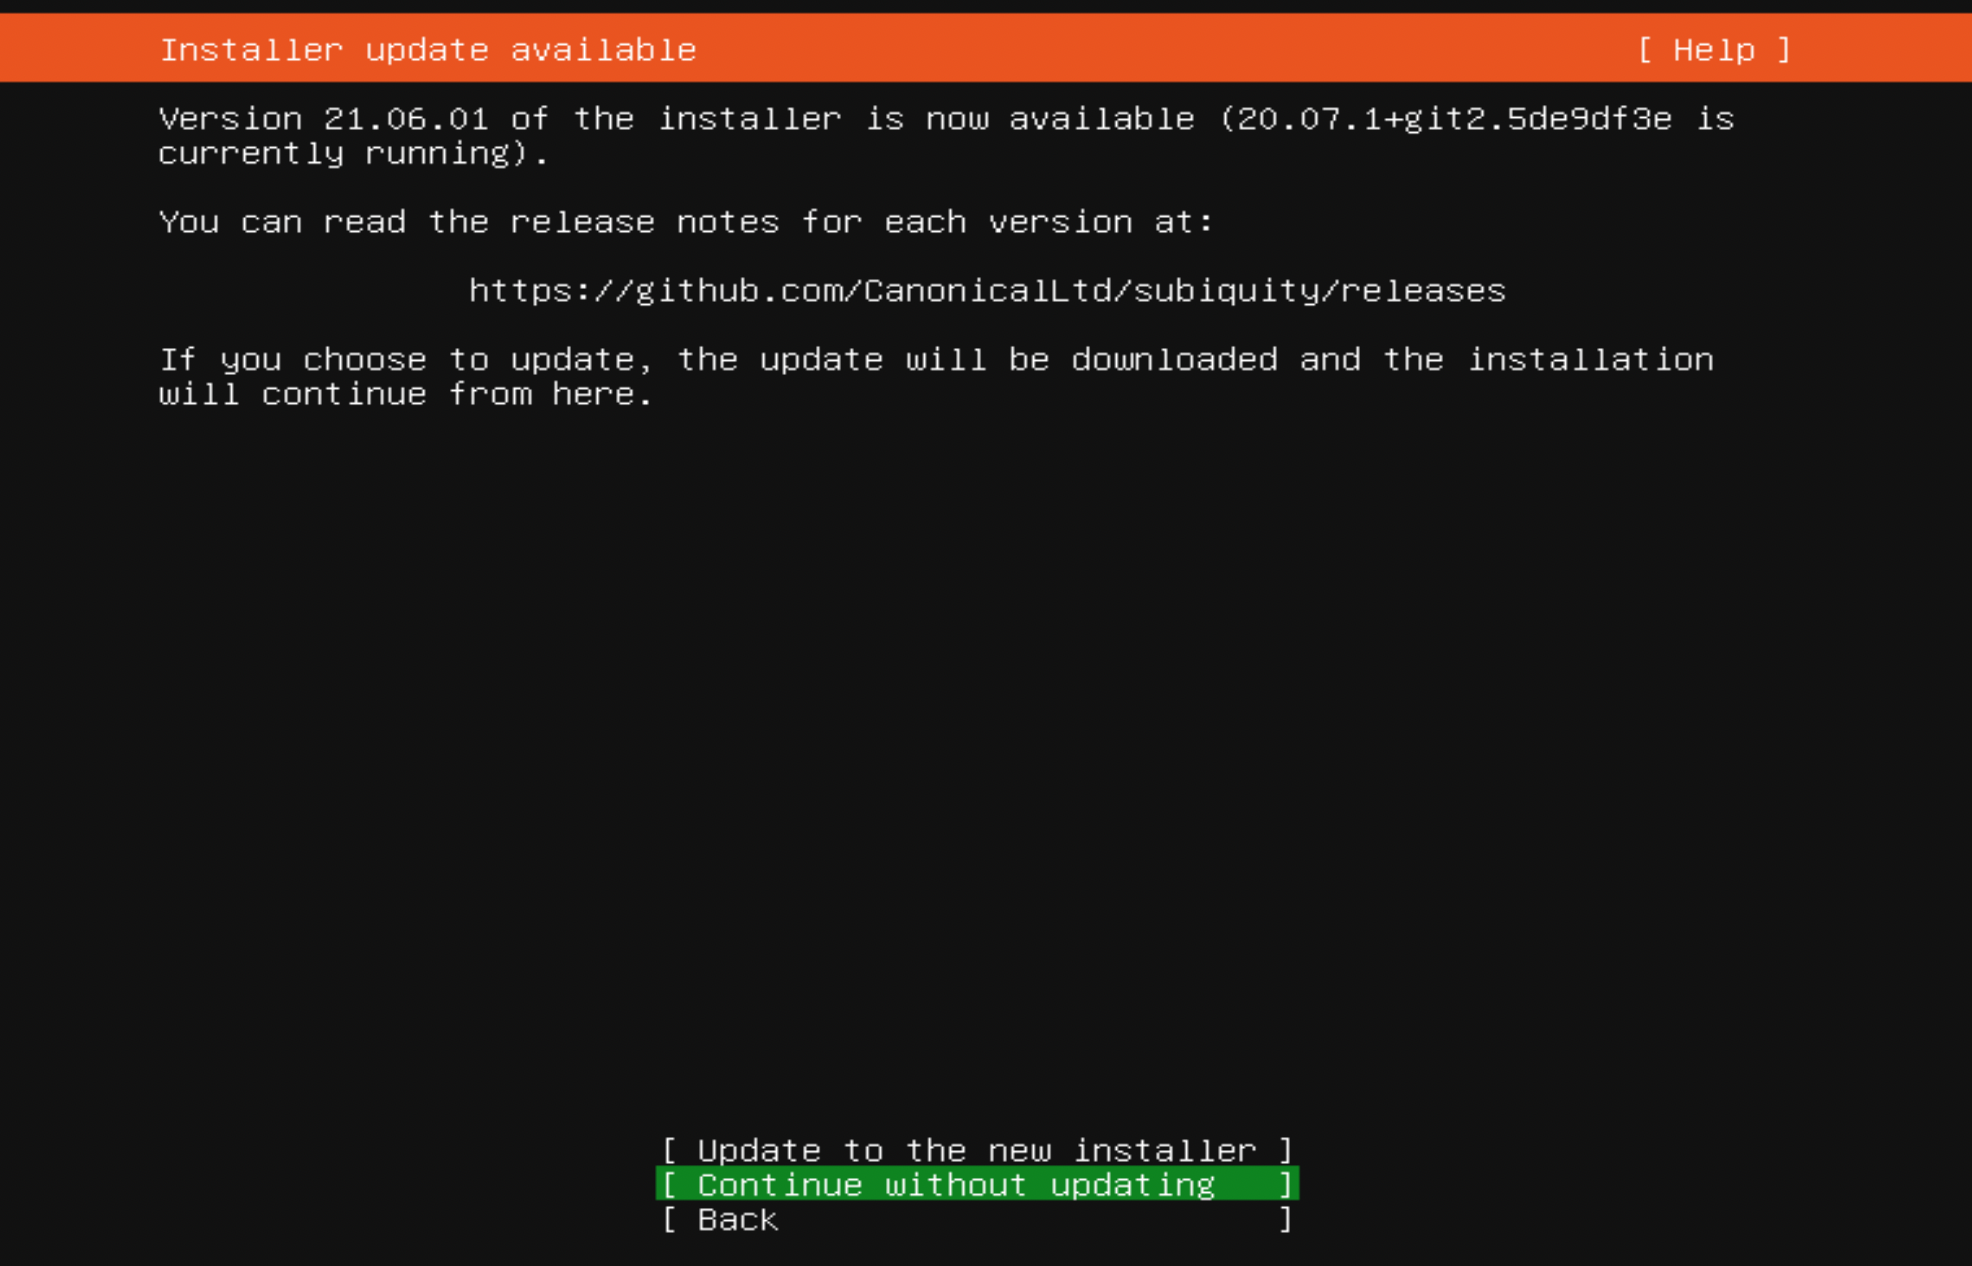
Step 2 : Click on the Continue without updating
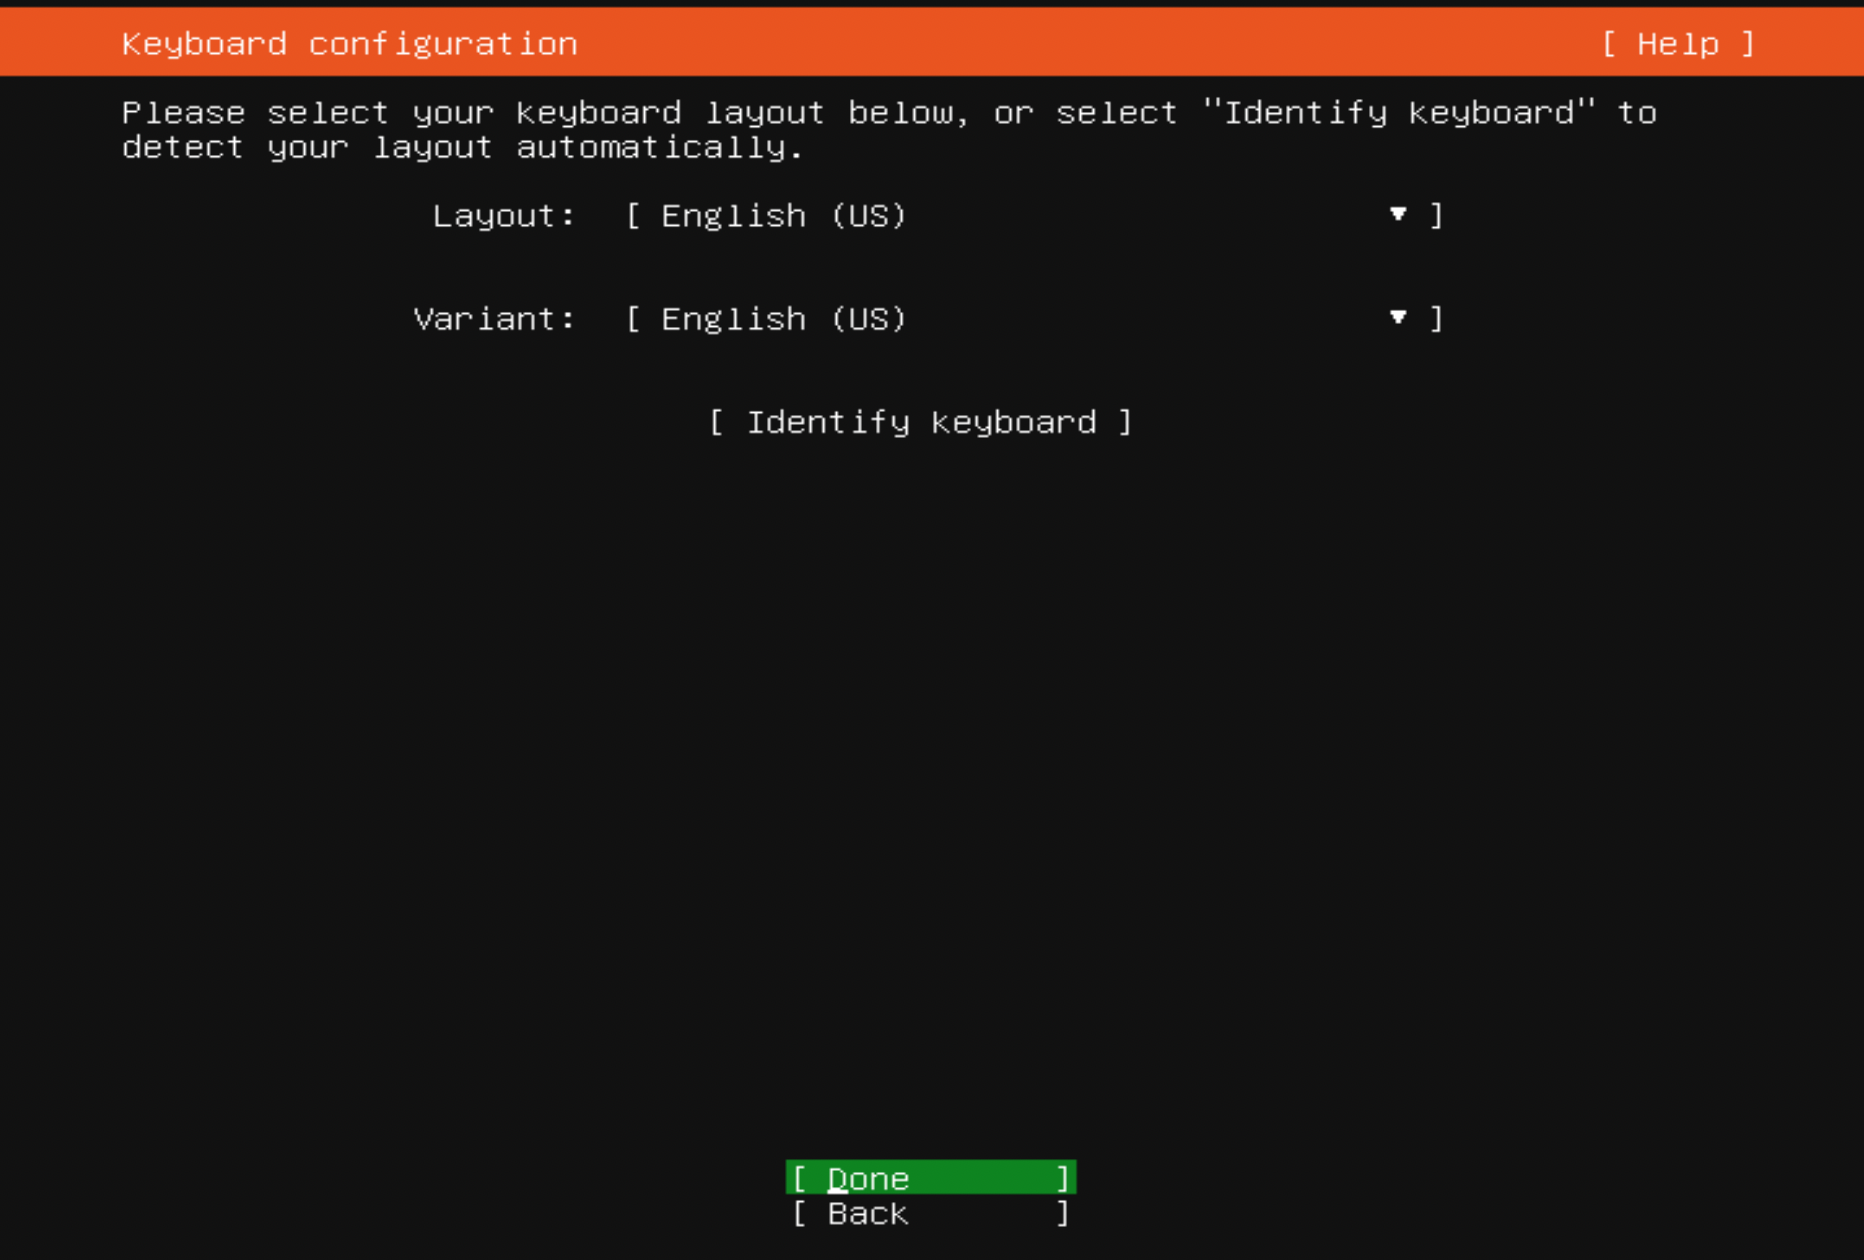
Step 3 : Either select your keyboard layout or, if you are unsure, click on the Detect Keyboard Layout button to work through some steps to identify your keyboard before clicking on Continue.
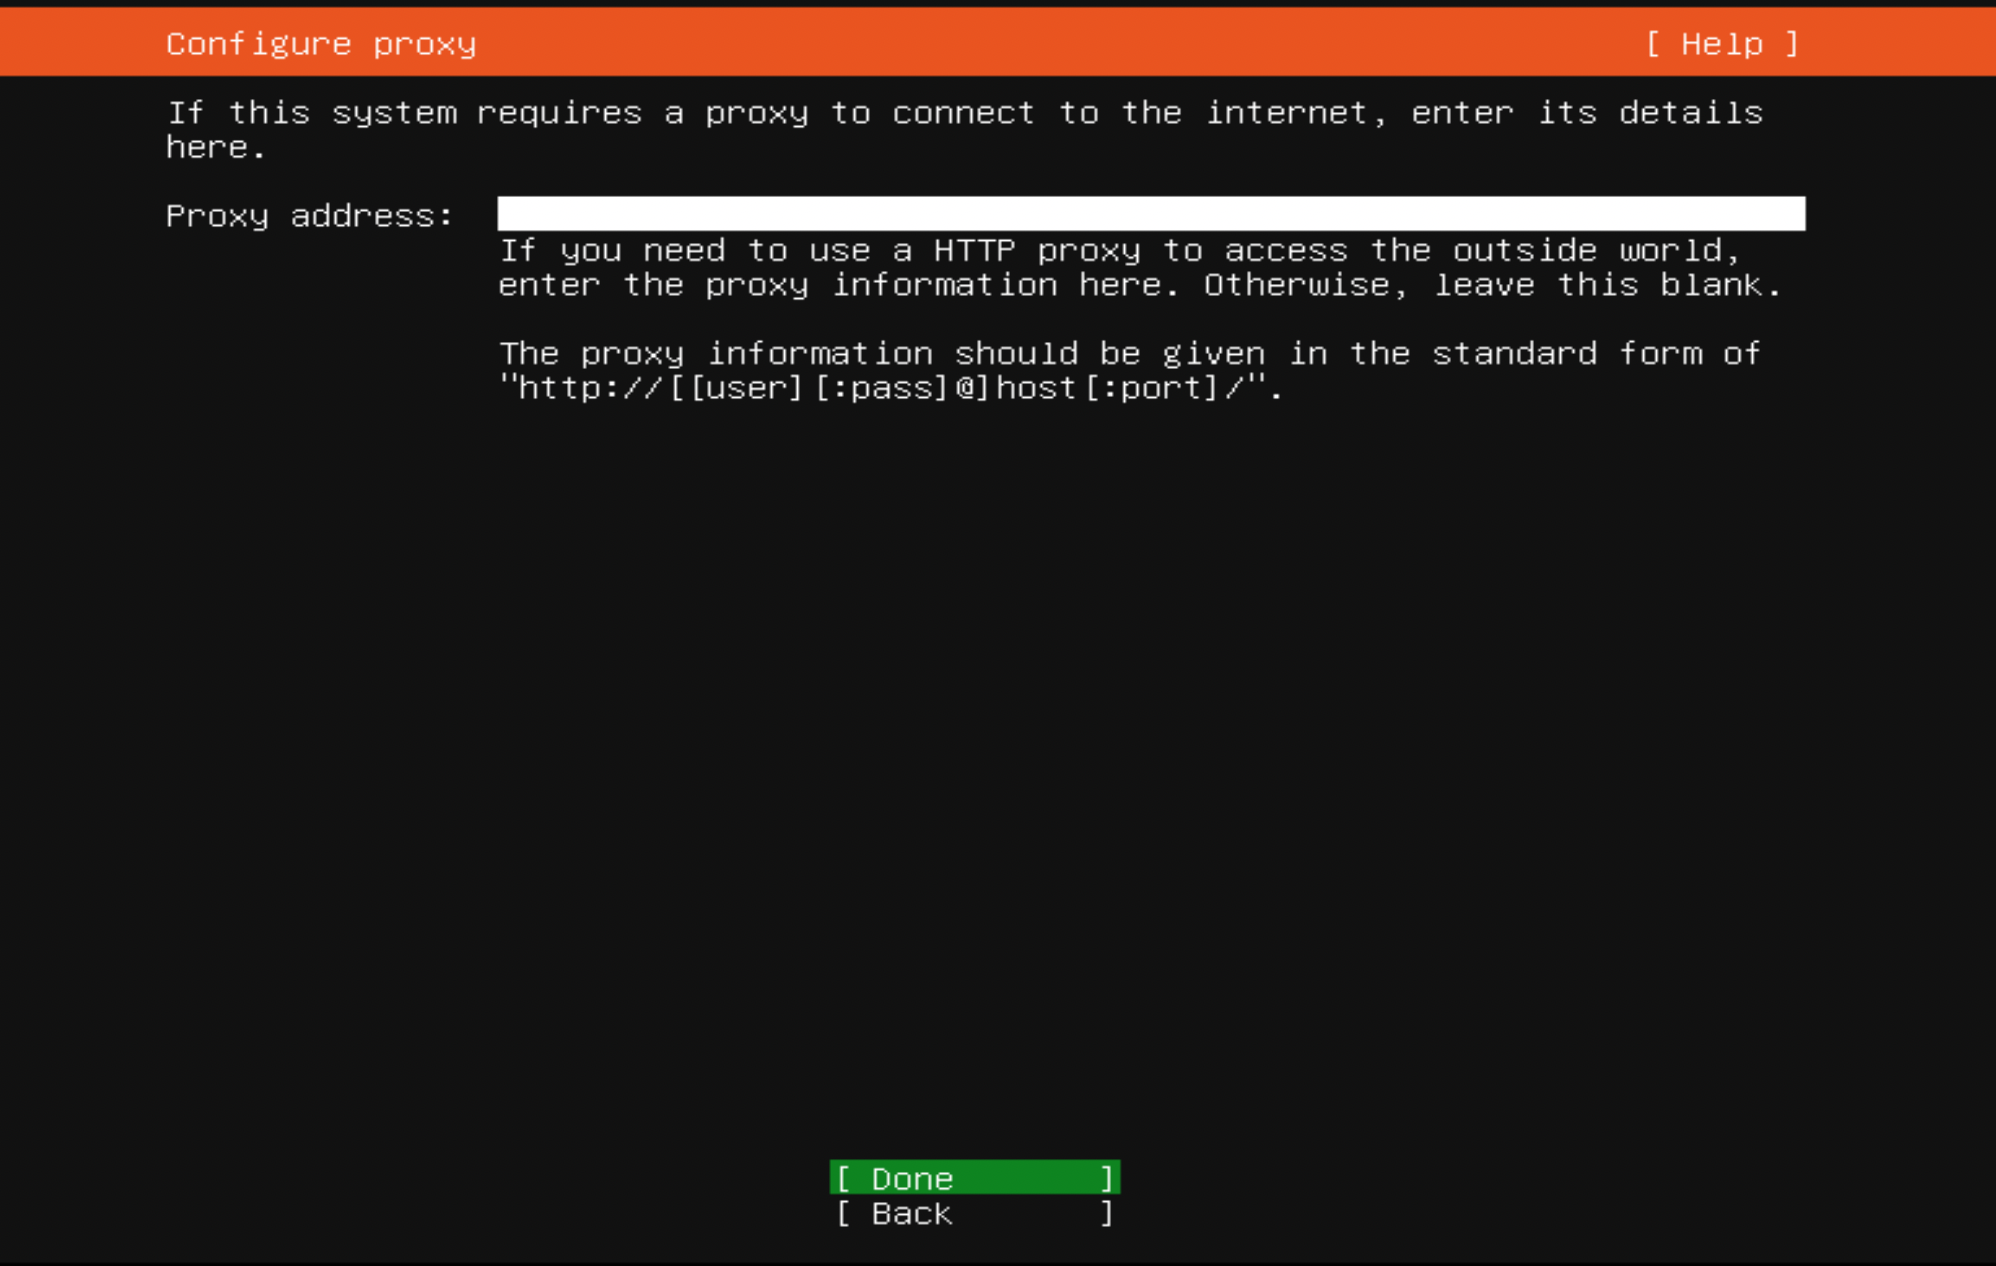
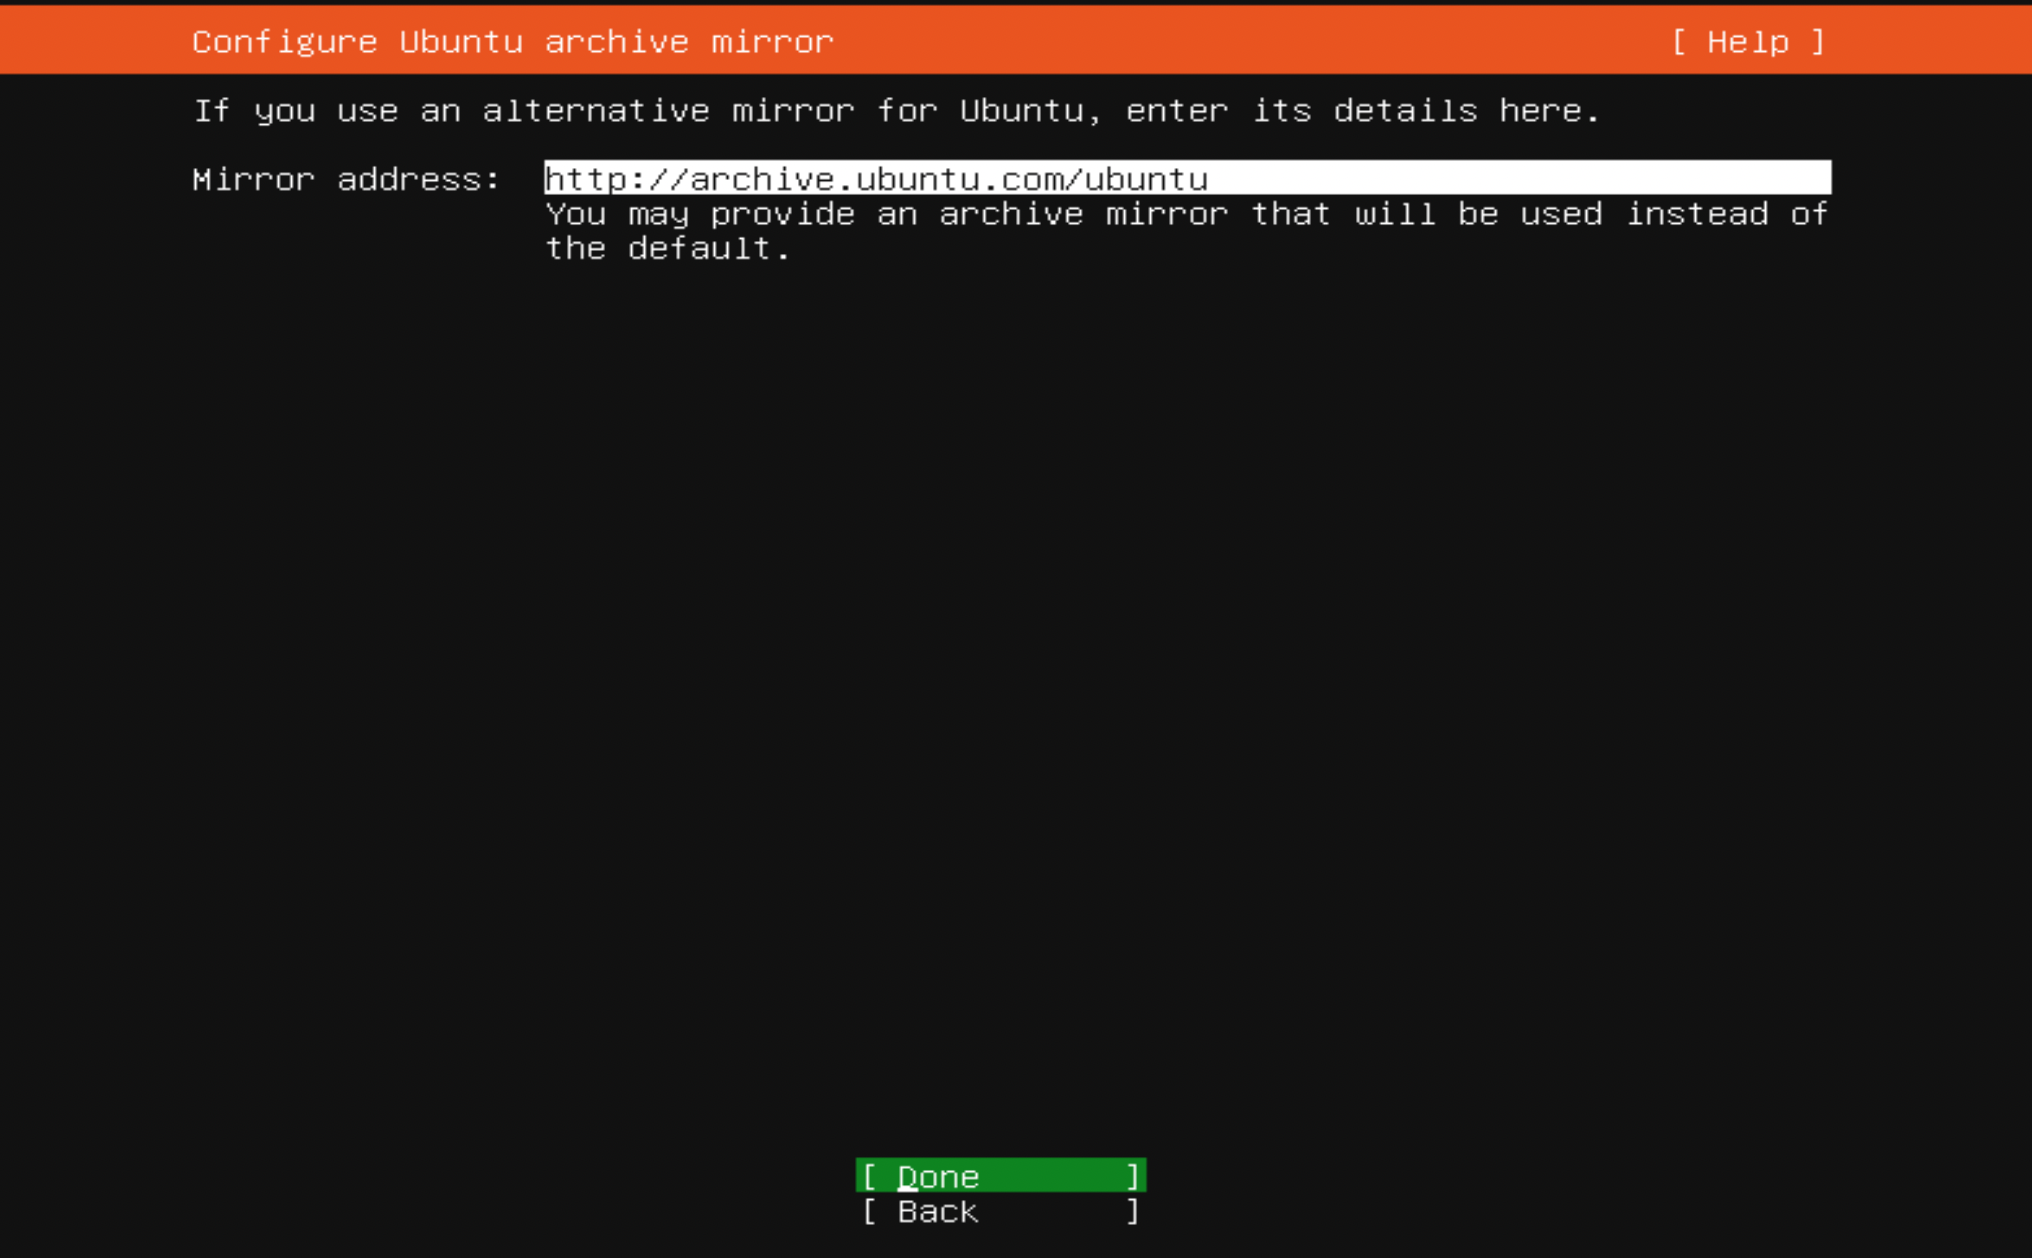
Step 4 : Click on the Done button

Step 5 : Press Enter to continue:
Step 6 : Press Enter to continue:
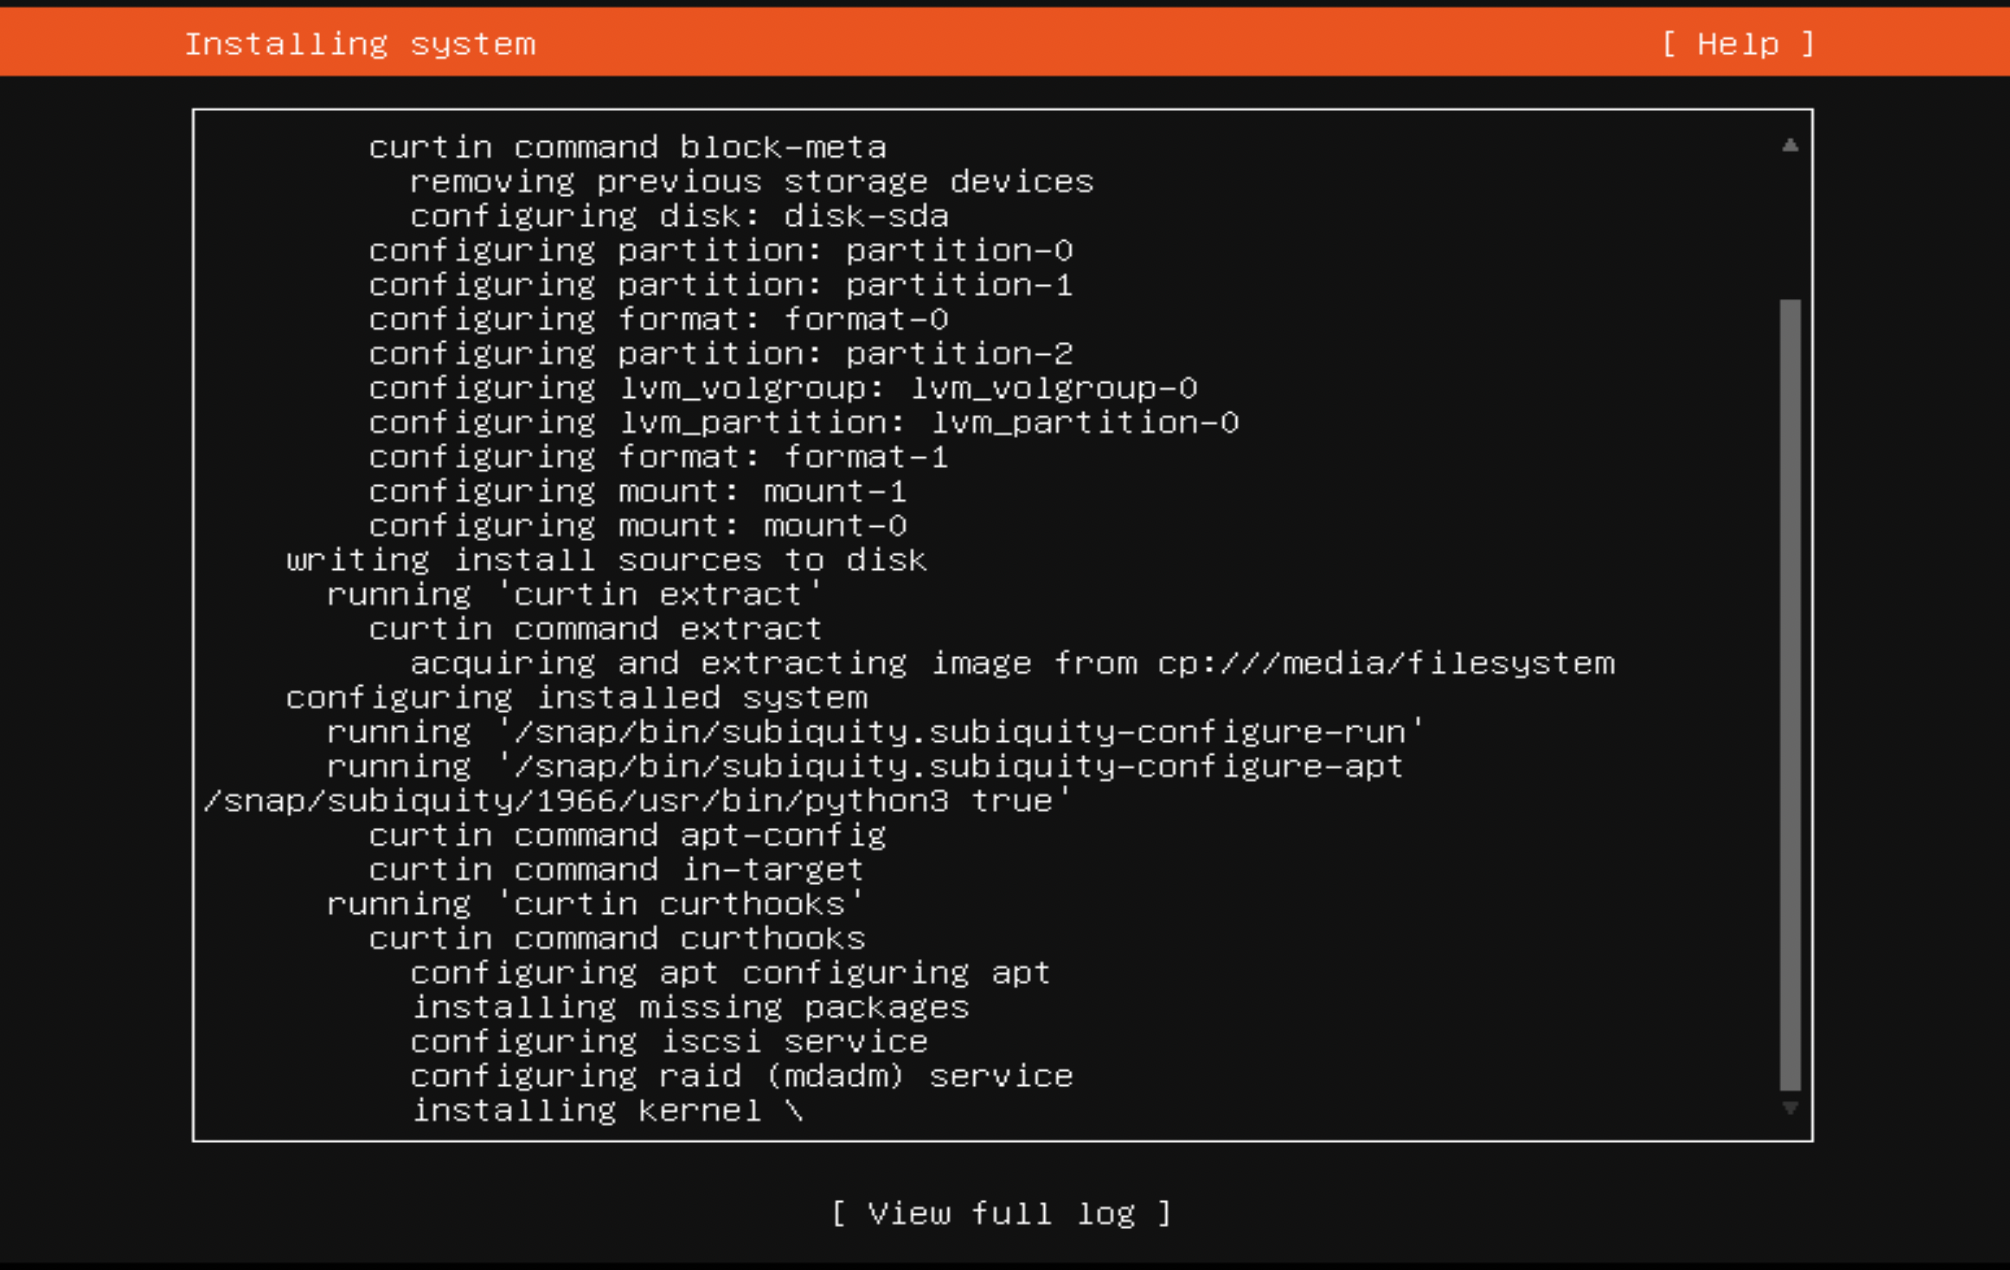
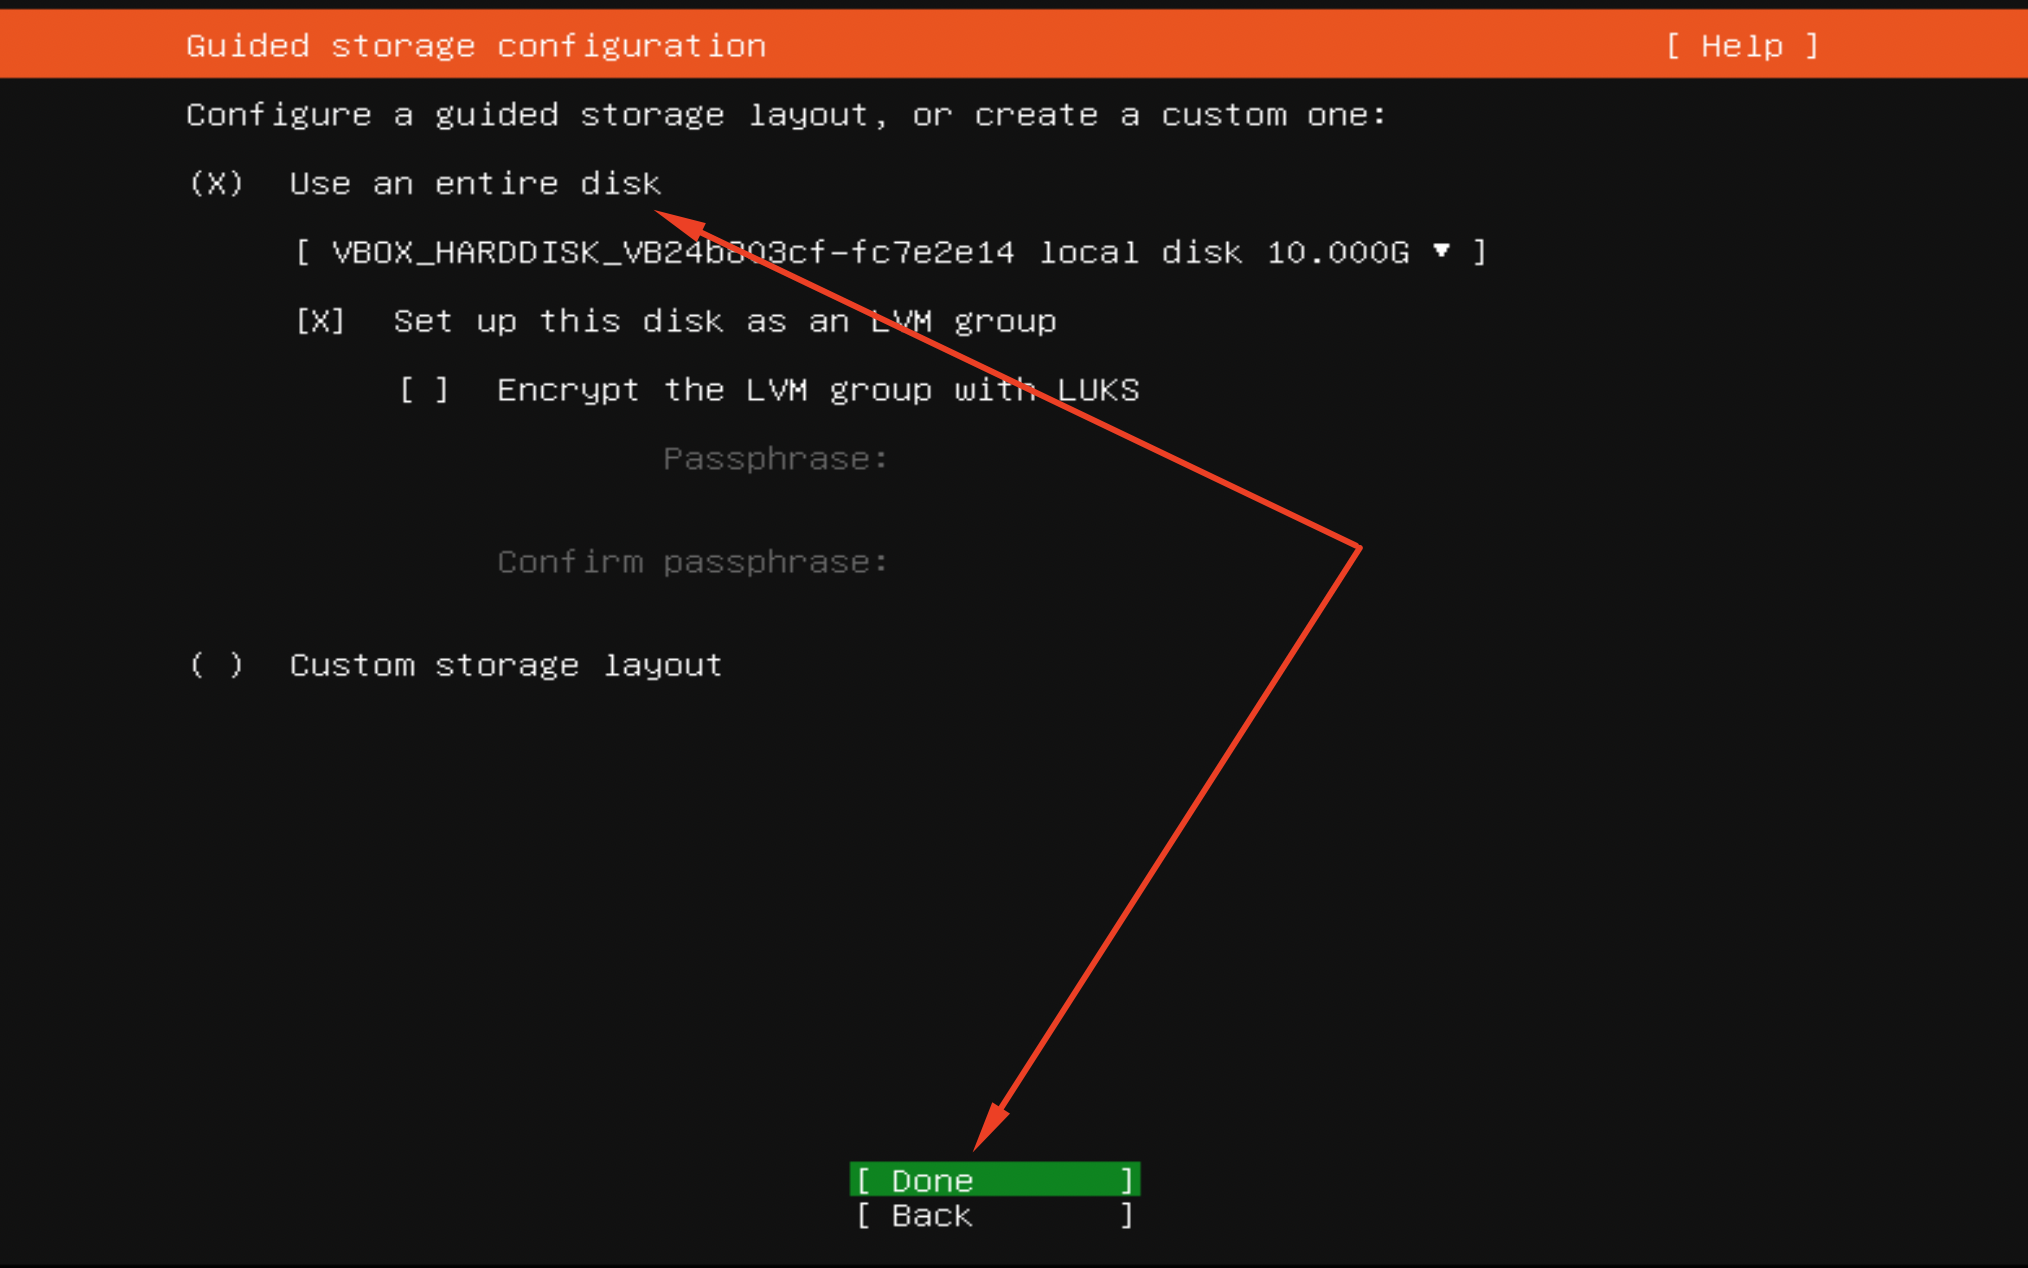
Step 7 : If you want to get through the installer quickly and you don't plan on any partitioning, you can select use entire disk to just set up a single partition
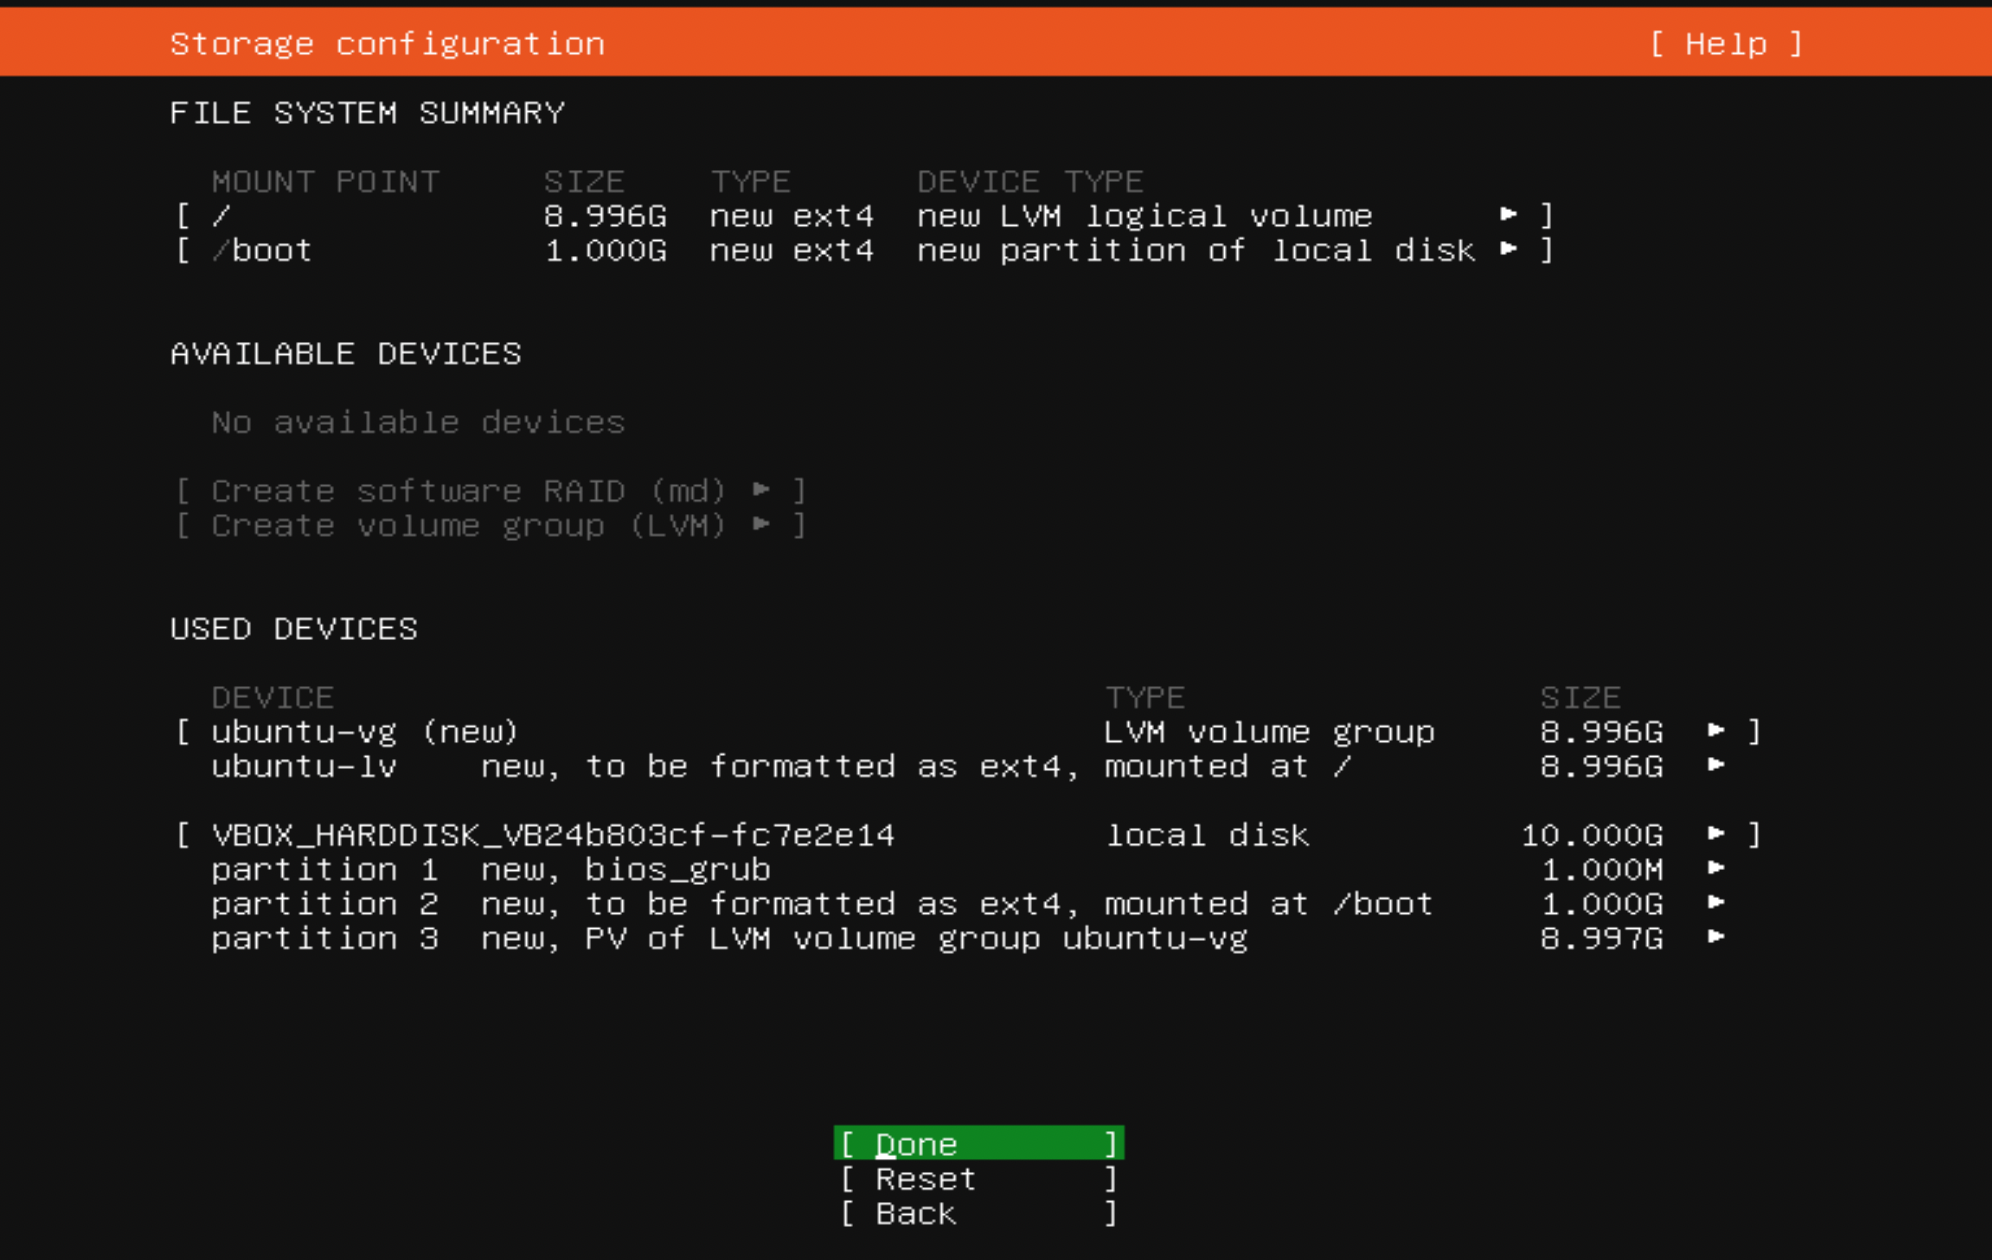
Step 8 : Press Enter to continue:
Step 9 : Choose continue:

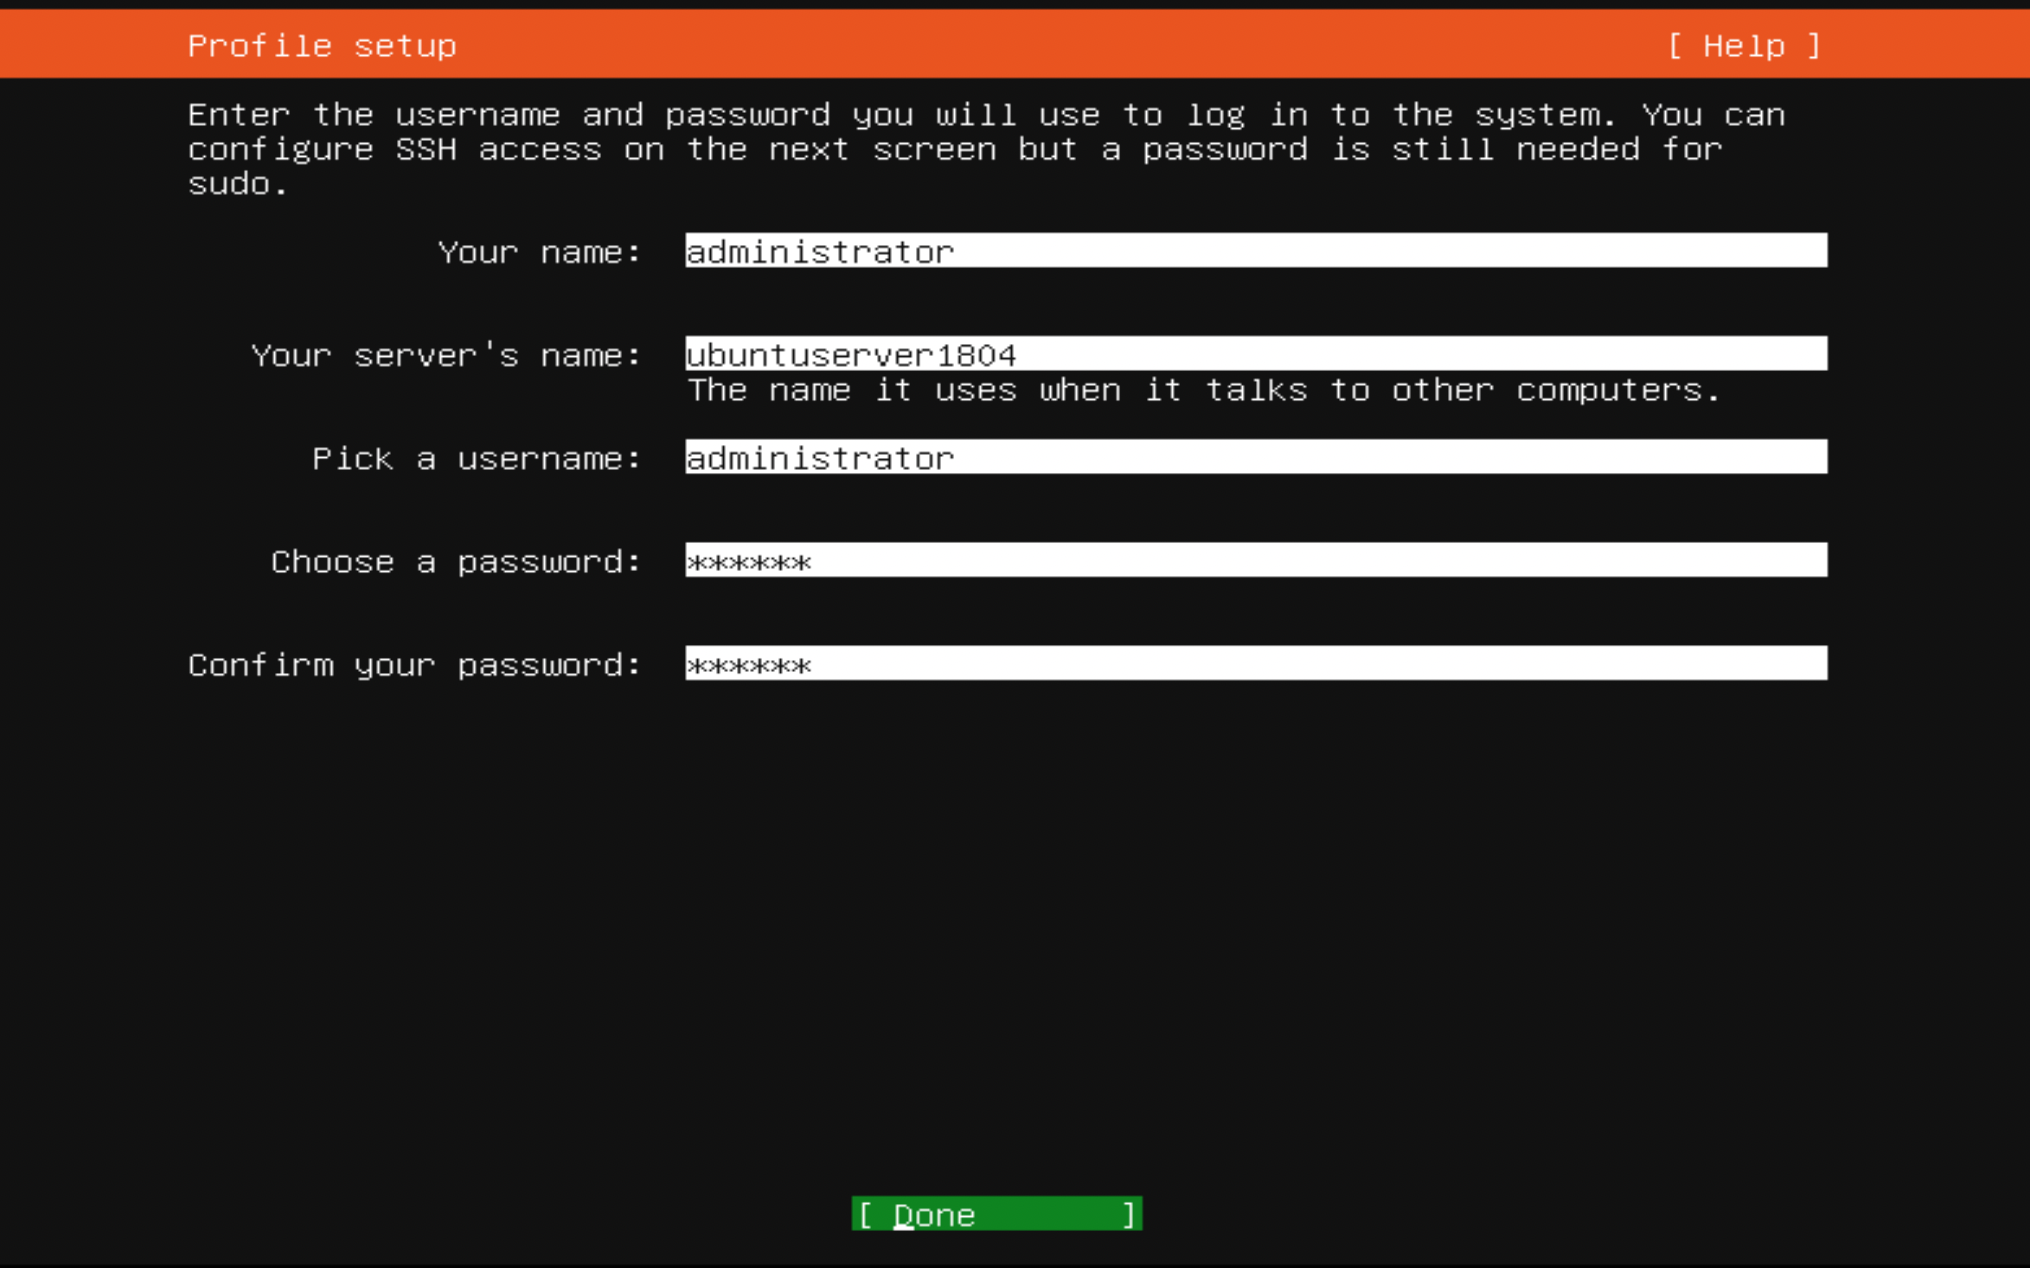
Step 10 :Next, the installer will ask you to provide a user name and password for the first account on the system:
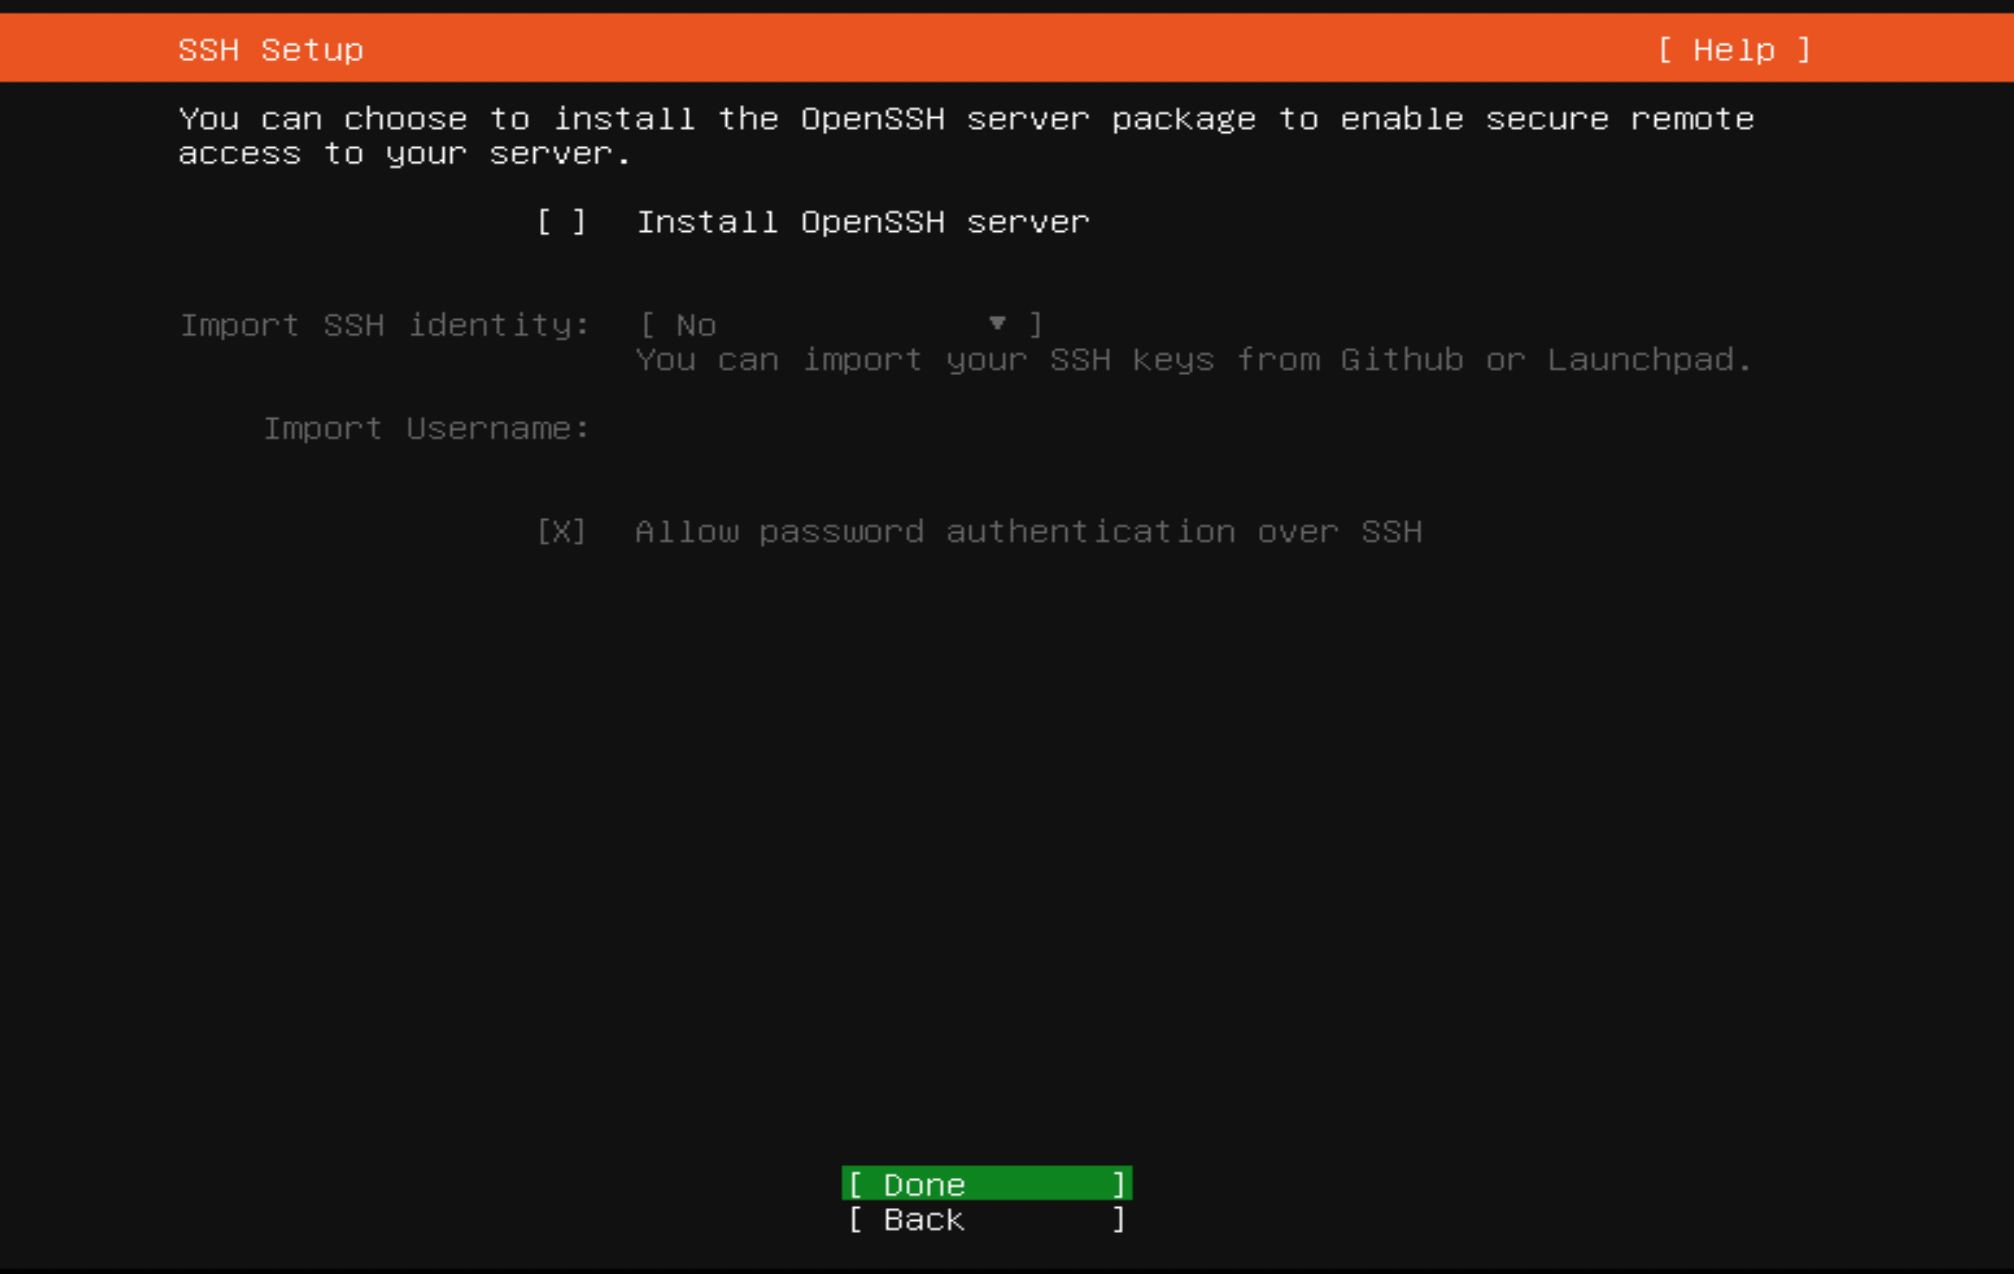
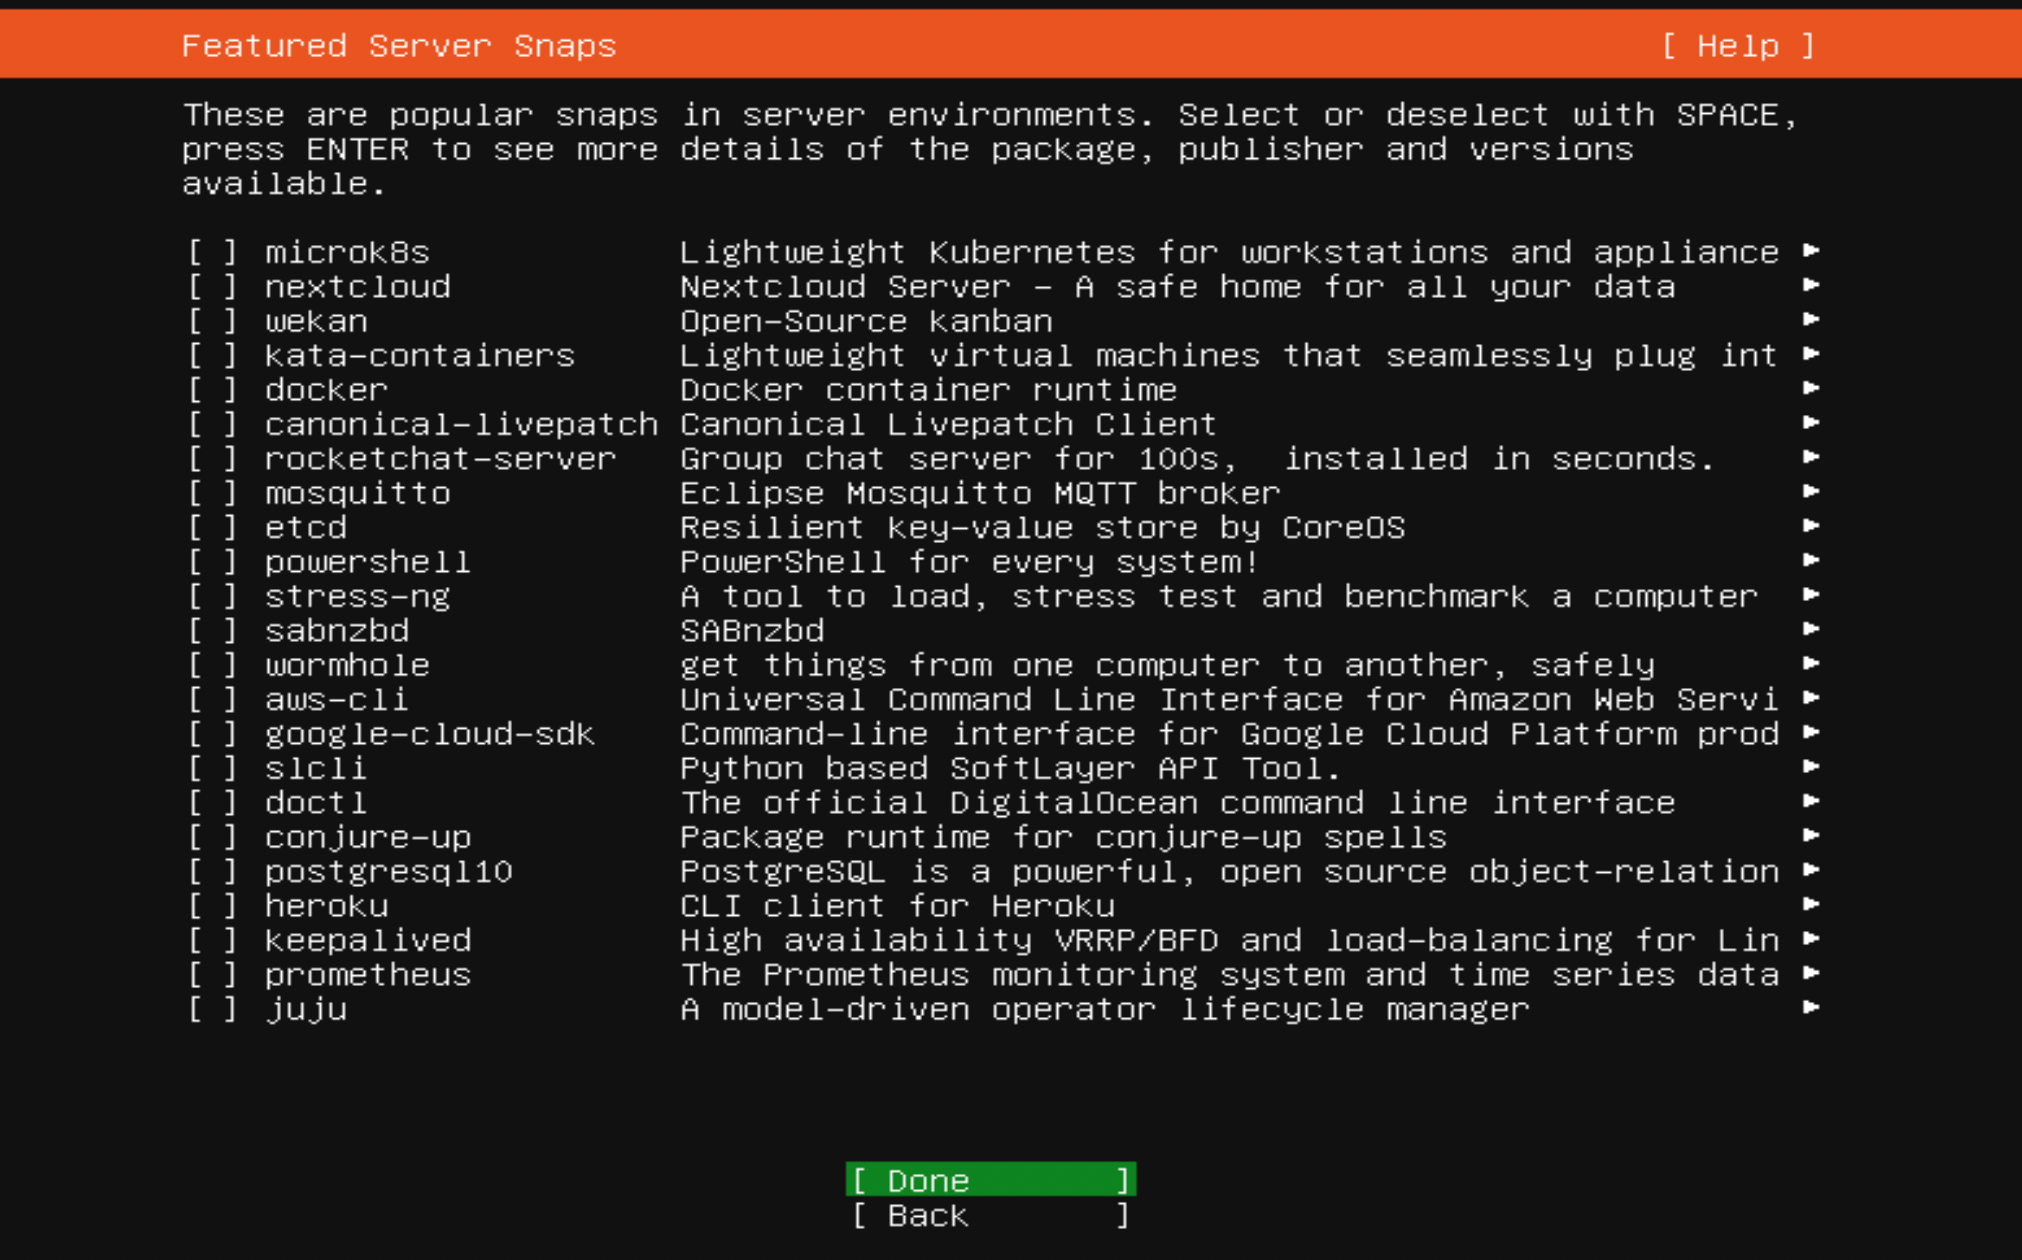
Step 11 : On the next screen, you'll be given some additional software collections you can install if you want to. You'll have the option to set up an OpenSSH server, Mail server, LAMP server, and more.
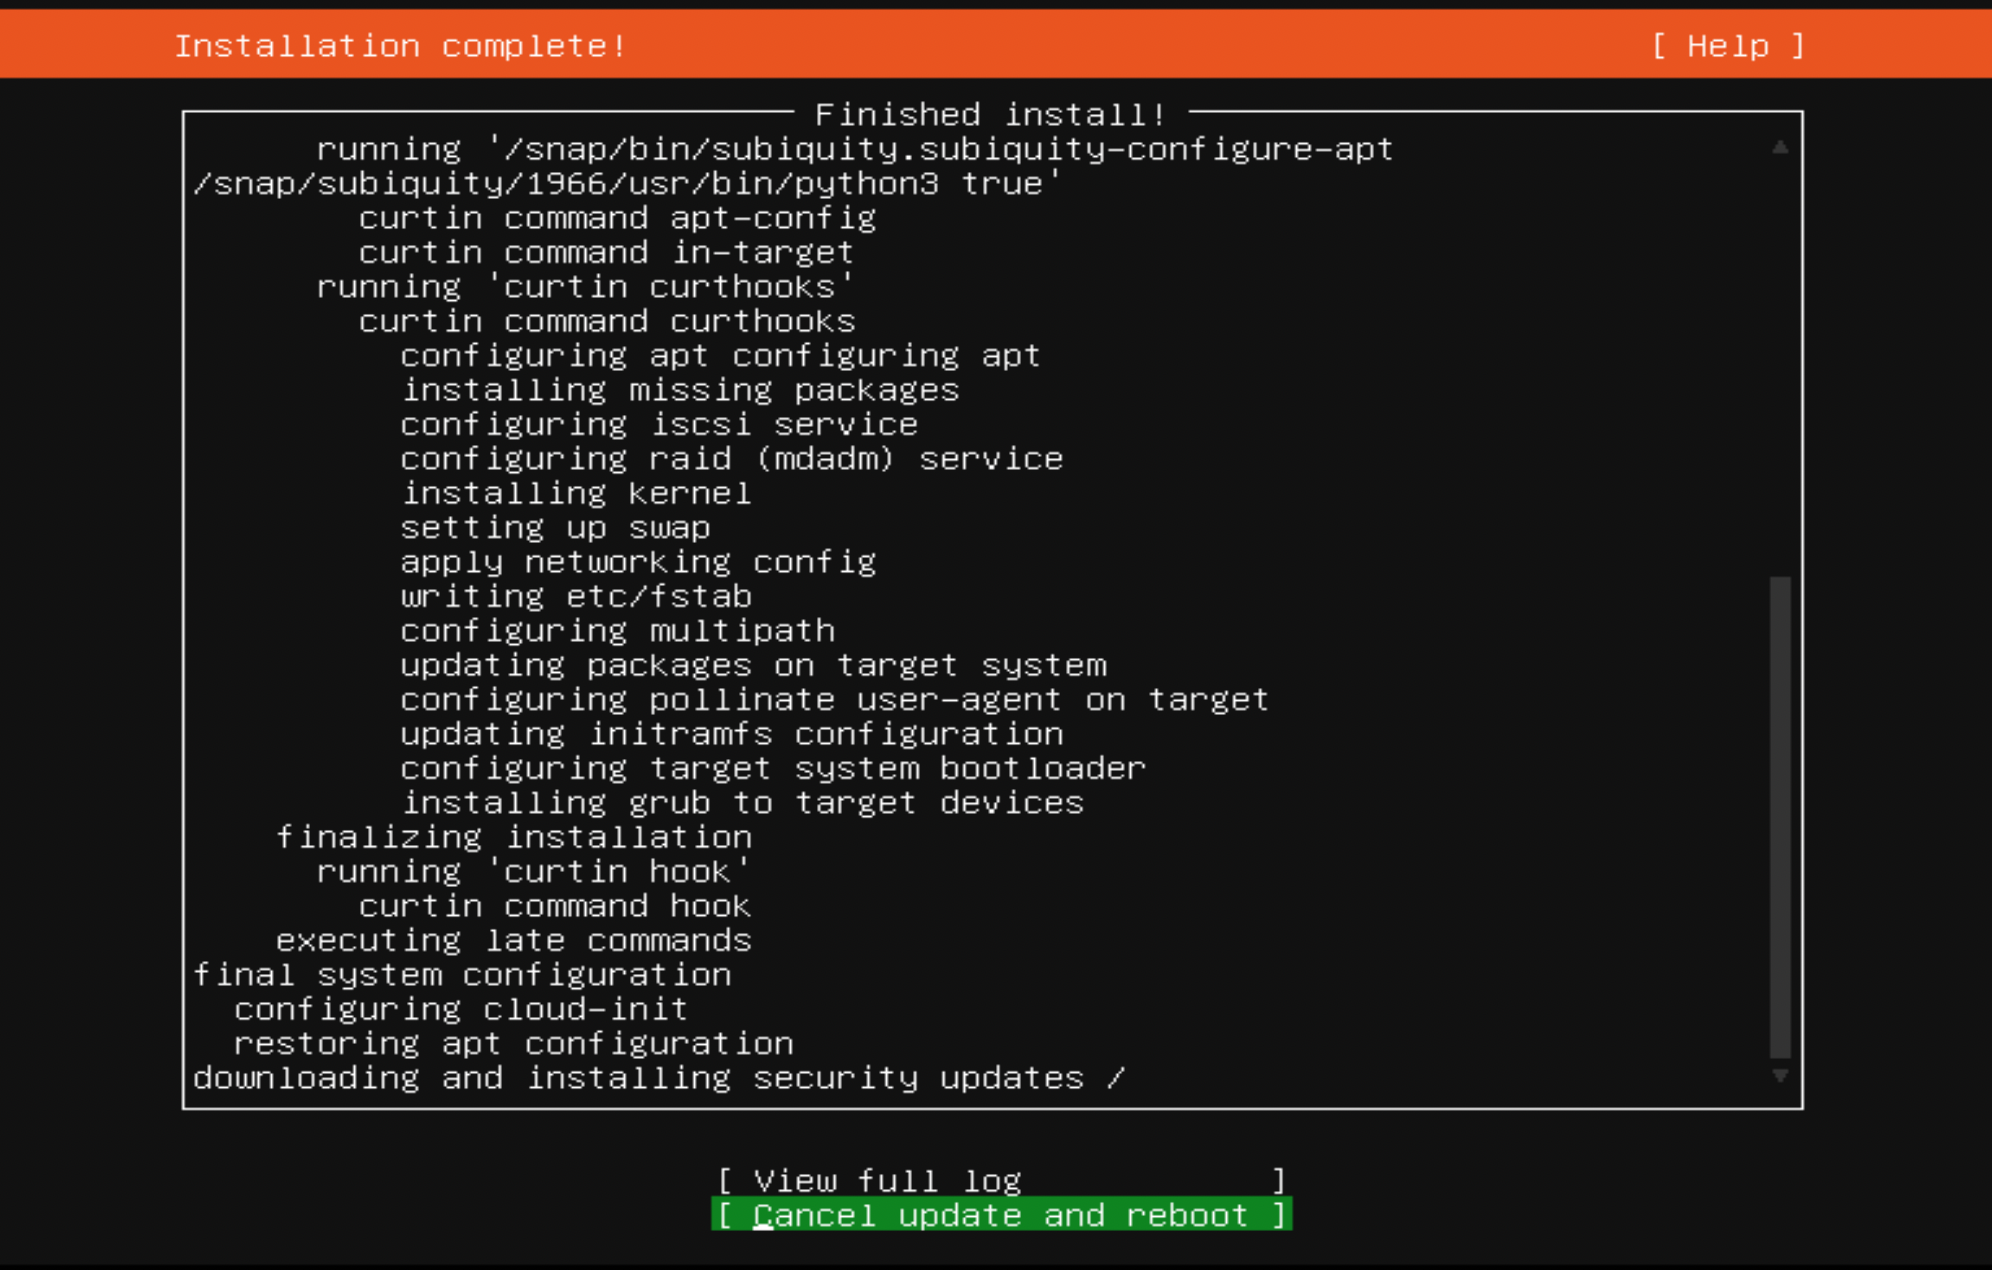
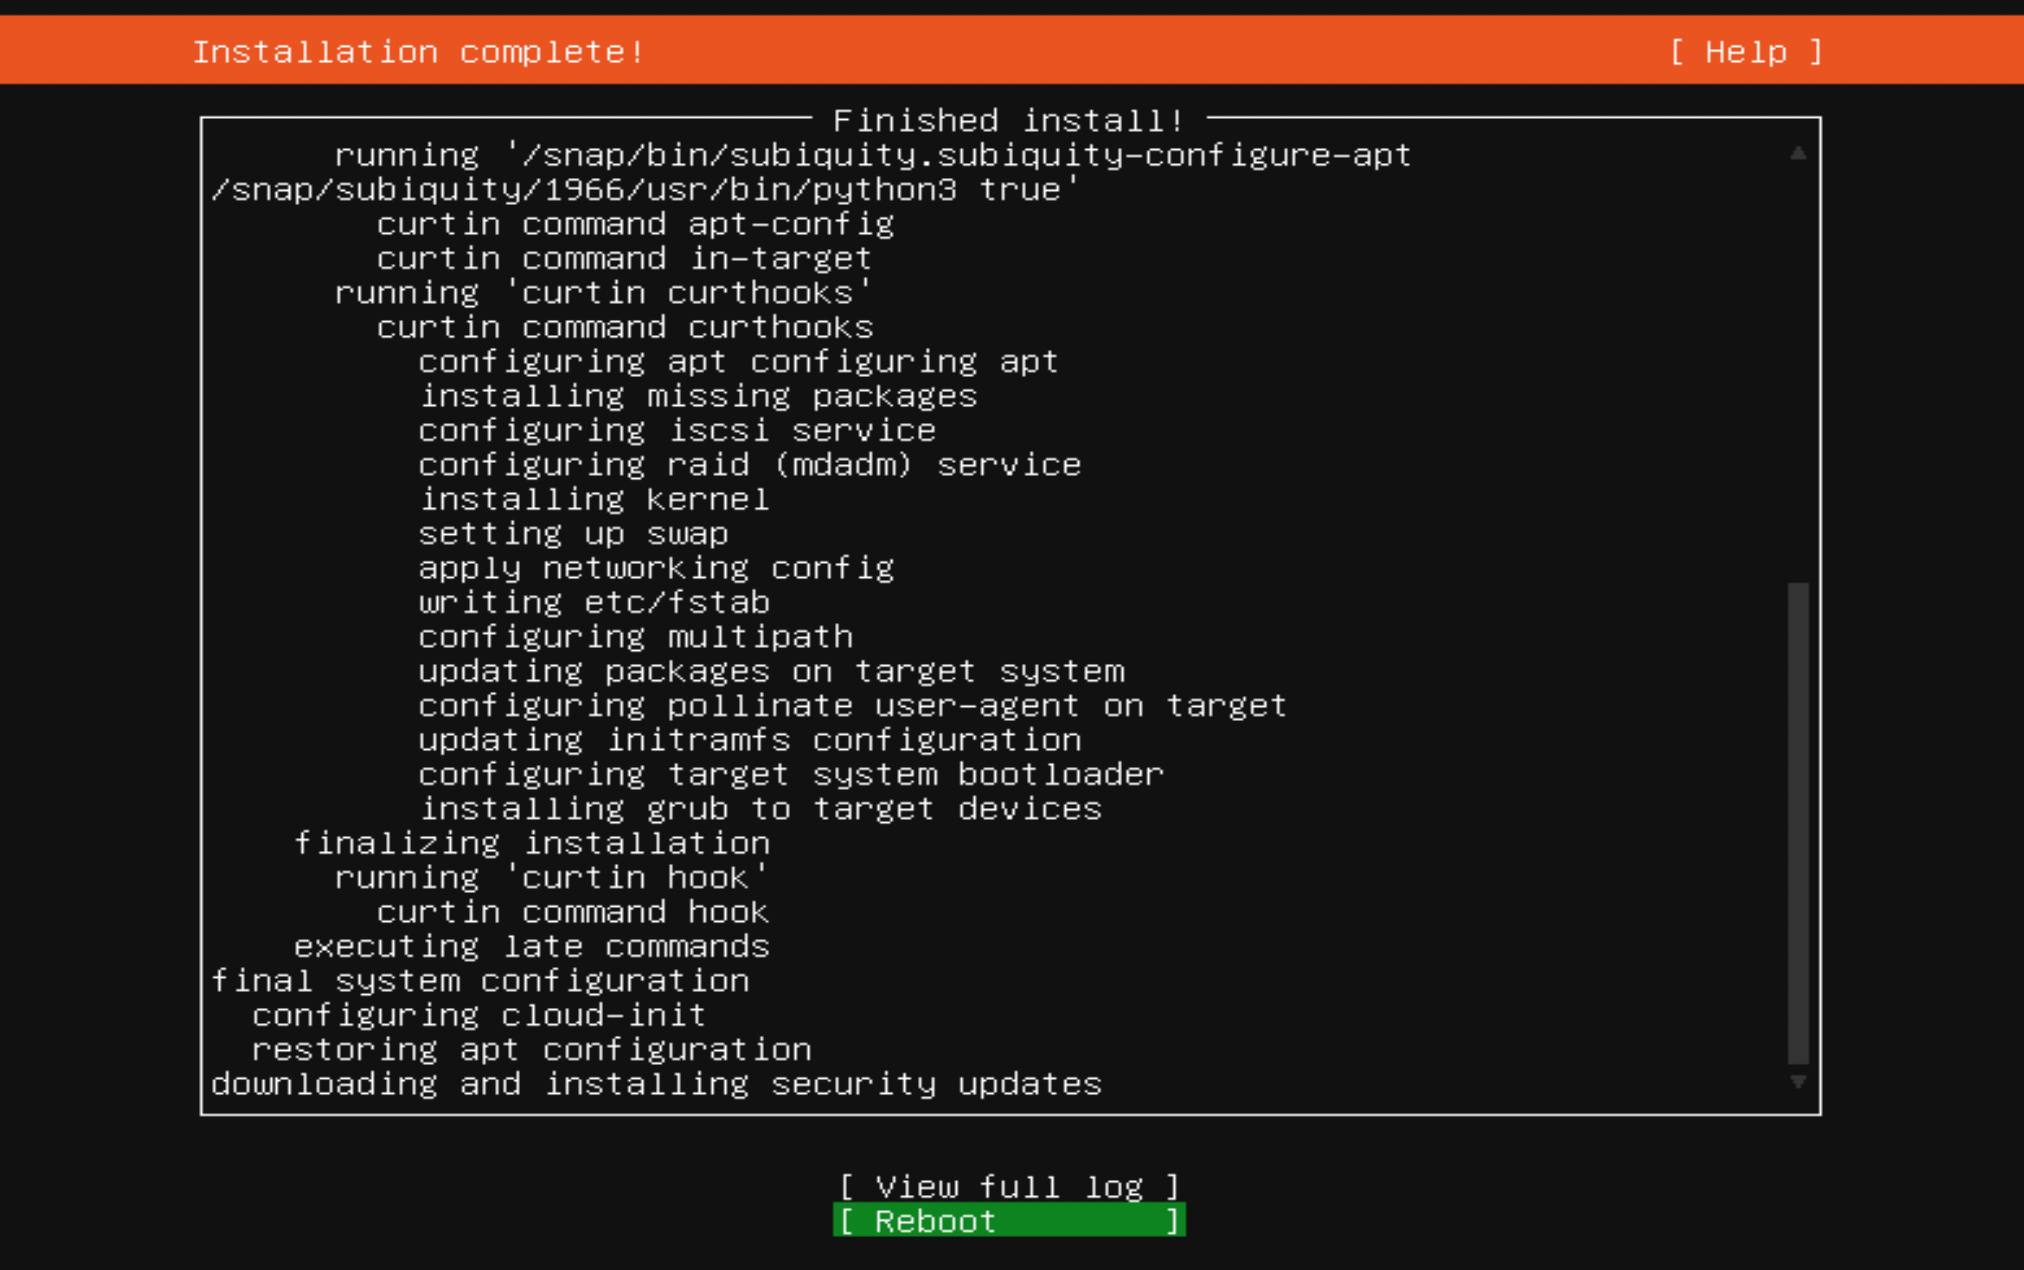
Step 12 : Finally, our installation is complete! At this point, you can remove your boot media and then select Continue at the final confirmation screen to reboot the system: