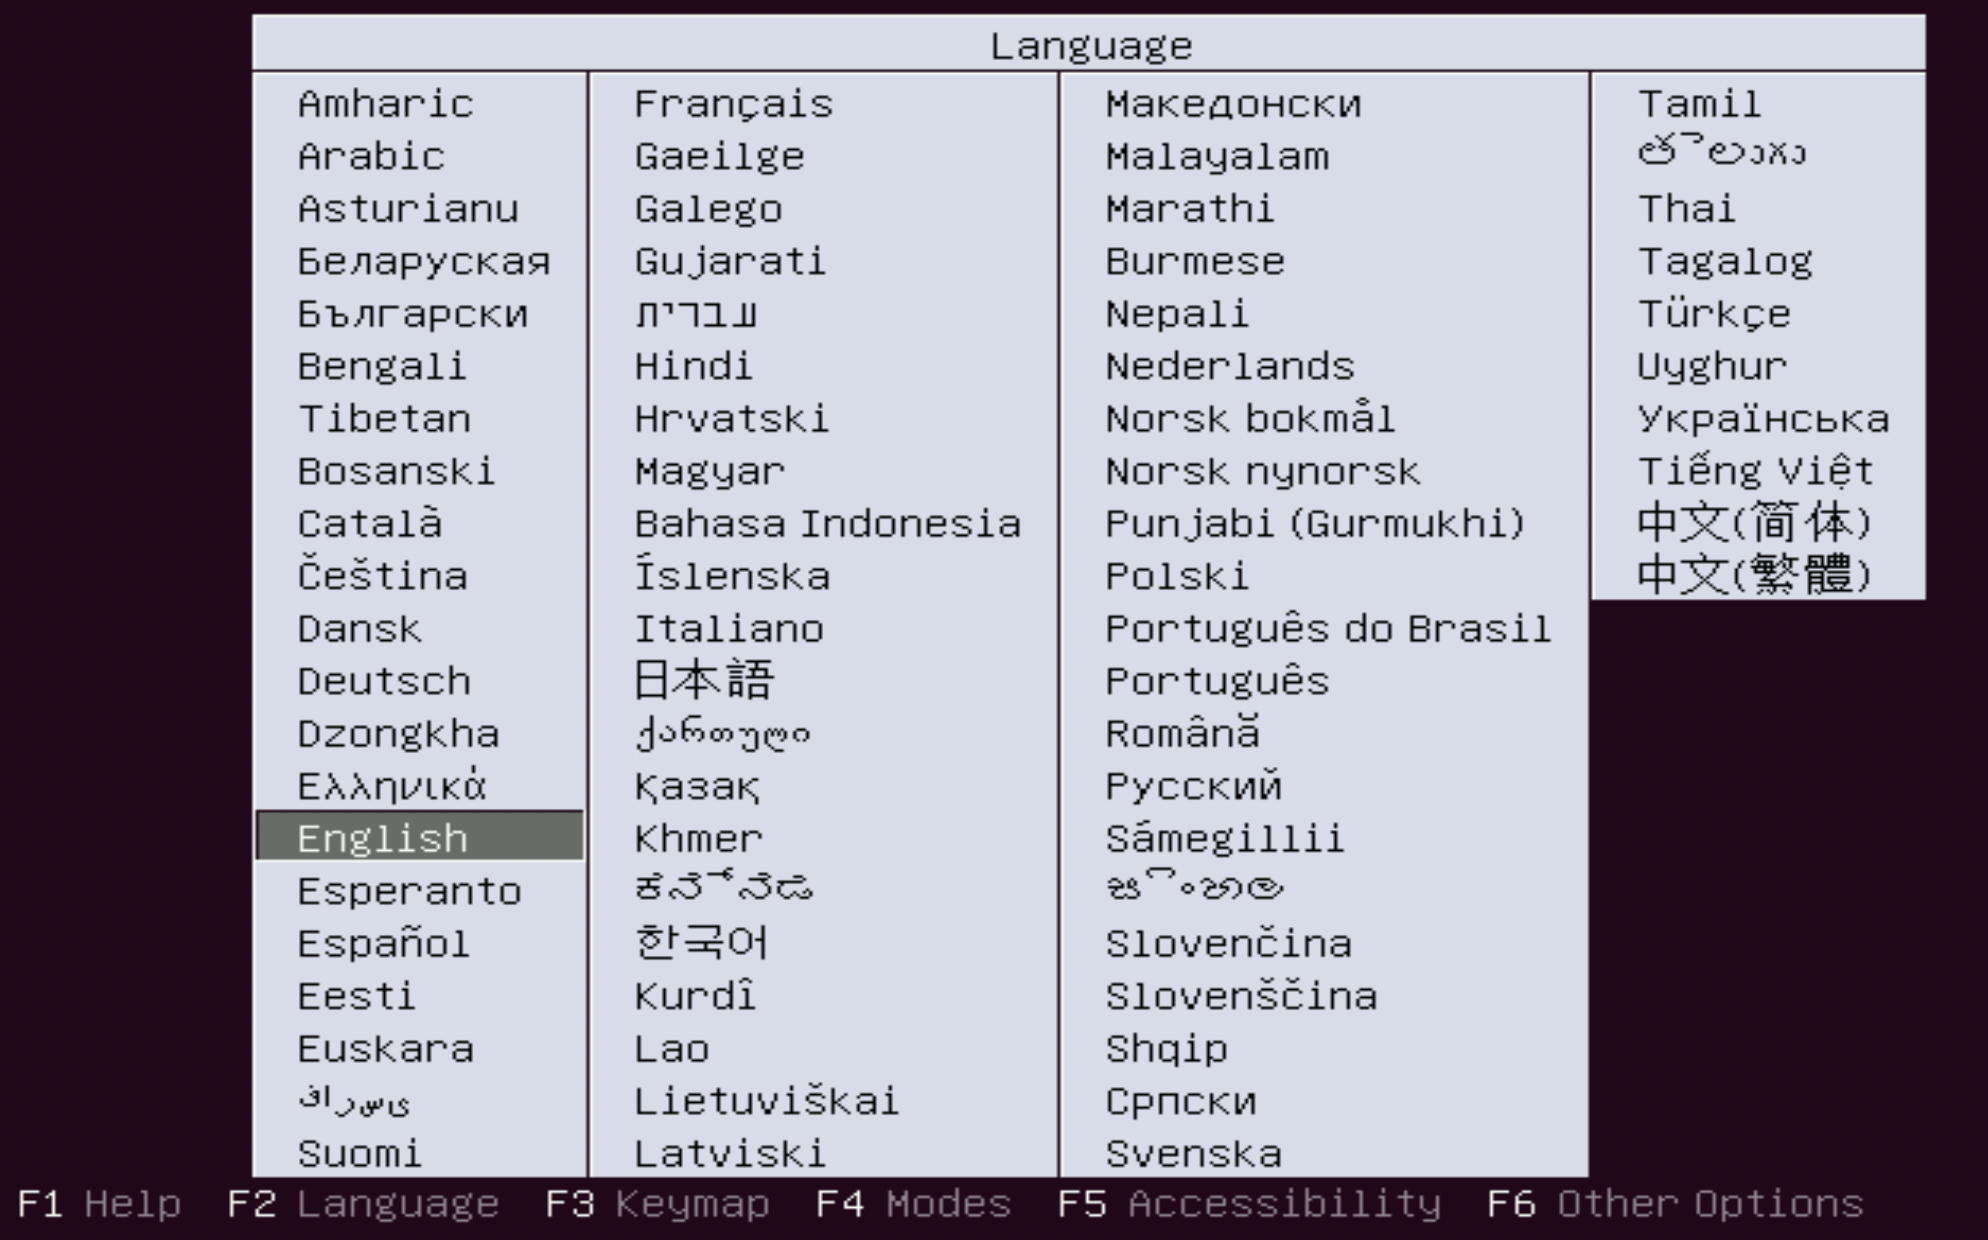
Step 1 : Insert the Ubuntu installation media into the appropriate drive, power on the system and follow the onscreen instructions to open the boot menu. The key you press at the beginning of the POST process differs from one machine to another, but it's quite often F10, F11, or F12. . Once you successfully boot from the media, it should ask you to select your language. Use your arrow keys to change the selection, then press Enter:
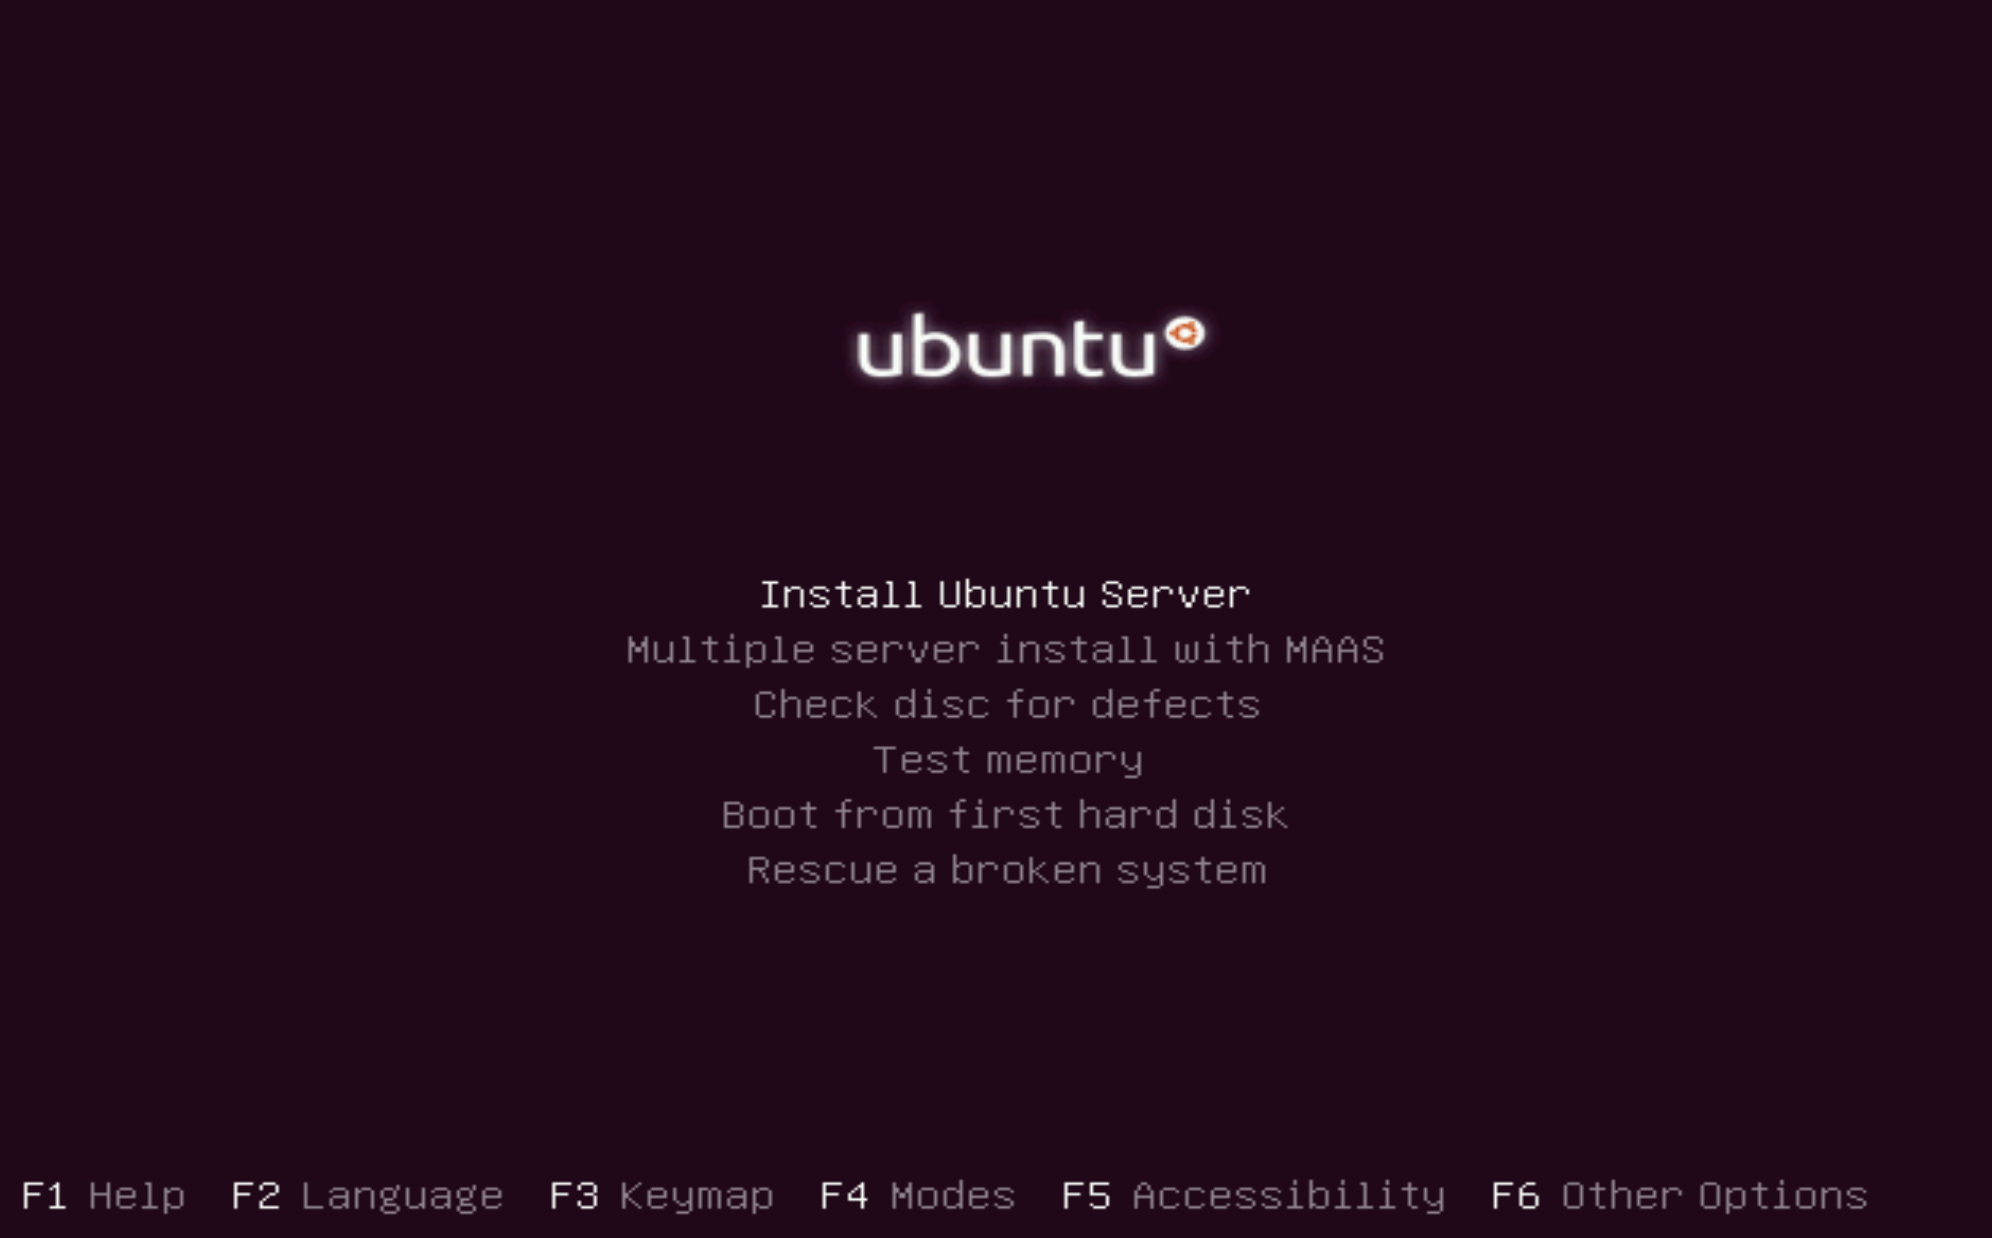
Step 2 : We can get right into the installation process by pressing Enter to choose the first option (Install Ubuntu Server)
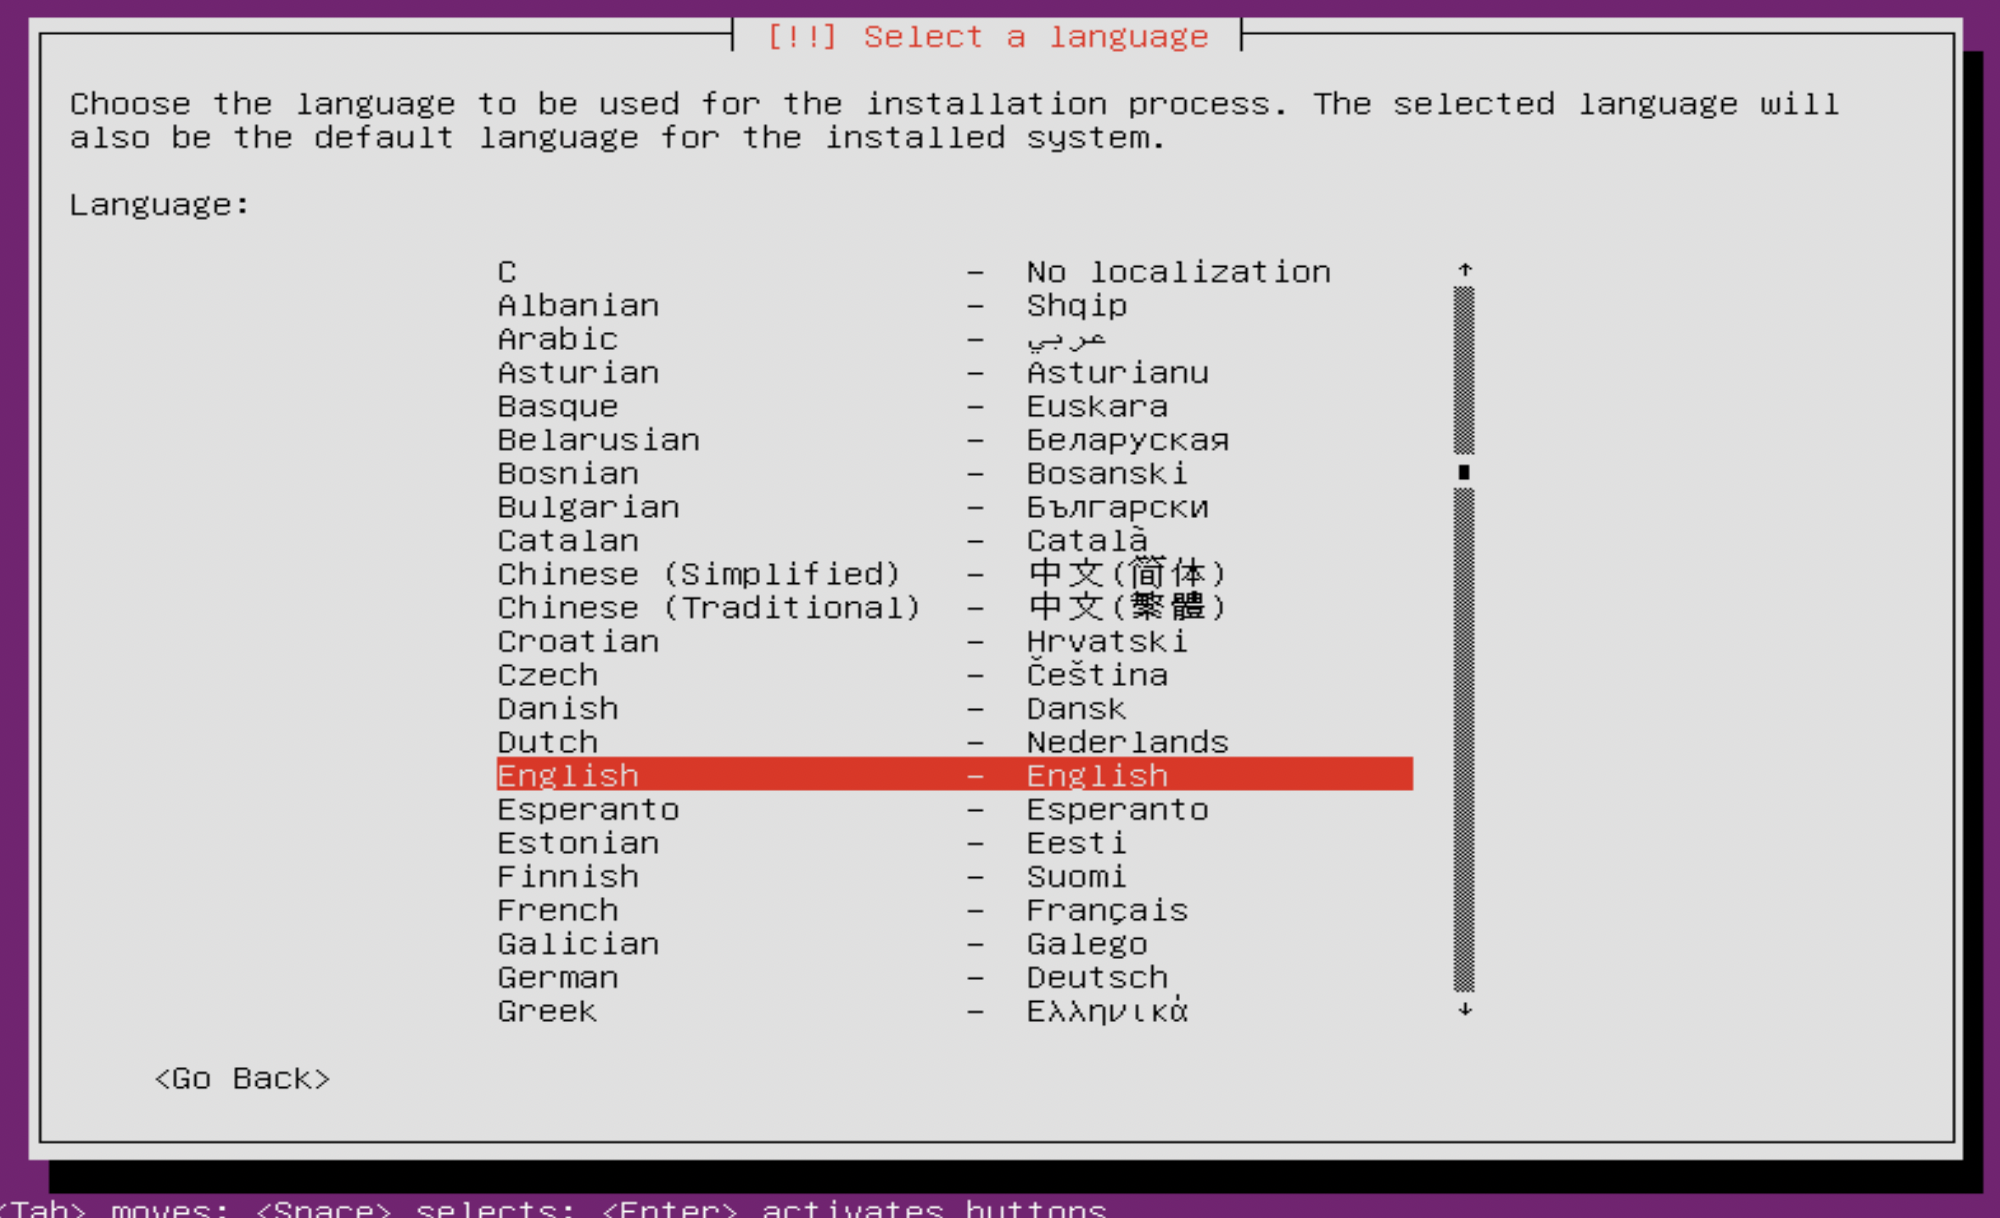
Step 3 : On the welcome screen, select your preferred language before clicking on the Continue button to proceed to the next screen:
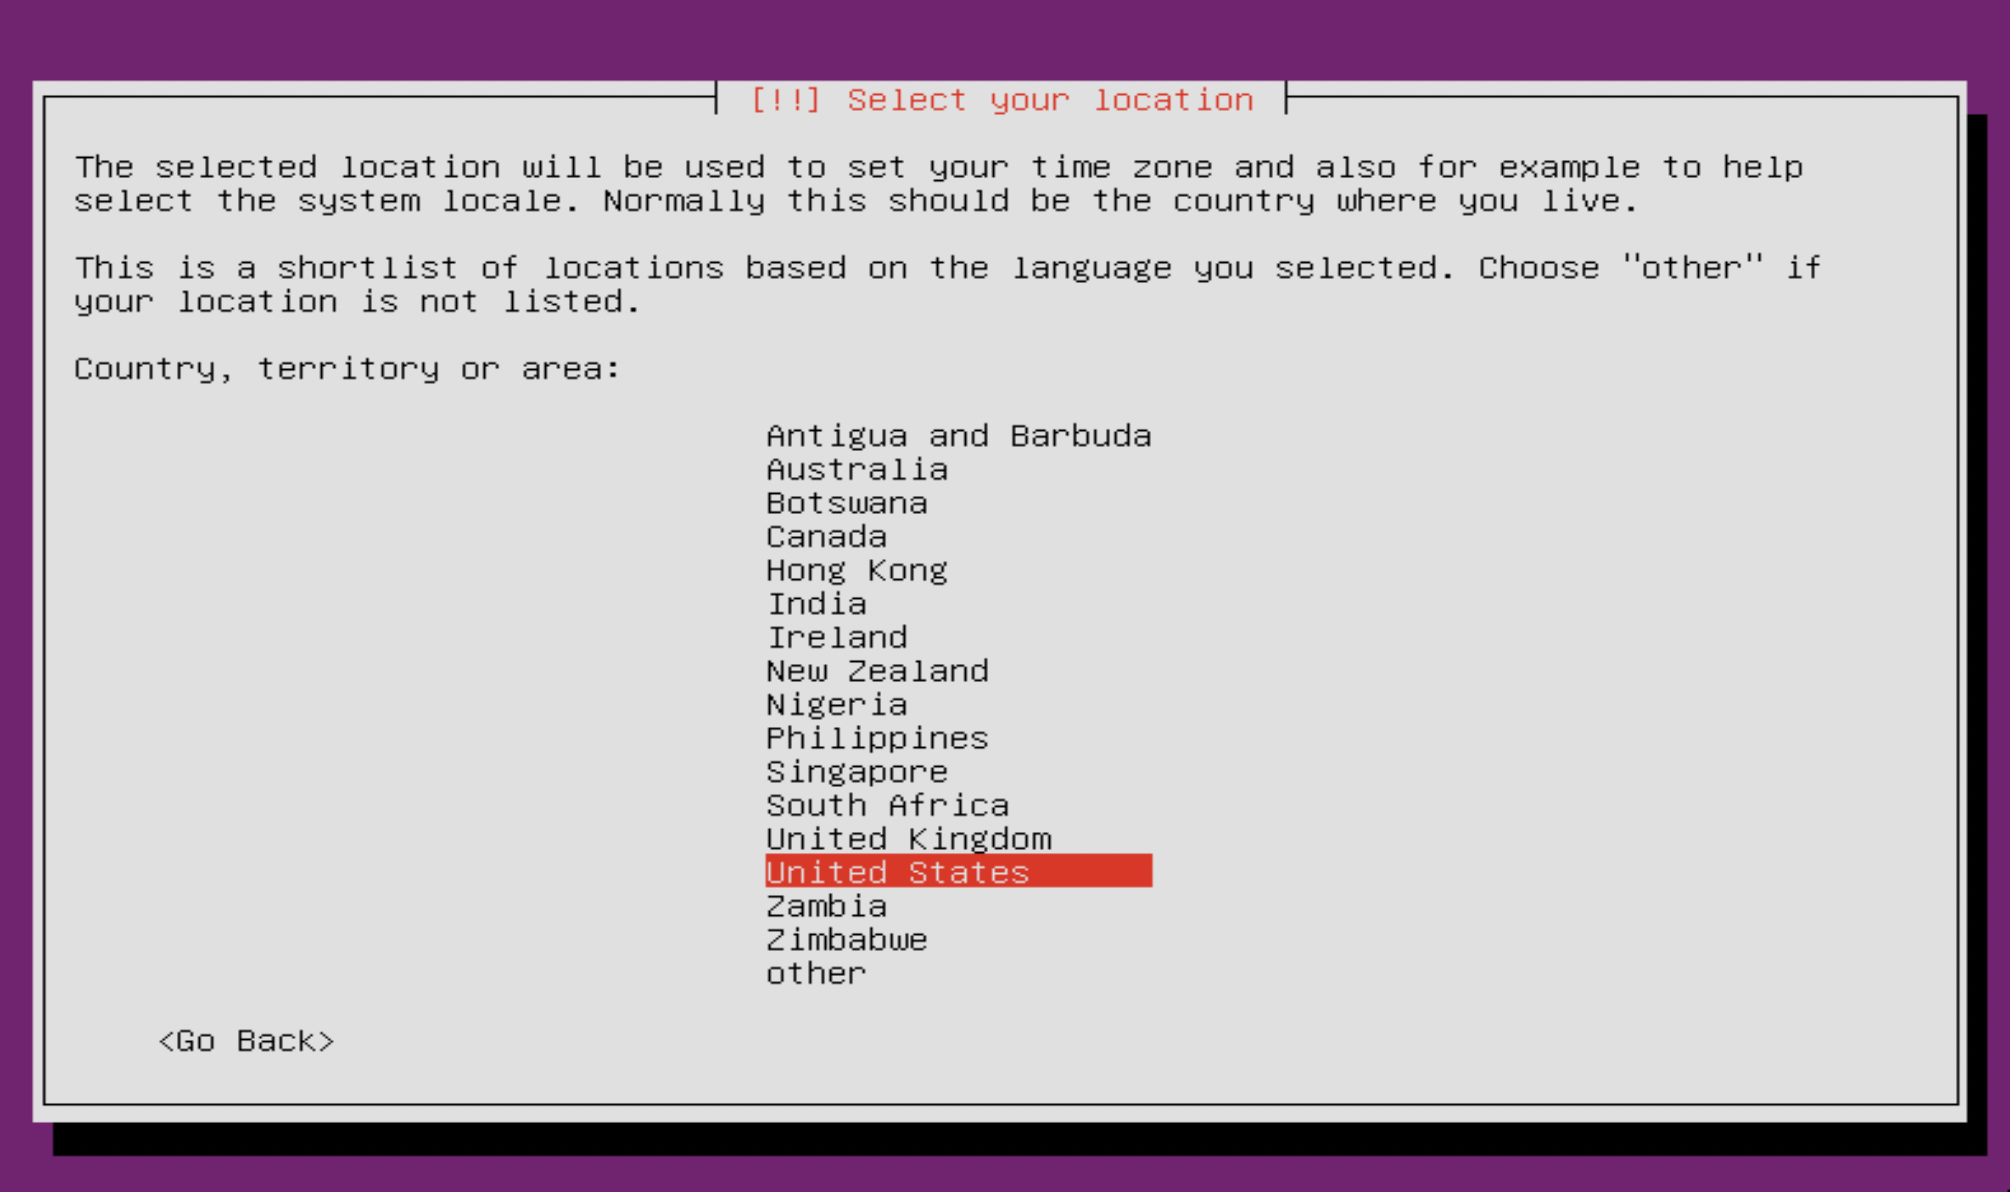
Step 4 : On the Select your location screen, choose the area that is closest to you
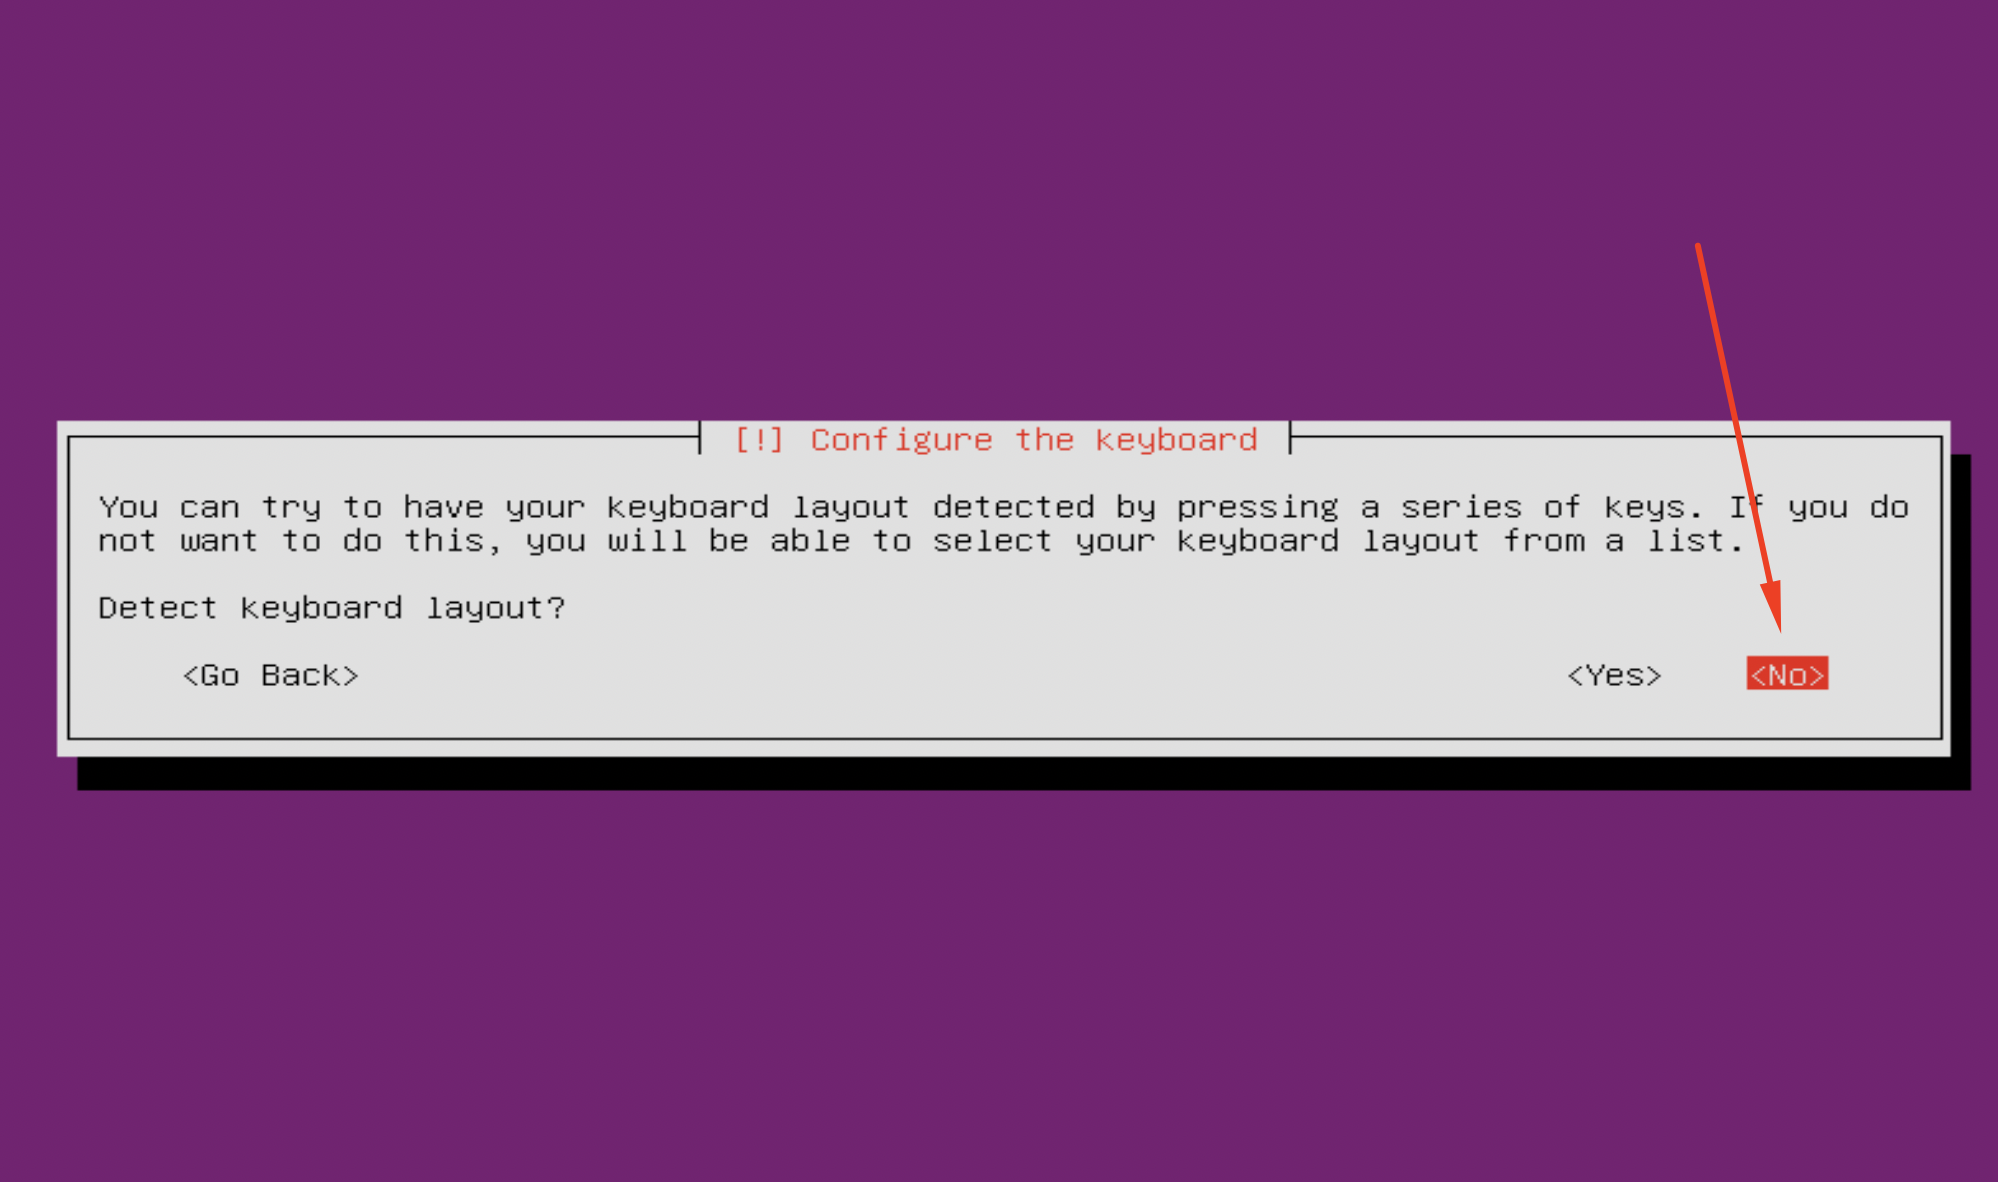
Step 5 : On the Configure the keyboard screen, choose No.
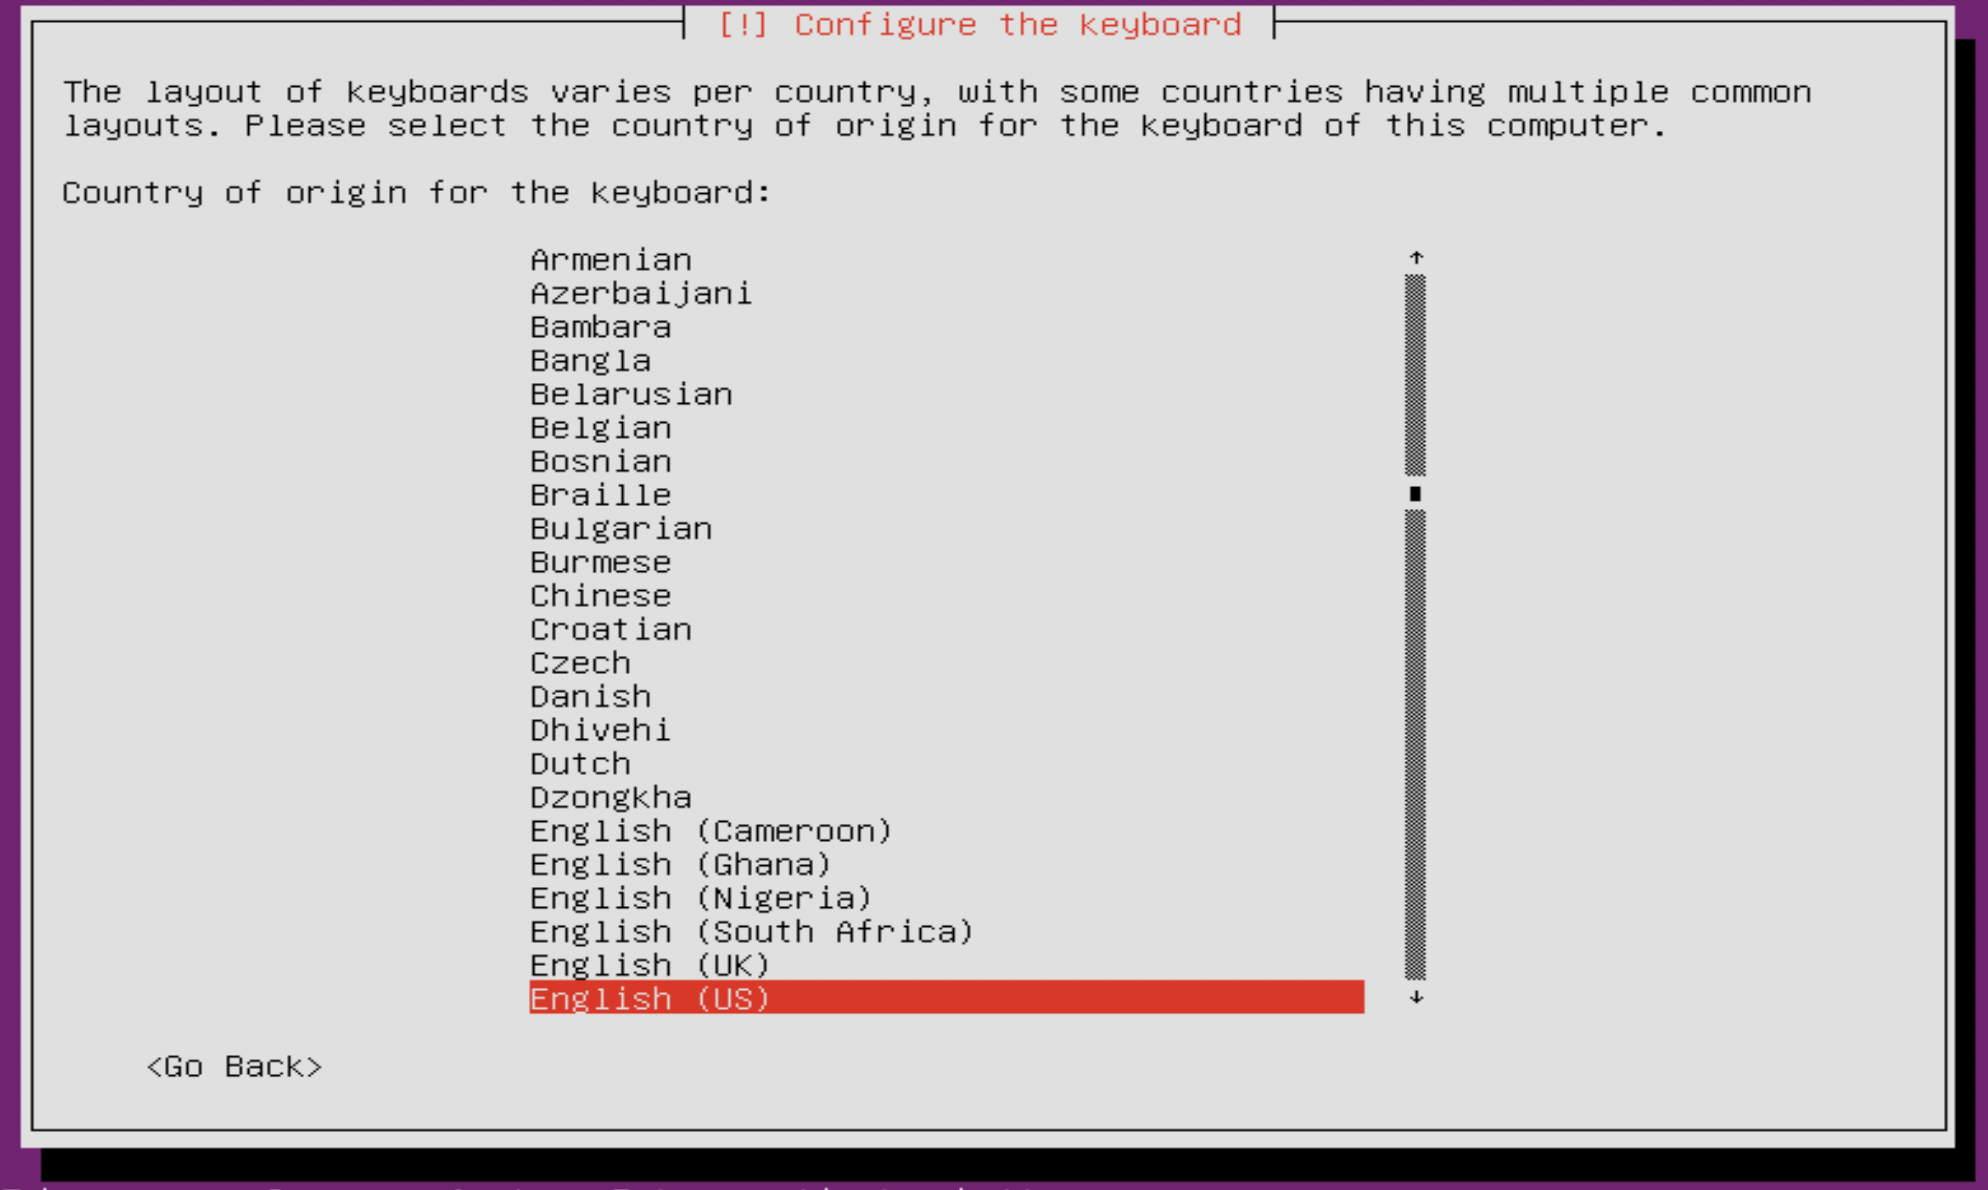
Step 6 :On the next screen, I choose English (US)
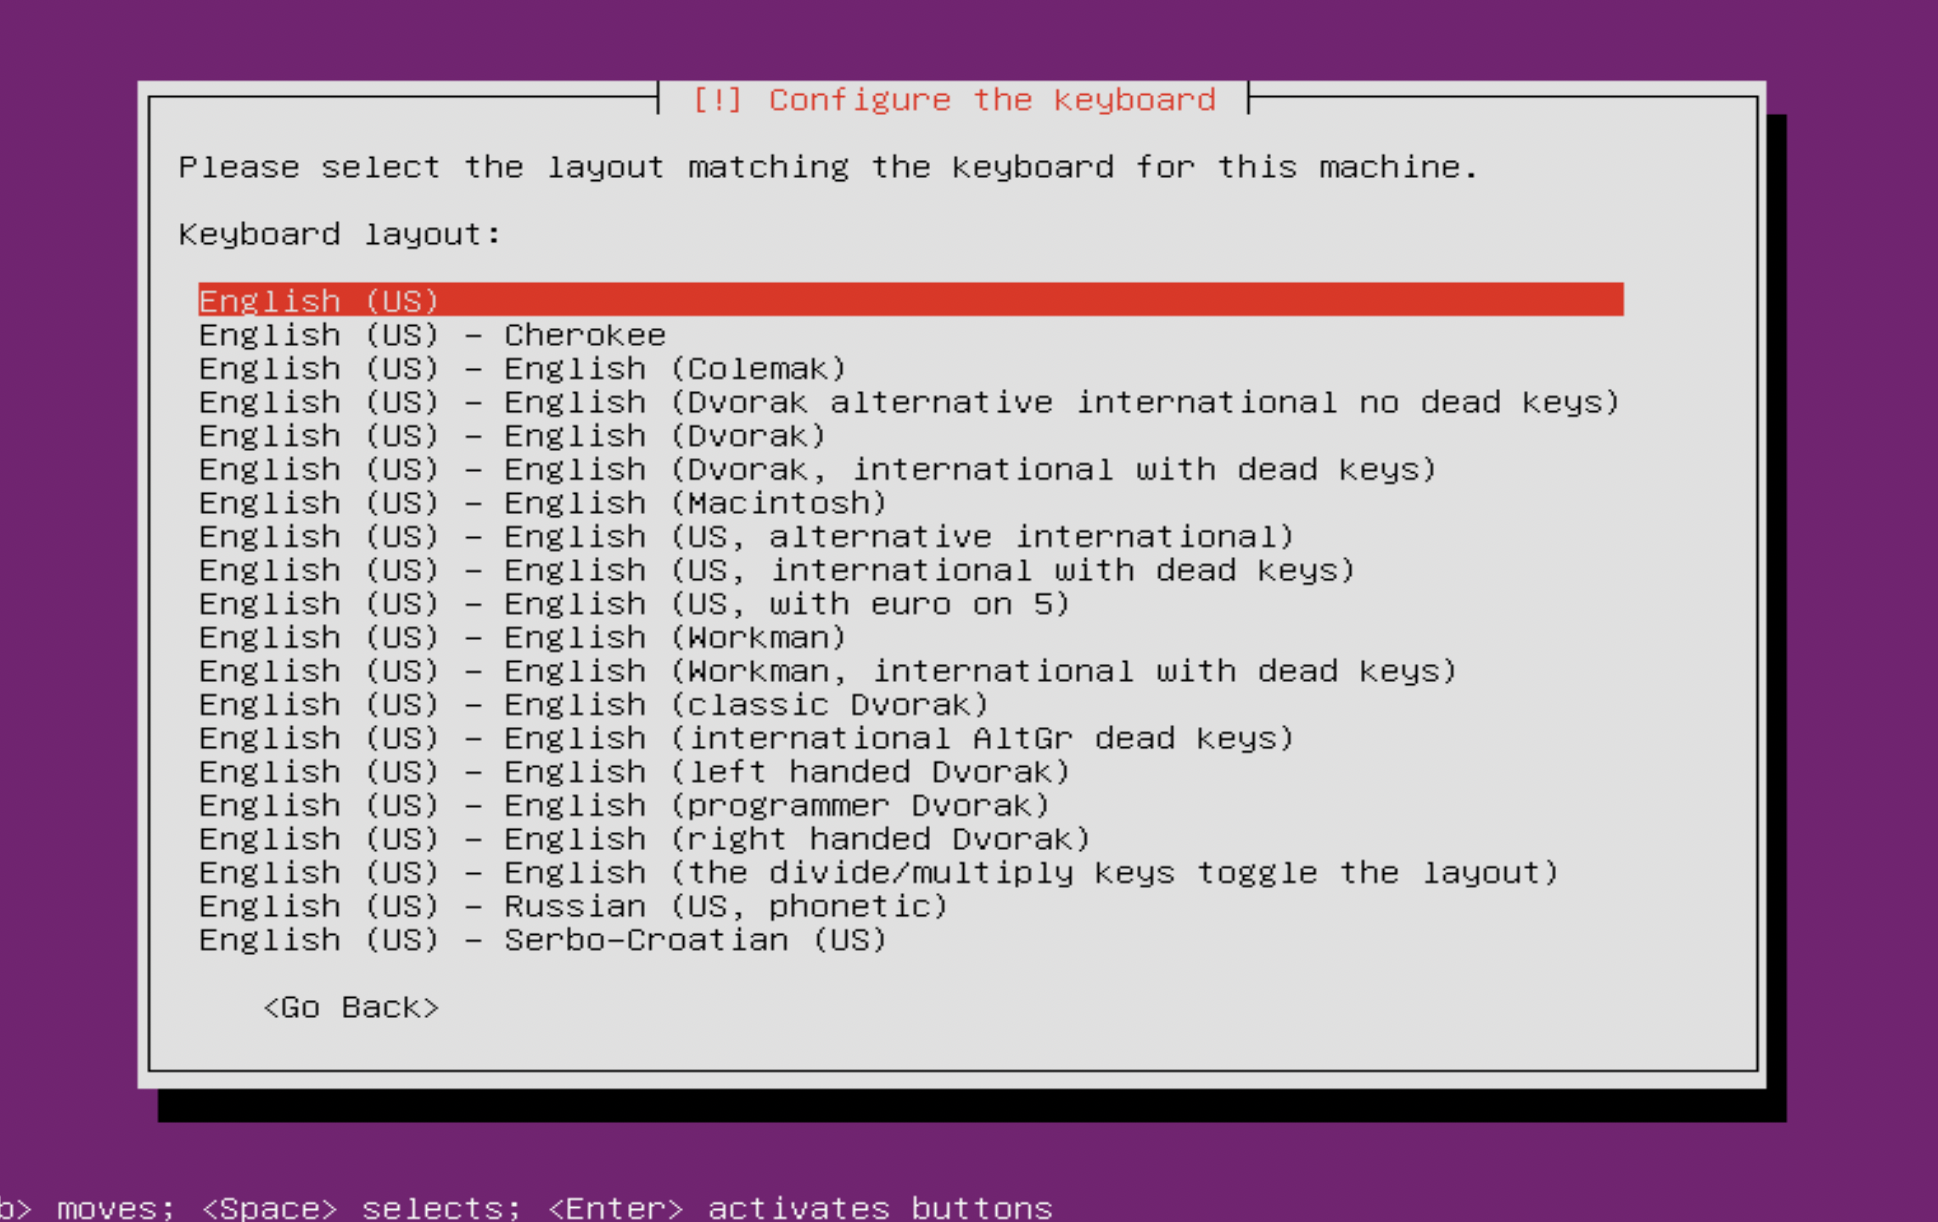
Step 7 : Next, you choose your actual keyboard layout. Press Enter to continue
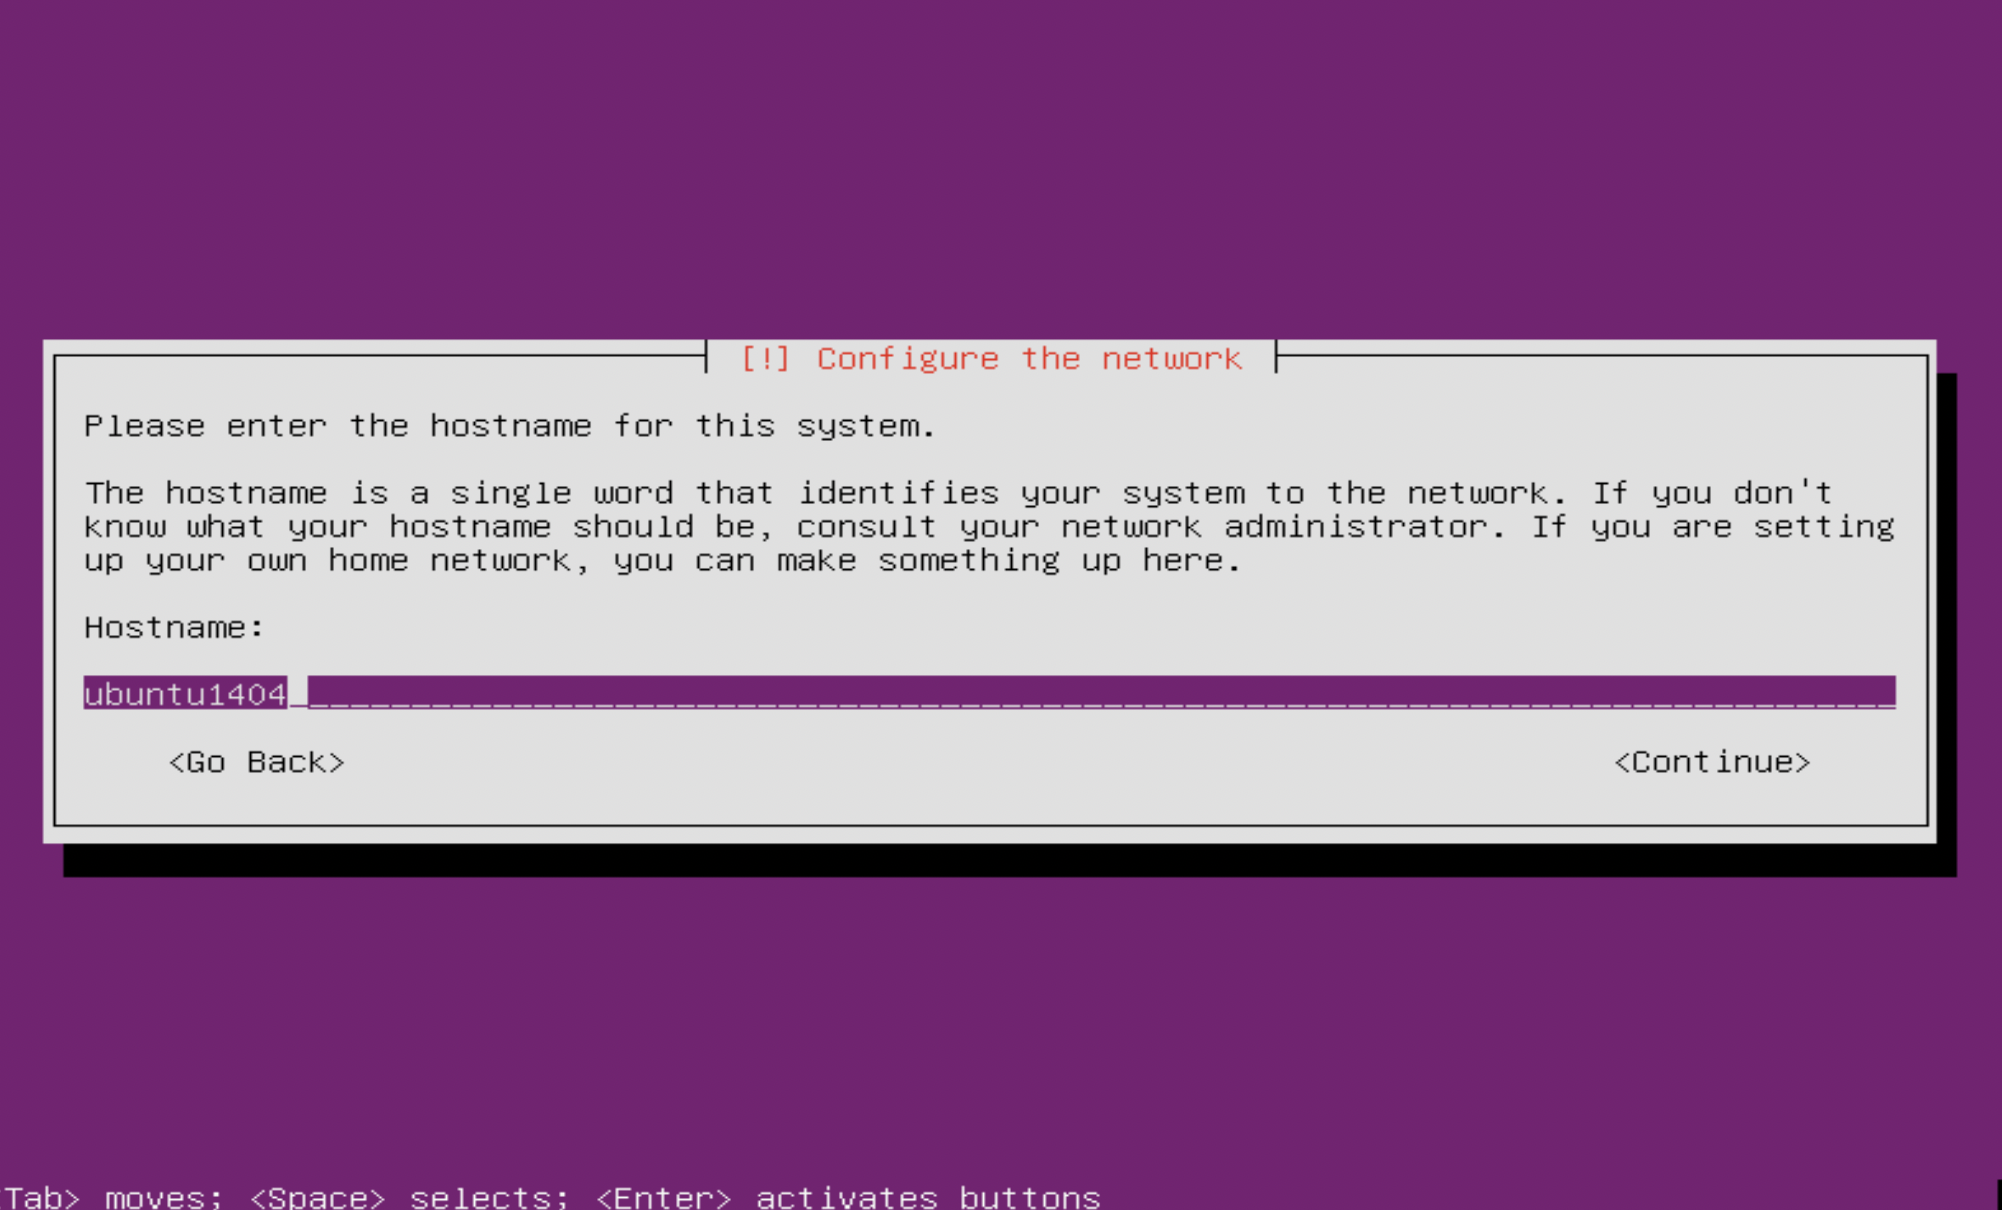
Step 8 :On the Configure the network screen. Where the installer will ask you to choose a Hostname for your server.
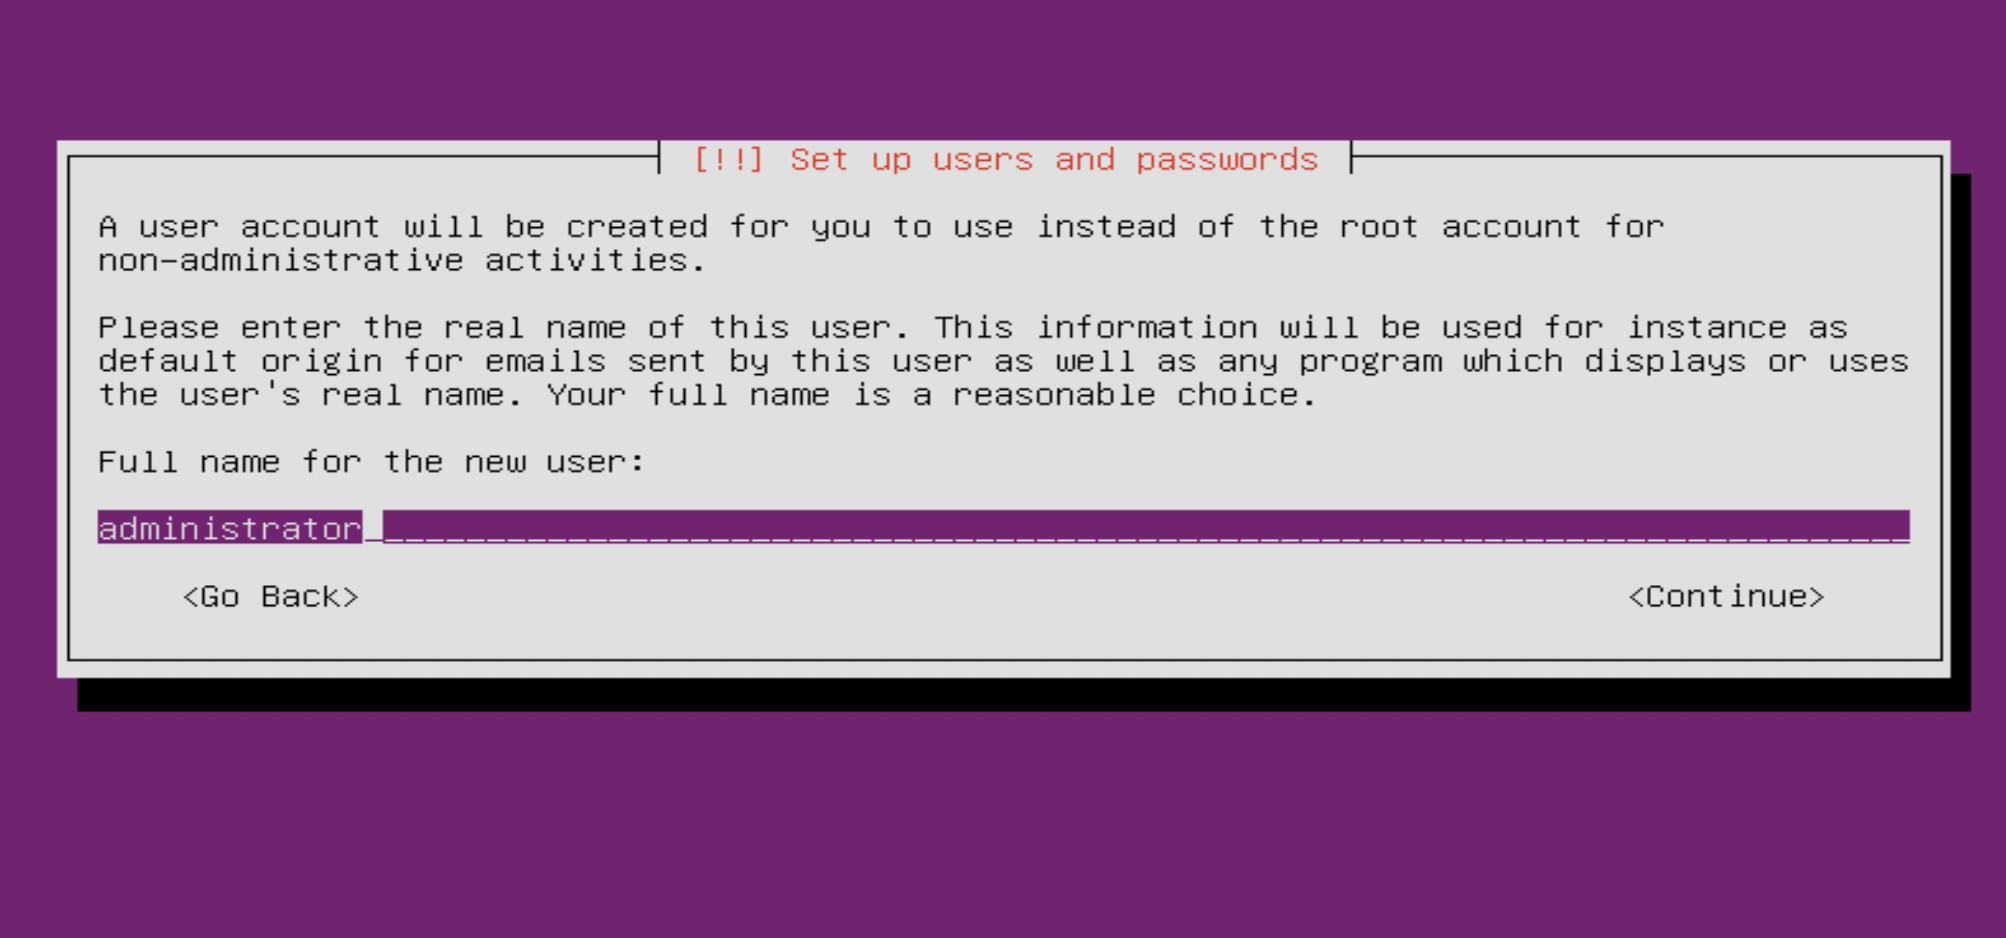
Step 9 : On the Set up users and passwords screen, the installer will ask you for the Full name for the new user that will be created
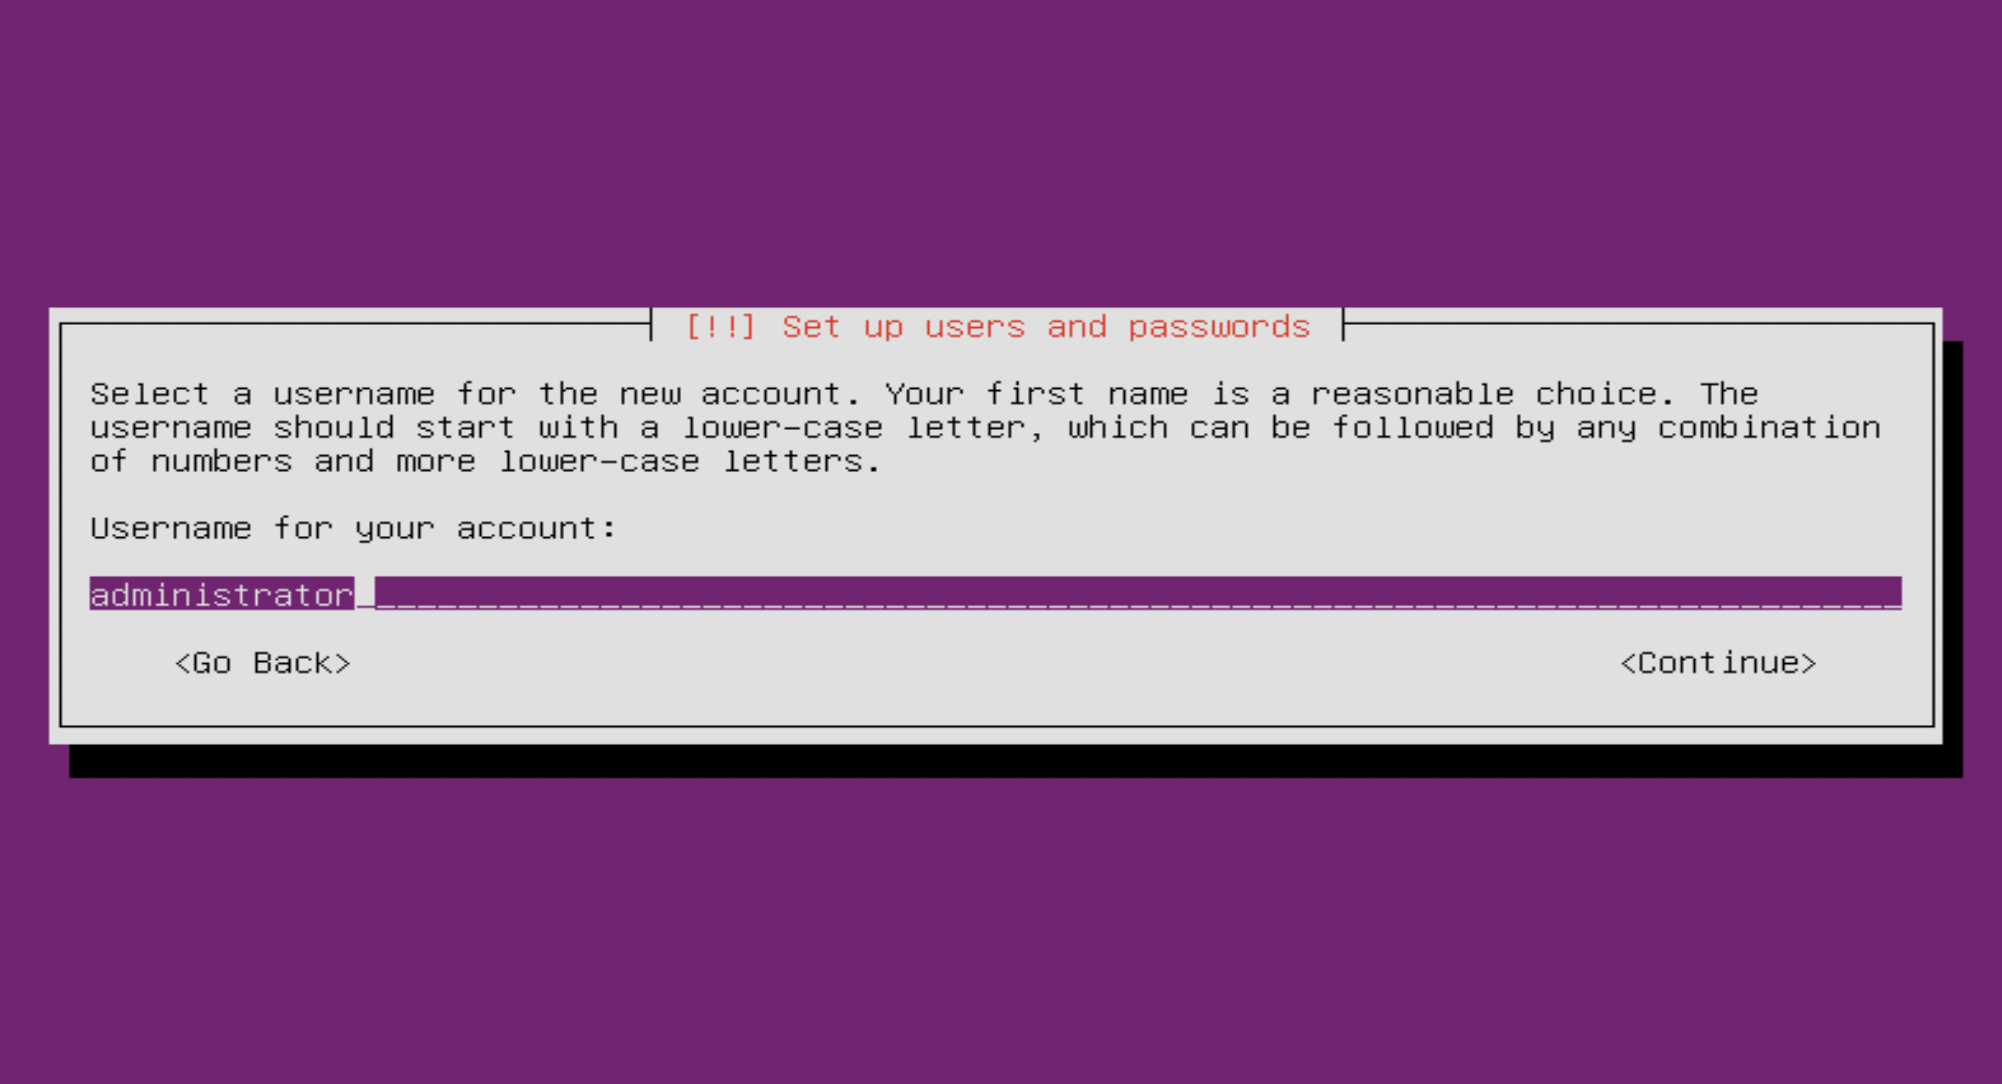
Step 10 : Next, the installer will ask you for the username
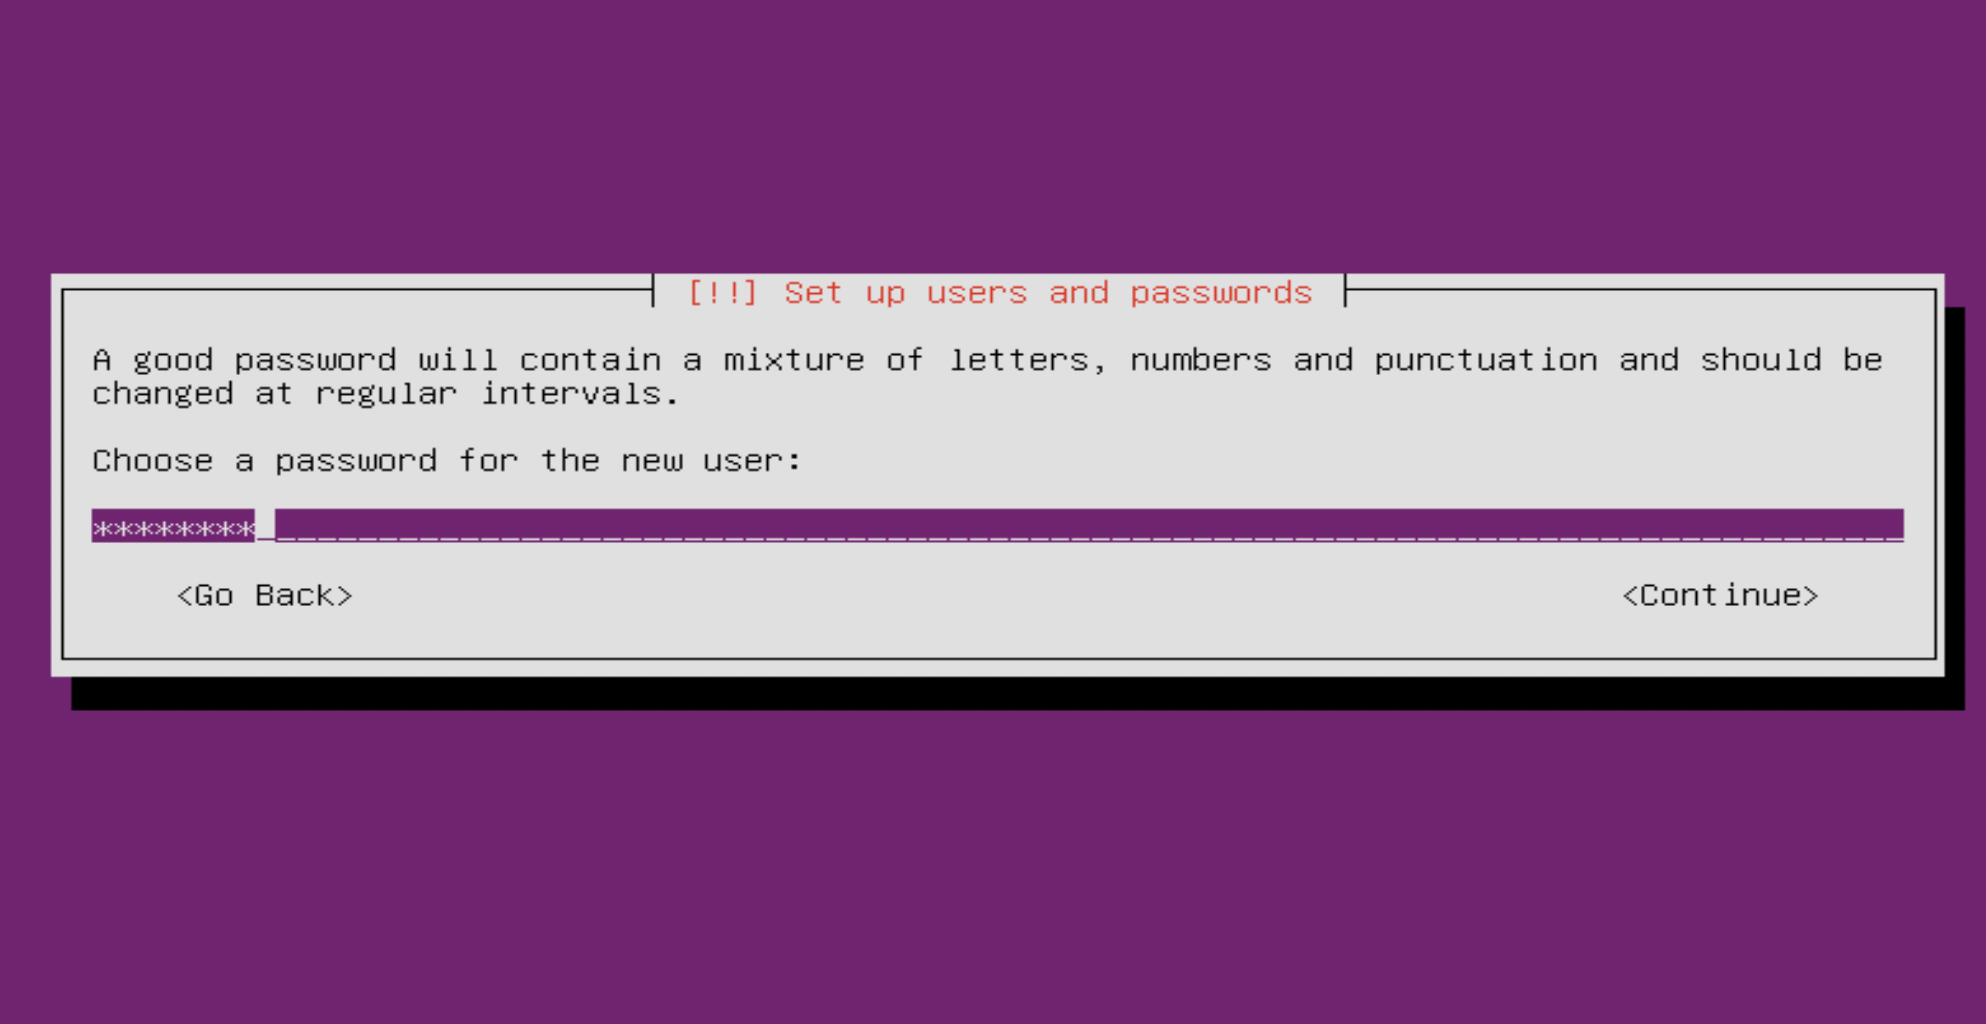
Step 11 :Next, the installer will ask you for the password
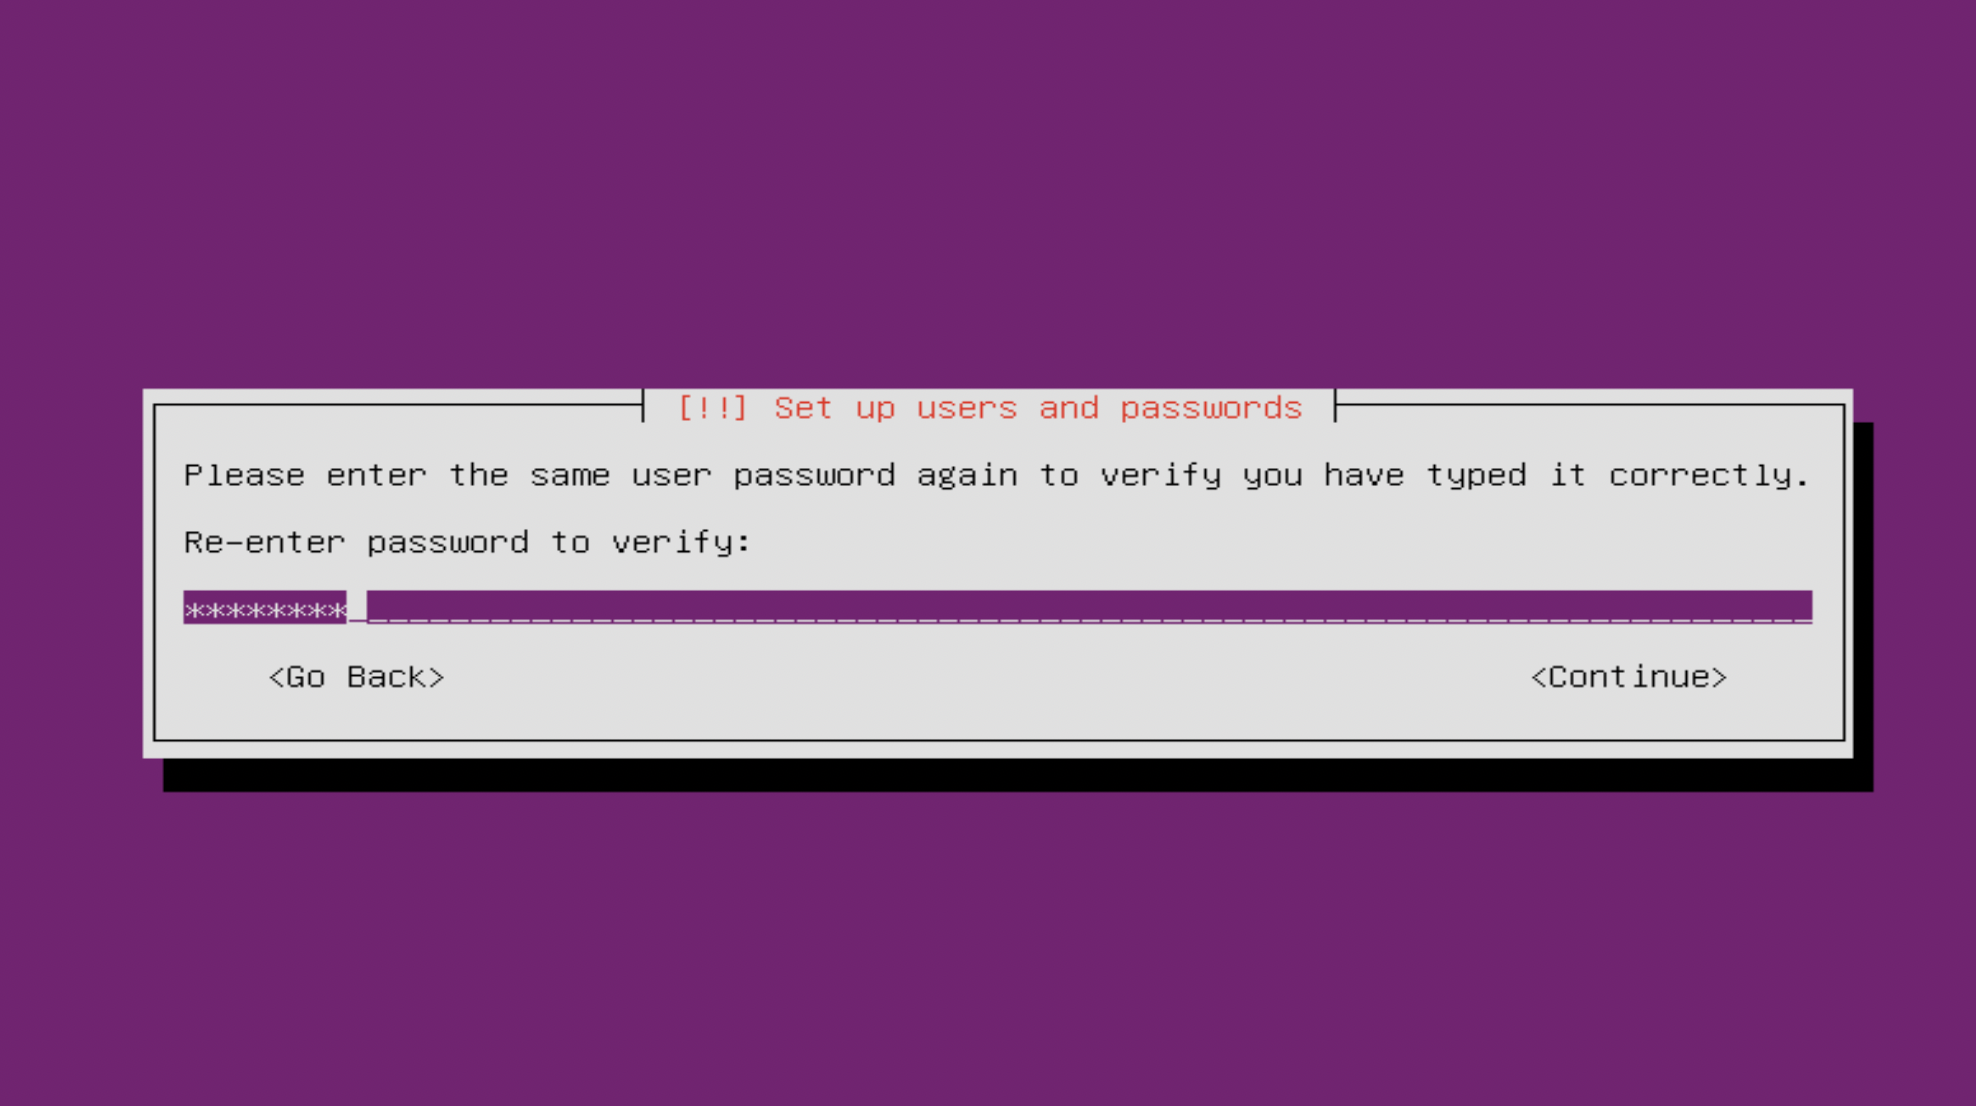
Step 12 : Next, the installer will ask you to confirm your password
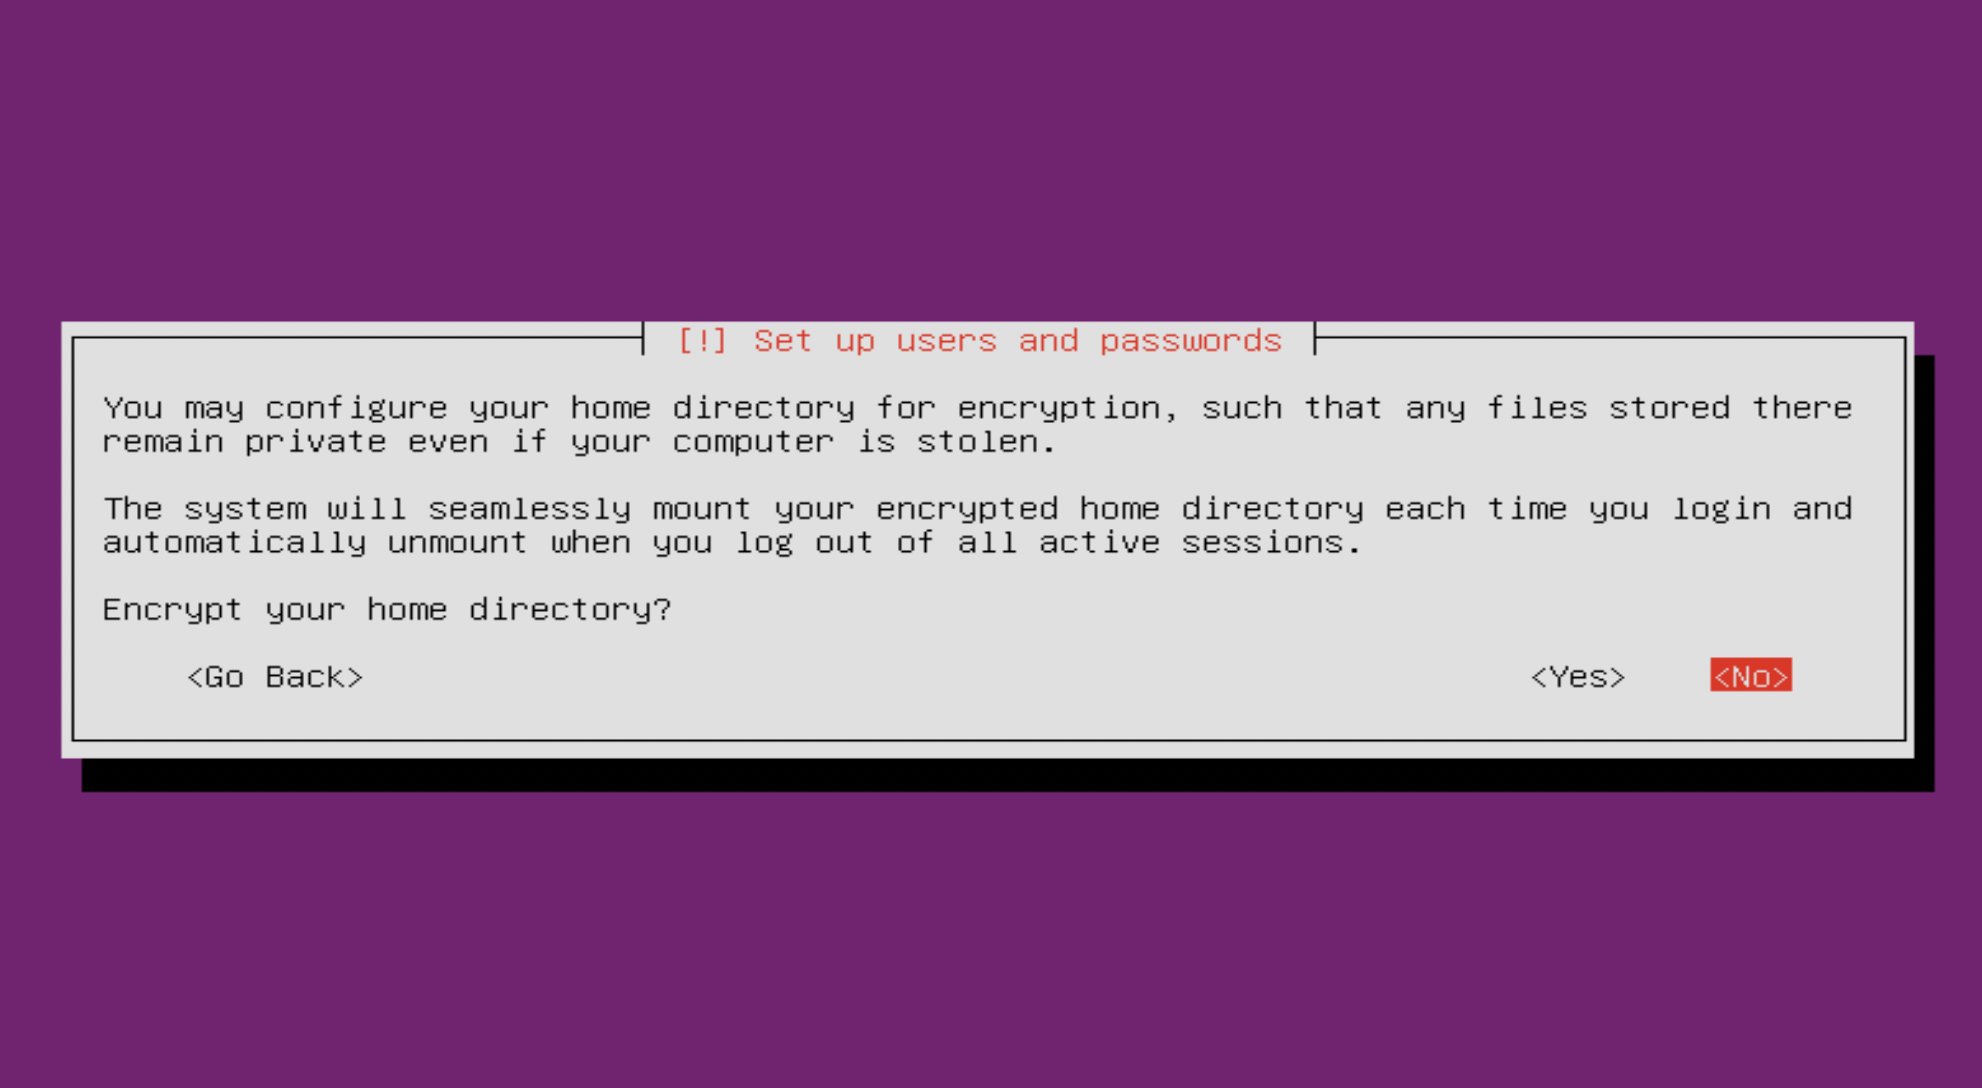
Step 13 : Next, the installer will ask if you'd like to encrypt the home directory, choose No.
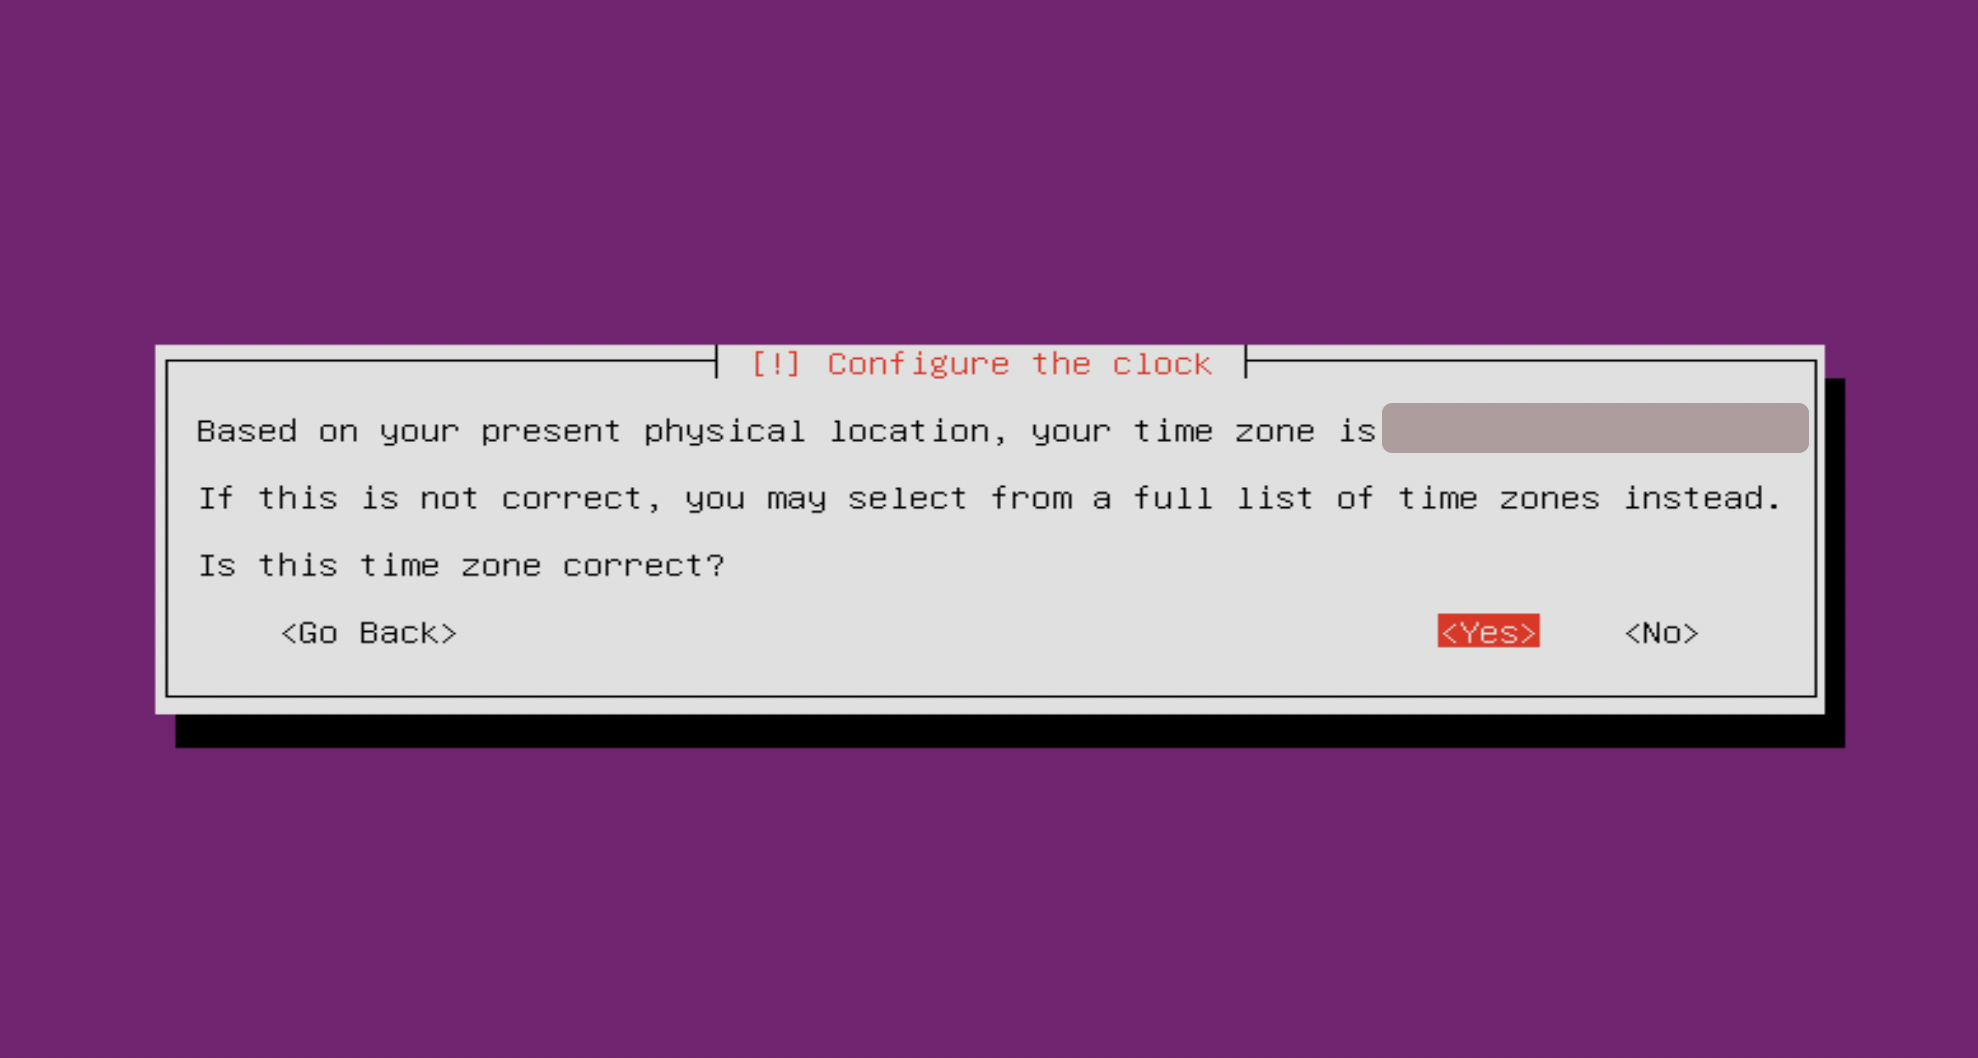
Step 14 : On the next screen, the installer will recommend a time-zone based on your earlier choices.
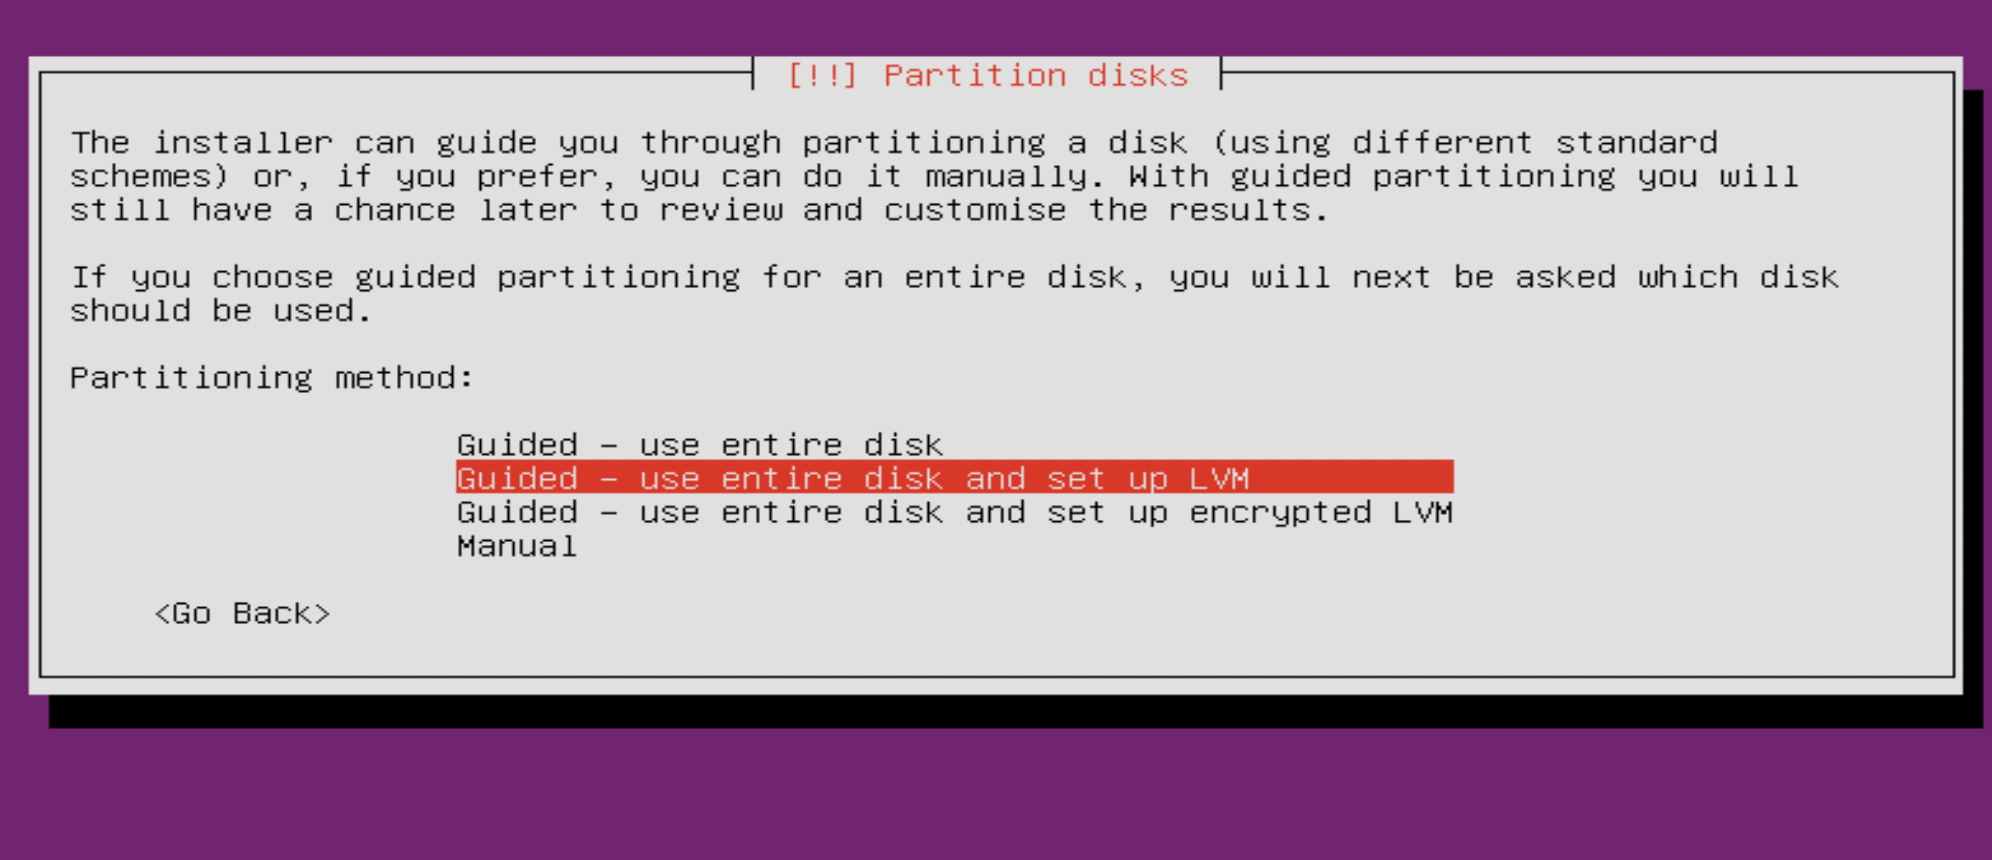
Step 15 : You can select Guided – use entire disk and set up encrypted LVM
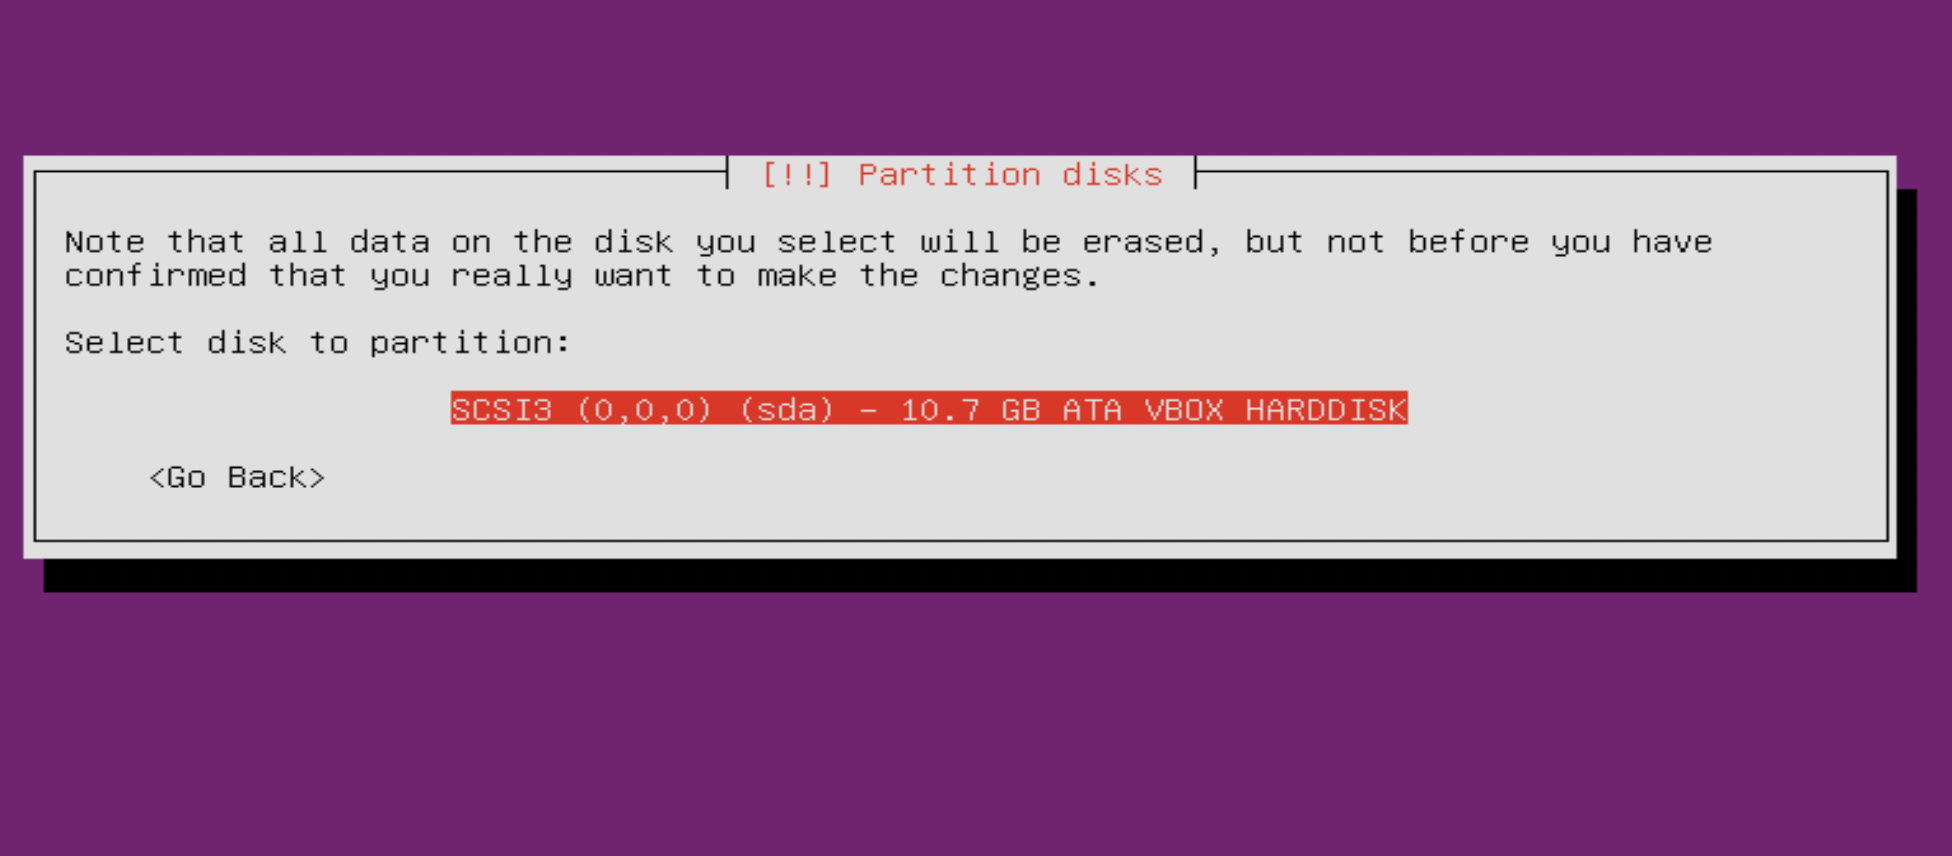
Step 16 : On the next screen, Select disk to partition.
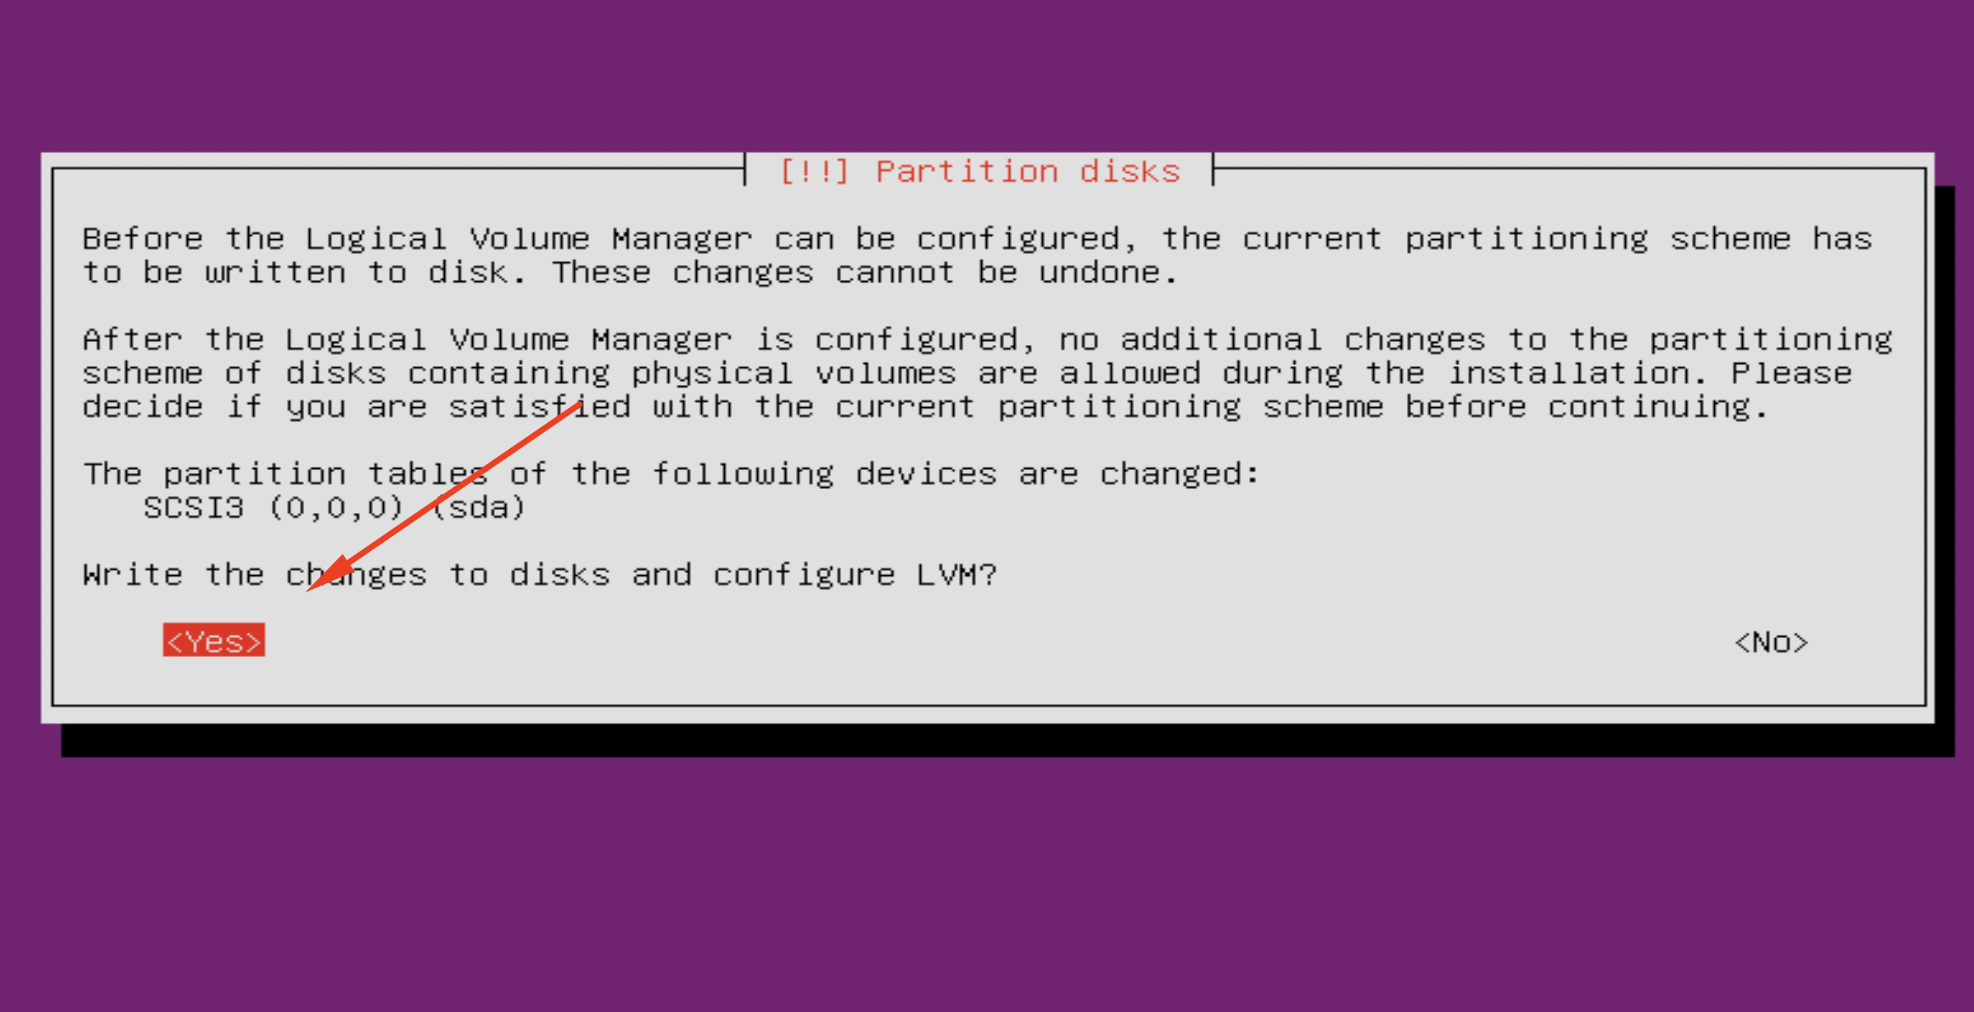
Step 17 : Next, the following screen will confirm our selection.
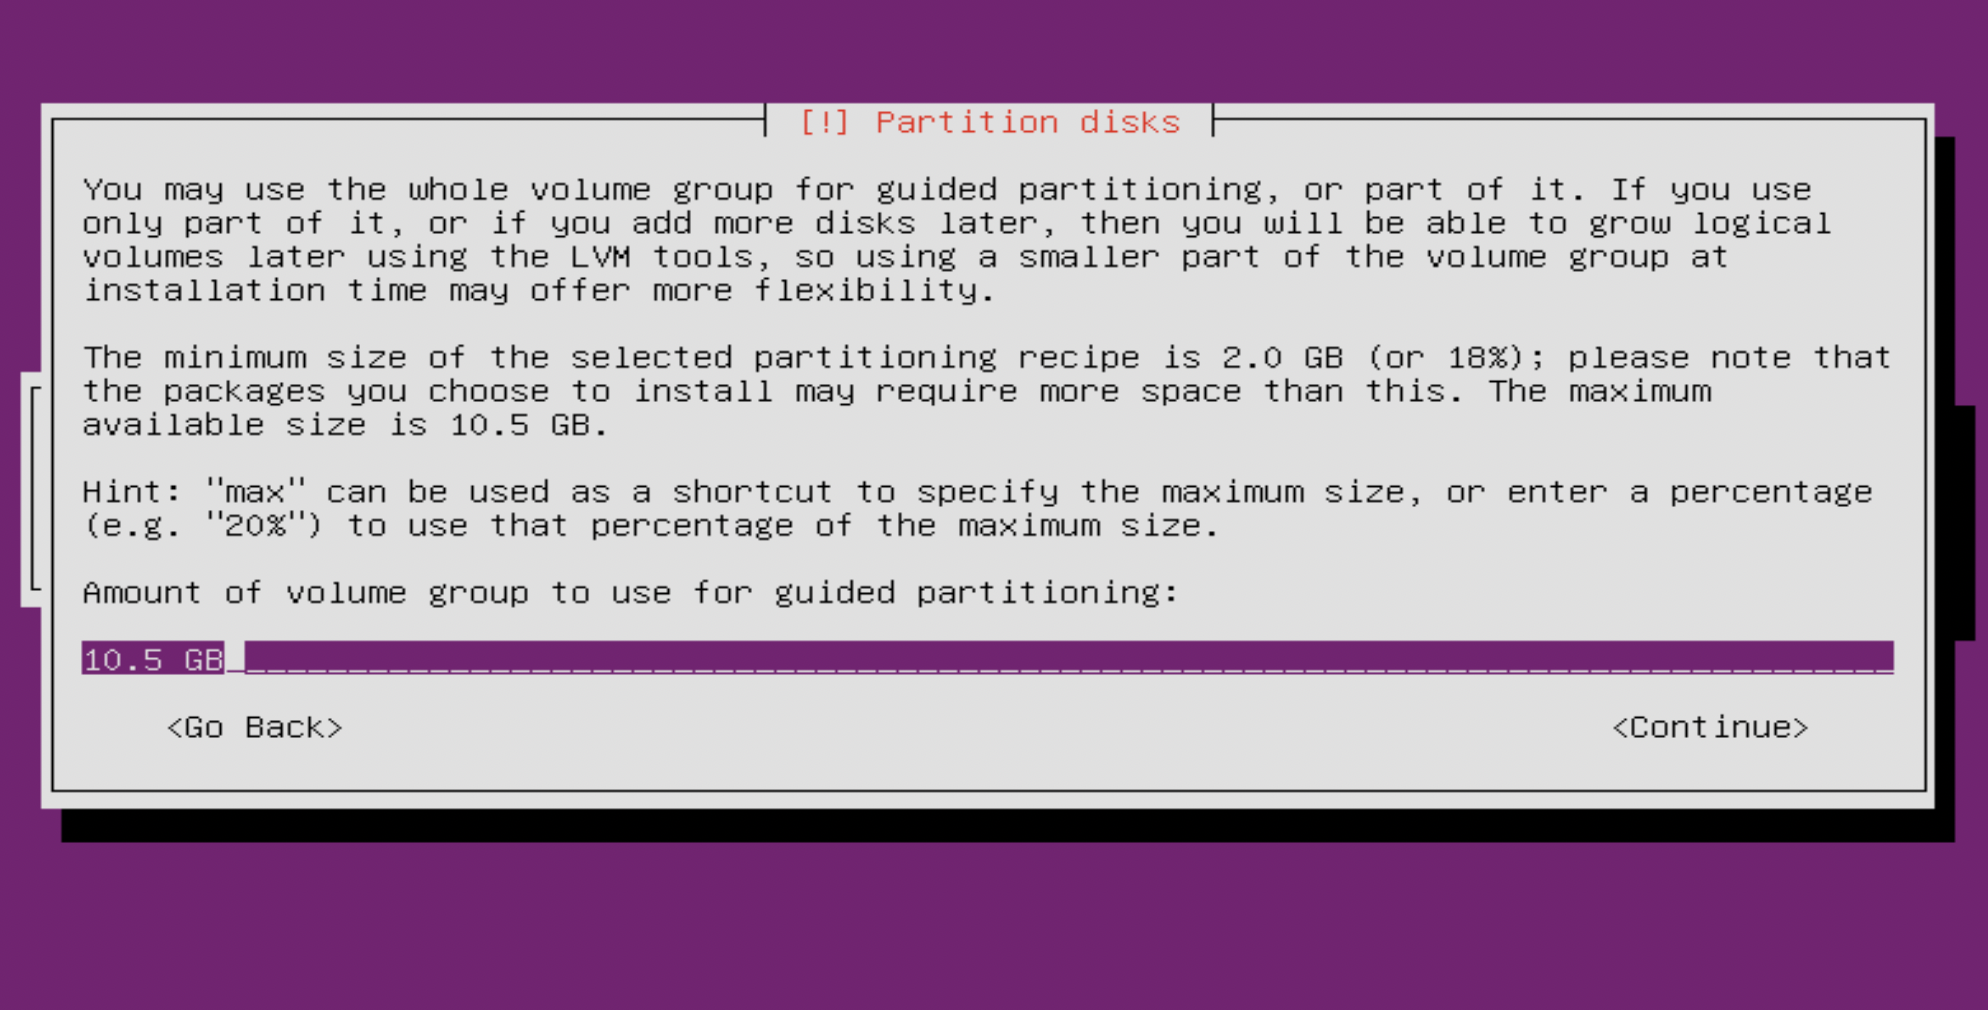
Step 18 : Next, You'll be prompted to enter the size, press Enter to continue.
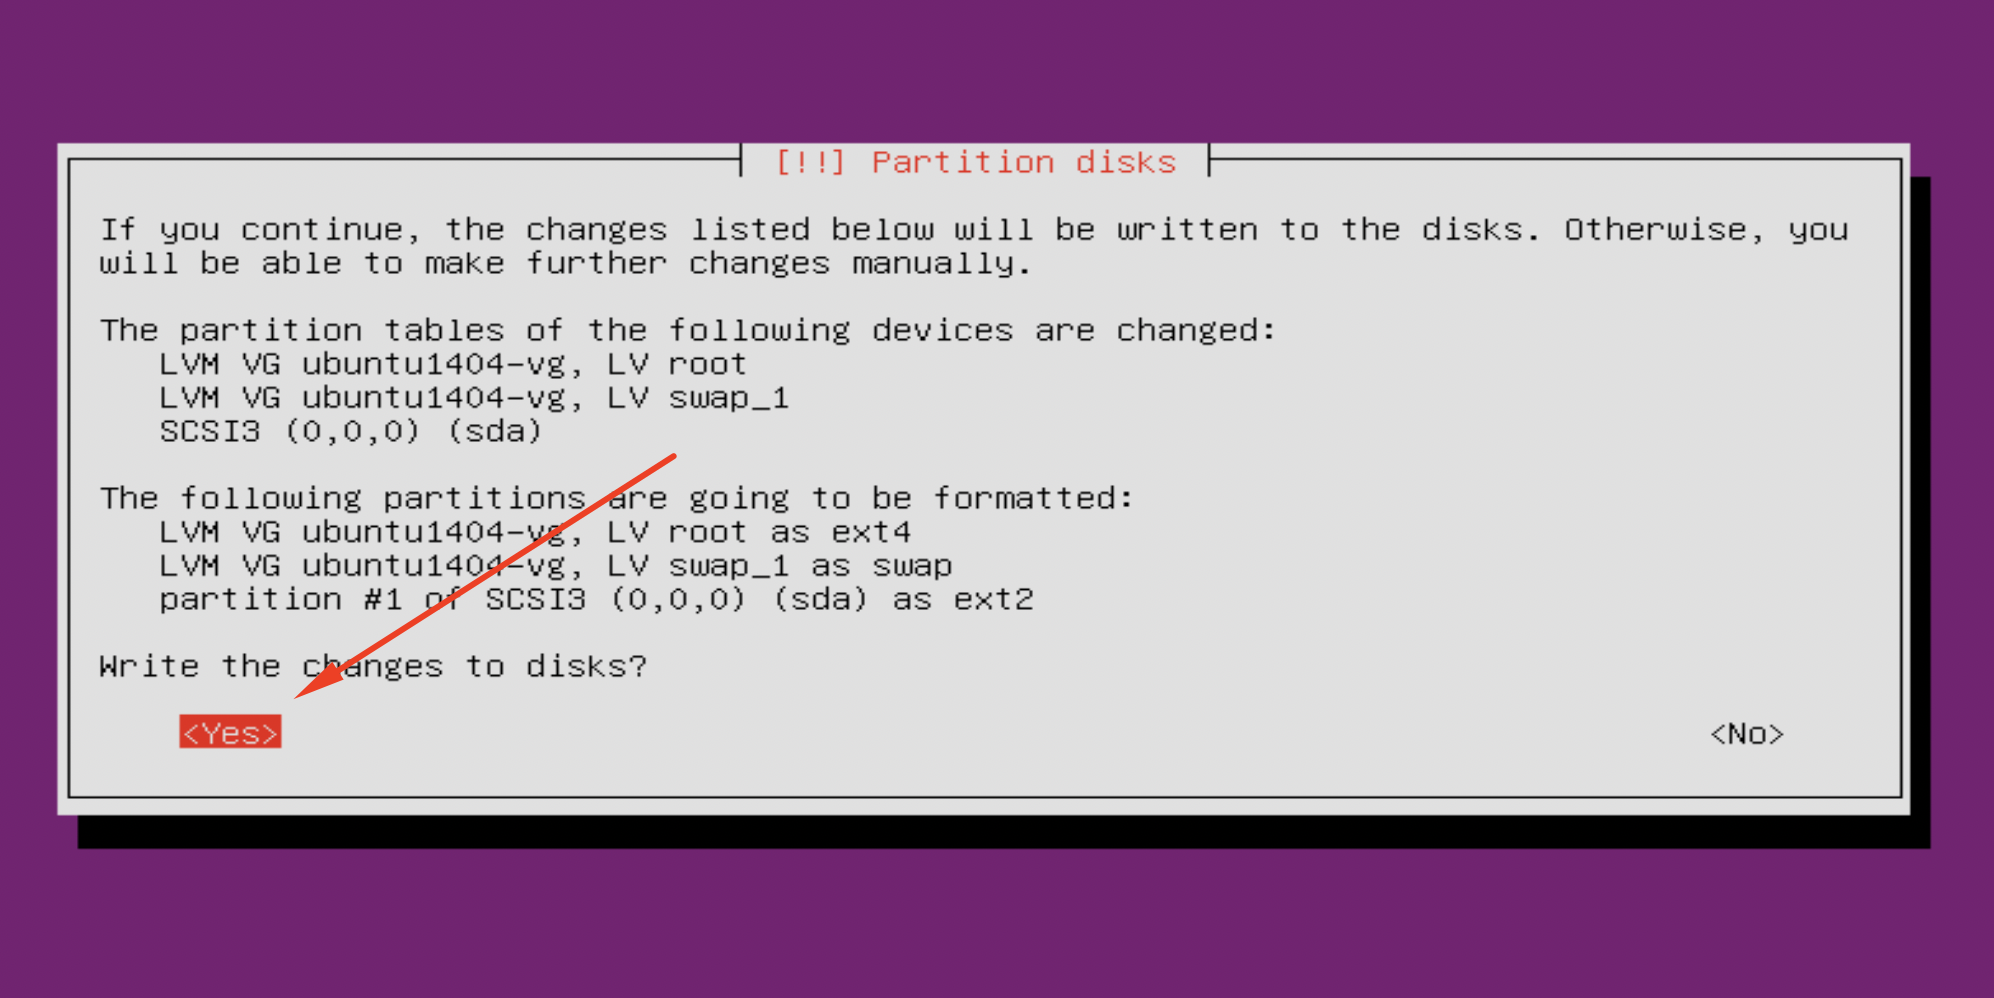
Step 19 : Next, the following screen will confirm our selections one last time.
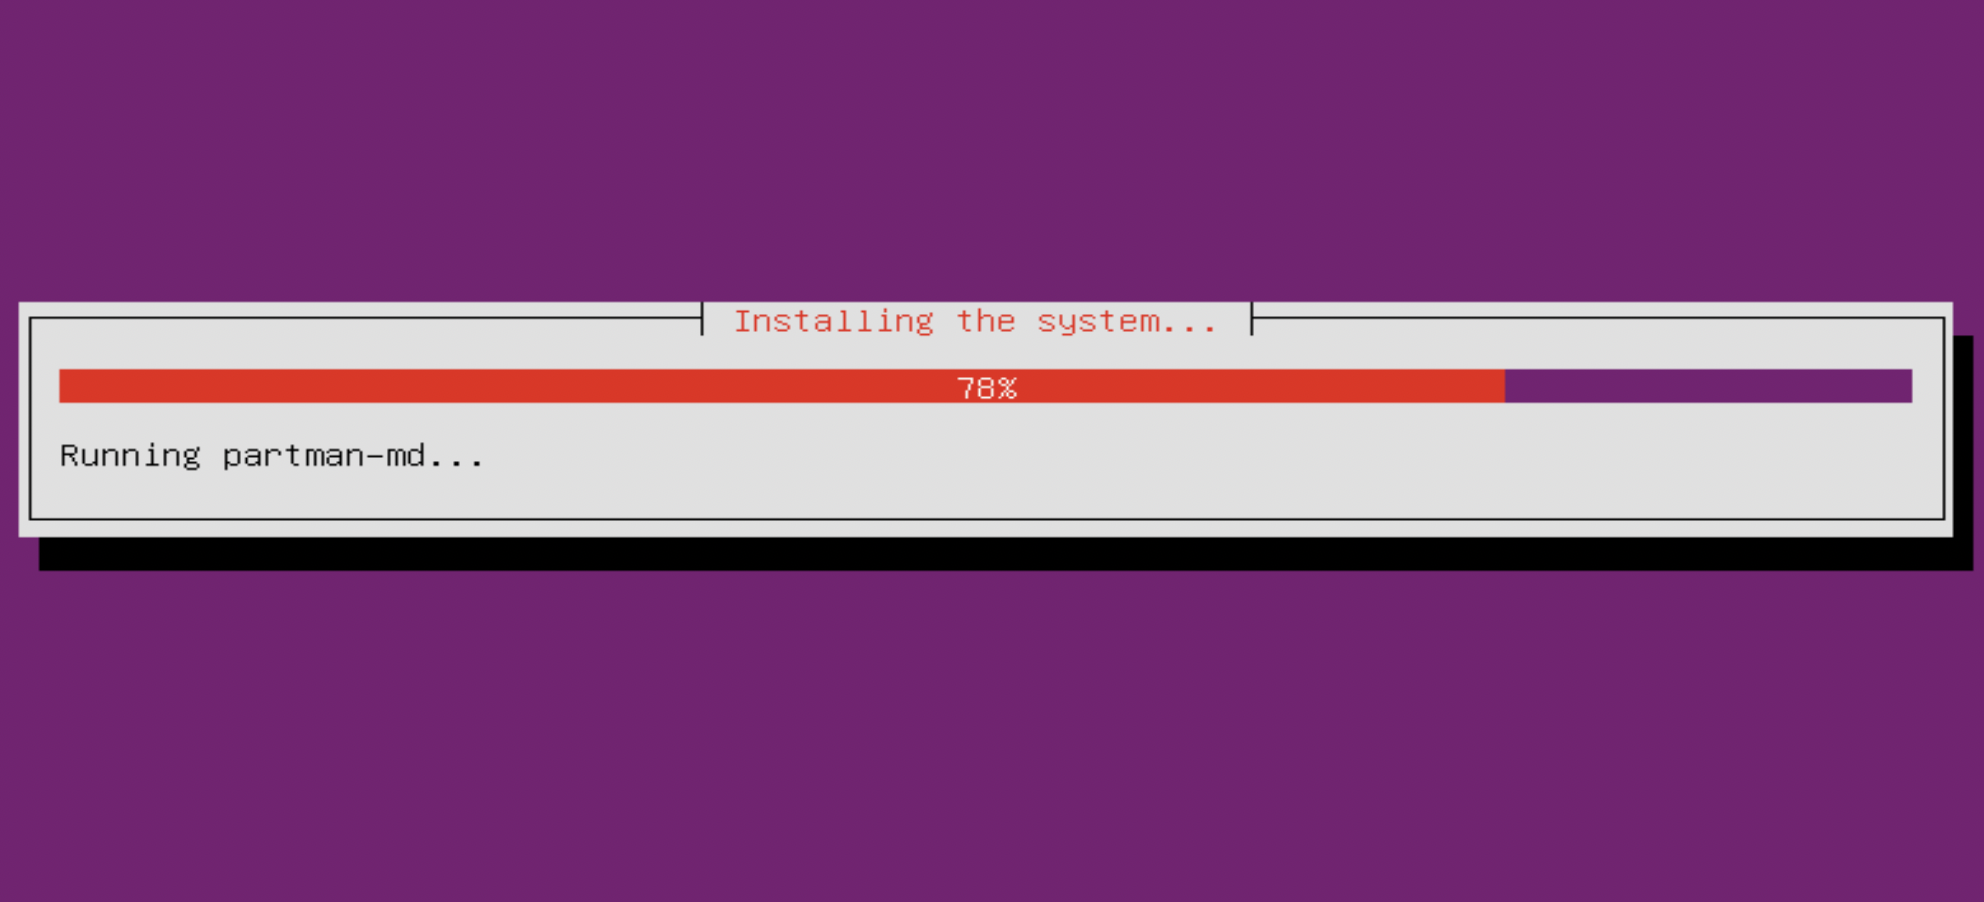
Step 20 : Next, Ubuntu Server will be installed on your hard disk.
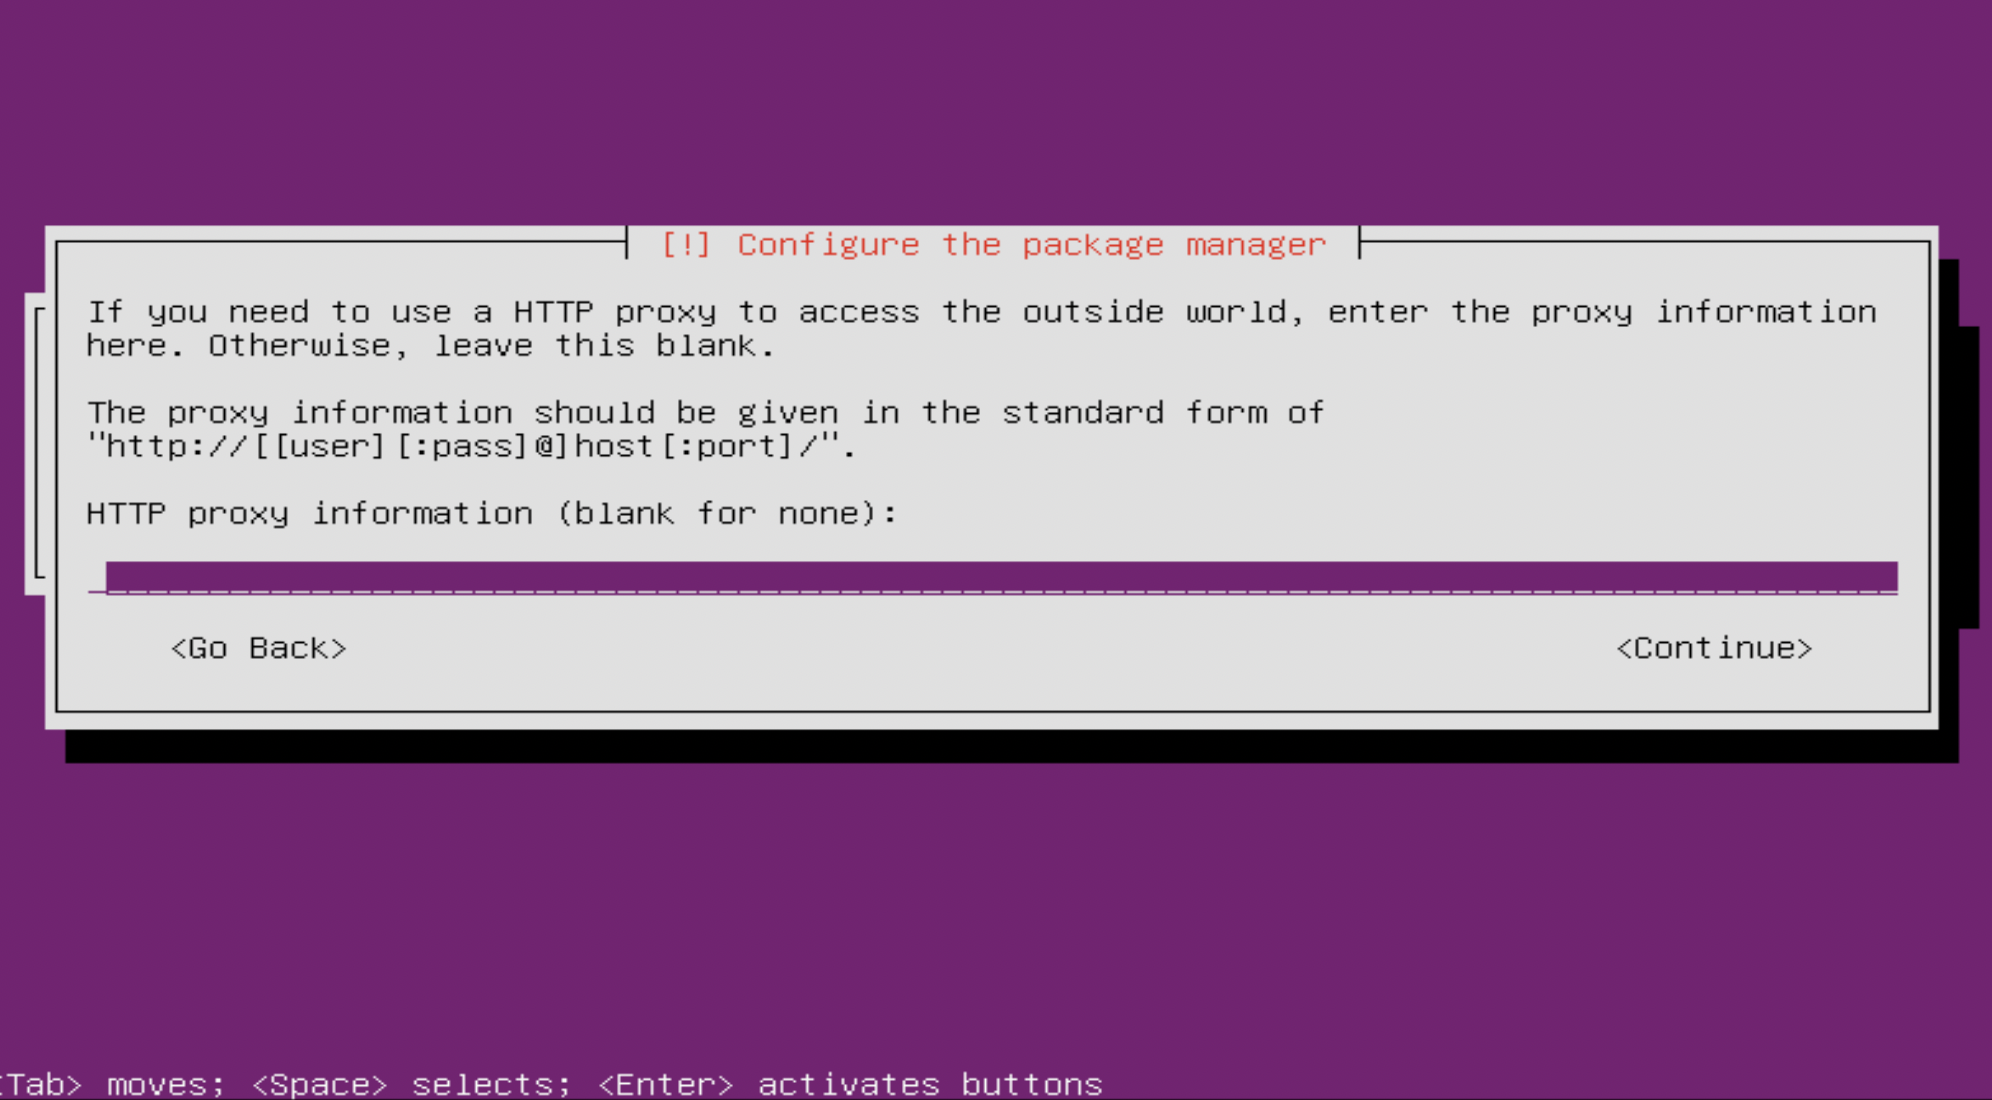
Step 21 : Press Enter to continue:
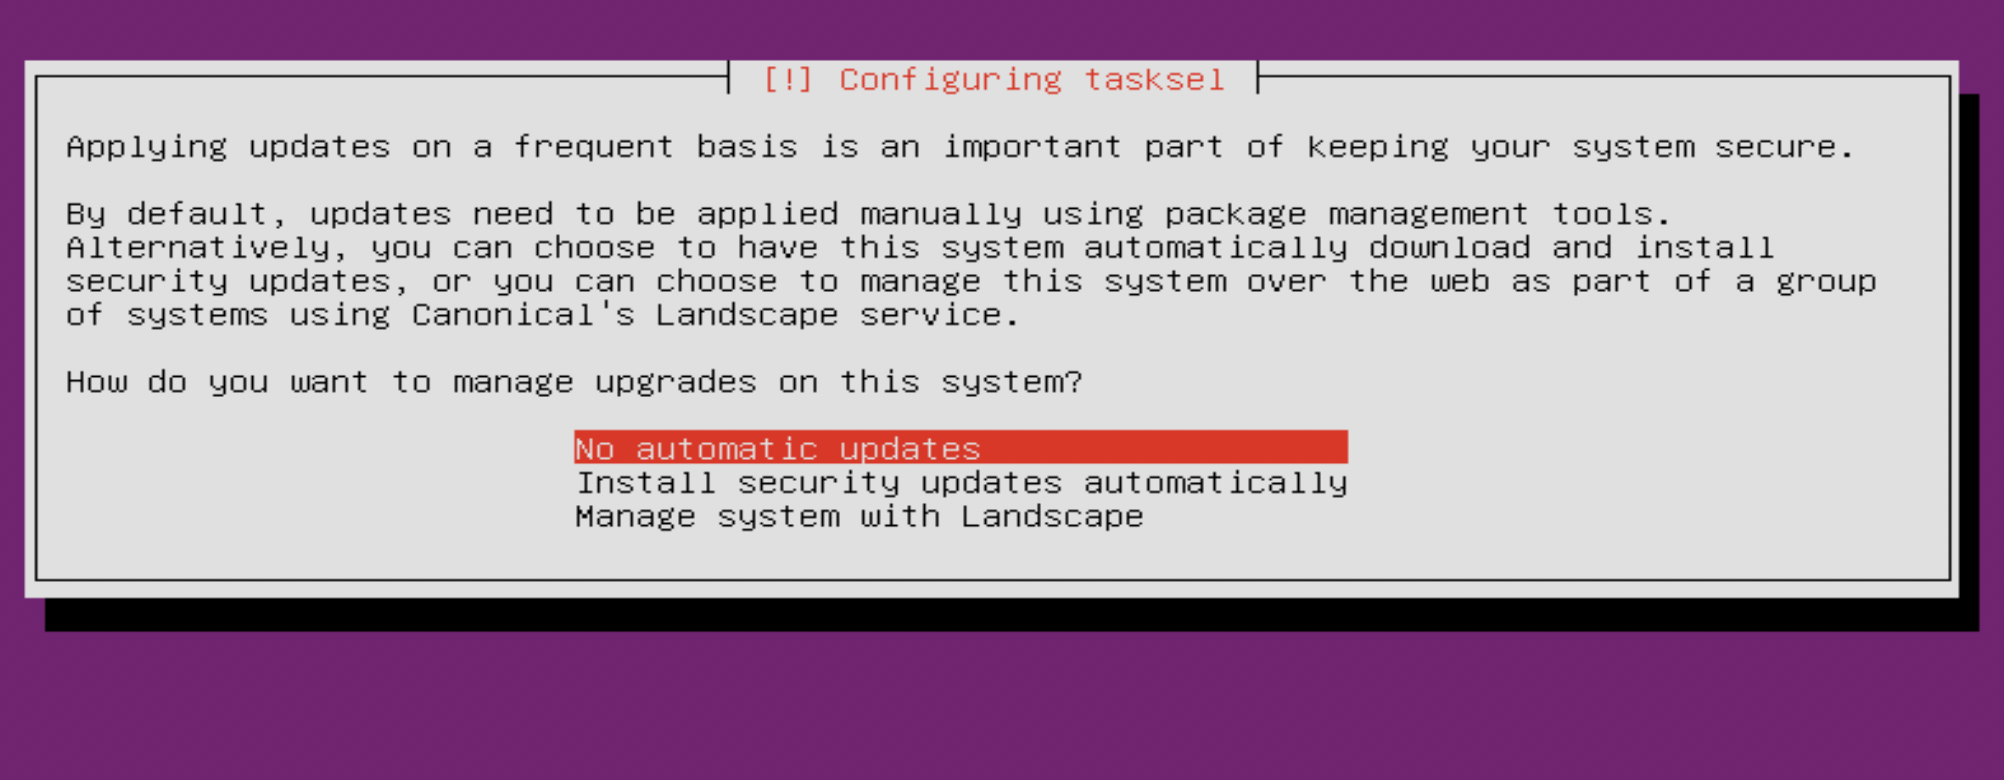
Step 22 : On the Configuring tasks screen, choose No automatic updates here.
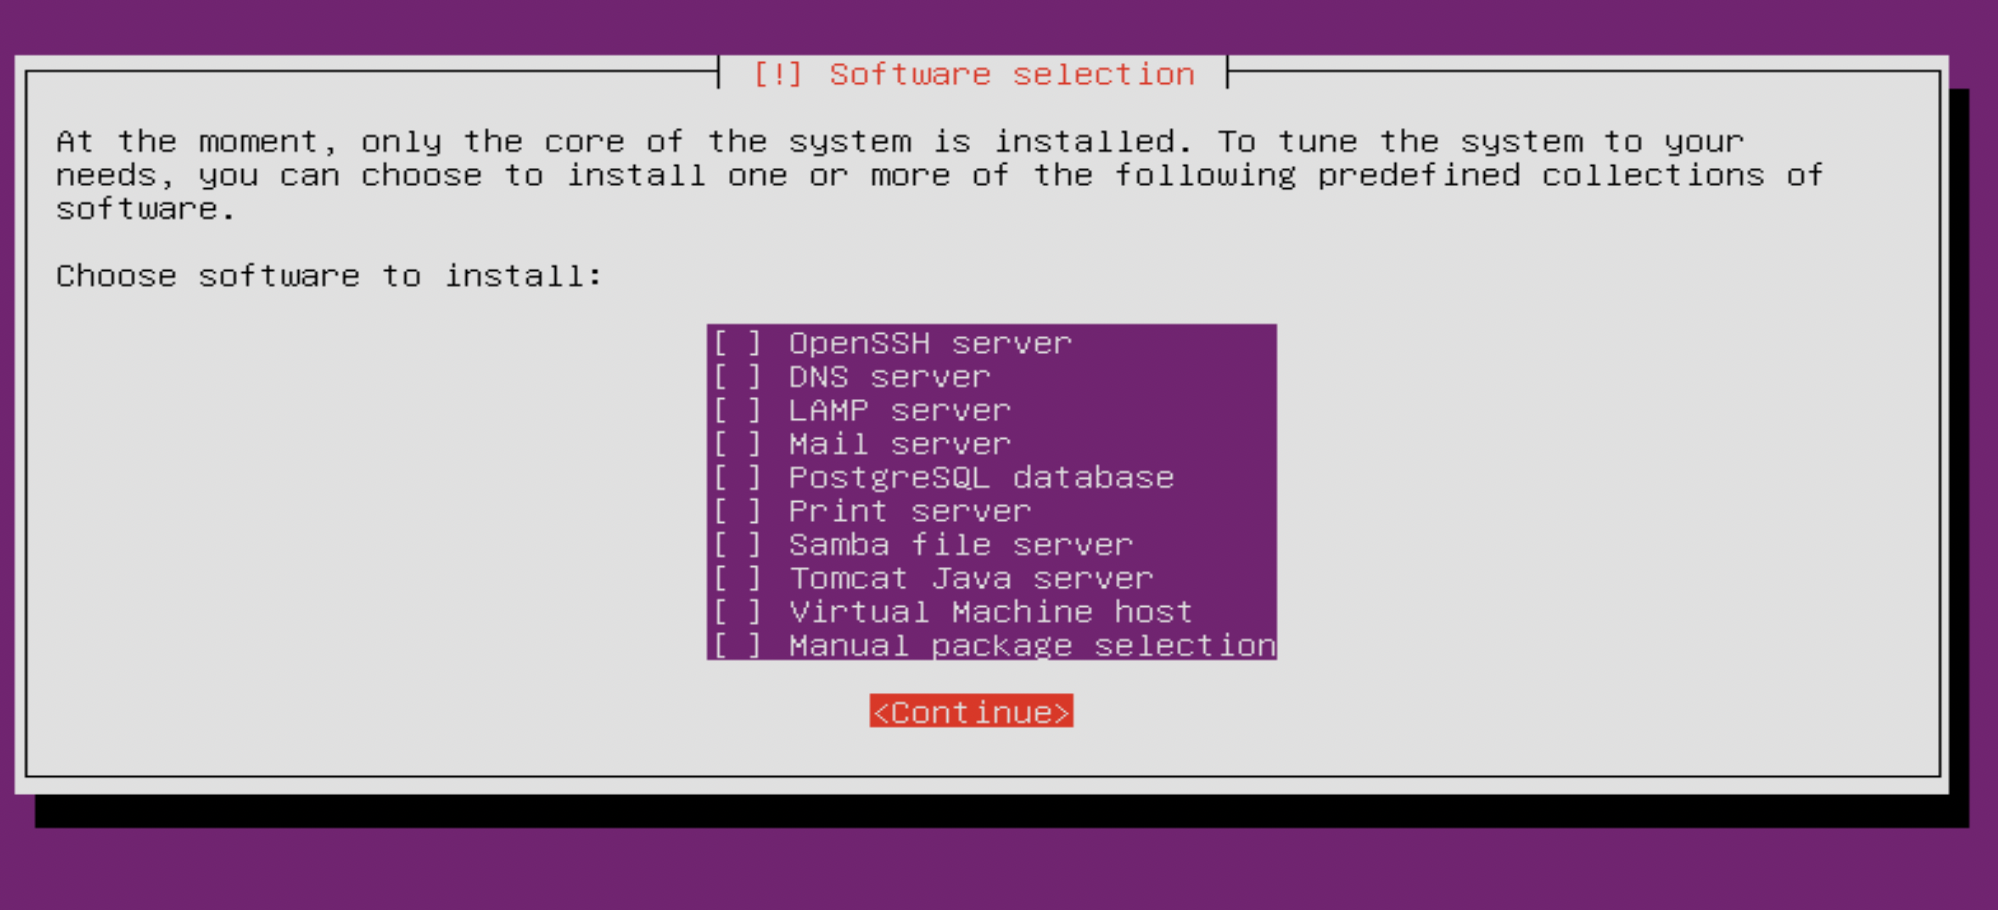
Step 23 : On the next screen, you'll be given some additional software collections you can install if you want to. You'll have the option to set up an OpenSSH server, Mail server, LAMP server, and more.
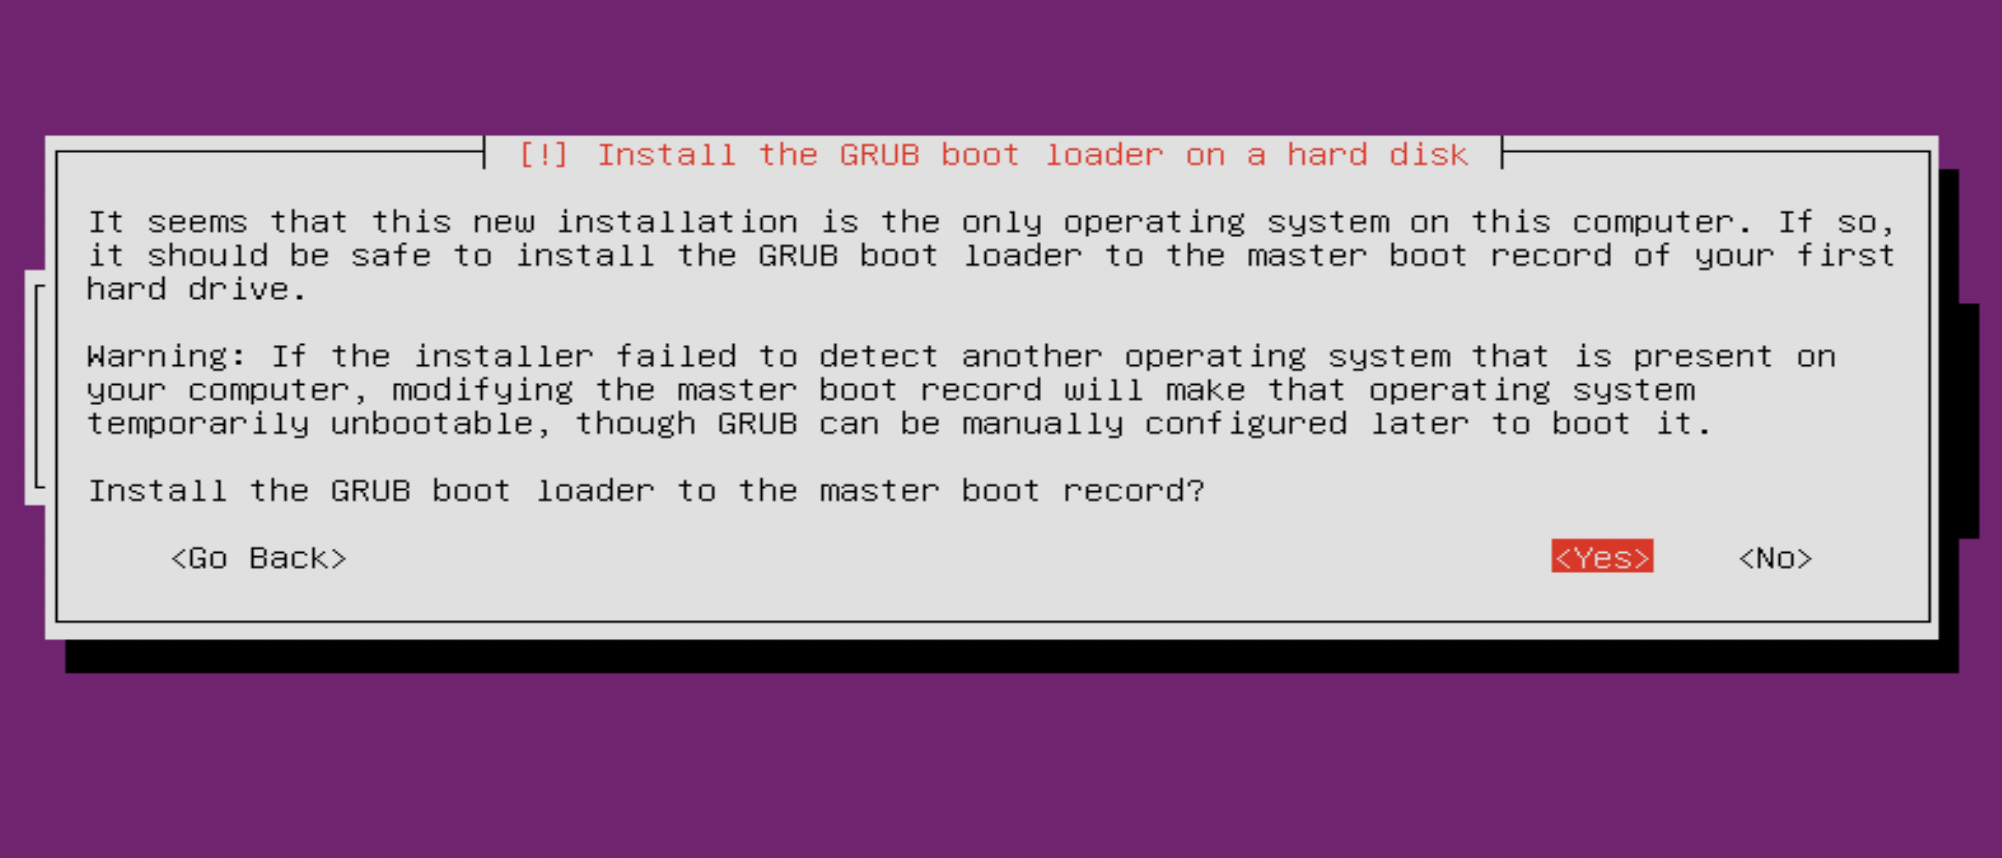
Step 24 : The next screen that appears will offer us the option to Install the GRUB boot loader on the master boot loader, choose Yes.
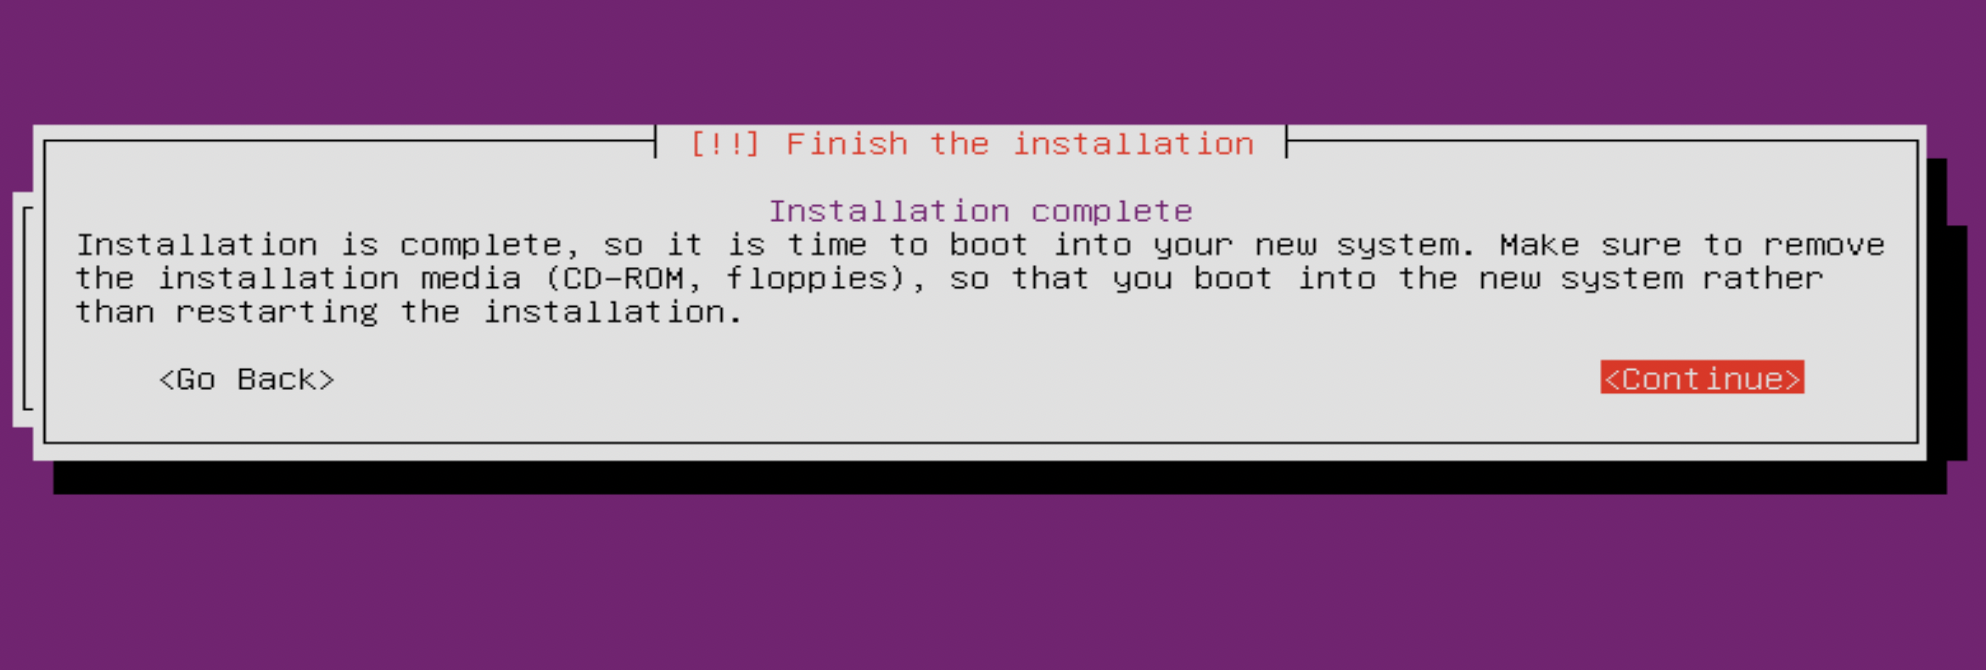
Step 25 : Clicking on the Continue button to proceed to reboot the system