Follow these steps to set HTTPs on Apache
Generating SSL Certificates
Step 1 : Create a directory to hold all certificate and keys

Step 2 : Change to the new directory and enter the following command to create a certificate and SSL key
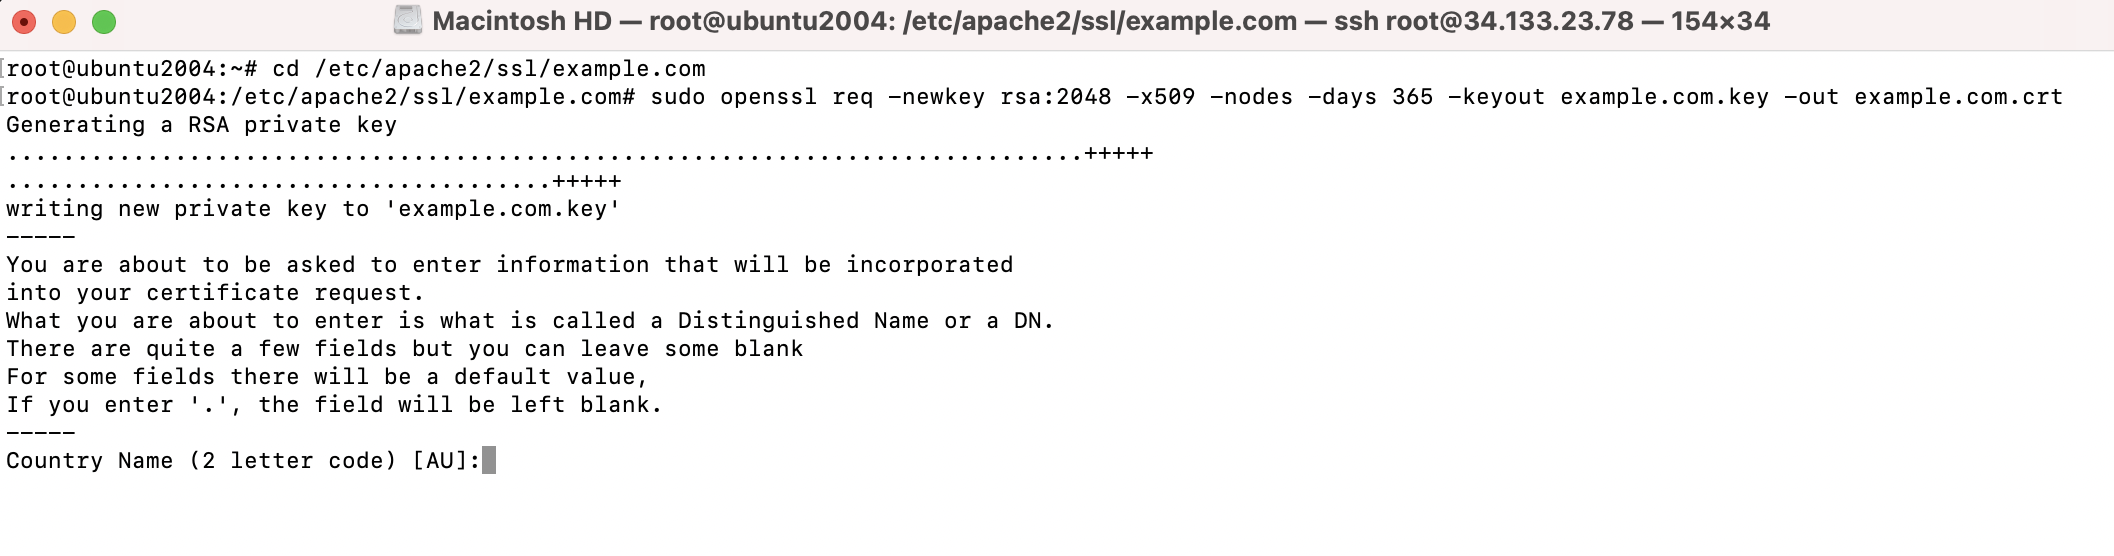
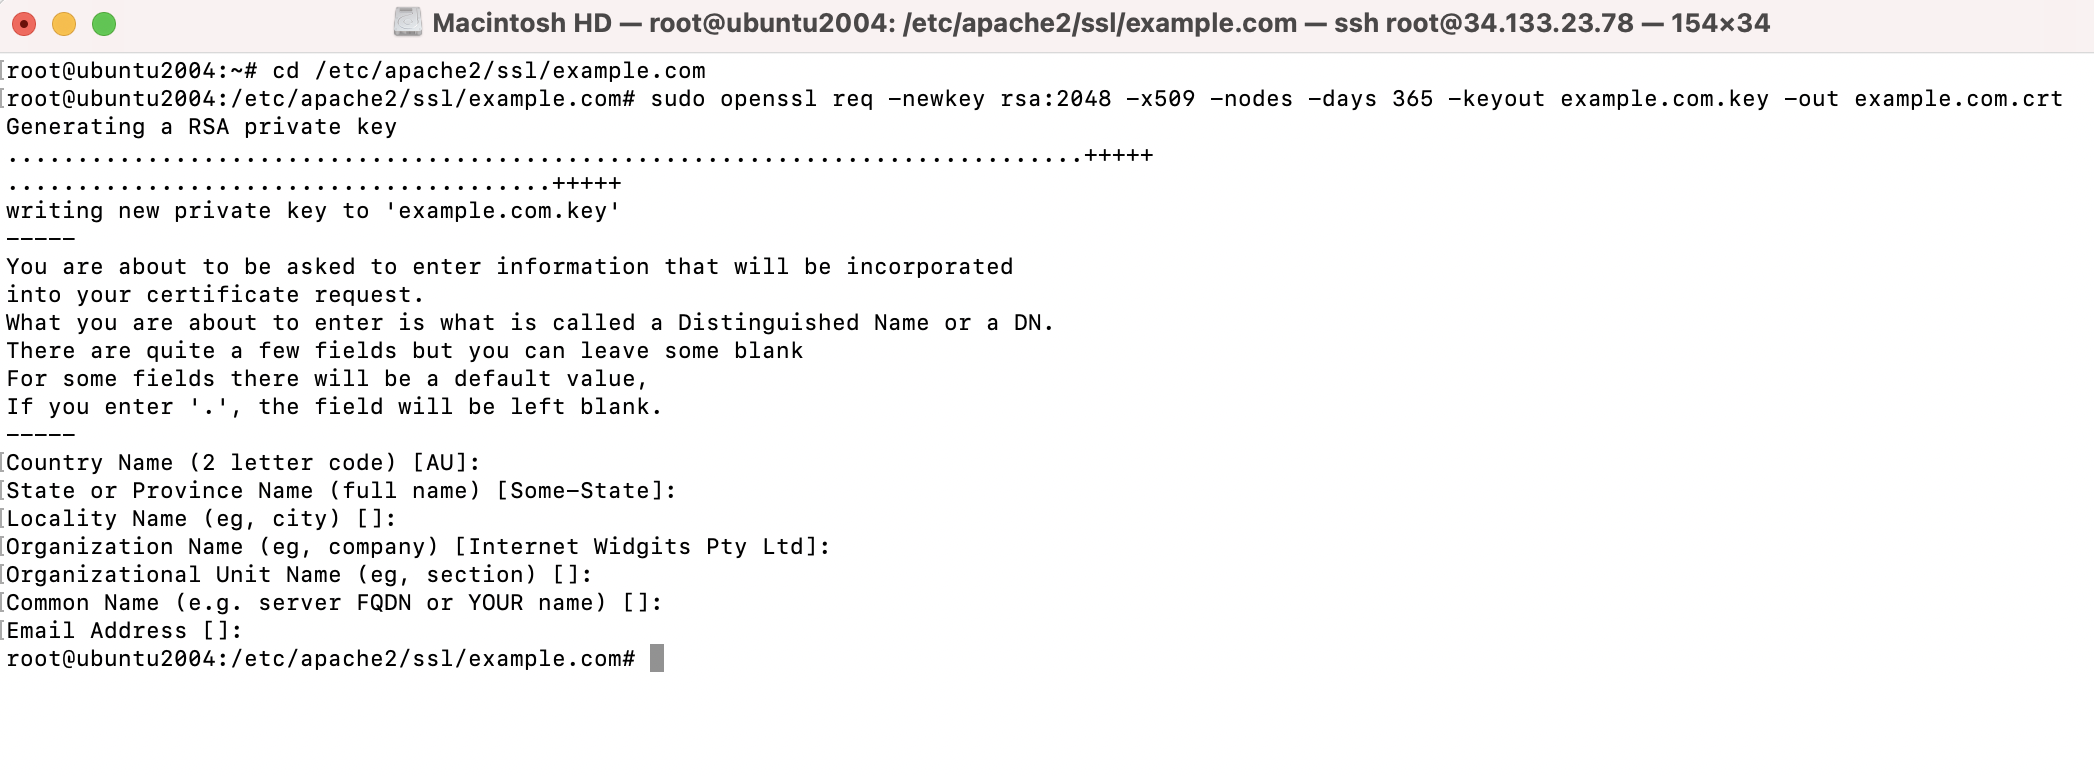
Step 3 : This will prompt you to enter some information about your company and website.
Step 4 : After you are done with it, you can check the generated certificate and key

Configuring Apache
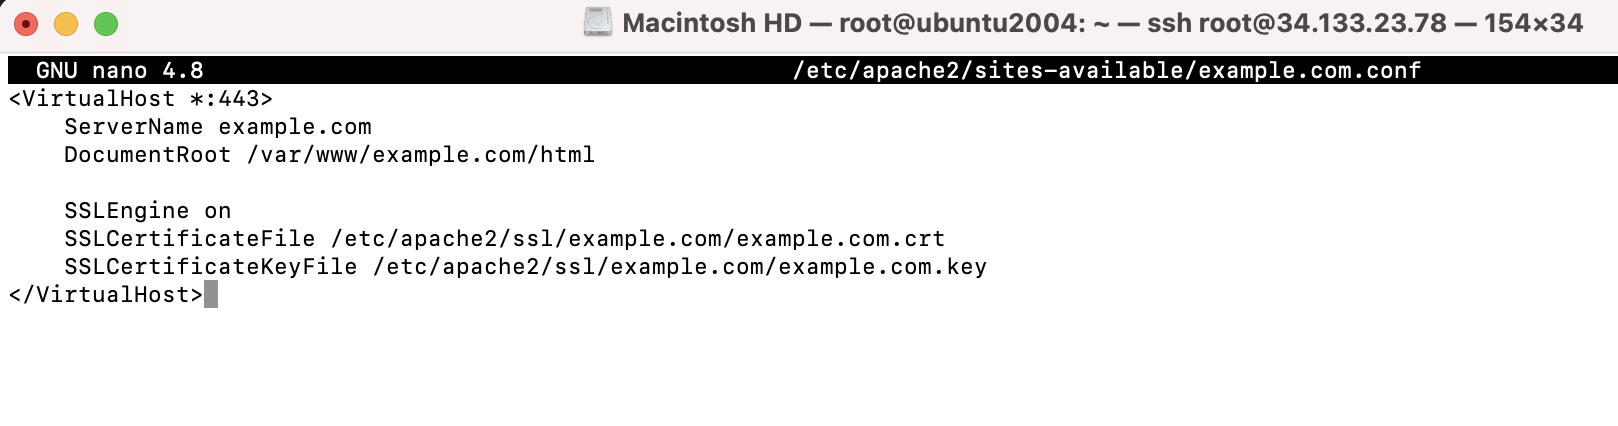
Step 5 : Create a virtual host entry or edit it if you already have one:
Paste in the following minimal VirtualHost configuration
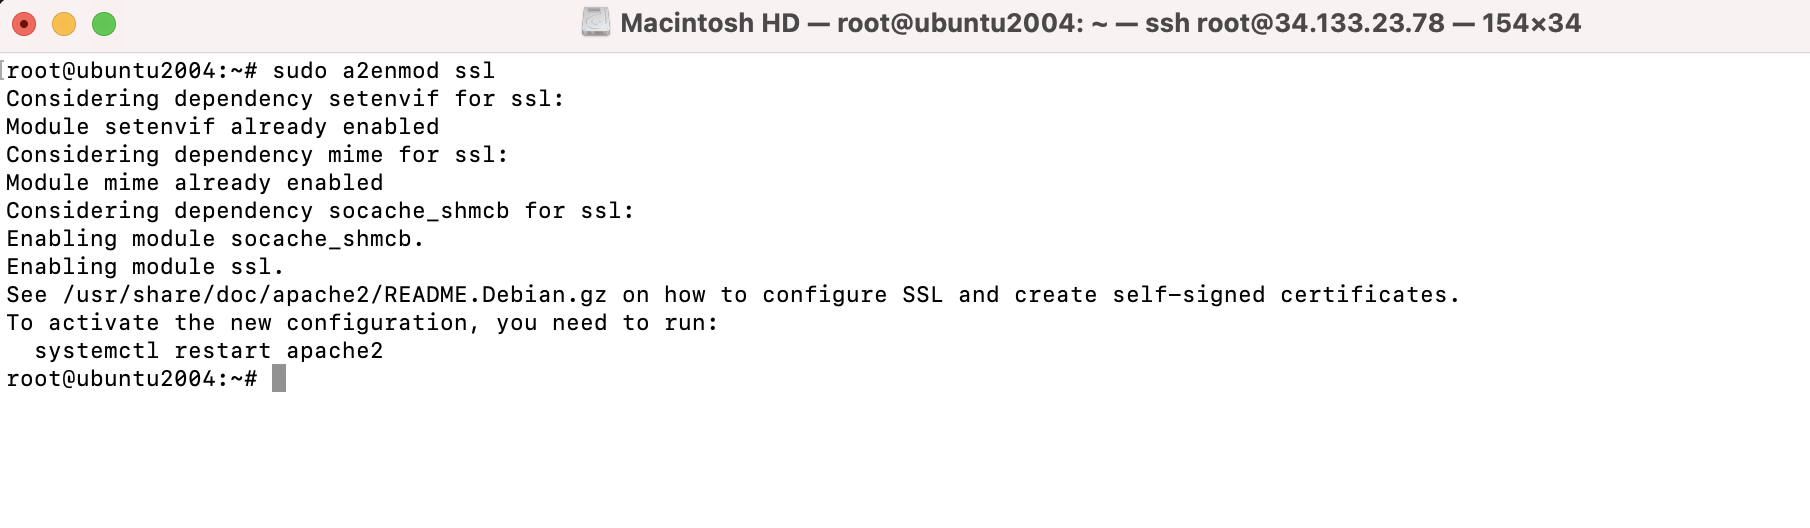
Step 6 : Enable the mod_ssl module on the Apache server
Step 7 : Next, enable the Virtual Host example.com
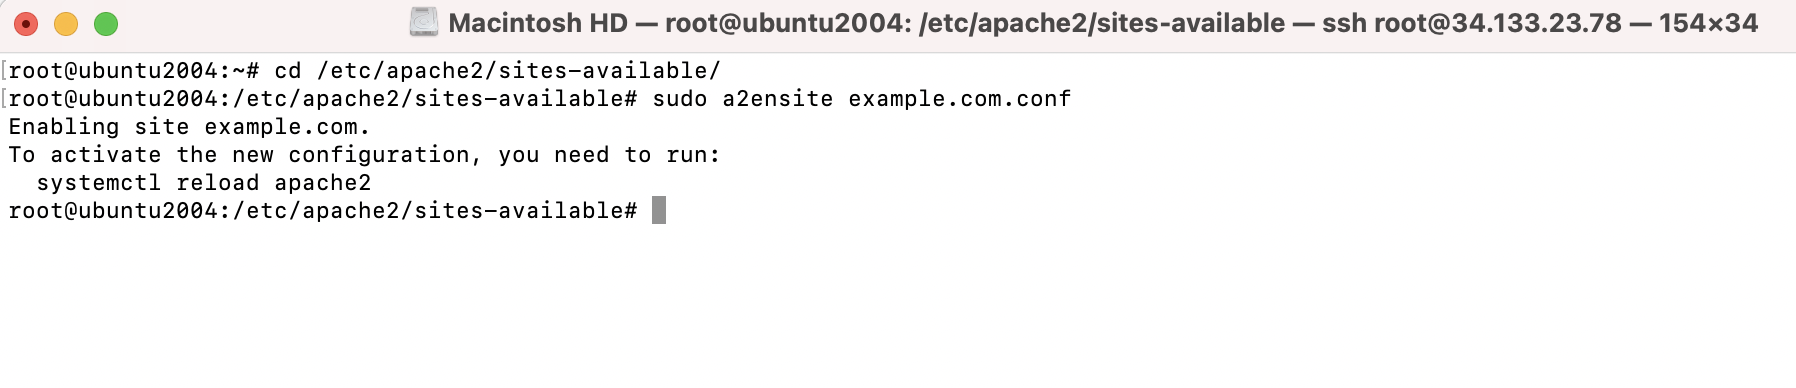
Step 8 : Reload the Apache server for the changes to take effect

Step 9 : Now, open your browser on the client system and point it to your domain name or IP address with HTTPS at the start:
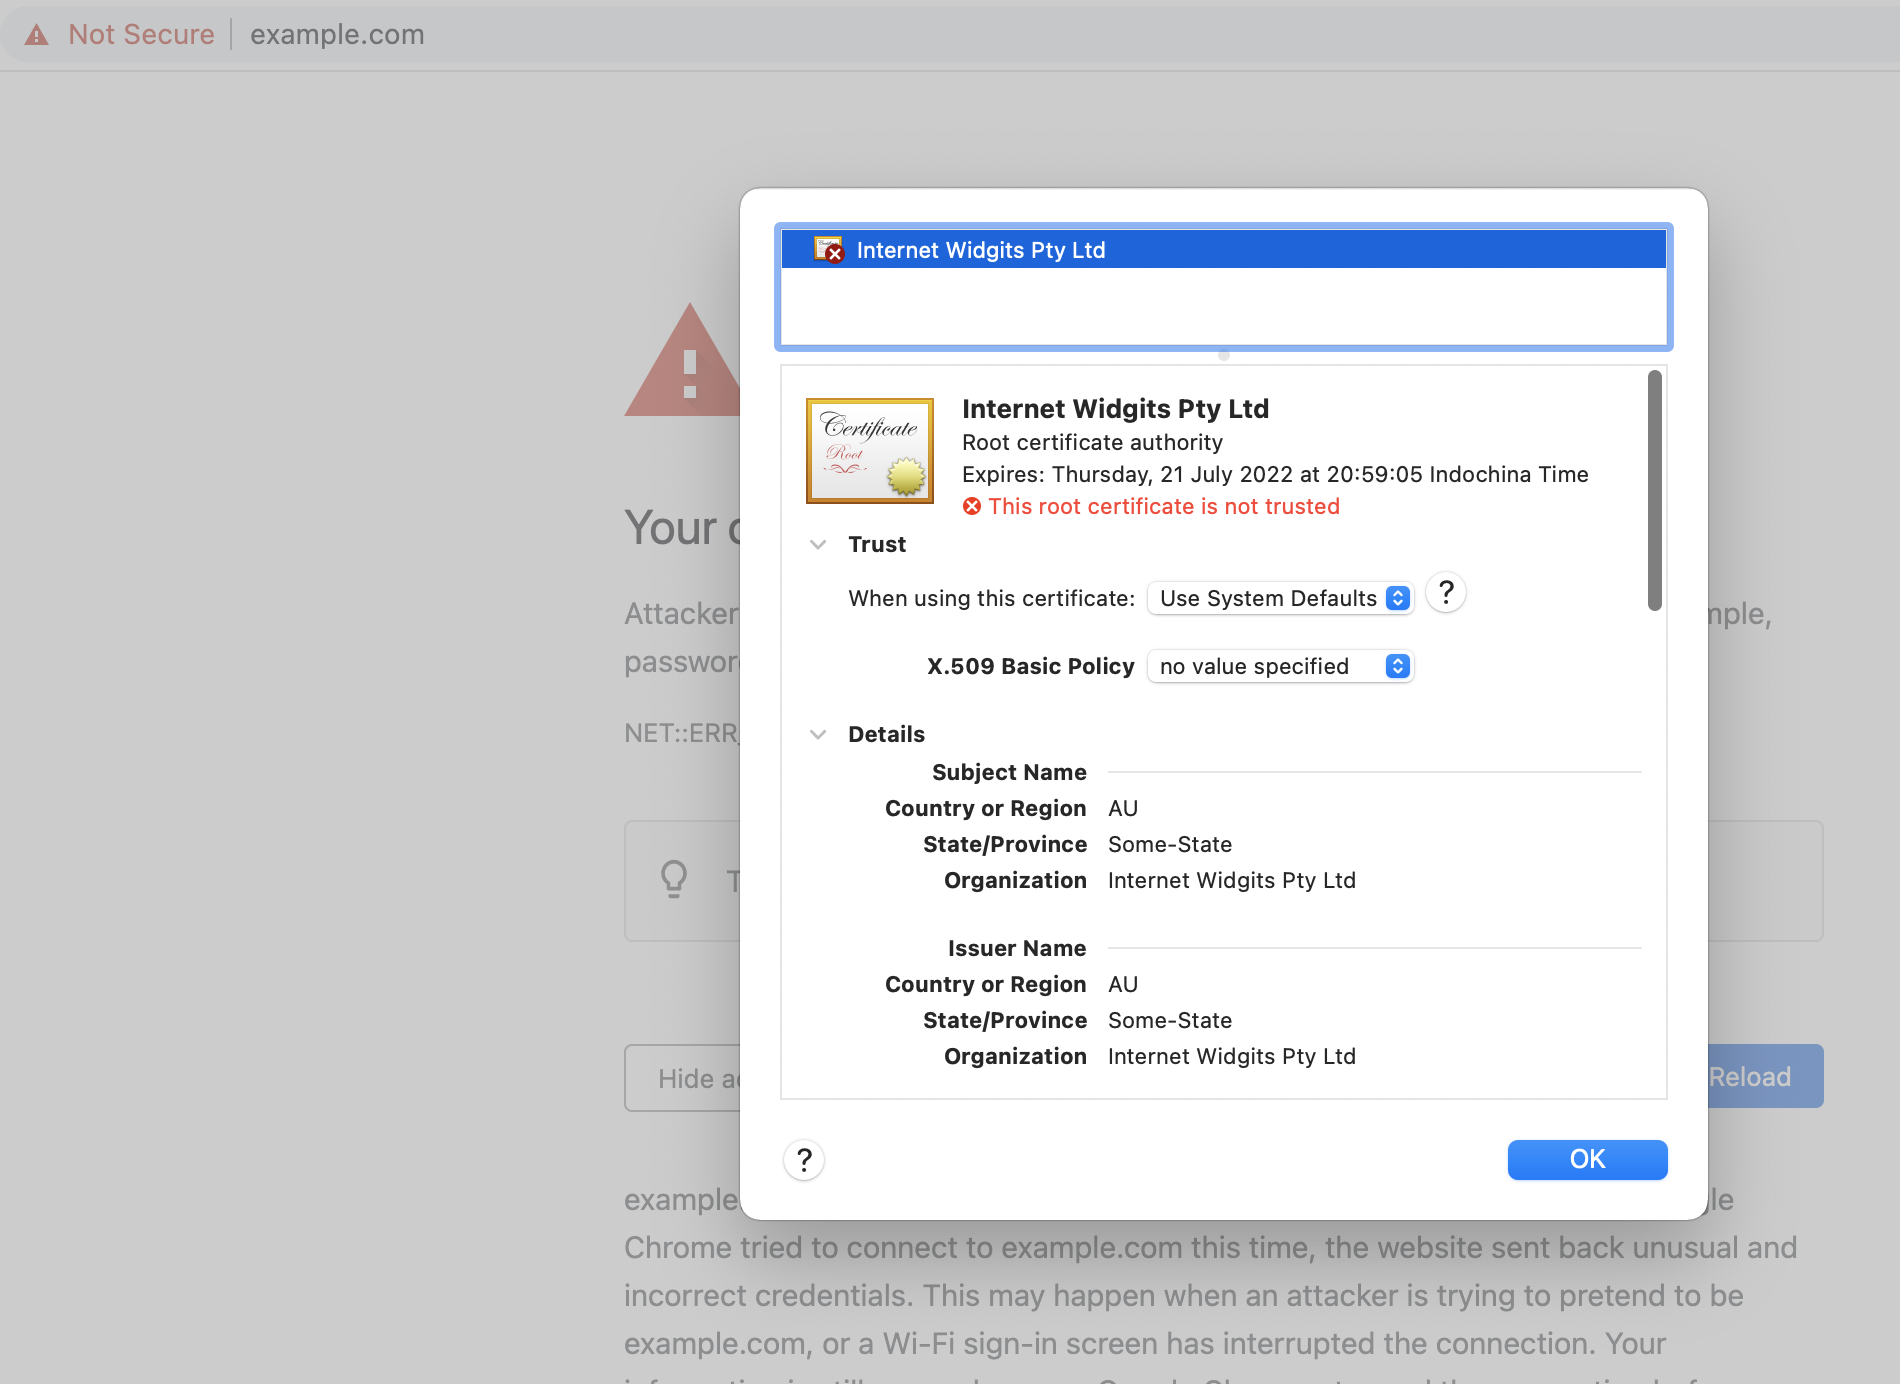
Step 10 : Your browser may return an error saying Invalid Certification Authority. This is fine as we are using a self-signed certificate.