When I refer here to Let's Encrypt, I'm talking about a non-profit service that gives out SSL certificates at no cost to users. These certificates are completely free and, while they're only valid for ninety days, they renew automatically. You don't need to do anything to keep them active.
To get an SSL certificate from Let's Encypt, your new website on Windows Server 2019 needs to be fully set up and ready to go. This is what we've been doing in the previous steps. If you need to, go back and walk through the steps again to make sure your website has a valid domain name and can be launched via your internet browser.
Step 1: Go to GitHub. Install a program called win-acme. This open source program integrates Let's Encrypt and IIS so they can be used together. Make sure you install the version labelled: win-acme.v2.1.18.1119.x64.trimmed.zip.
Here's a link to the correct download file: https://github.com/PKISharp/win-acme/releases
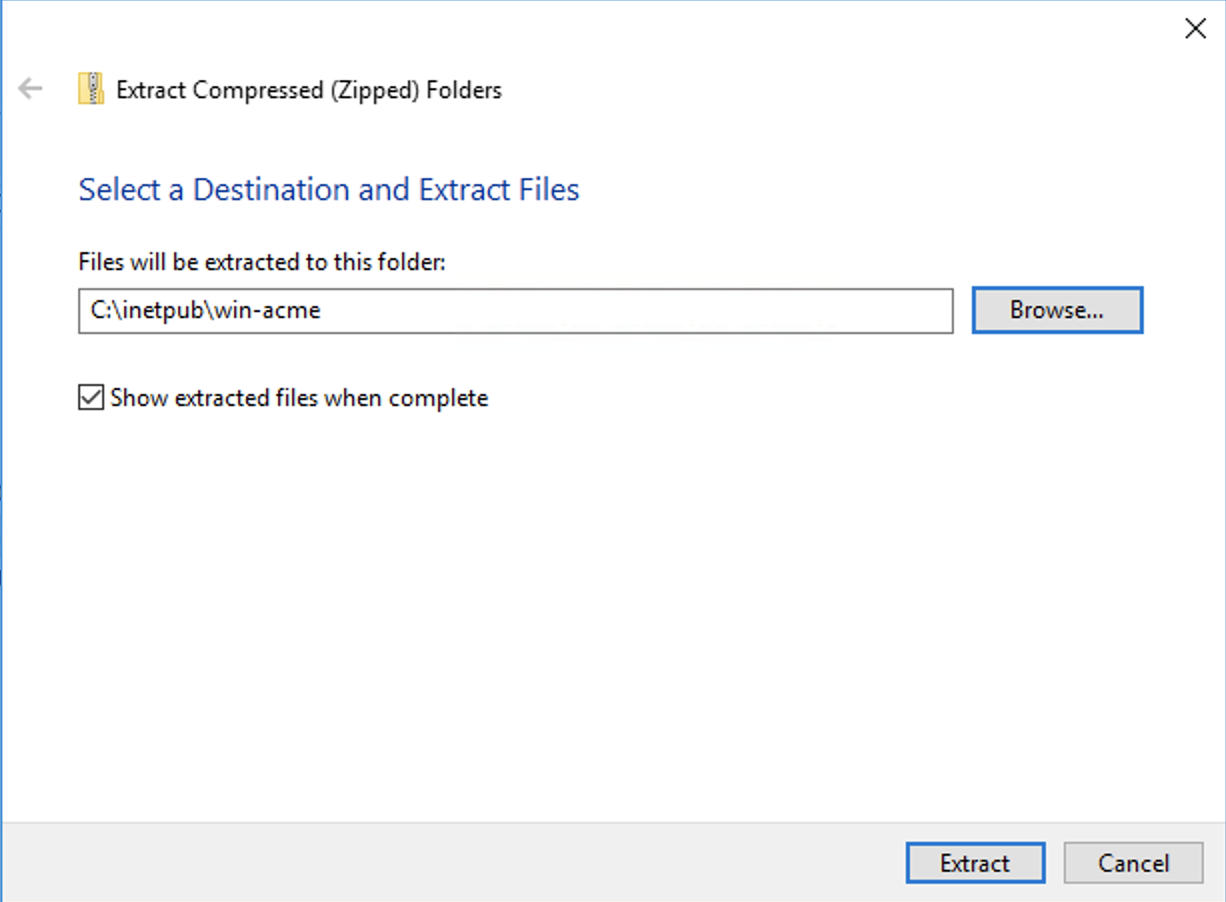
Step 2: Send the (unzipped) download file to this location: C:\inetpub\win-acme\. If this directory doesn't already exist on your machine - sometimes server security settings delete or change it - you'll need to create a new version.
Step 3: Navigate to the download folder and its unzipped files. Look for a program called wacs. Right click it and select Run As Administrator.
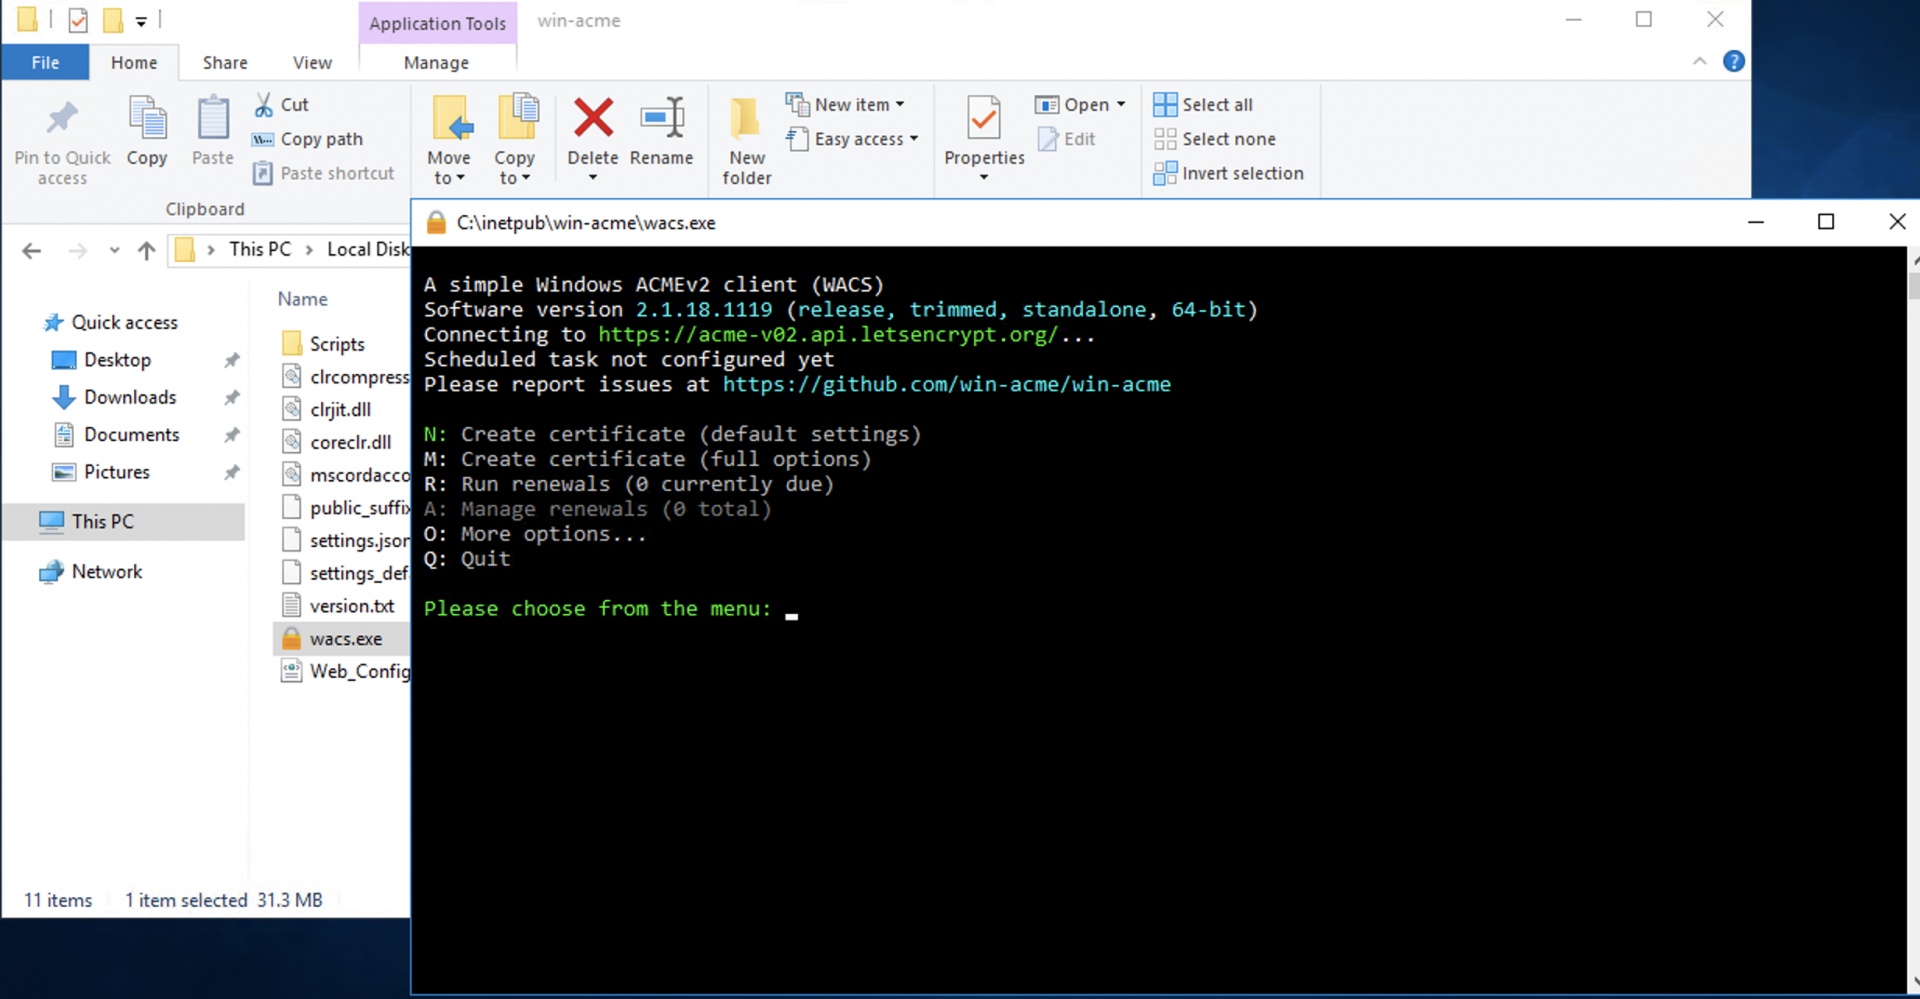
Step 4: Type, simply, the letter N. Hit ENTER.

Step 5: Scroll through the list of websites and find the new website you want to assign the SSL certificate to. For instance: Website02 (1 binding).
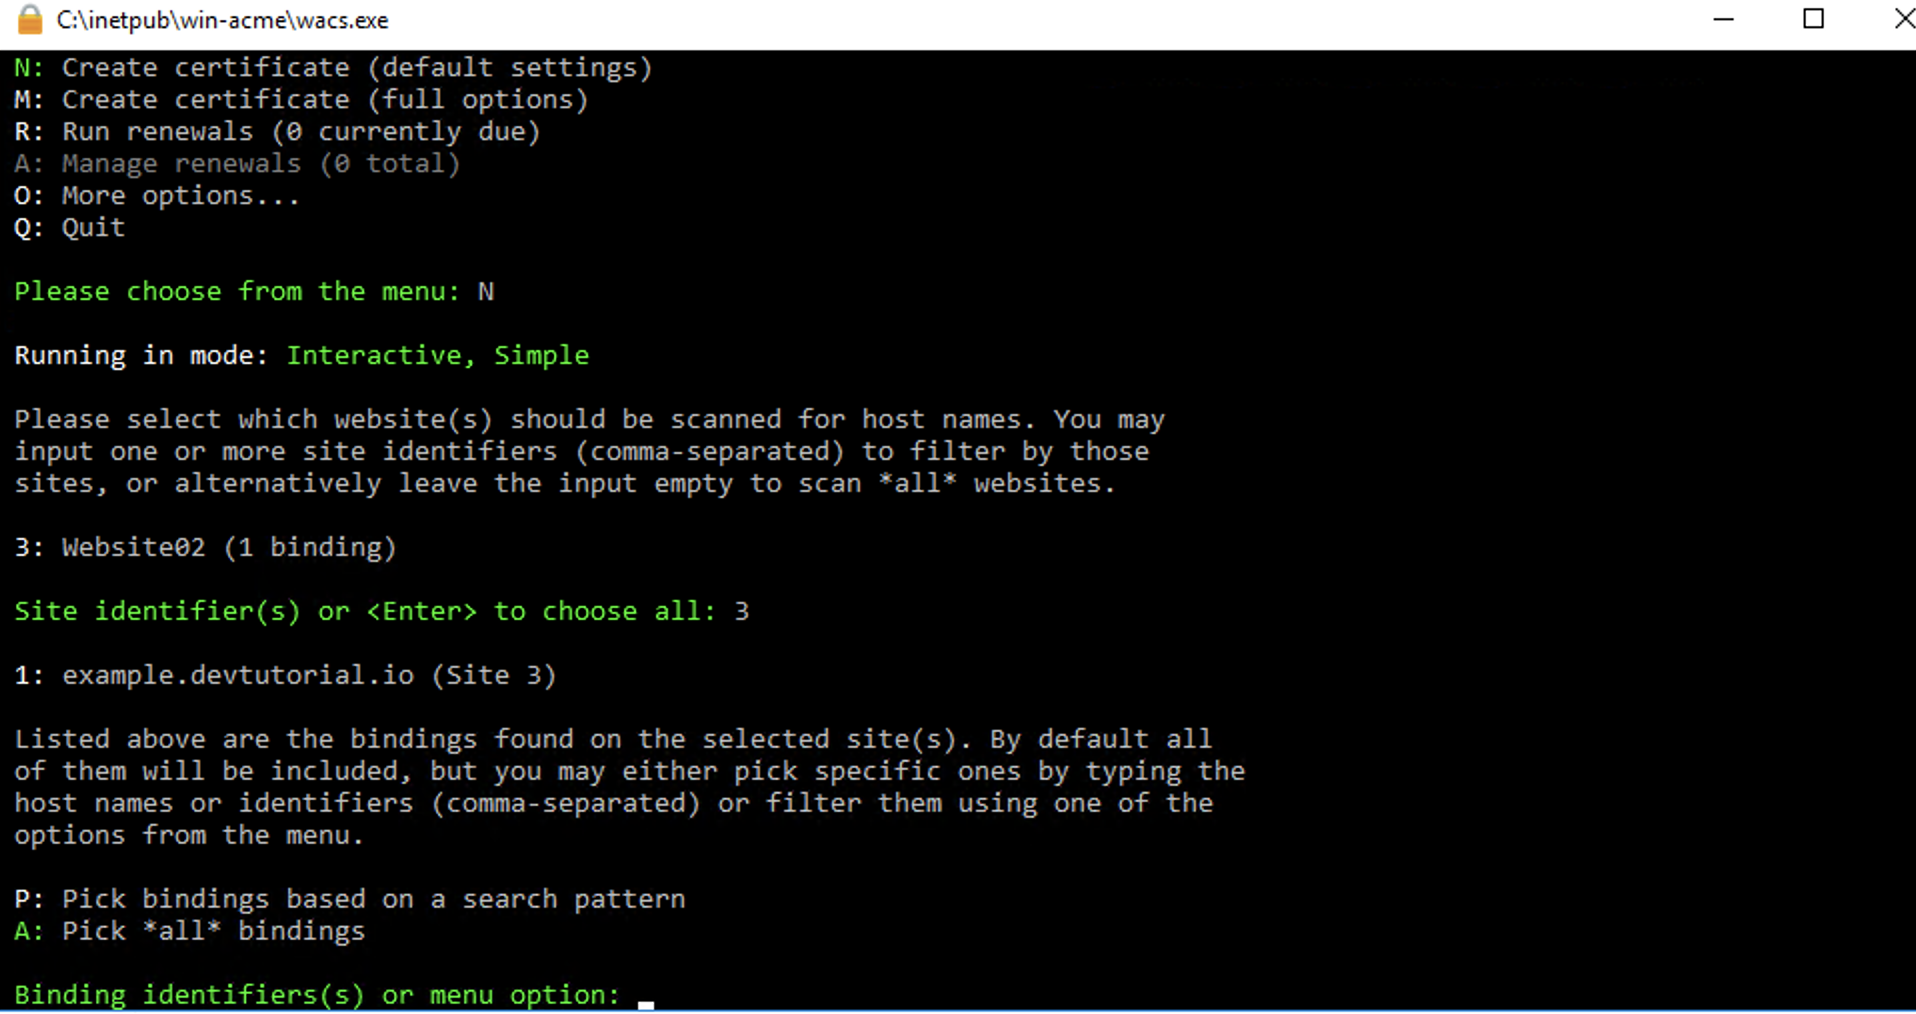
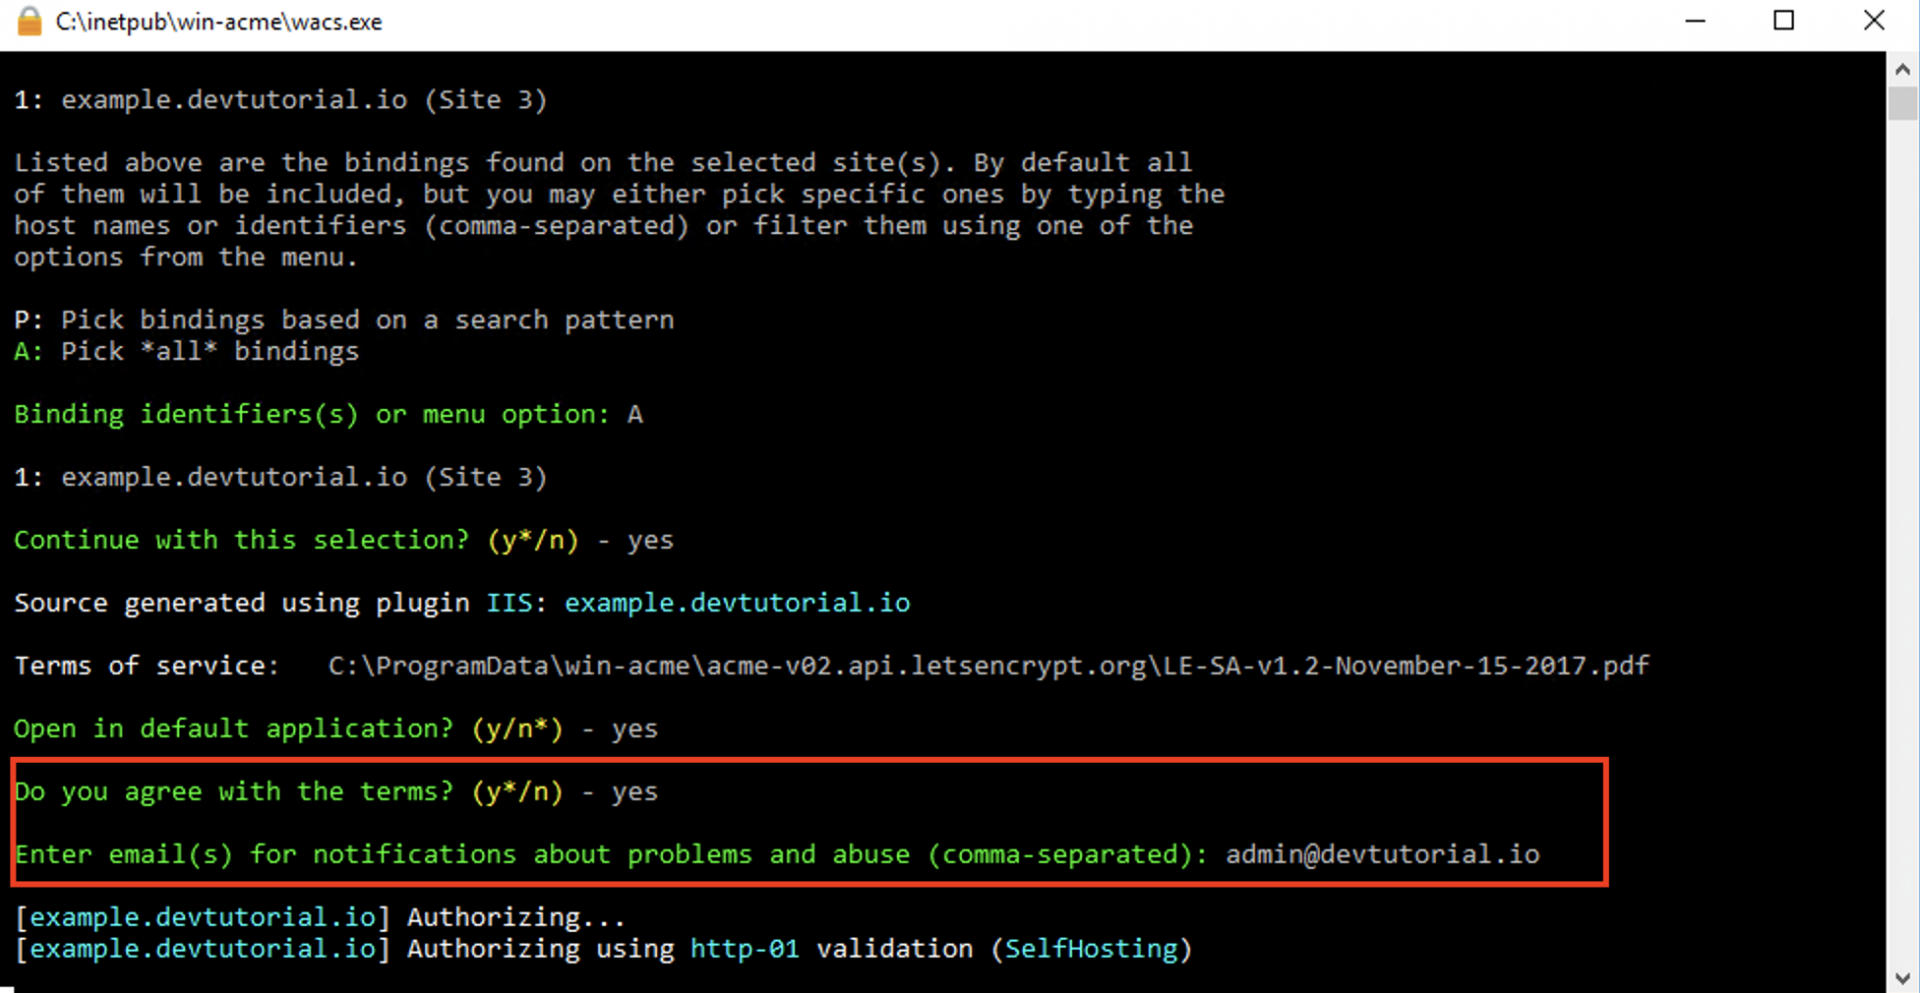
Step 6: You should see a window appear. The program will now attempt to identify your new website's domain name. To speed things along, select the option Pick *all* bindings.
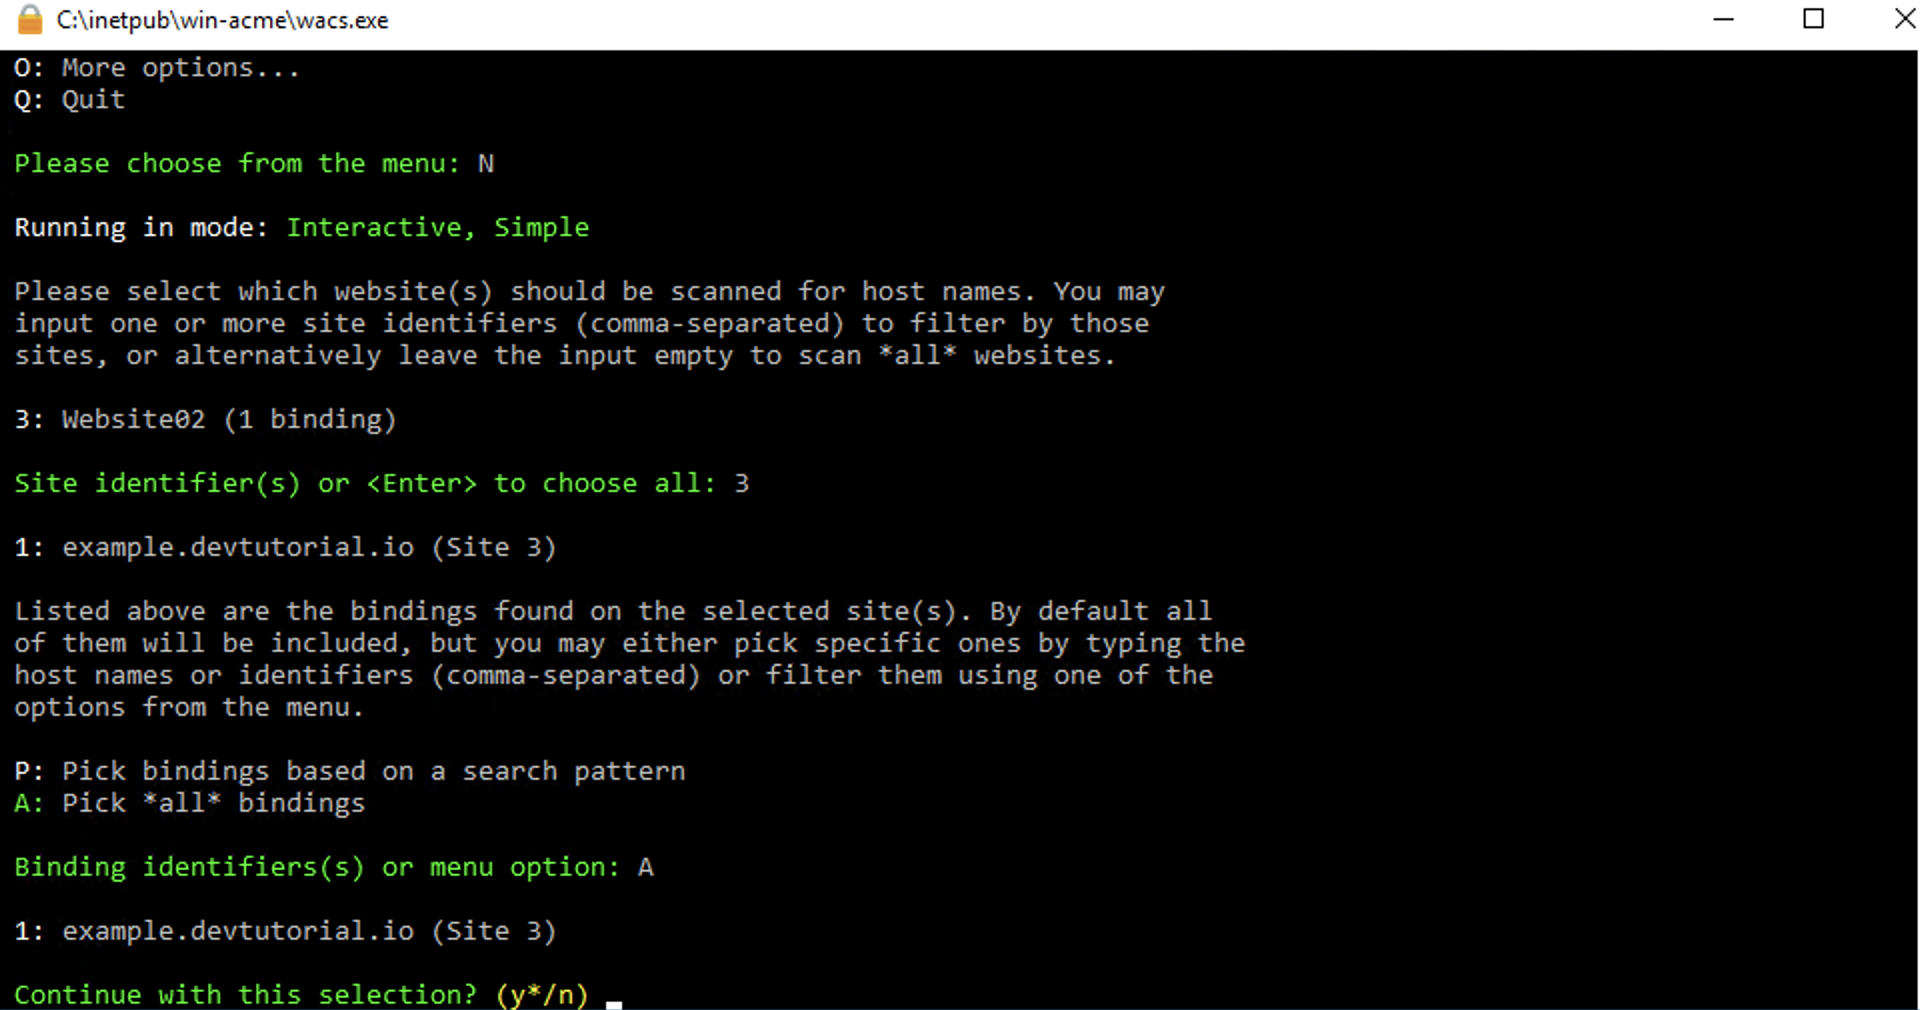
Step 7: If everything looks functional and correct, type in the letter Y and hit ENTER.
Step 8: At this point, the program asks for an email address. I strongly recommend you use a valid address (and not one you don't use regularly) because if problems arise with your SSL certificate, this is how the Let's Encrypt team will contact you. Occasionally, there are issues with certificates not renewing as expected. It's a problem with a quick fix if they can communicate with you.
Step 9: There's also a T&C policy to read and agree to. I recommend you do read it but, let's be honest, most of us are used to scrolling right past these documents and checking the box no matter what they say. It's your choice.
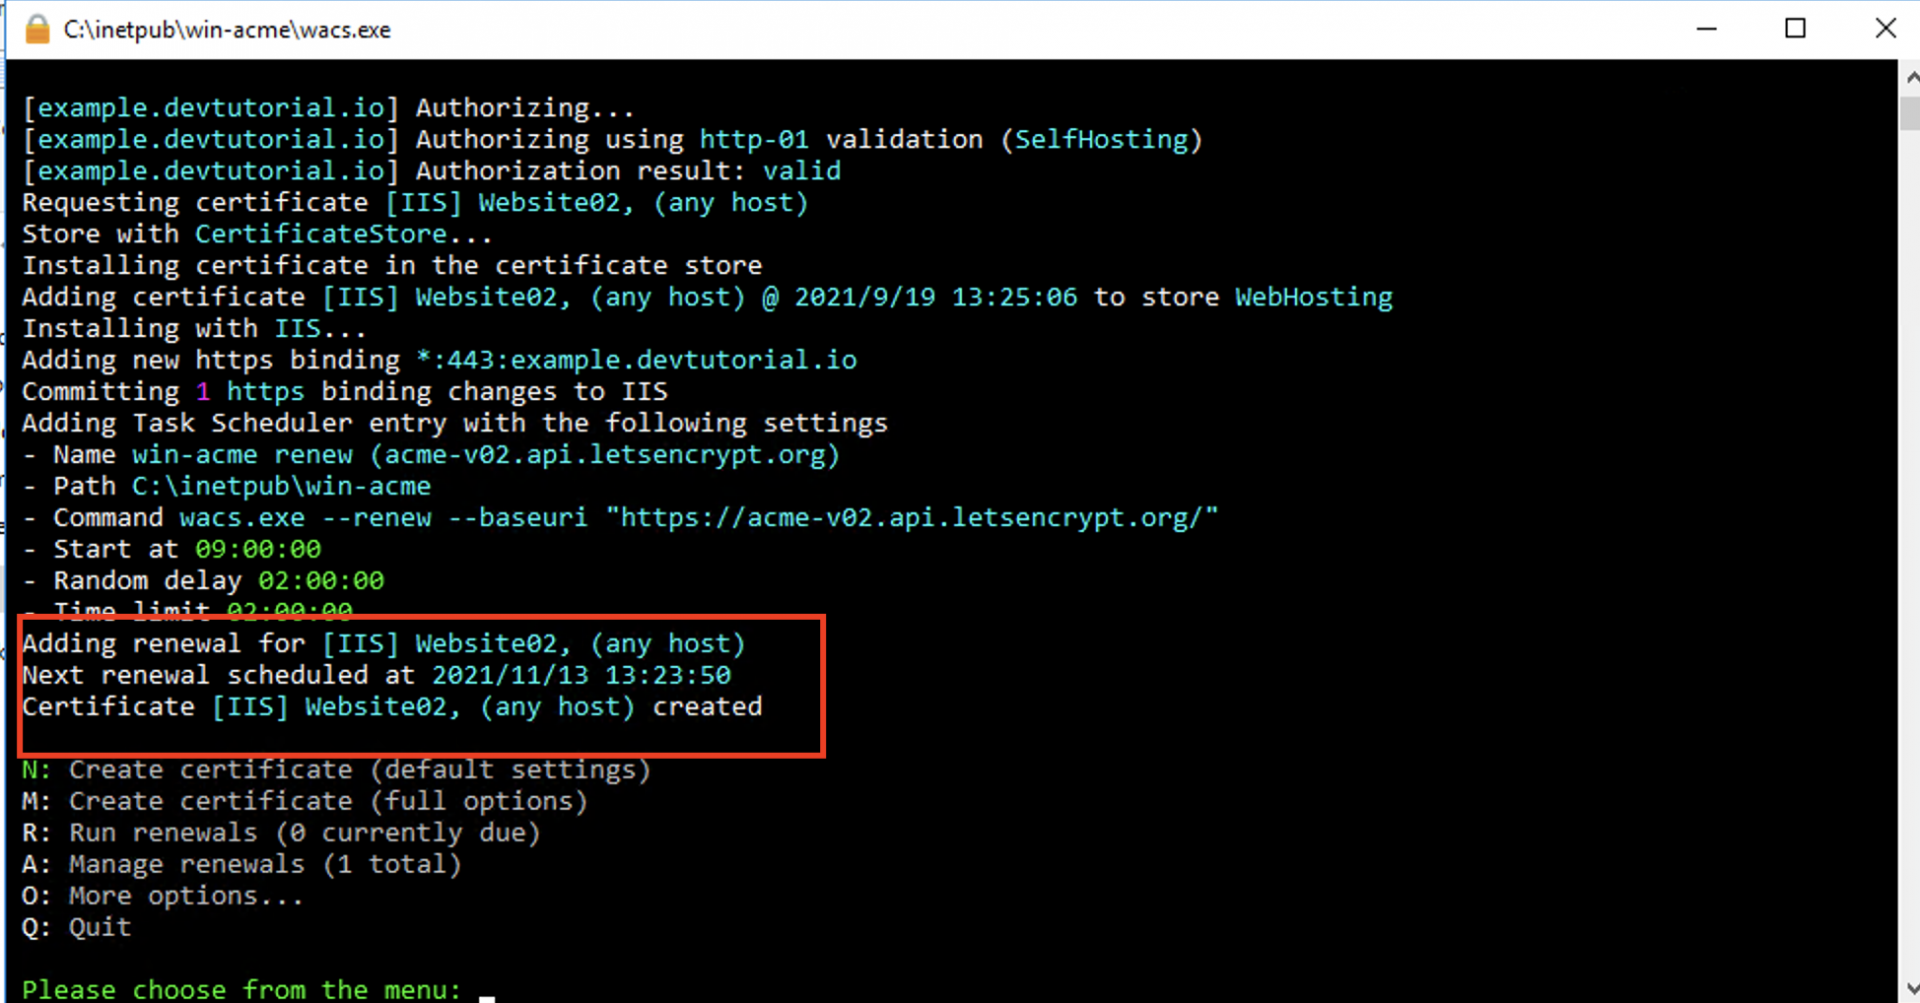
Step 10: Hit send when everything looks complete and correct. Then, wait a few minutes while Let's Encrypt creates an SSL certificate for your website.
Step 11: If the SSL certificate is generated successfully, you'll see the following output:
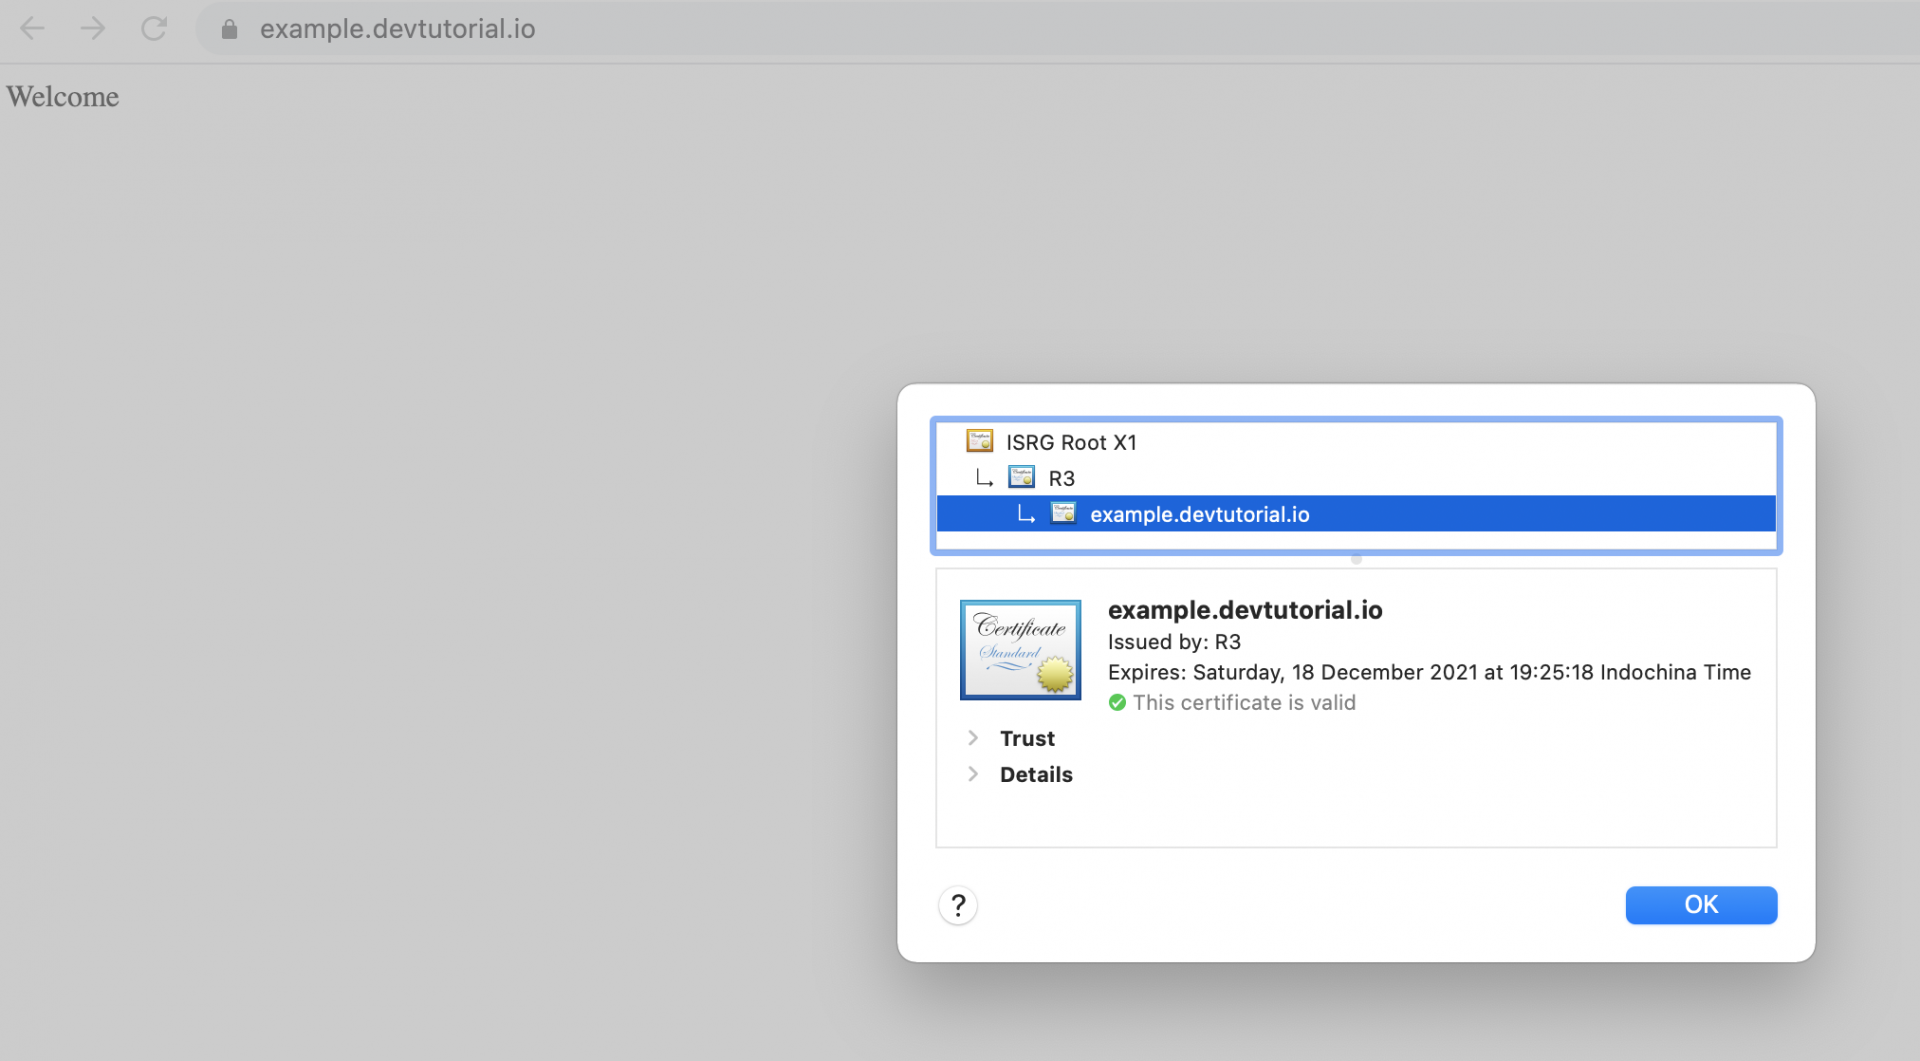
Step 12: It doesn't hurt, of course, to double check the certificate is active via your preferred web browser.
I'll stress again that Let's Encrypt doesn't charge for its SSL certifications. The certificate request service is automated. You can do it at any time and you don't need to input any payment details or card numbers.
There are other SSL certificate providers, some of them just as good or better than Let's Encrypt, but many of these do charge a fee.