Use this tutorial to install and configure MongoDB, which is a not only SQL (NoSQL) document storage server.
You will need access to a root account or an account with sudo privileges. To get the latest version of MongoDB, we need to add the MongoDB source to Ubuntu installation sources:
Step 1 : First, import the MongoDB GPG public key

Step 2 : Create a list file and add an install source to it

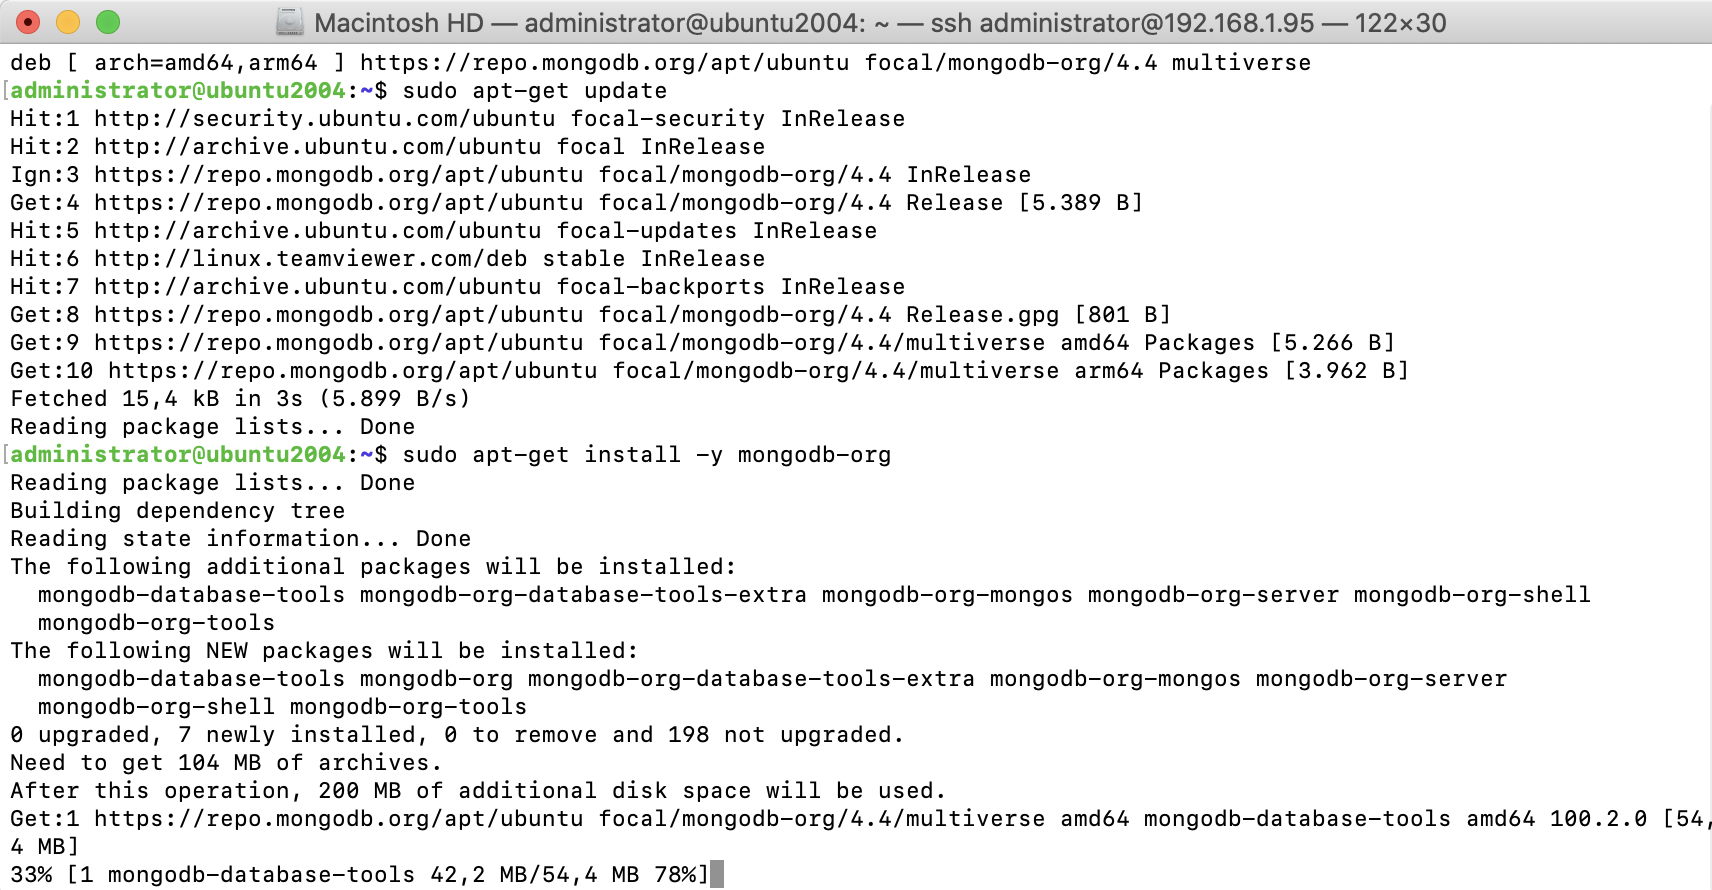
Step 4 : Update the apt repository sources and install the MongoDB server
Step 5 : You can start the mongod process by issuing the following command:

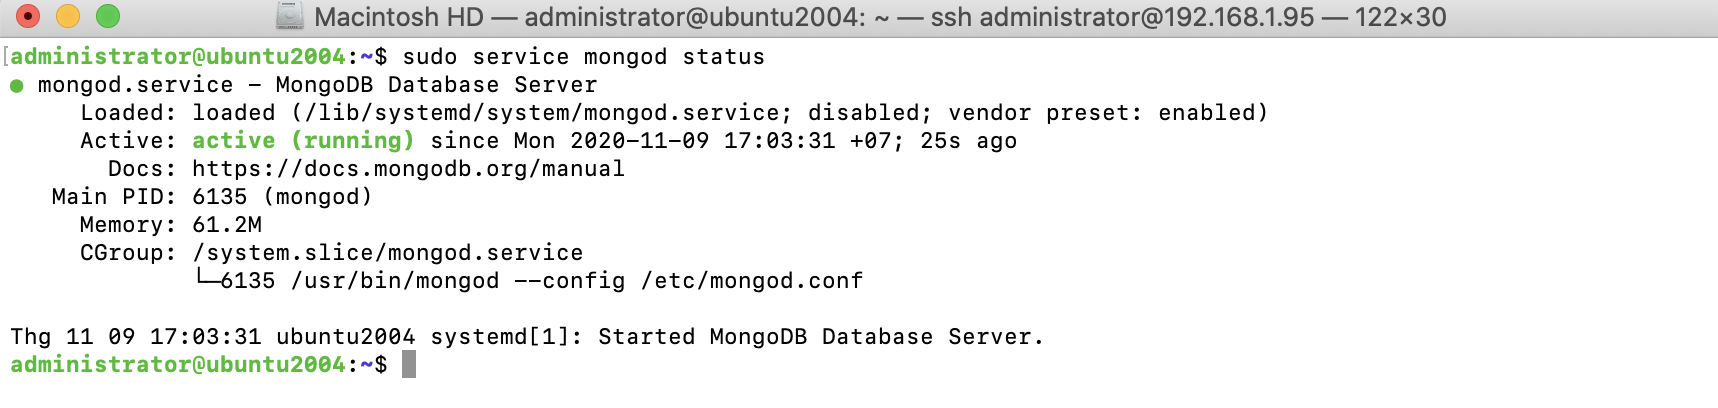
Step 5 : After installation completes, check the status of the MongoDB server
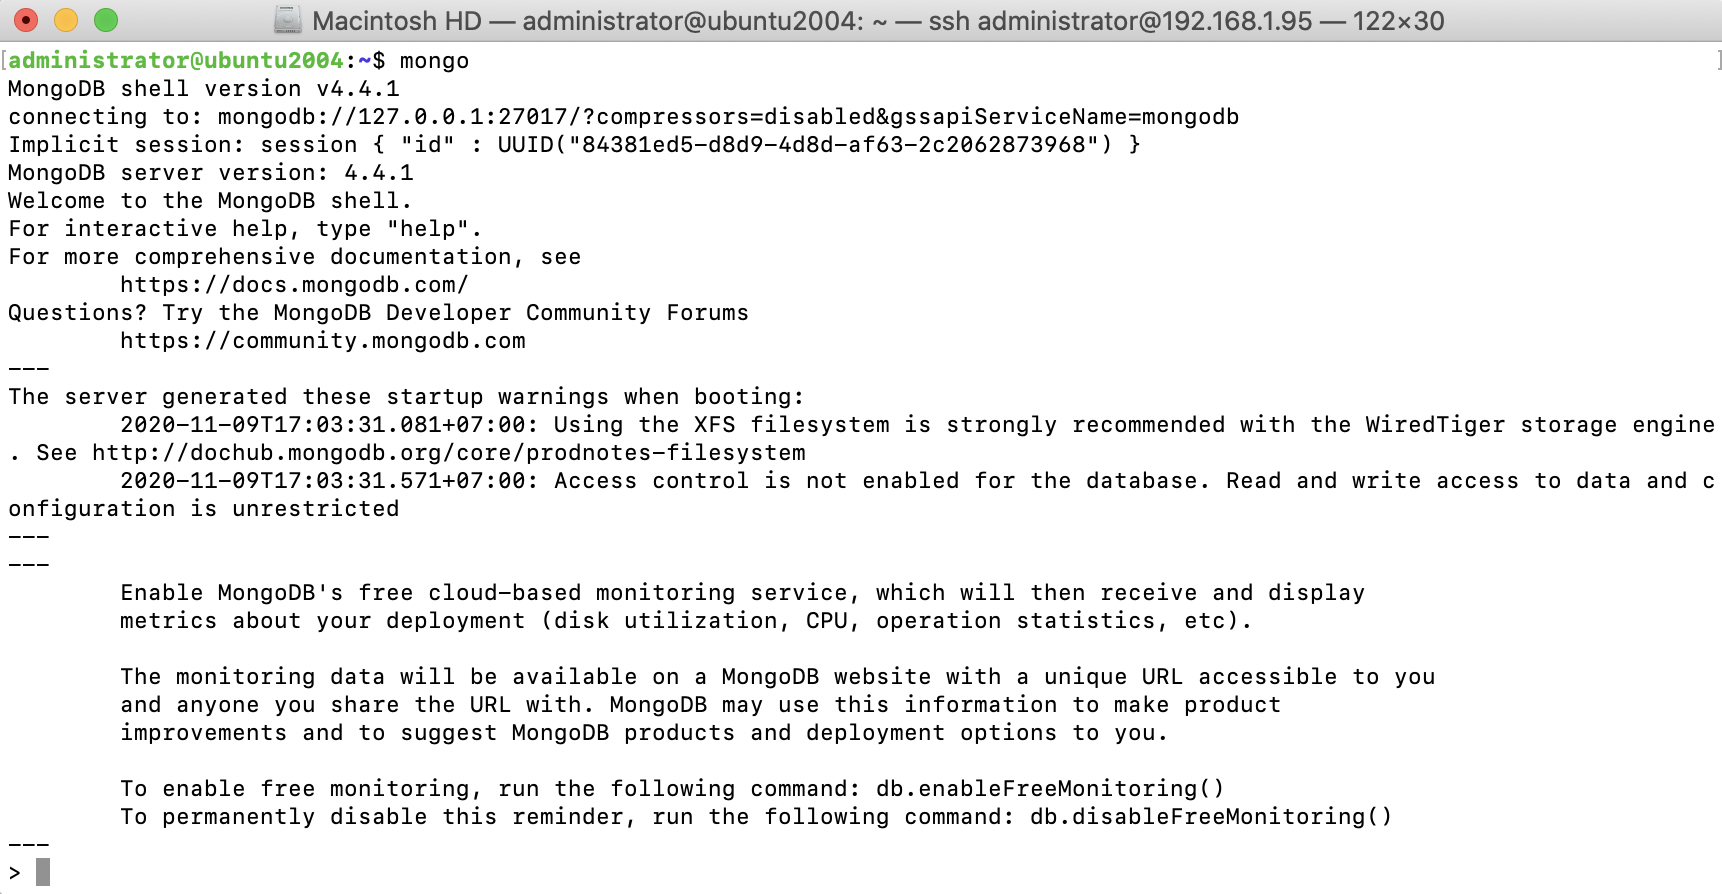
Step 6 : Now you can start using the MongoDB server. To access the Mongo shell, use the following command
After installation, the MongoDB service should start automatically. You can check logs at /var/log/mongodb/mongod.log.