Step 1 : Install and Configure fail2ban
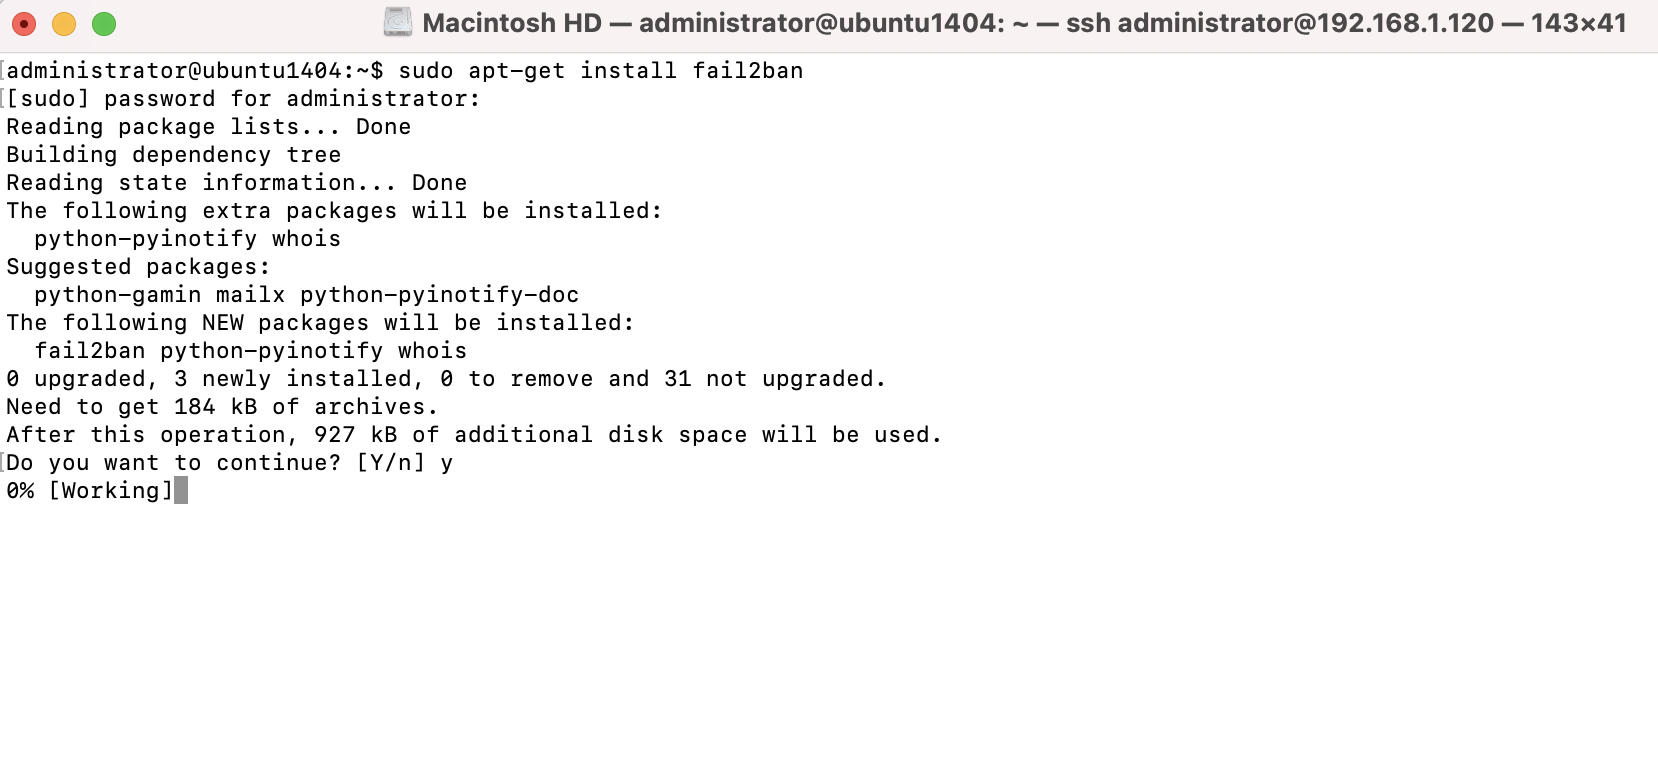
After installation, the fail2ban daemon will start up and be configured to automatically start at boot-time.
Configuring fail2ban is simply a matter of creating a configuration file. But, you shouldn't use its default config file (/etc/fail2ban/jail.conf). The problem with this file is that it can be overwritten when you install security updates, if those security updates ever include Fail2ban itself. To remedy this, Fail2ban also reads the /etc/fail2ban/jail.local file, if it exists.
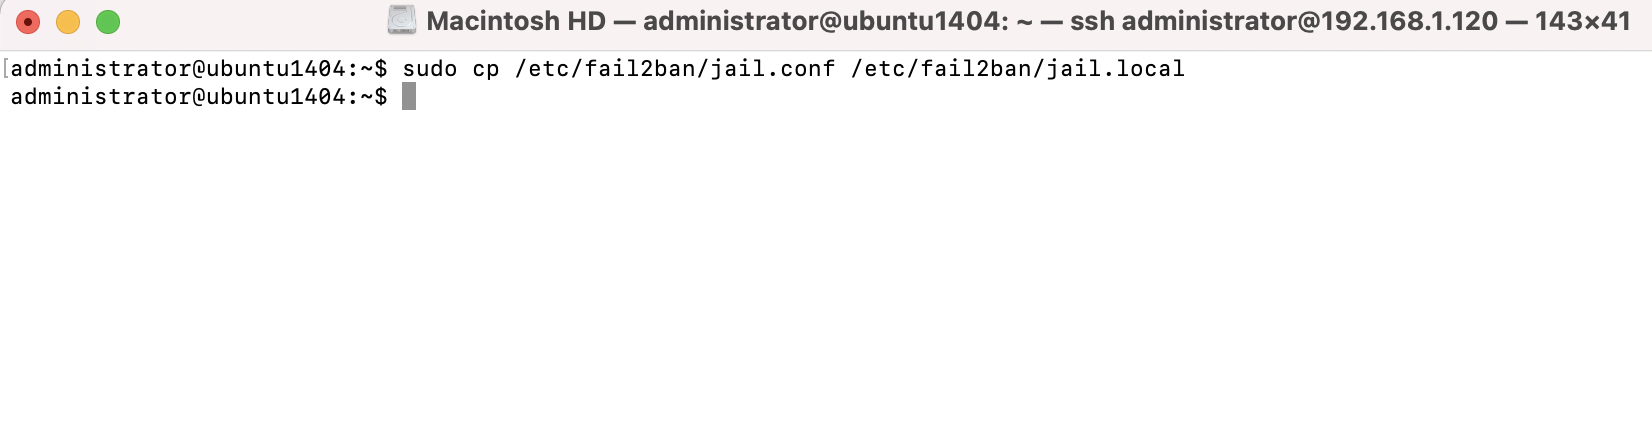
Step 2 : The simplest way to get started is to make a copy of jail.conf and save it as jail.local
Step 3 : Open up the /etc/fail2ban/jail.local file you just copied in a text editor. The first configuration item to change is ignoreip:
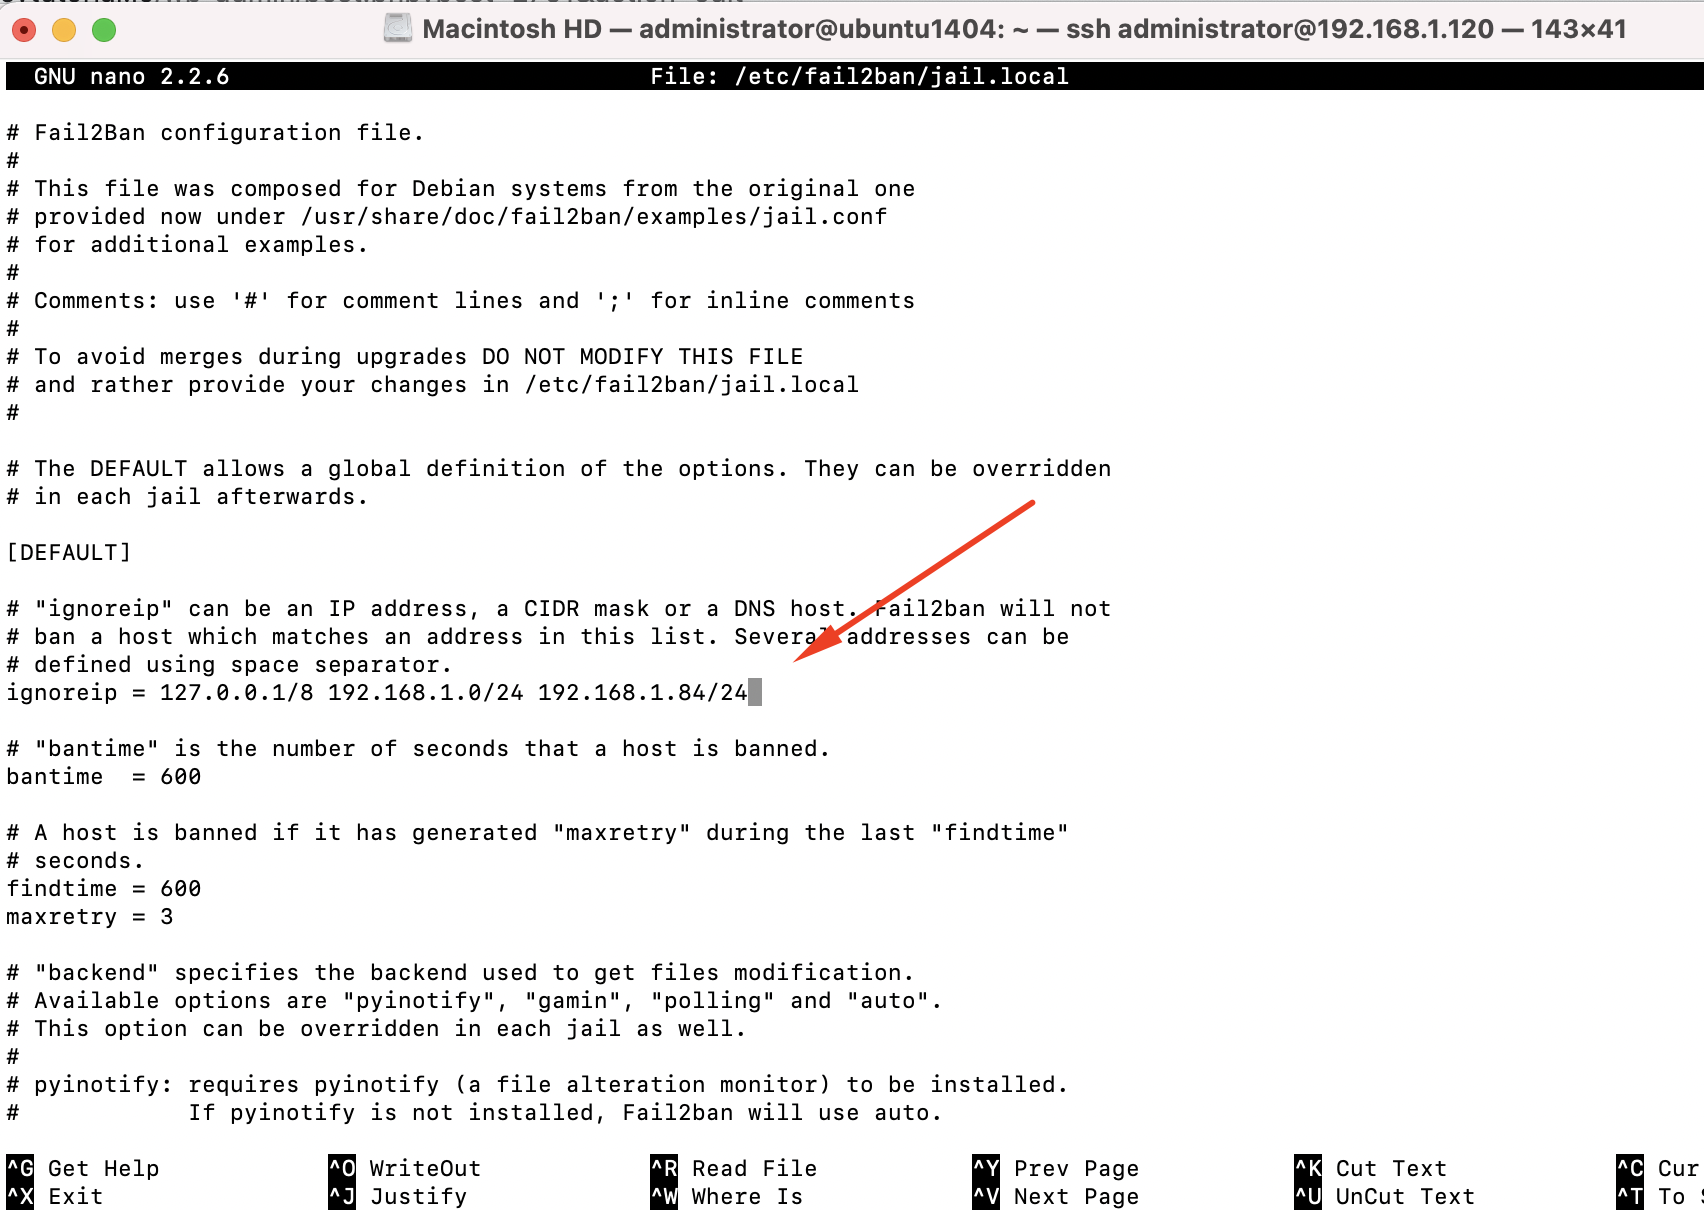
On this line, you should add additional networks that you don't want to be blocked by Fail2ban. Add your company's network here, as well as some other IP address you never want to be blocked.
Step 4 : Next, the bantime option. This option pertains to how many seconds a host is banned when Fail2ban blocks it. This option defaults to 600:
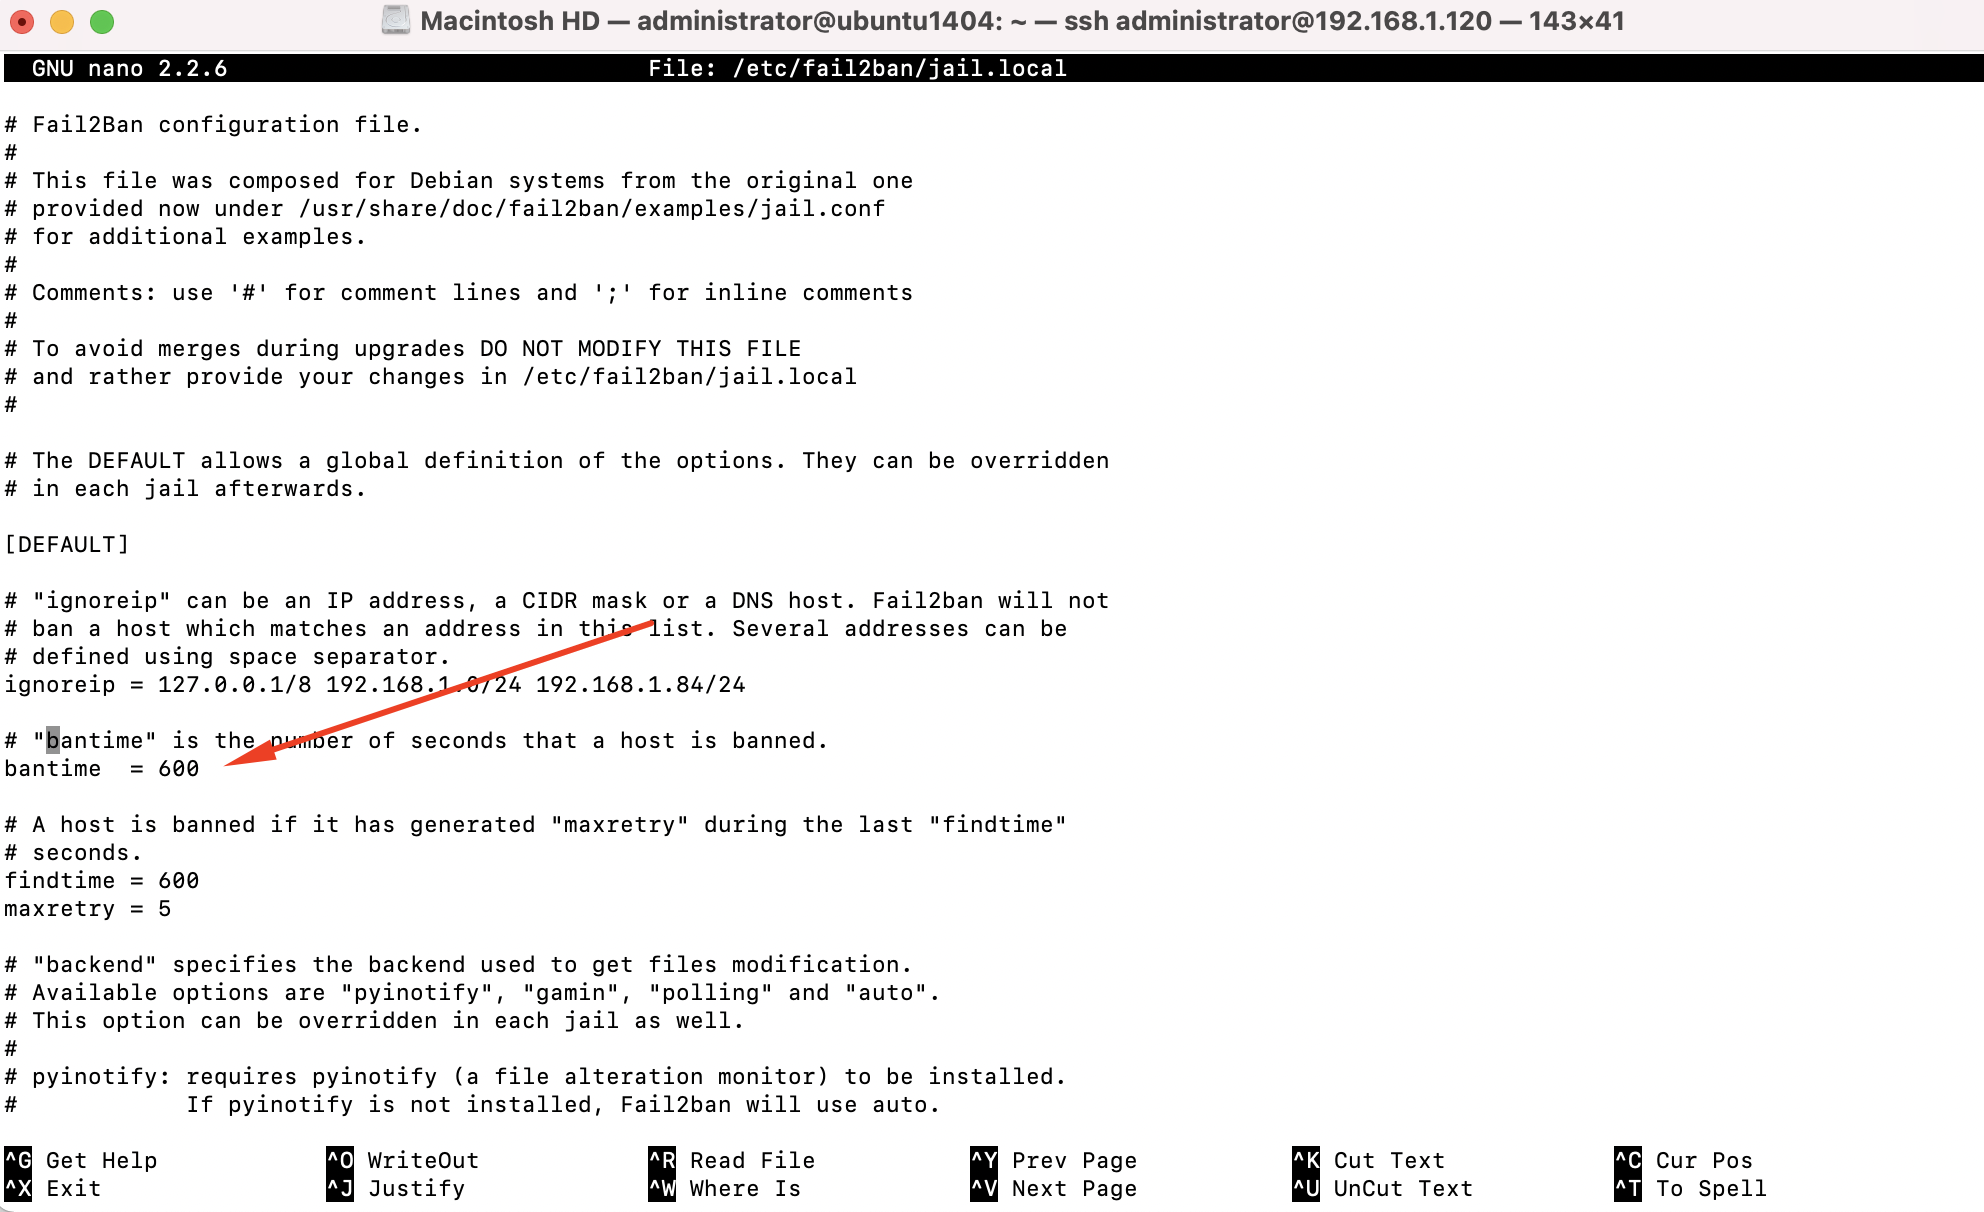
Step 5 : Continuing, we have the maxretry setting:
This is specifically the number of failures that need to occur before Fail2ban takes action. If a service it's watching reaches five failures. The IP will be blocked for the number of seconds included in the bantime optio
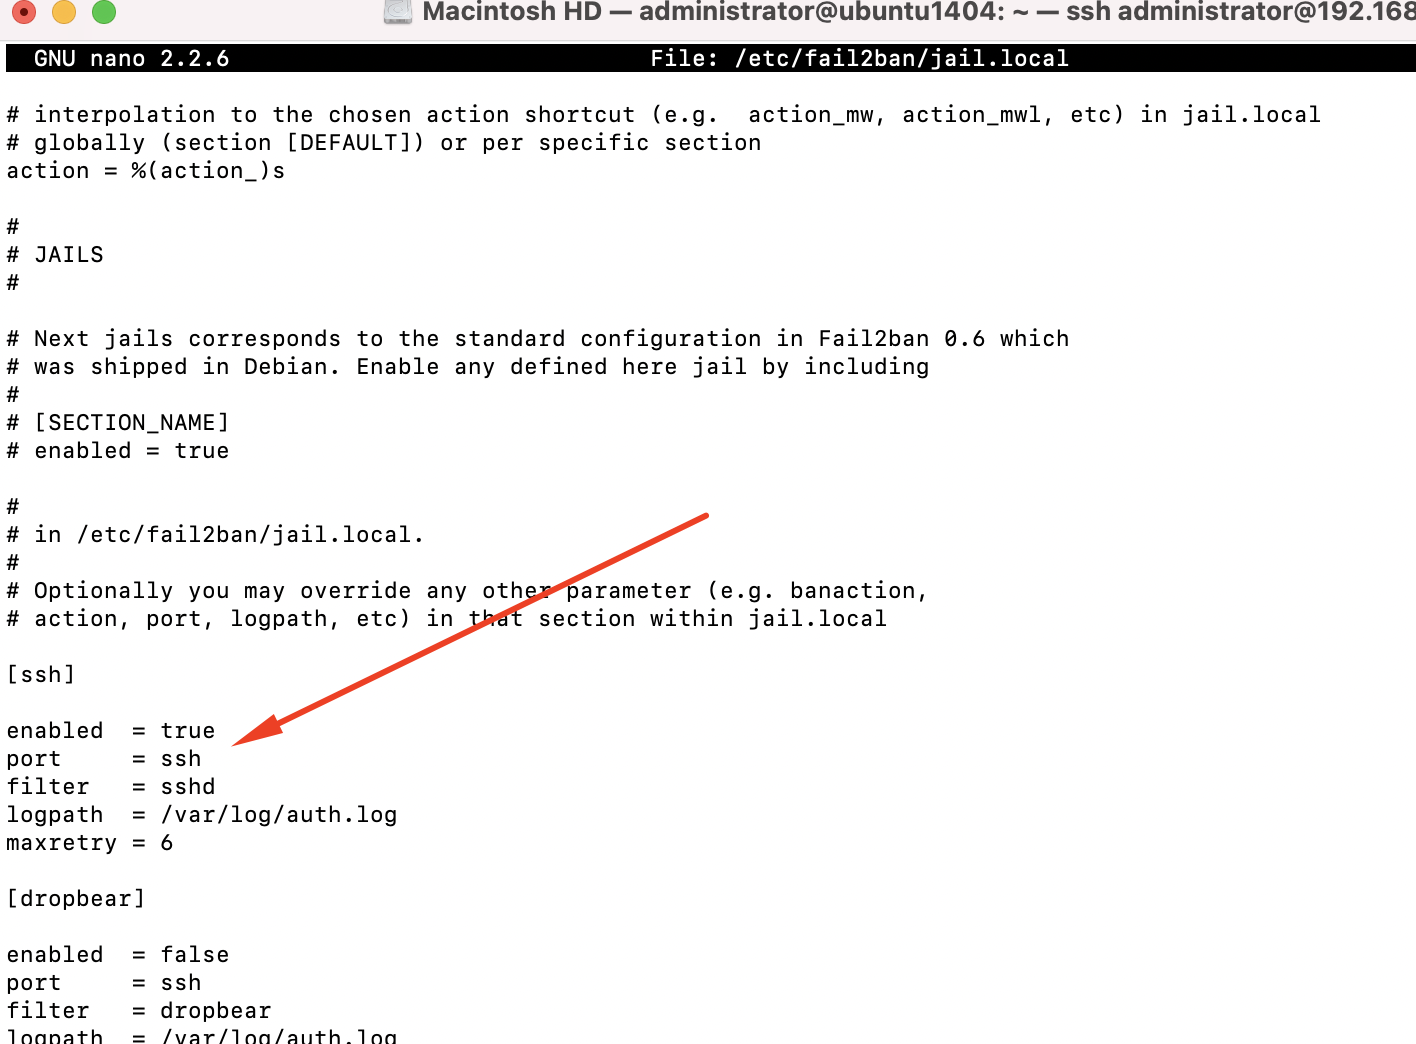
Step 6 : we have the Jails section. From here, the config file will list several Jails you can configure, which is basically another word for something Fail2ban cares to pay attention to. The first is [sshd], which configures its protection of the OpenSSH daemon. Look for this option underneath [sshd]:
Step 7 : we should test that Fail2ban is working after each configuration change we make. To do this, restart Fail2ban and then check its status:
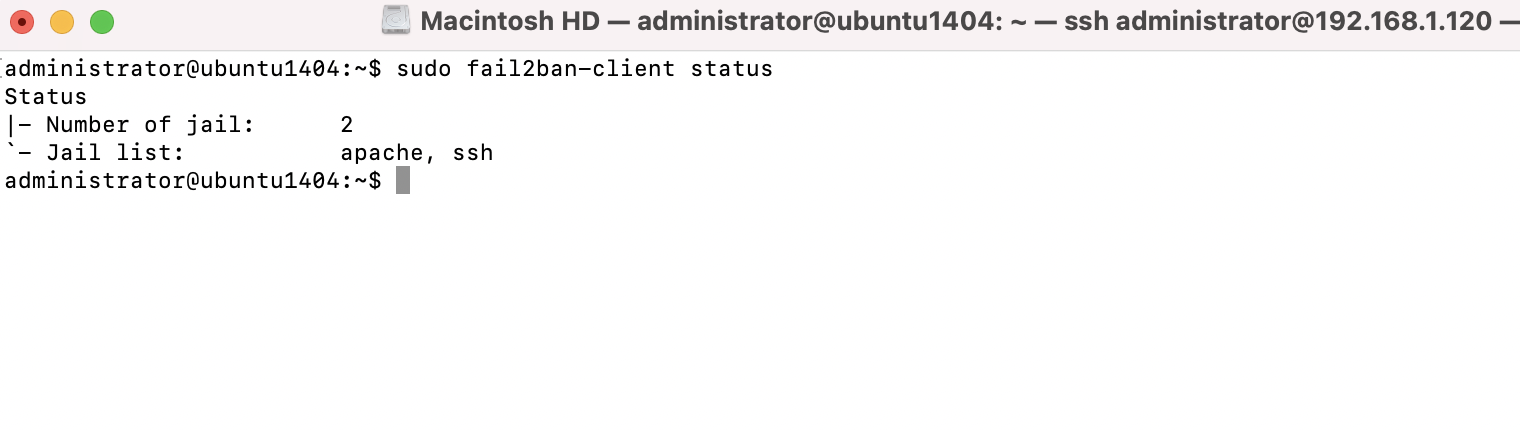
Step 8 : Another useful command to run after restarting Fail2ban is the following:
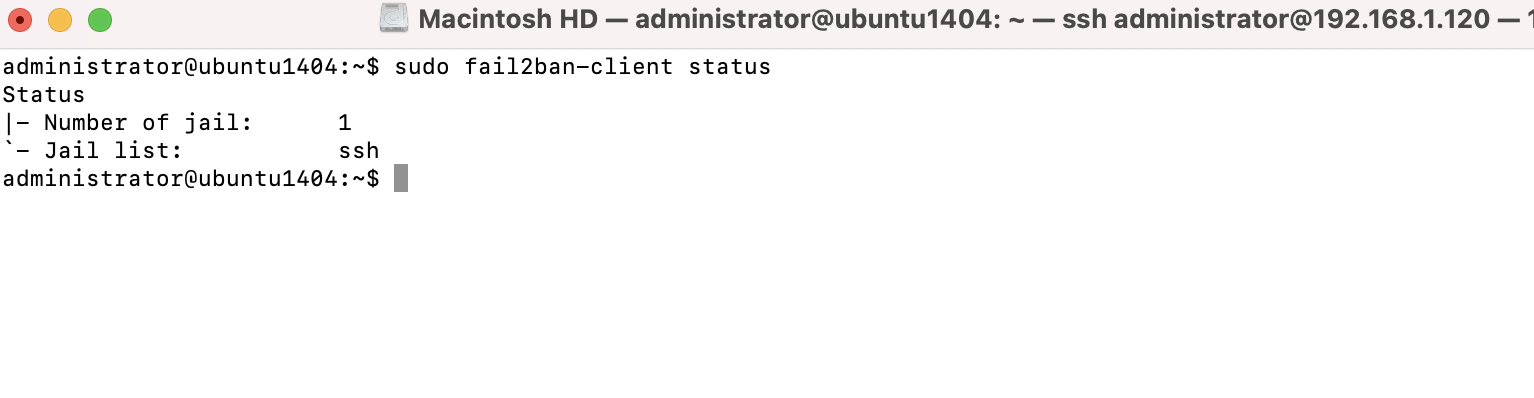
The output from that command will show all the jails that you have enabled. If you enable a new Jail in the config file, you should see it listed within the output of that command.
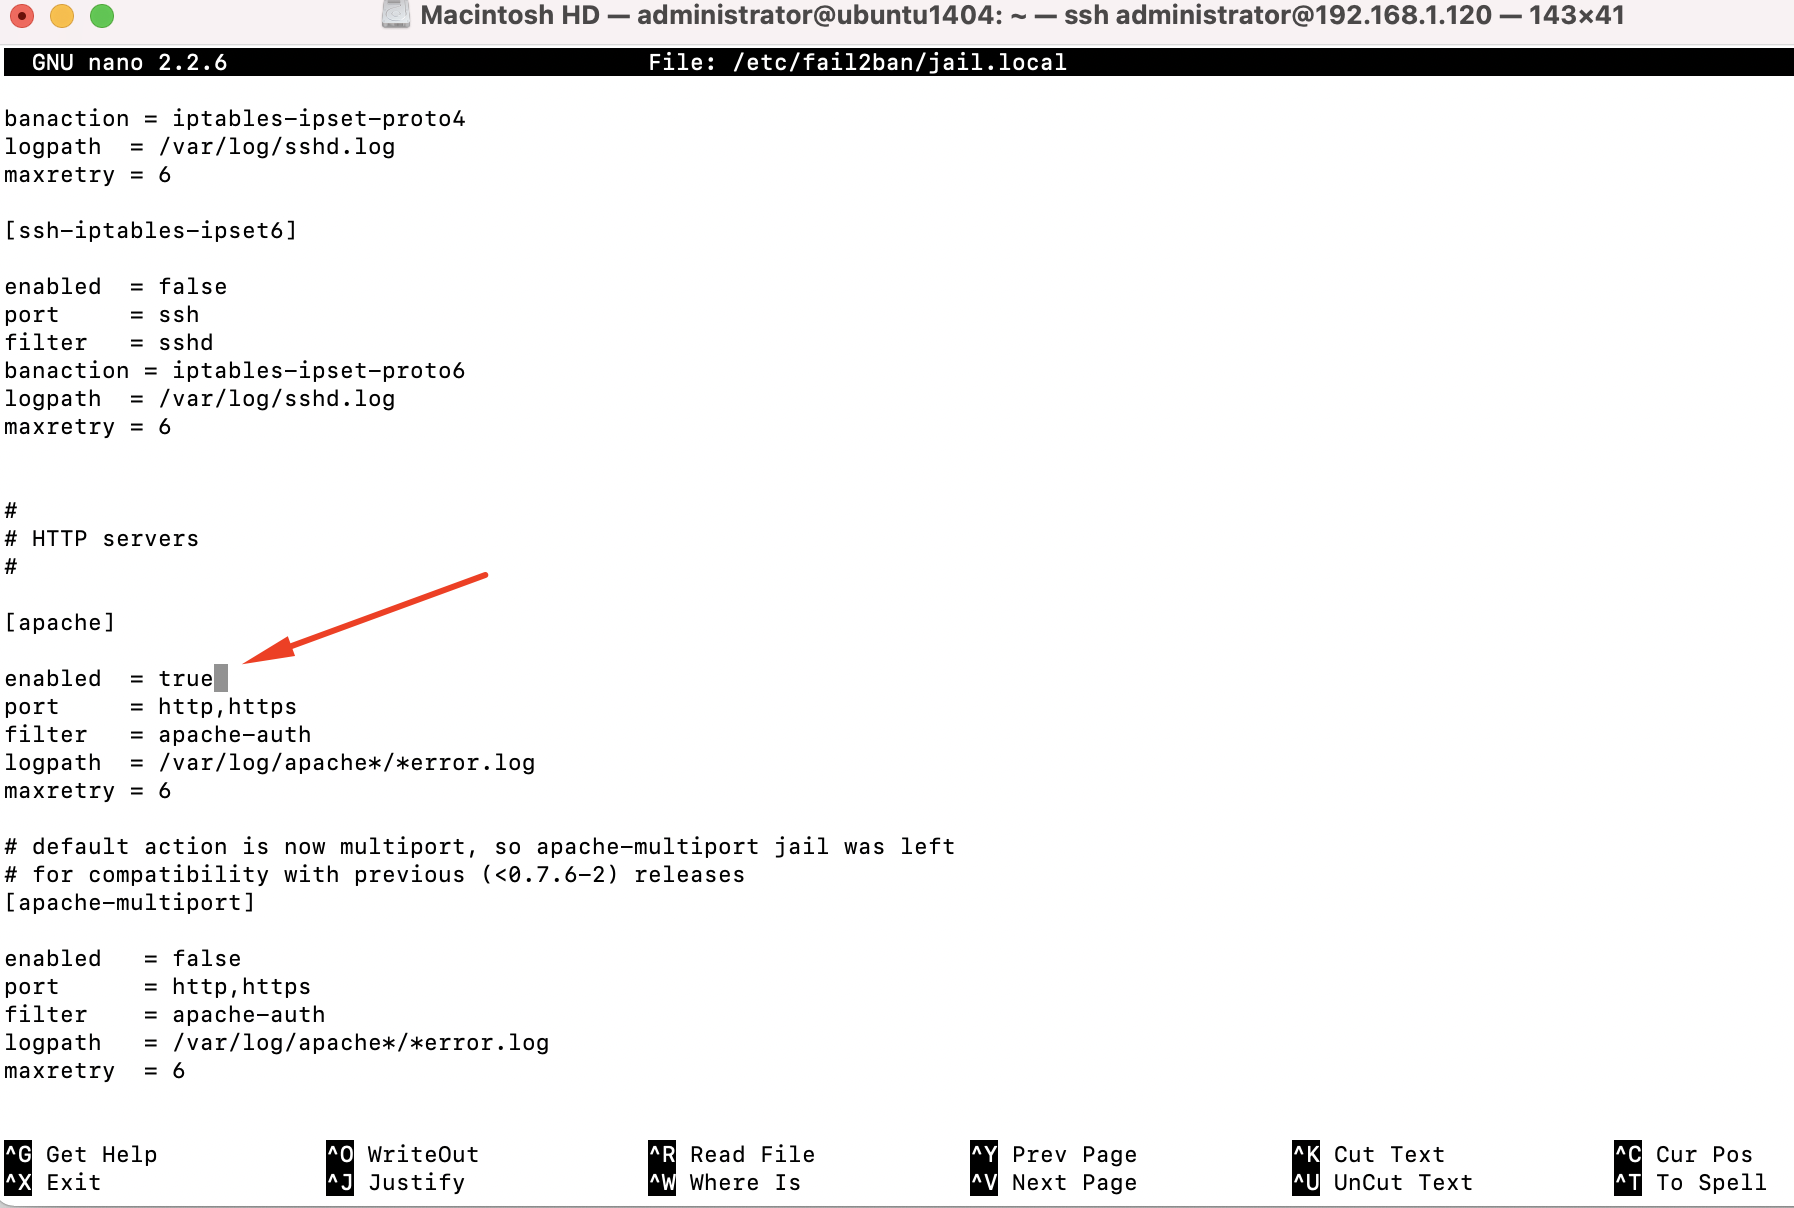
Step 9 : To enable a Jail, place the following within its config block in the /etc/fail2ban/jail.local file:
Step 10 : Now that I've enabled a new jail, we should restart fail2ban:
If you enable a Jail for a service you don't have installed, Fail2ban may fail to start up. In my example, I actually did have apache2 installed on that server before I enabled its Jail. If I hadn't, Fail2ban would likely exit, complaining that it wasn't able to find log files for Apache.