You need your applications to operate as managed containers. You want your NGINX web server to function as a container via the Cloud Compute Engine. With this method, you can achieve it and benefit from the perks (autoscaling, rolling updates, etc) provided by open-source systems like Kubernetes.
First, you need to set up a new Docker container. Then, you’re going to link the container to your VM Instance Template and enable it so that it can apply autohealing, auto updates and other perks to your group.
Step 1 - Launch Google Cloud Console and log in.
Step 2 - Run the following command to set up a new Instance Template and link it to a publicly accessible container:

Step 3 - Now, run this command to establish a secure access point for traffic load balancing:

Step 4 - Run a command (below) to set up an Instance Template with the relevant container and access point (steps 2 and 3):

Step 5 - Return to the Google Cloud Console. Select the menu displaying your Instance Templates and associated VM groups. Locate the new instance group you’ve just created.
Step 6 - Next, execute the following command to launch the new traffic load balancing rule for the VMs in the group.

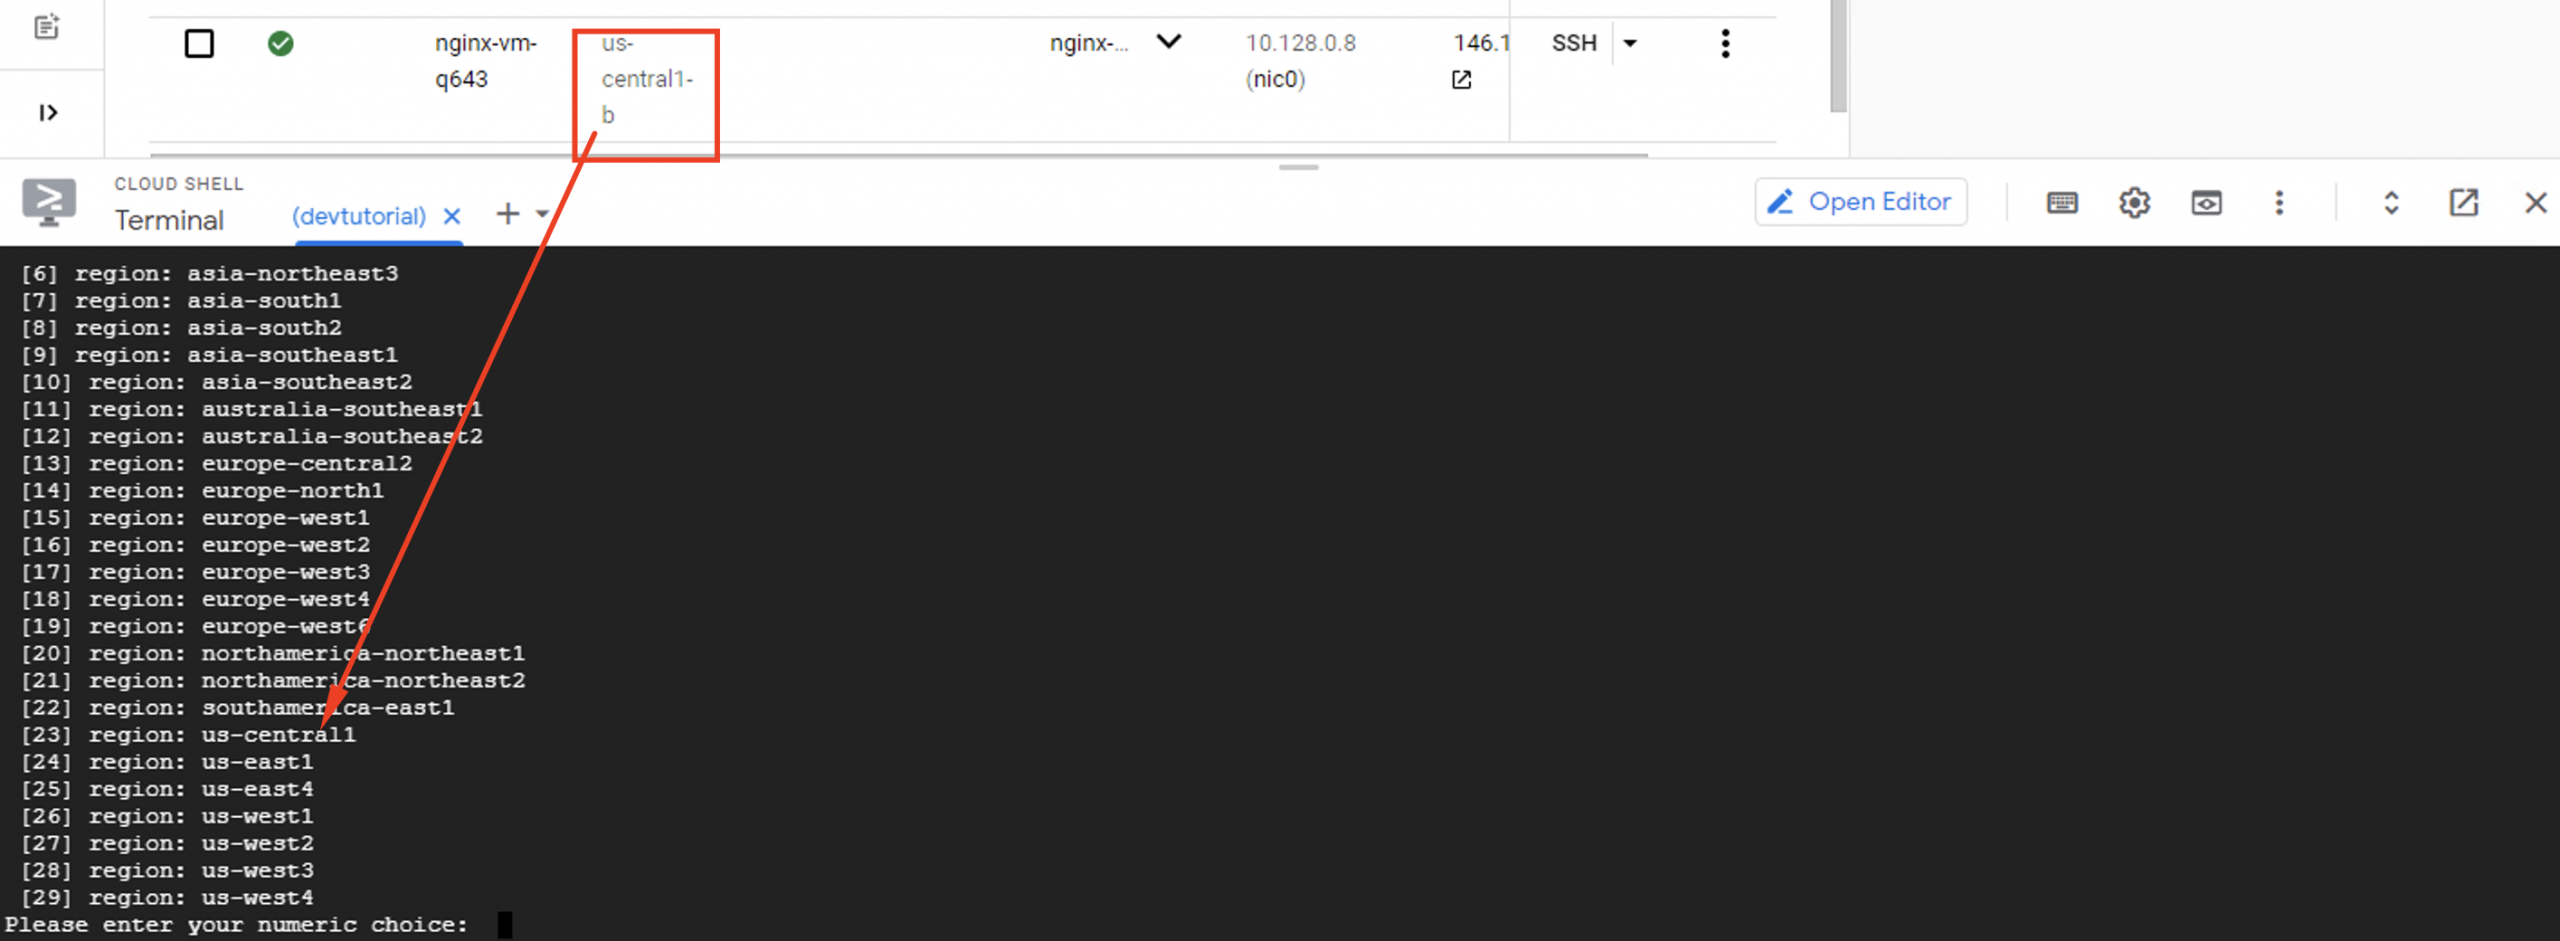
Step 7 - When asked to input a region, select the most appropriate option for your location (e.g. us-central1).

Step 8 - Now your regional load balancer is activated, find out the new IP address assigned to your VMs. The quickest way to do this is to run this command:

Step 9 - Highlight the IP address to copy it to the clipboard.
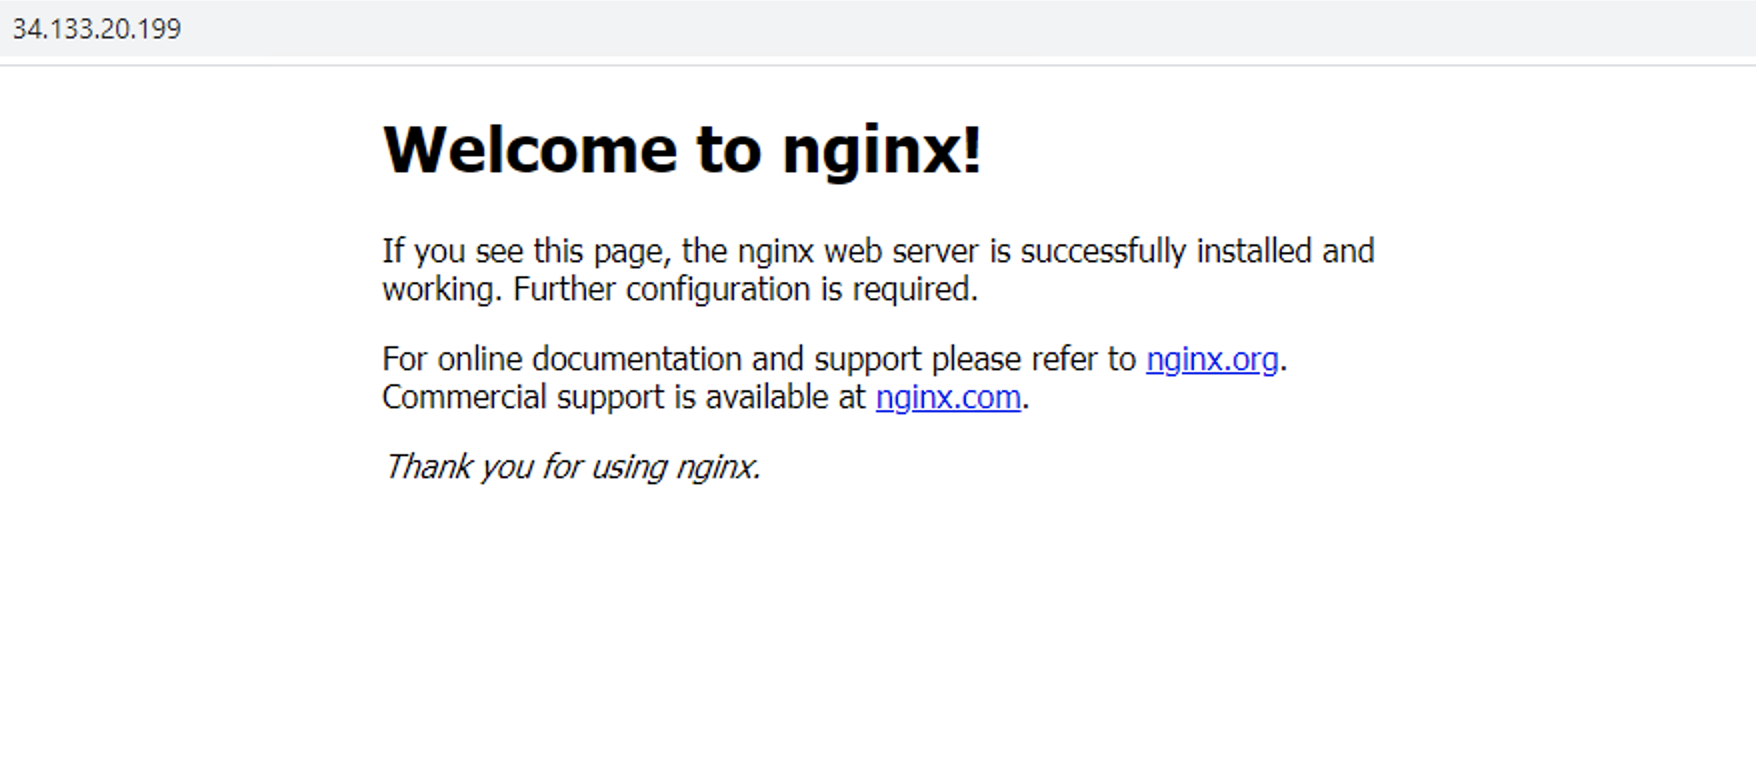
Step 10 - Open your browser. Press Ctrl+V to paste the IP address into the search box.

This process is a quick and simple way to launch a managed container via Cloud Compute Engine. There are many more complicated things you can do with containers but this is a valuable place to start if you’re a beginner. Check out Kubernetes for a secure, reliable orchestration engine for your applications if you’re not sure which one to use.