Follow these steps to create an AWS account:
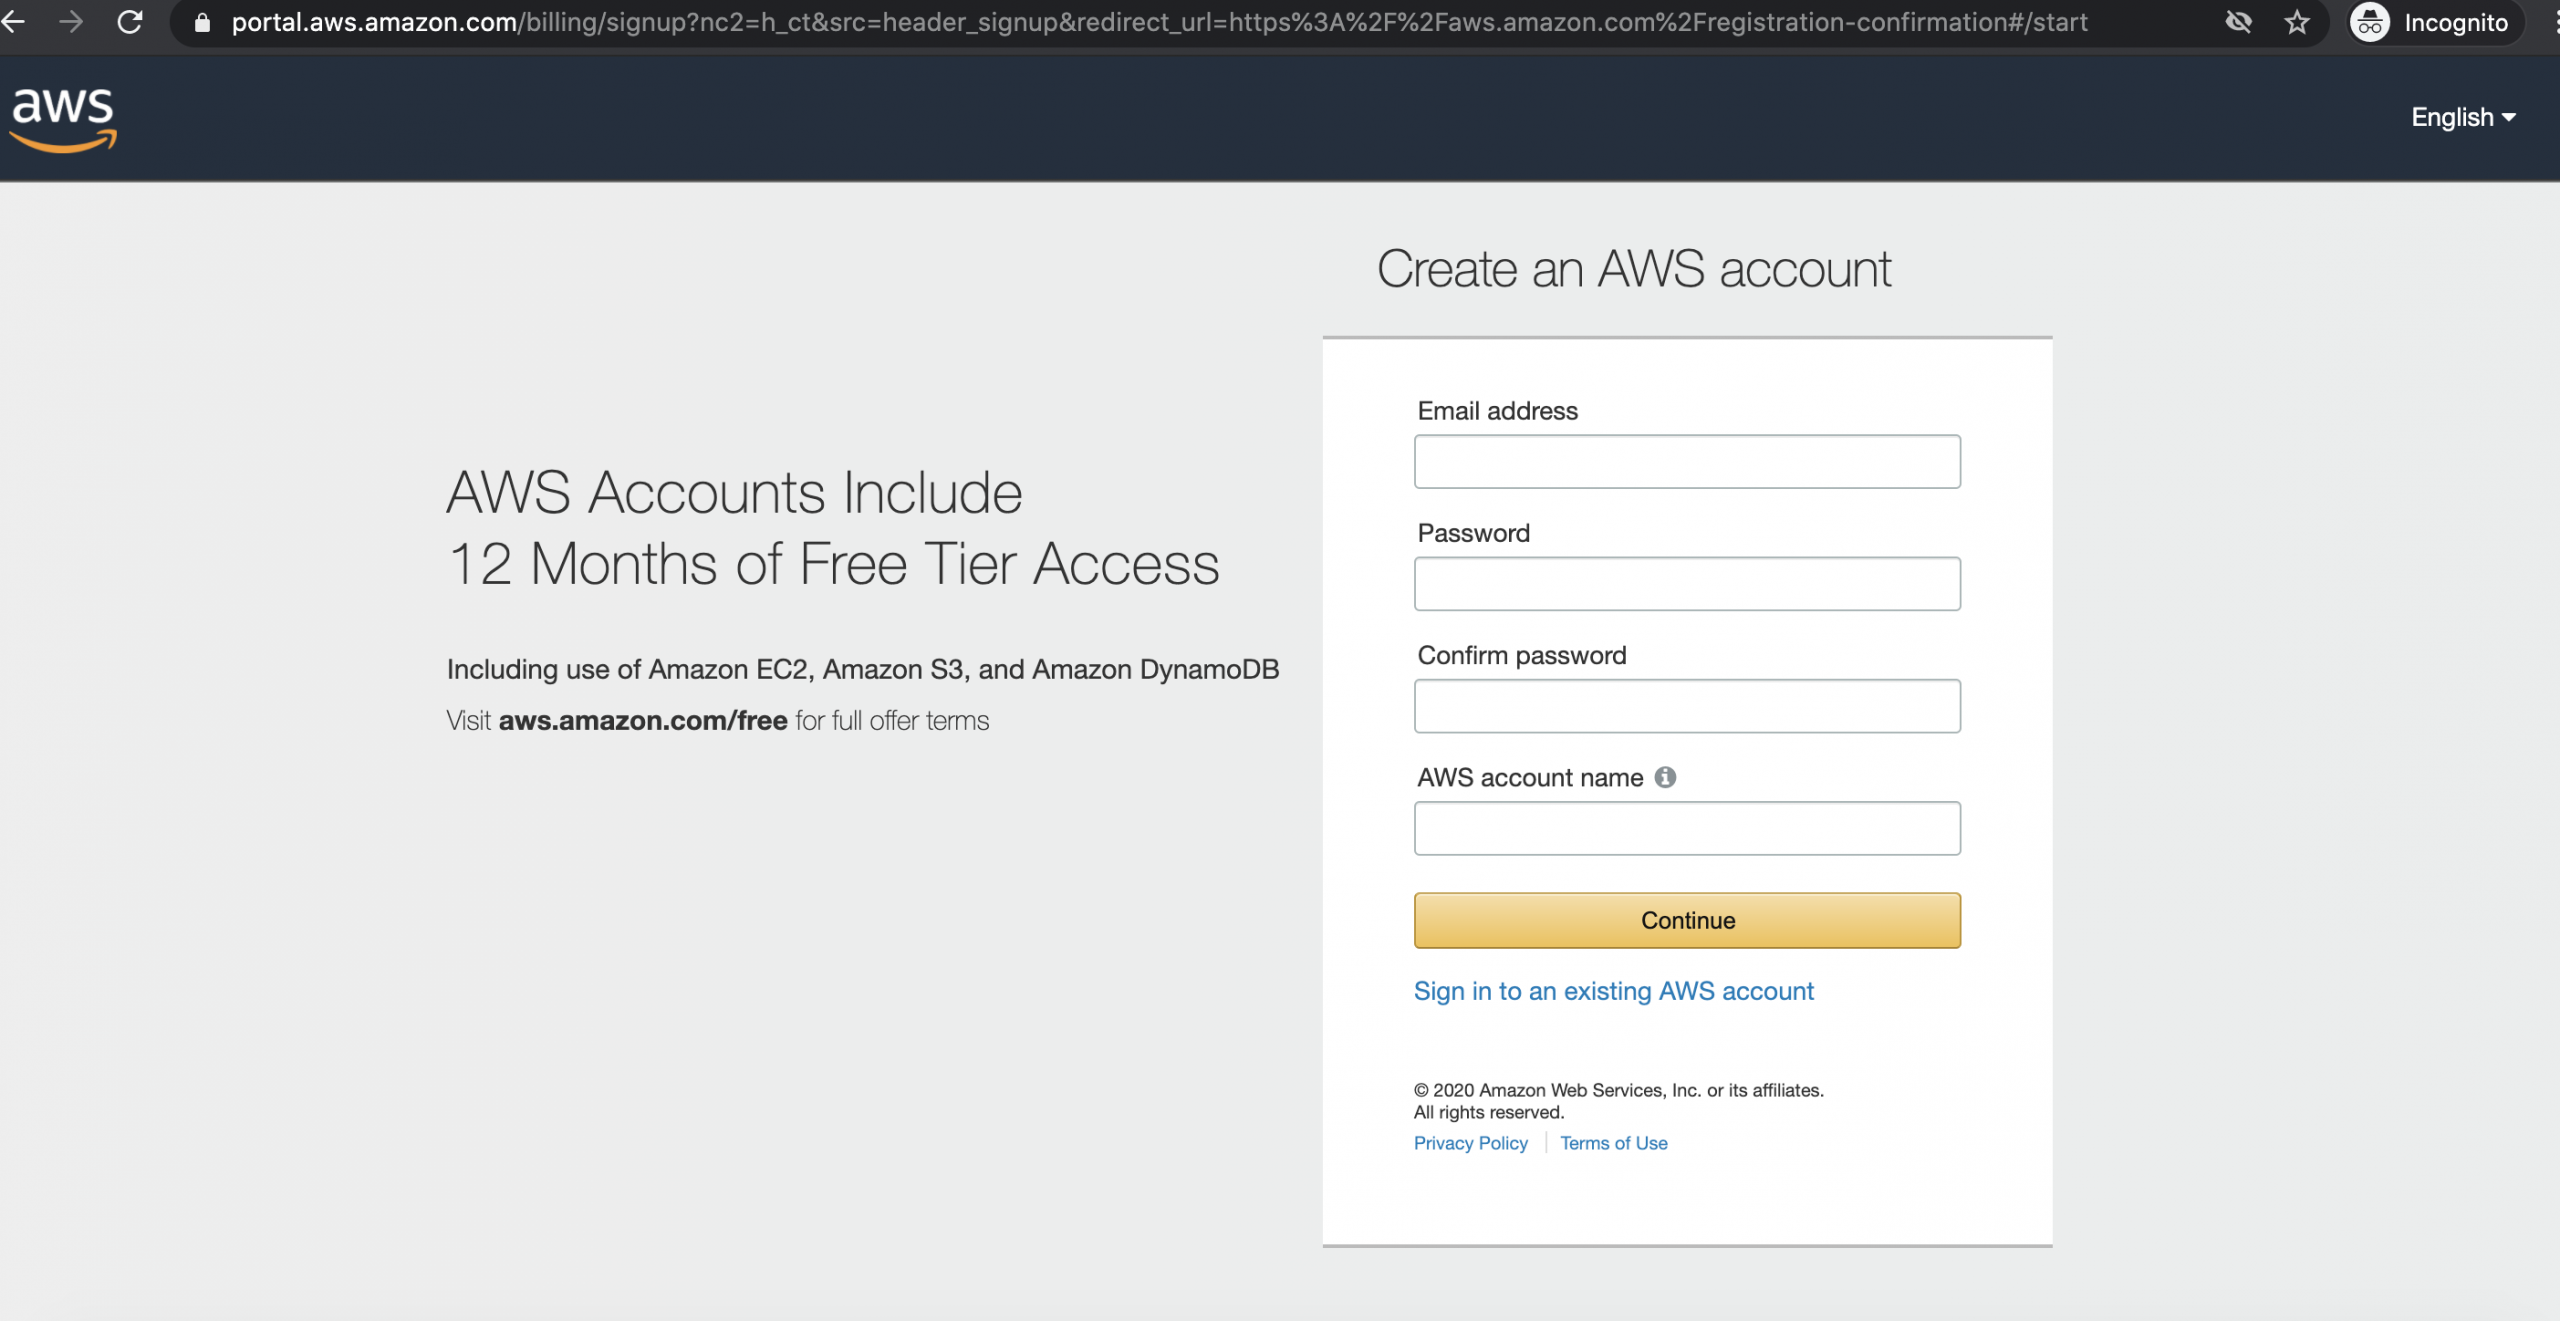
Step 1 : Create an account at https://aws.amazon.com/ by clicking on the Create an AWS Account button and entering your details:
Step 2 : Before we get started using that shiny new account, let's go over some best practices regarding basic account security. The very first thing you should do as the owner of an AWS account is enable MFA on the root login:
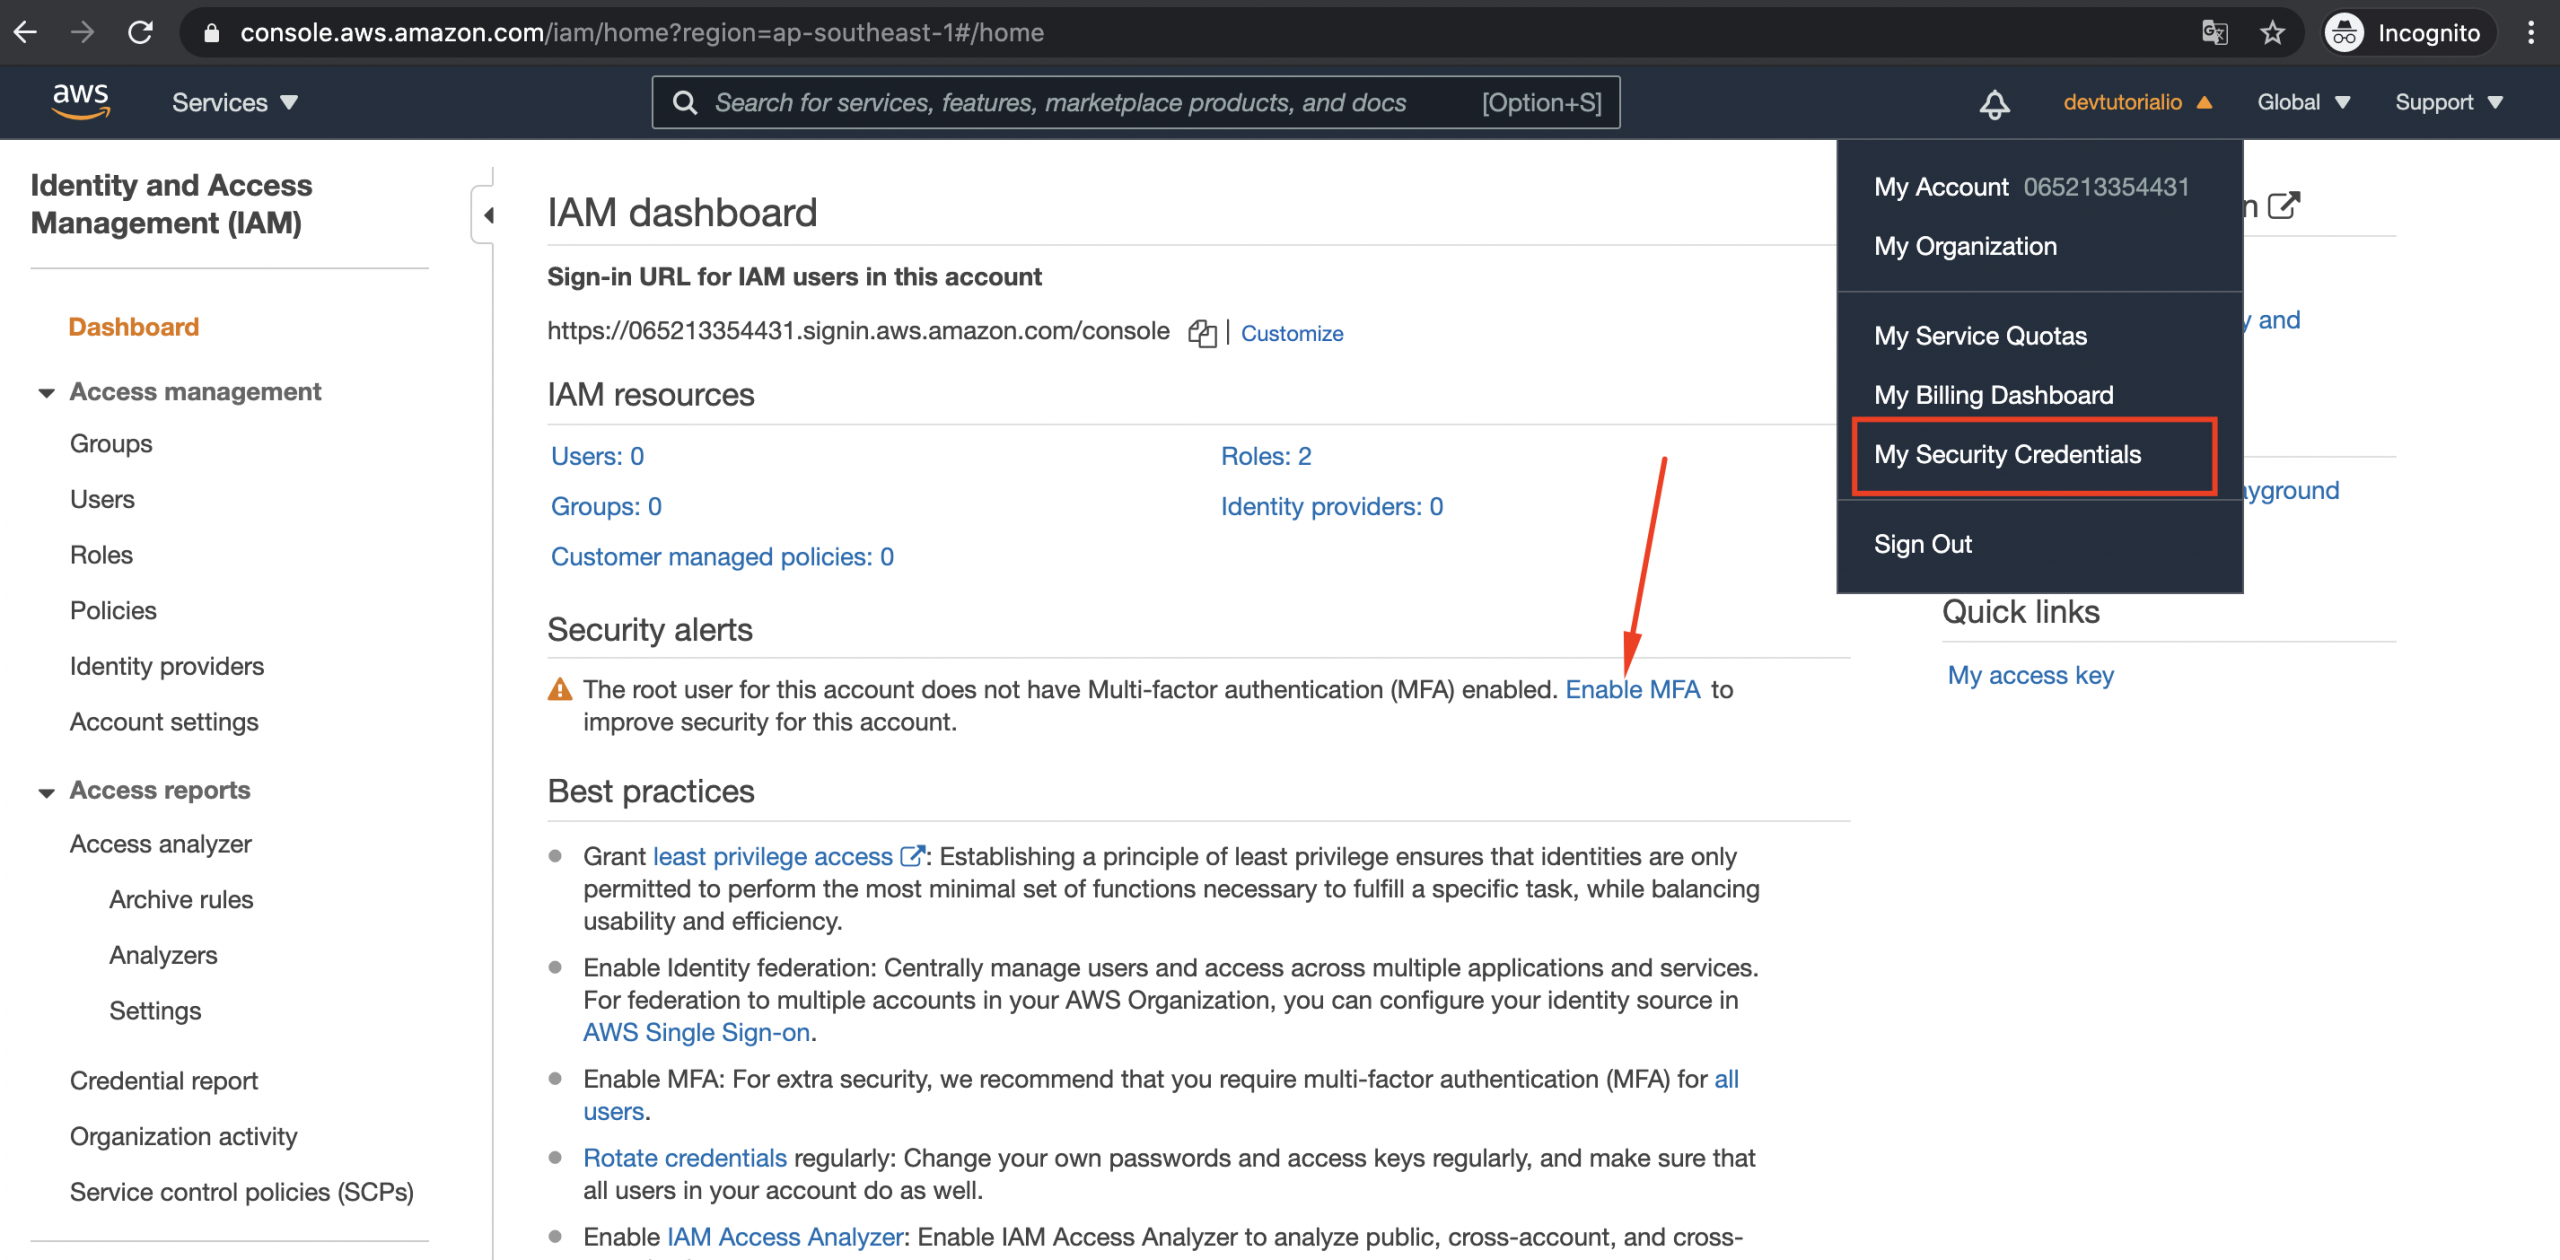
Step 3 : As you can see, when you first visit the IAM console, AWS recommends that you Activate MFA as the next step to improve your security status. Expand the Activate MFA section and click through it to get to your security credentials screen:
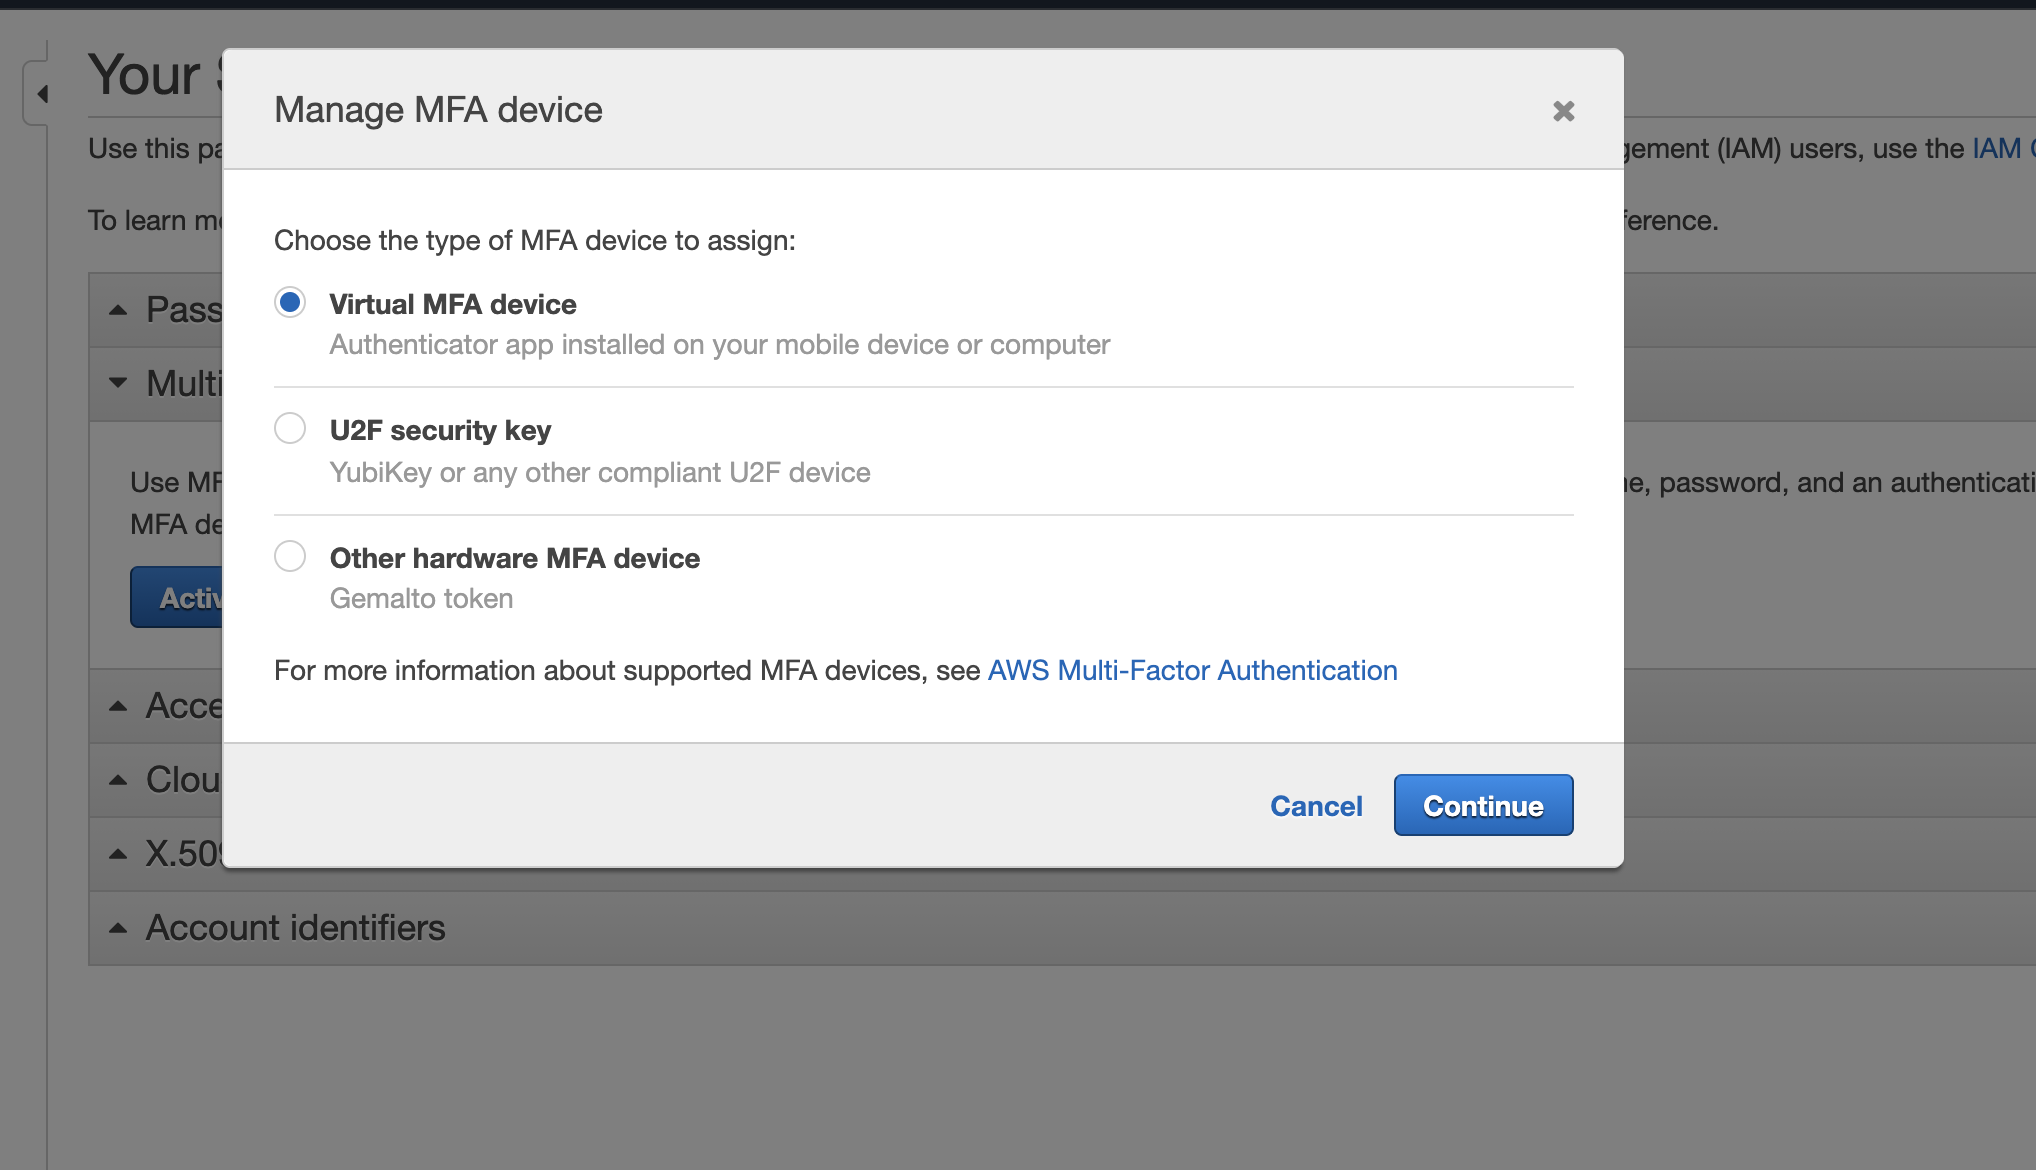
Choose the type of MFA device you prefer and complete the setup. If you choose to use a virtual device, note how the app on your phone saves your data. Some apps, such as Google Authenticator, don't back up your data to the cloud, so, if you lose your phone, you will no longer be able to log in to your account. Try apps such as Authy or LastPass Authenticator if you want your MFA device to be synced with an online account.
Step 4 : MFA is an essential extra layer of security that you should apply to all of your online accounts, not just AWS. Now that you have protected your root login with MFA, it's time to take your account security to the next level by creating an IAM account for routine access. Let's get started:
Creating an IAM account
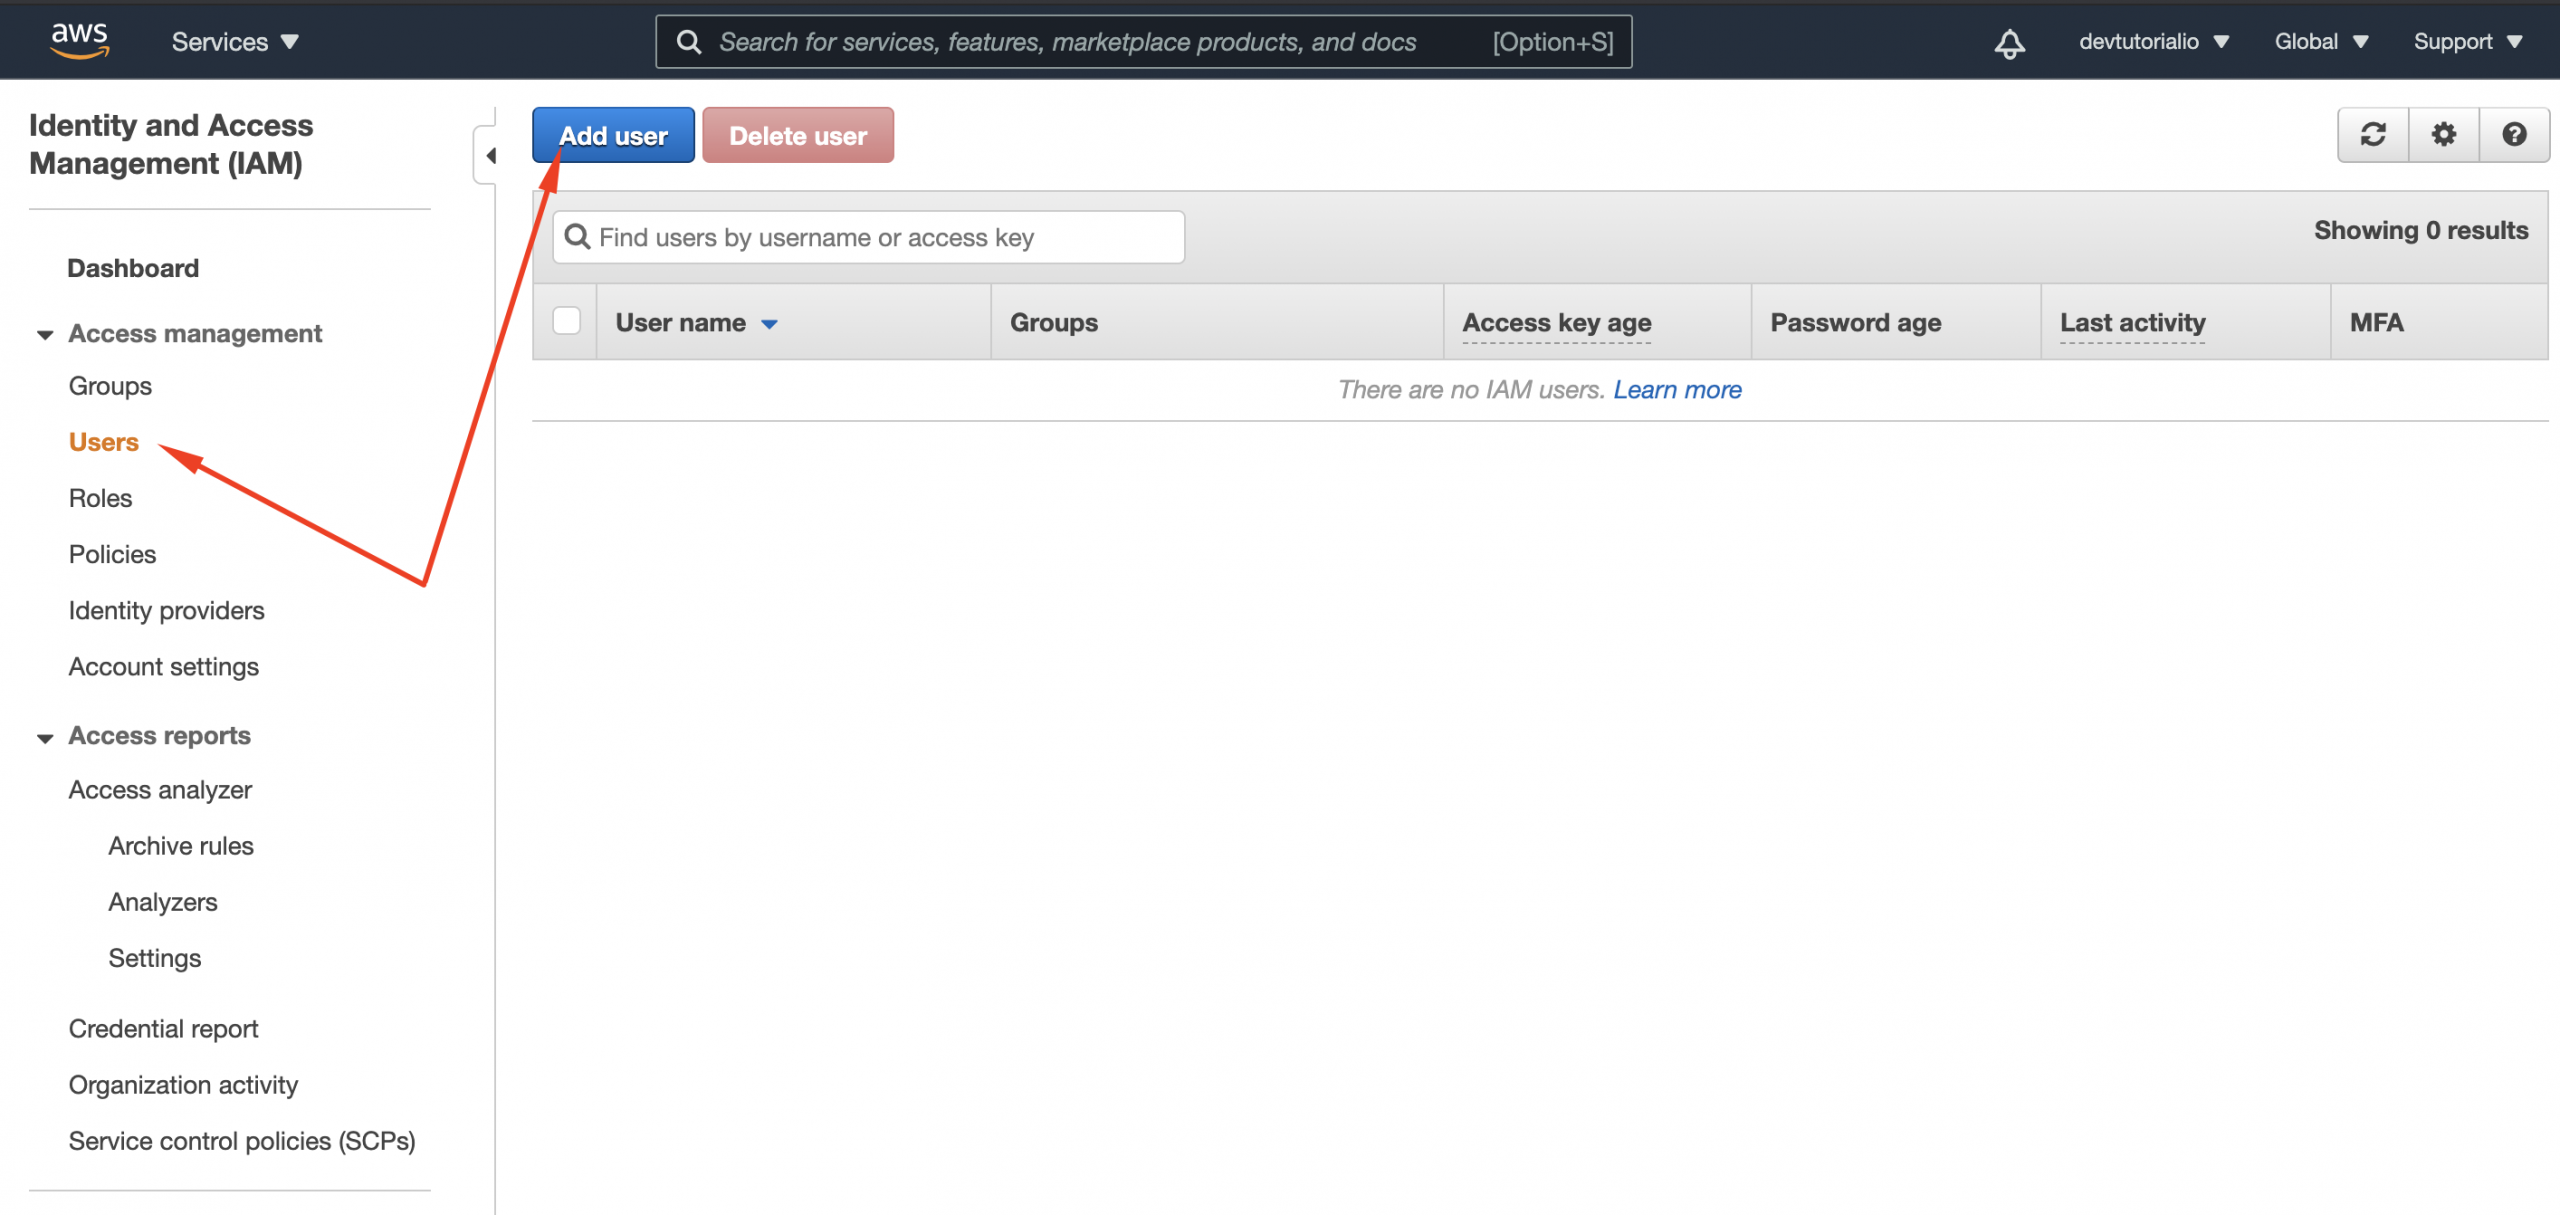
Step 1 : Click Users > Add user
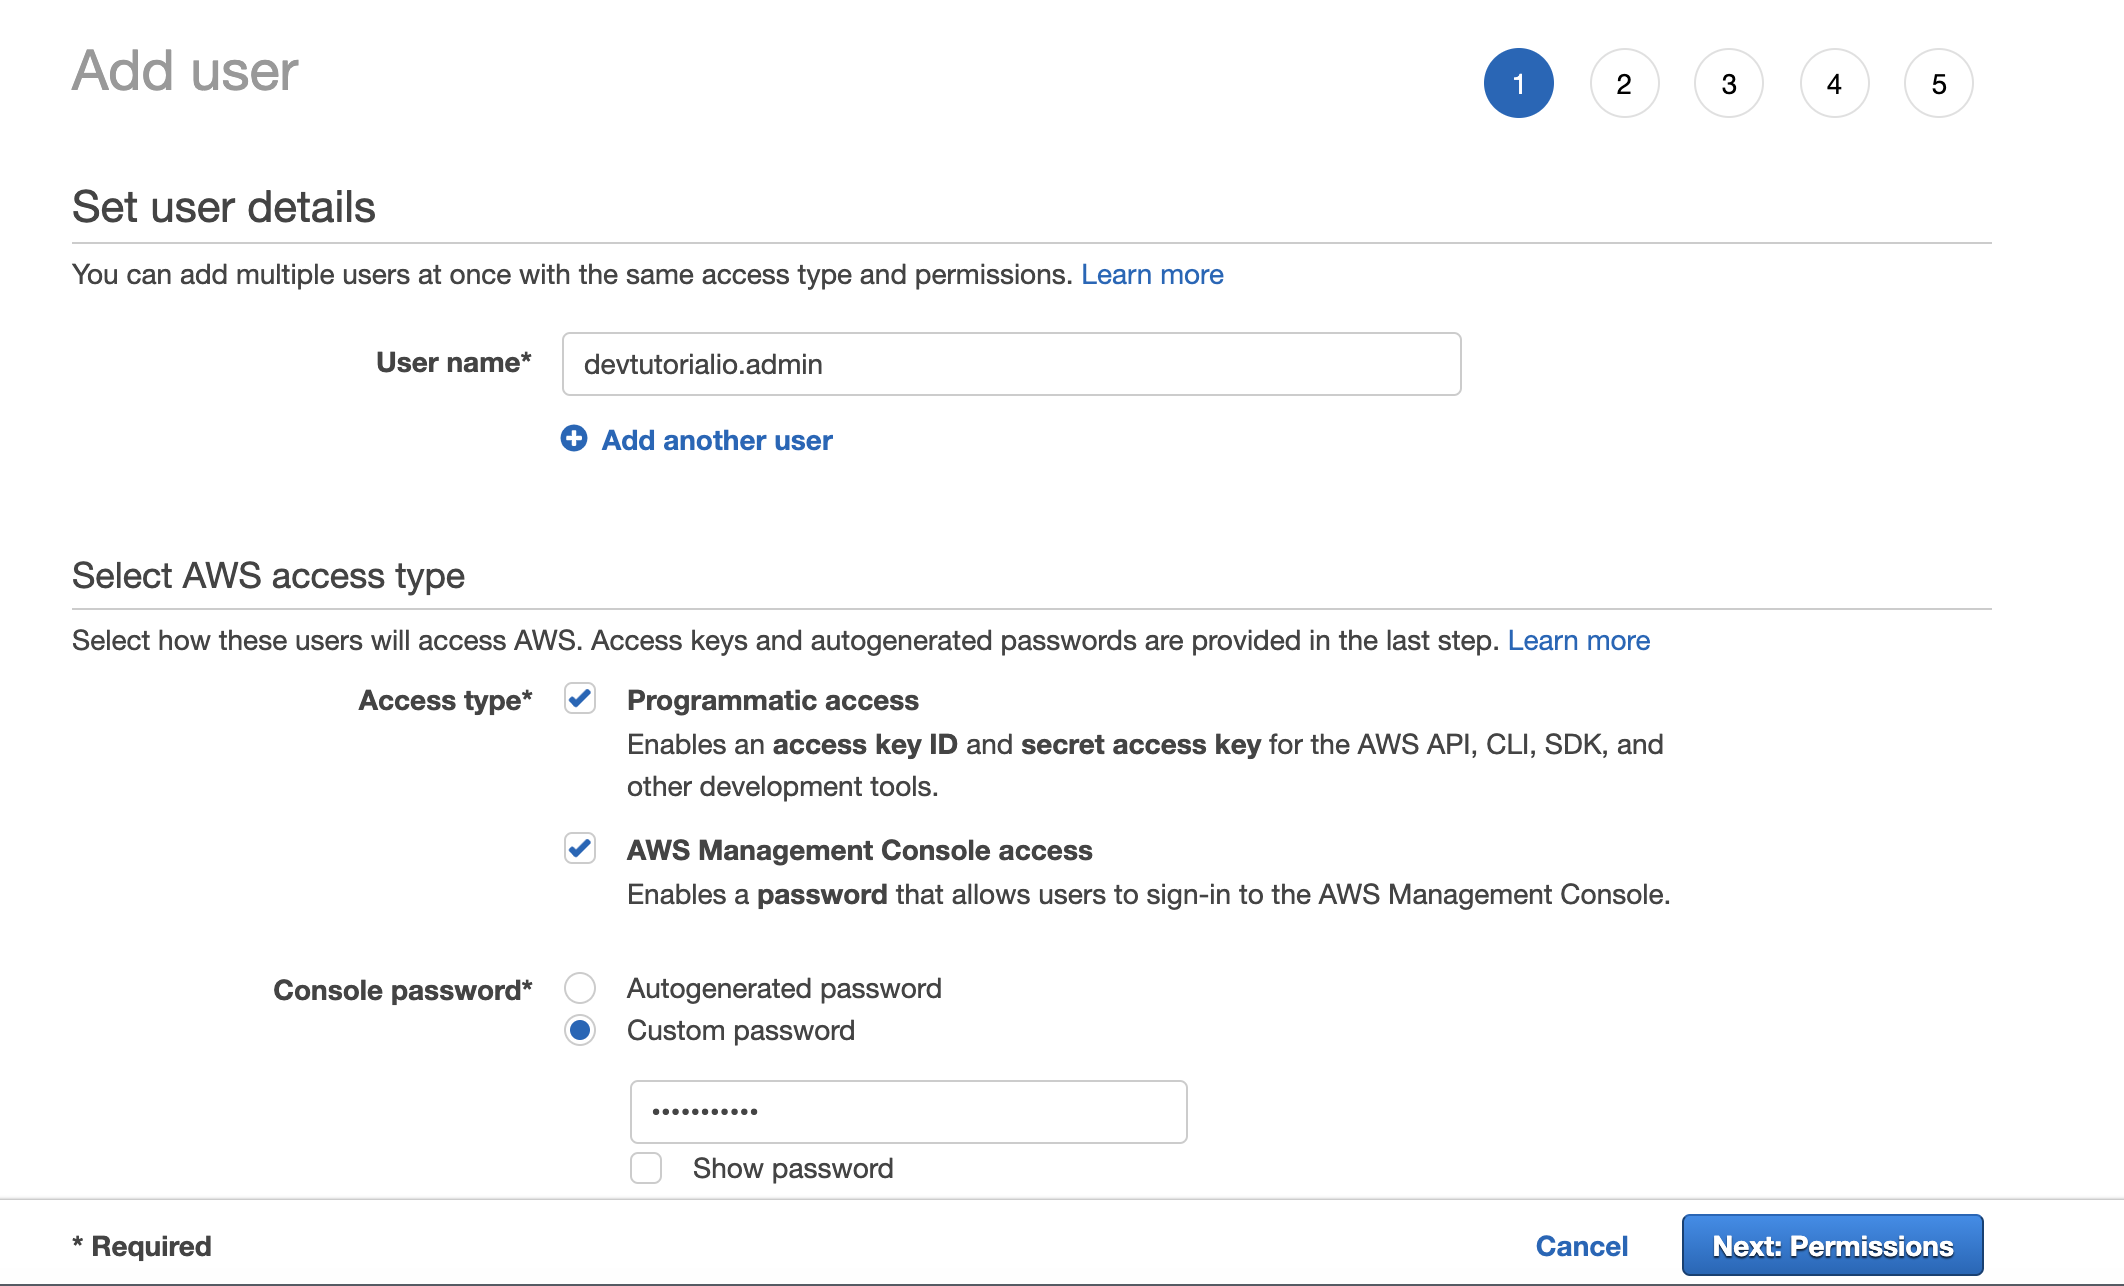
Step 2 : Add a new user account:
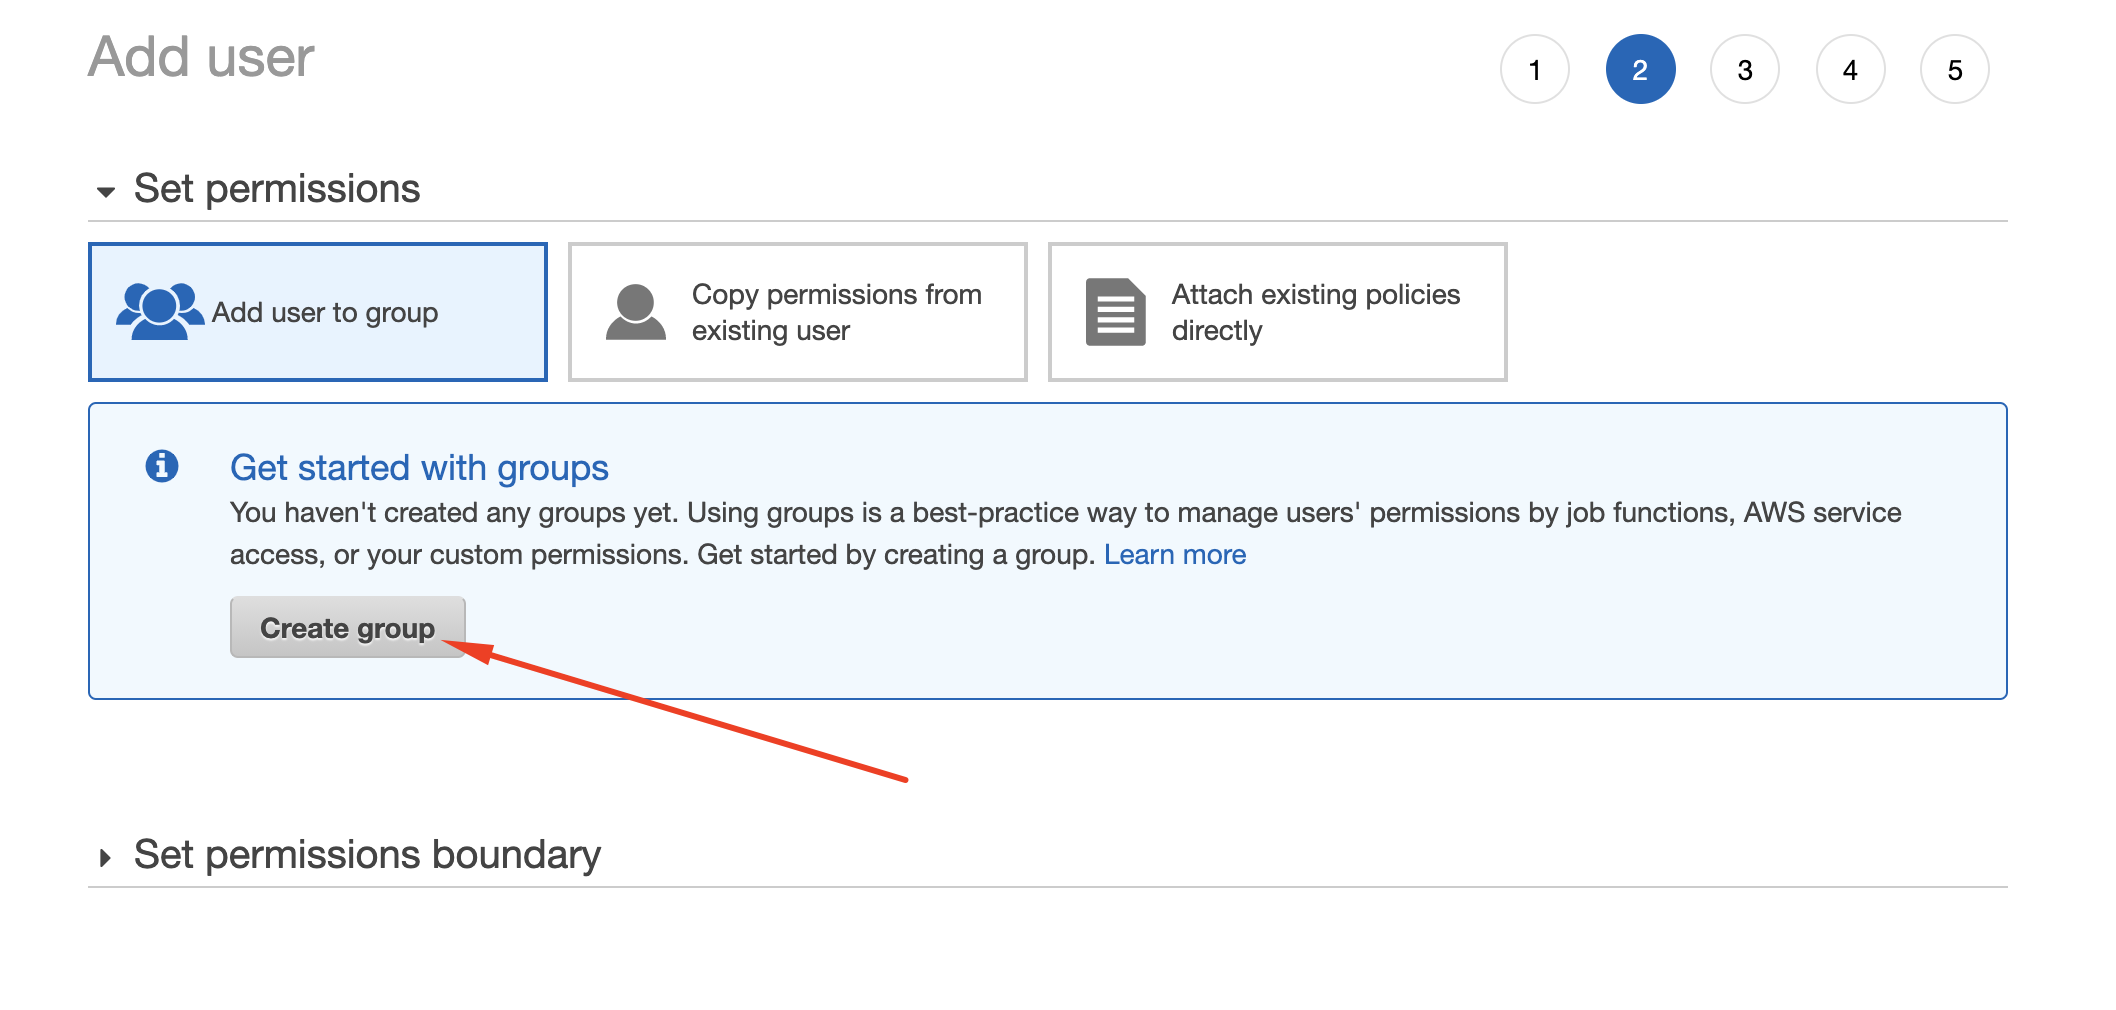
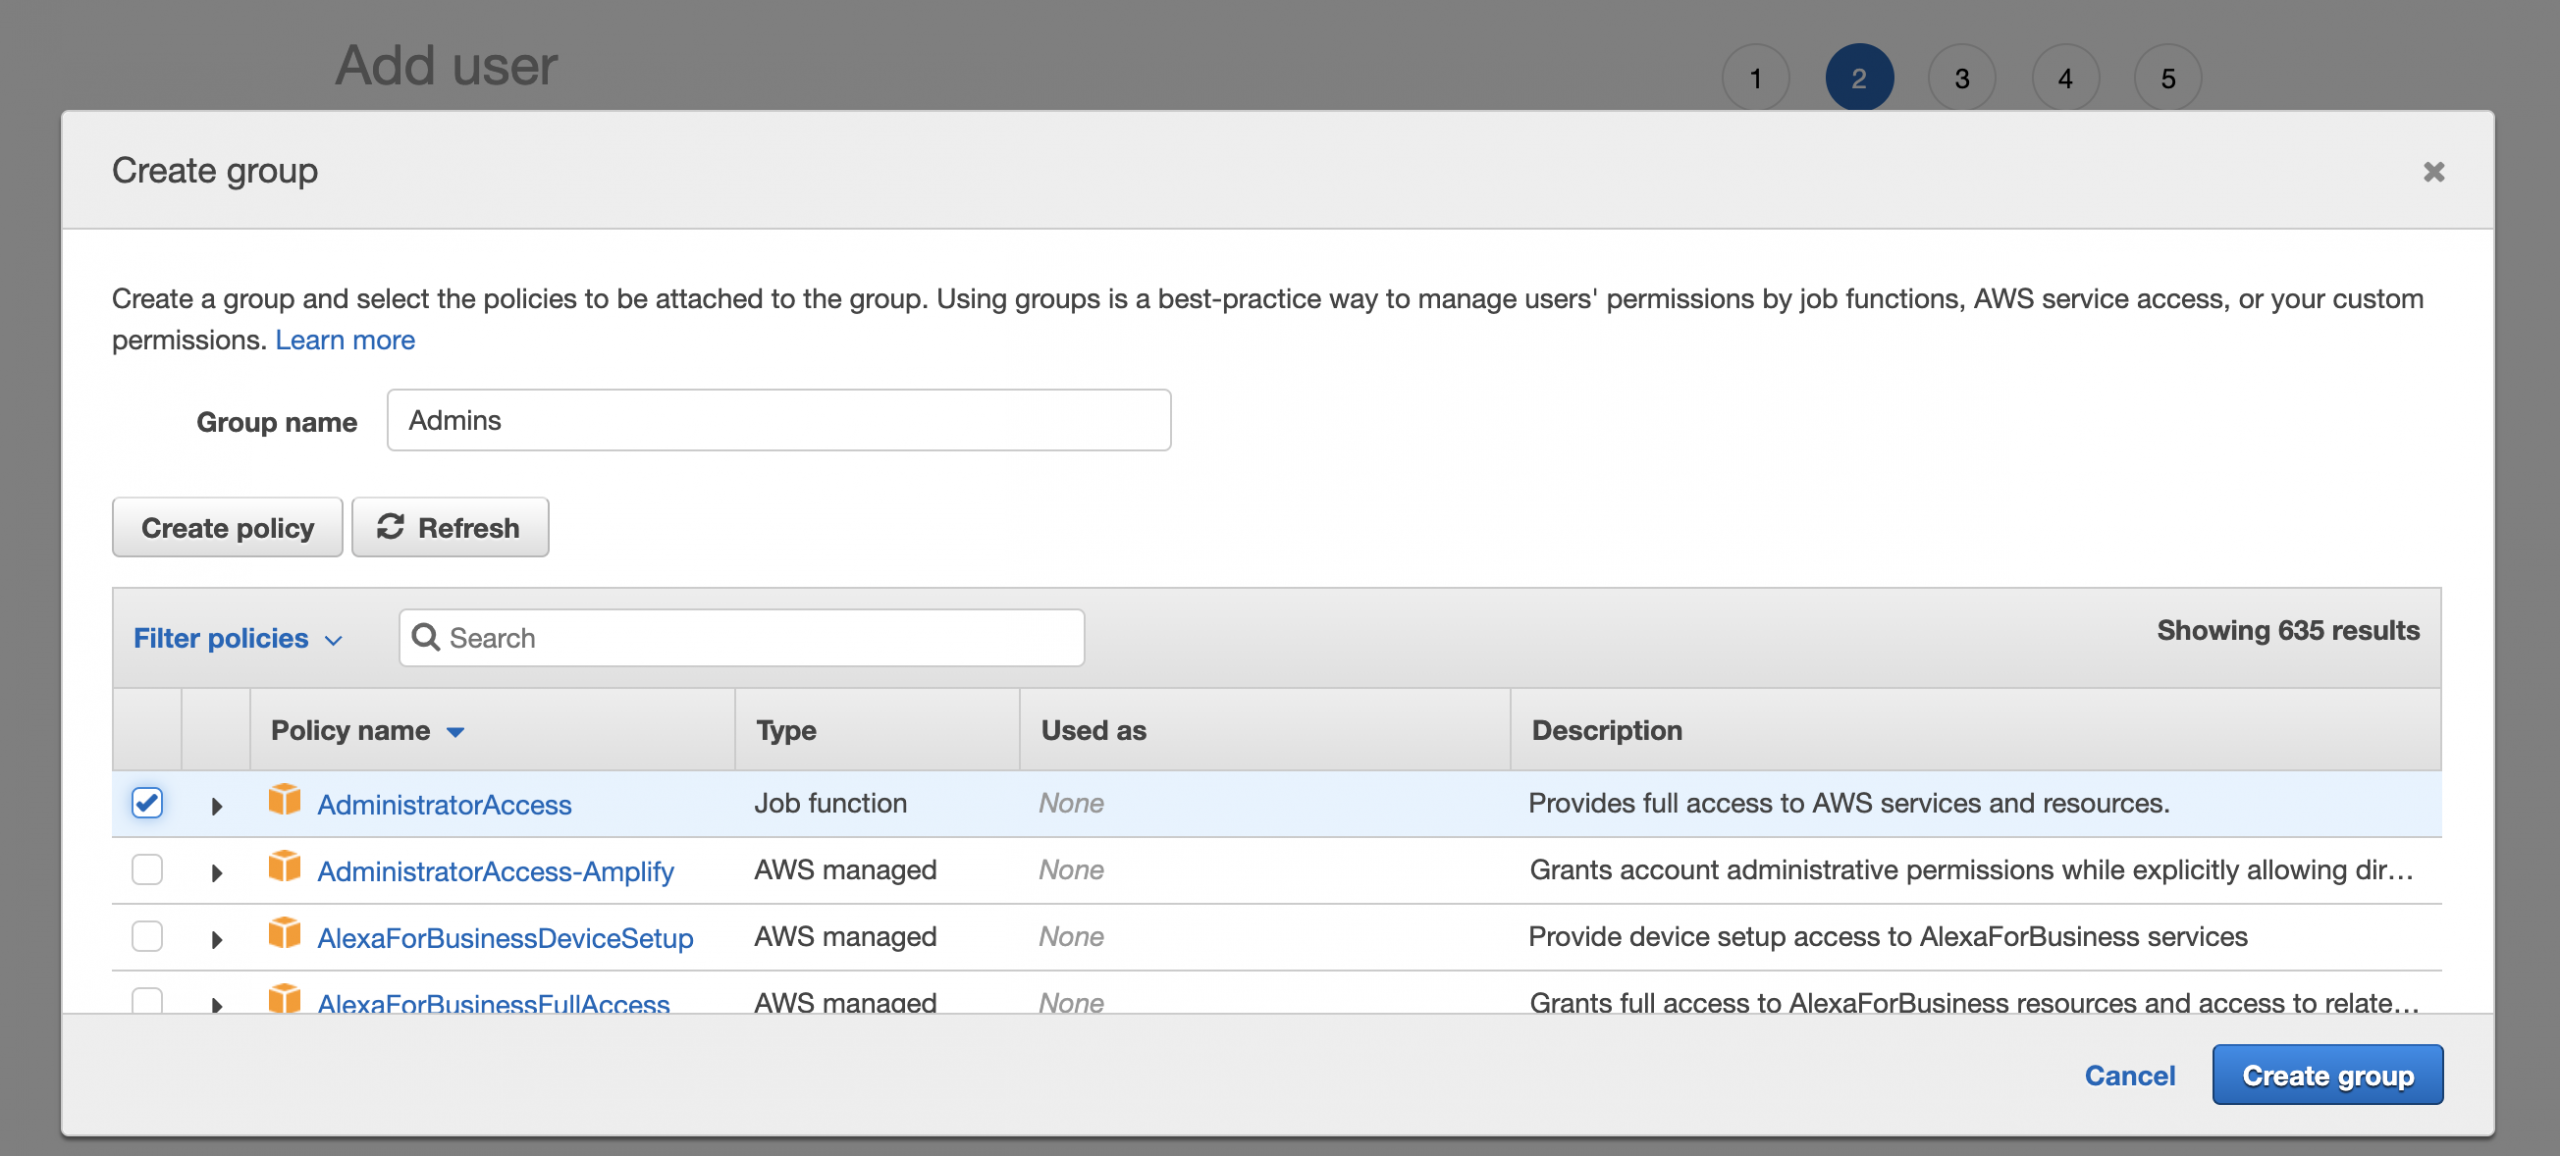
Step 3 : Create a group called Admins and select AdministratorAccess:
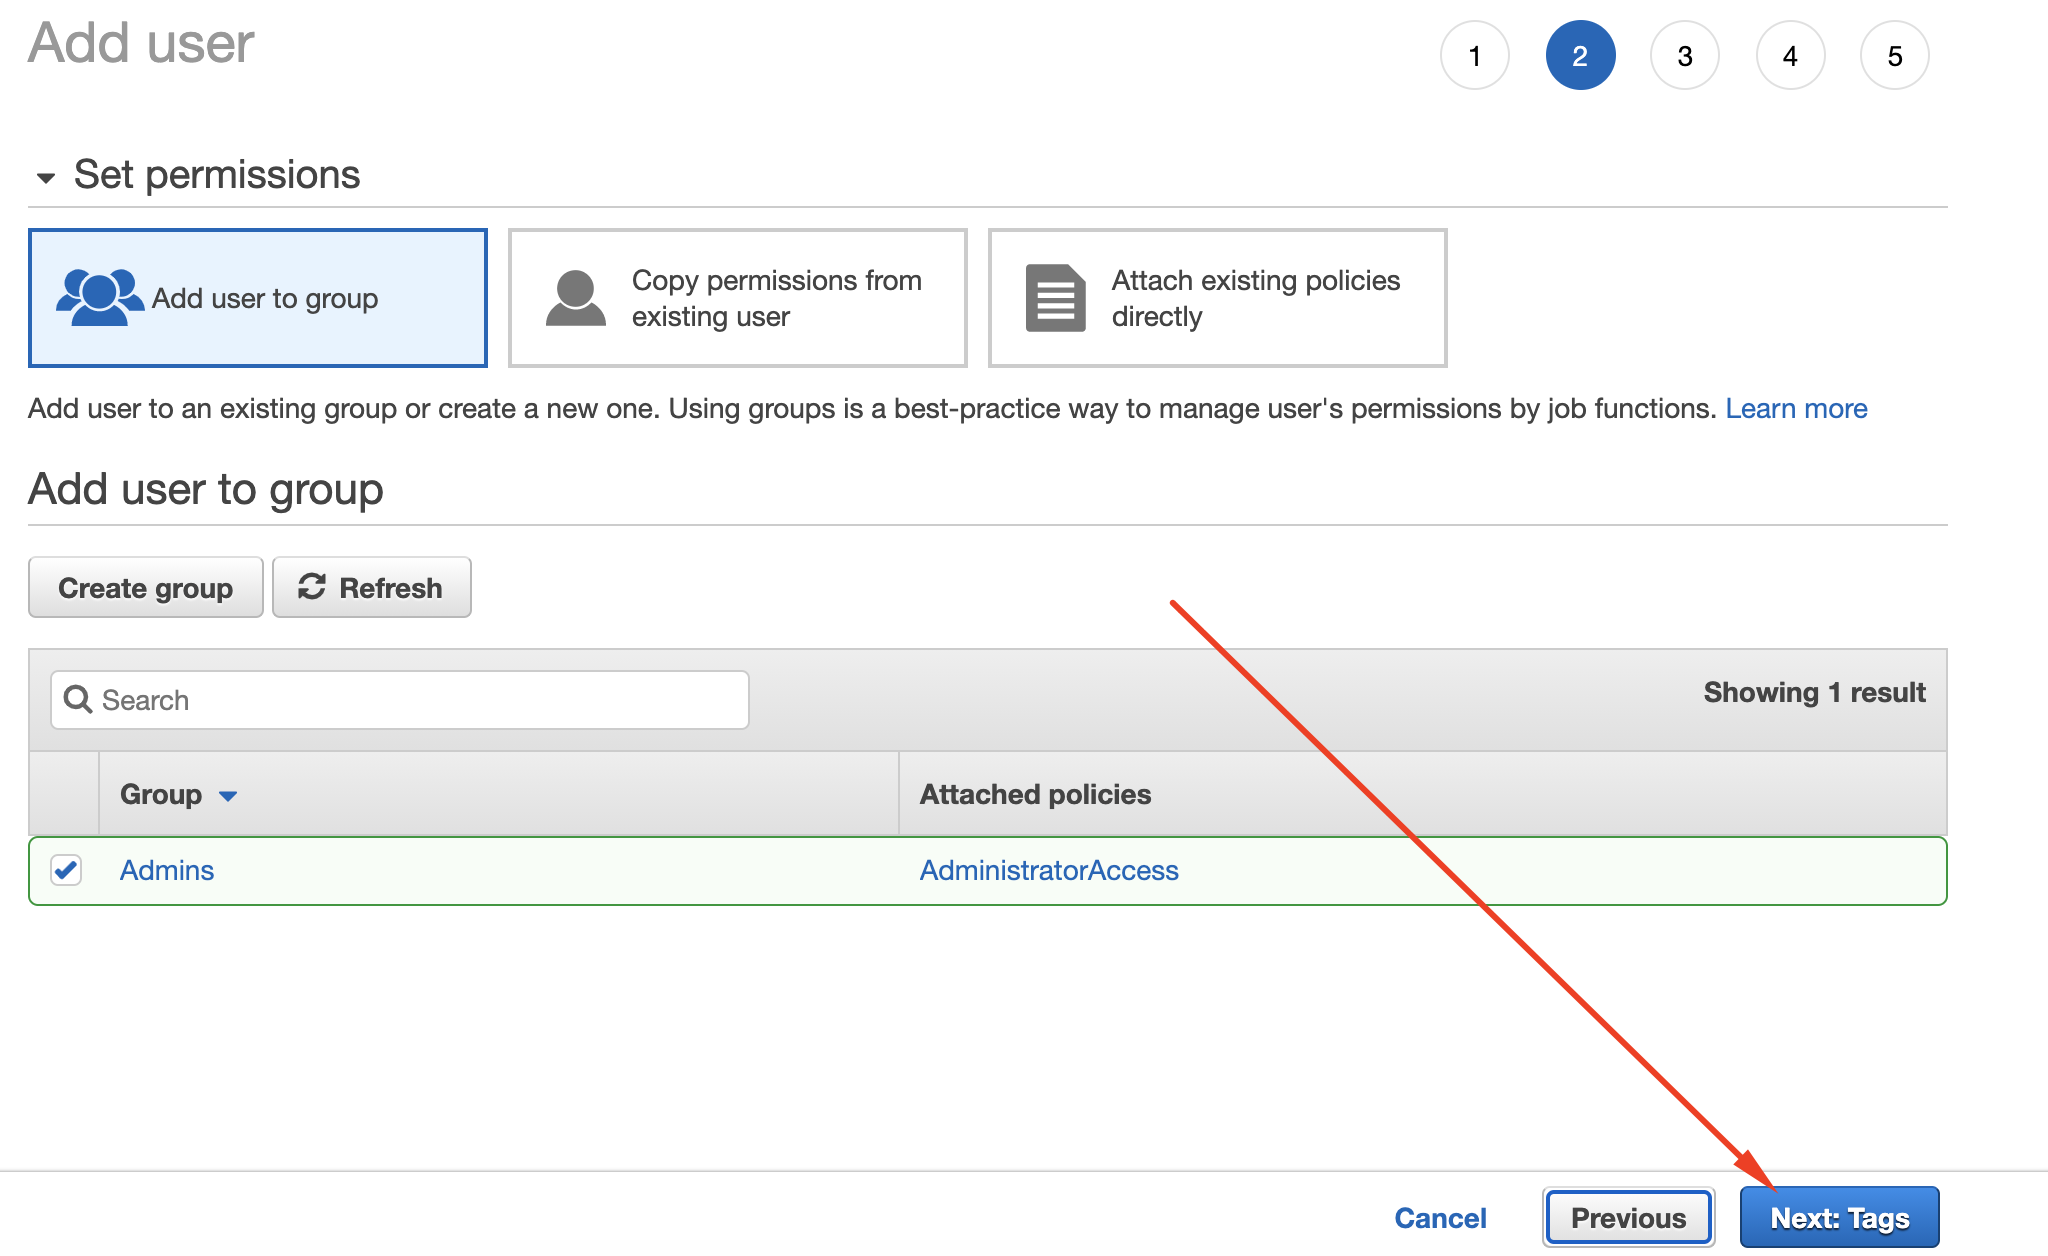
Step 4 : Click Next: Tags
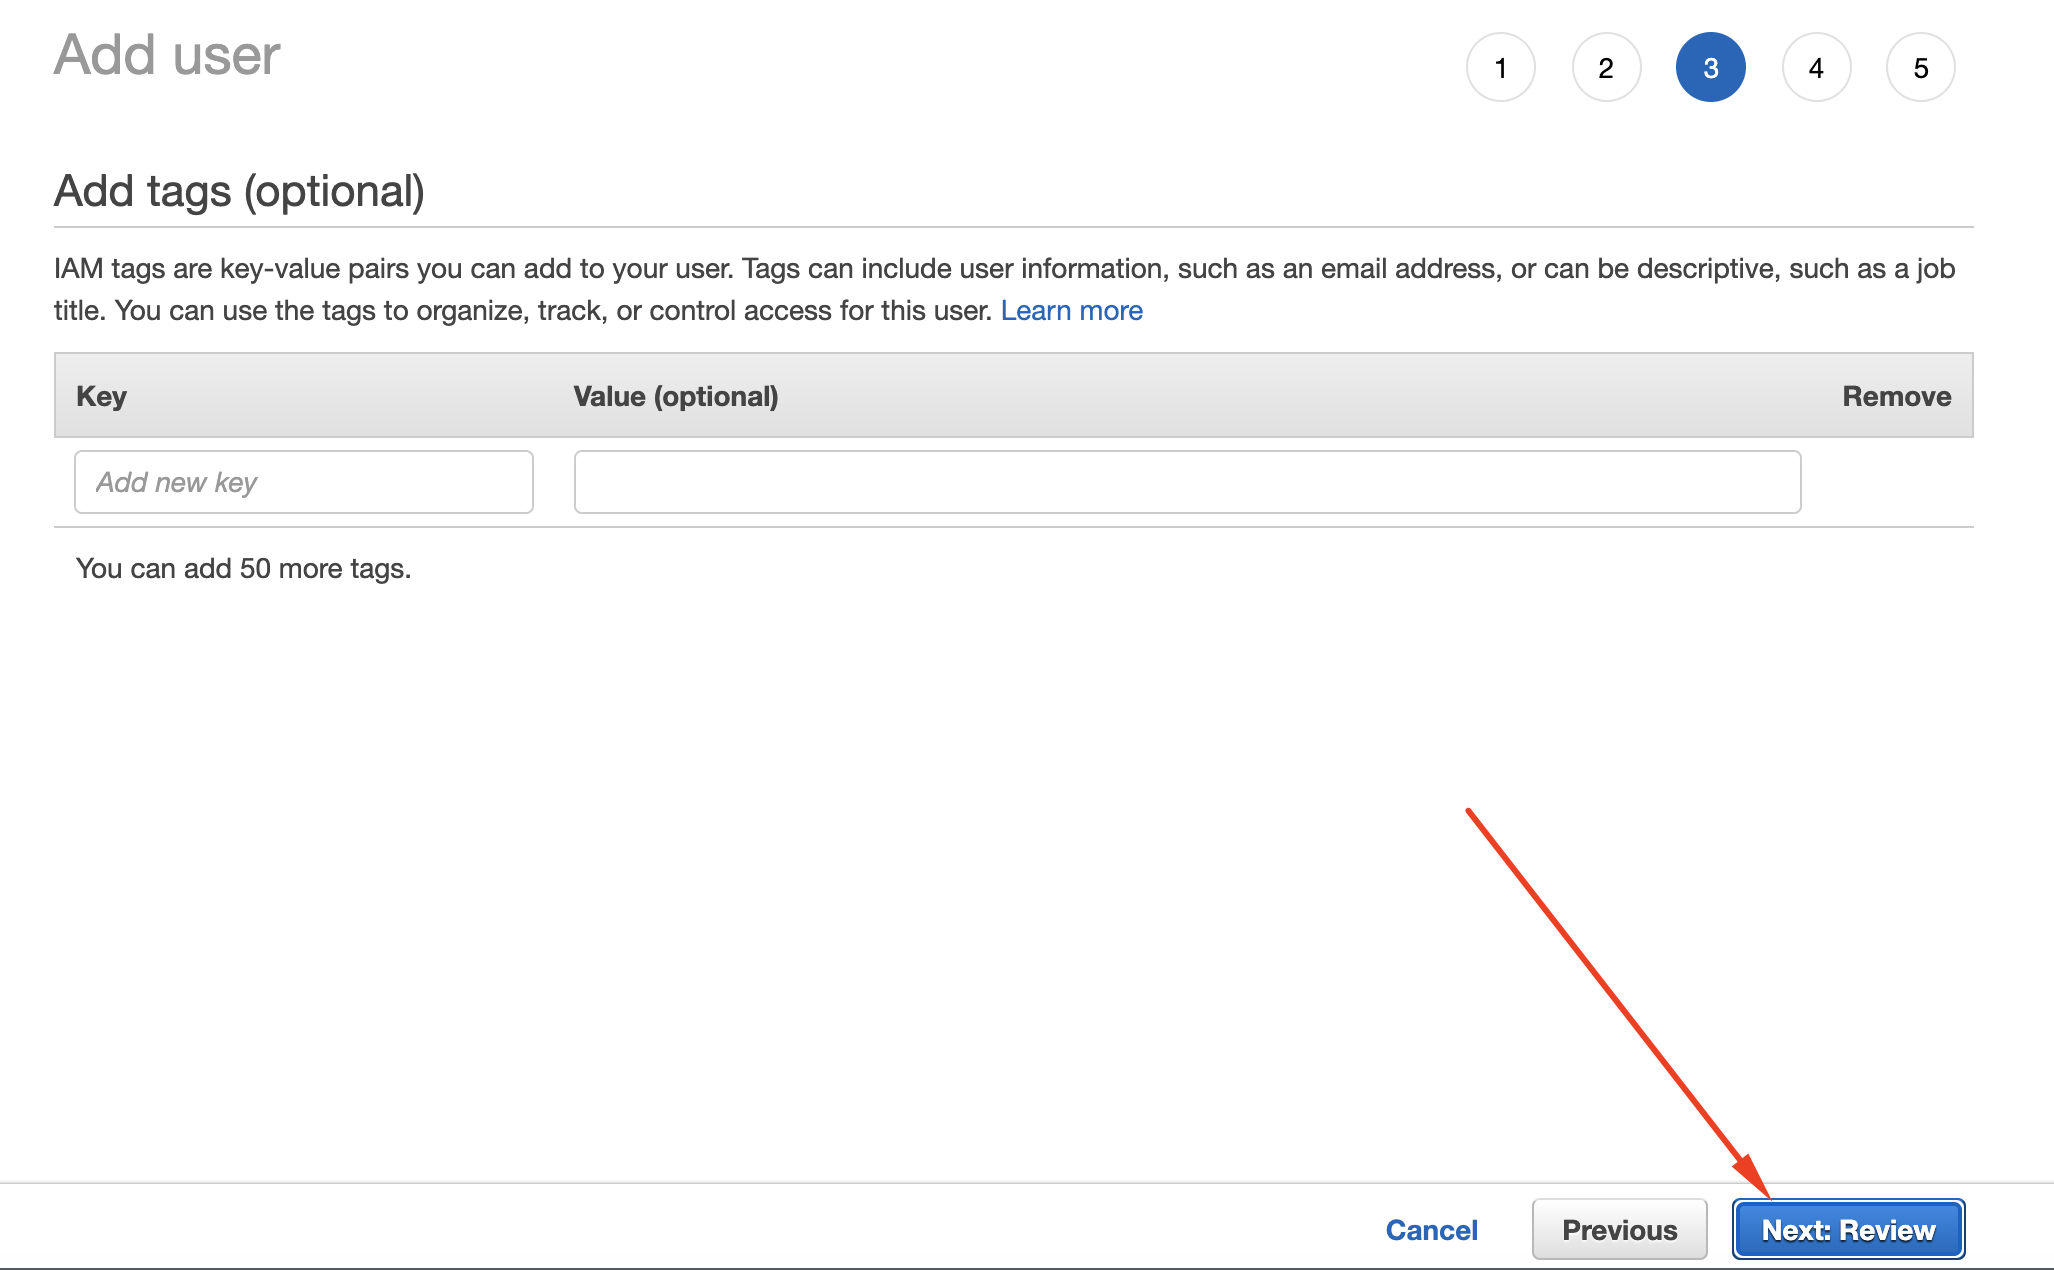
Step 5 : Click Next: Review
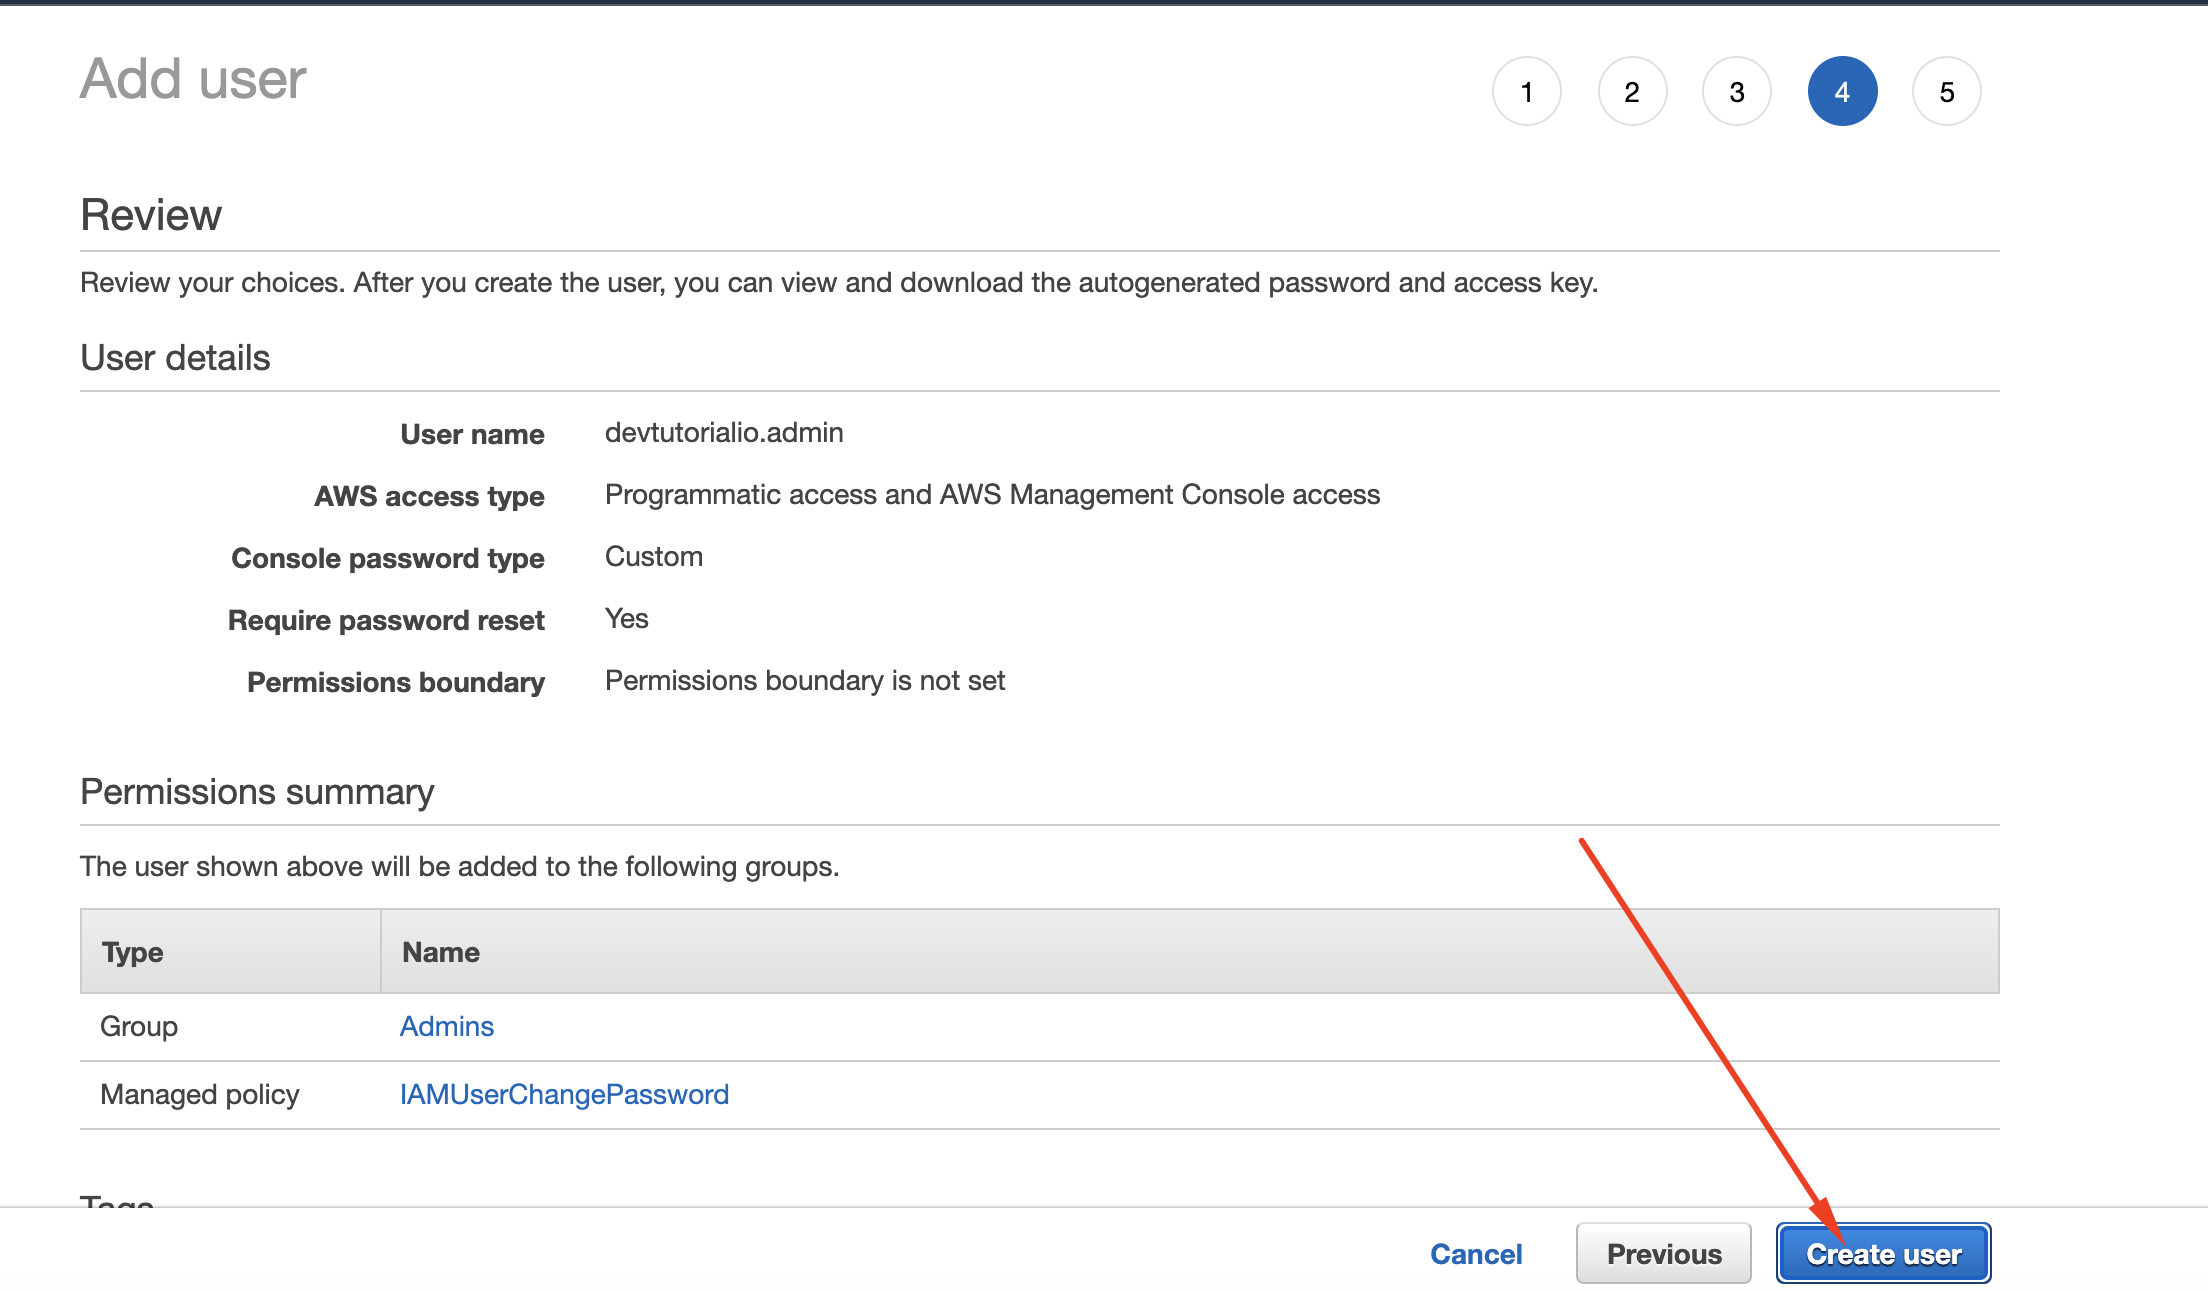
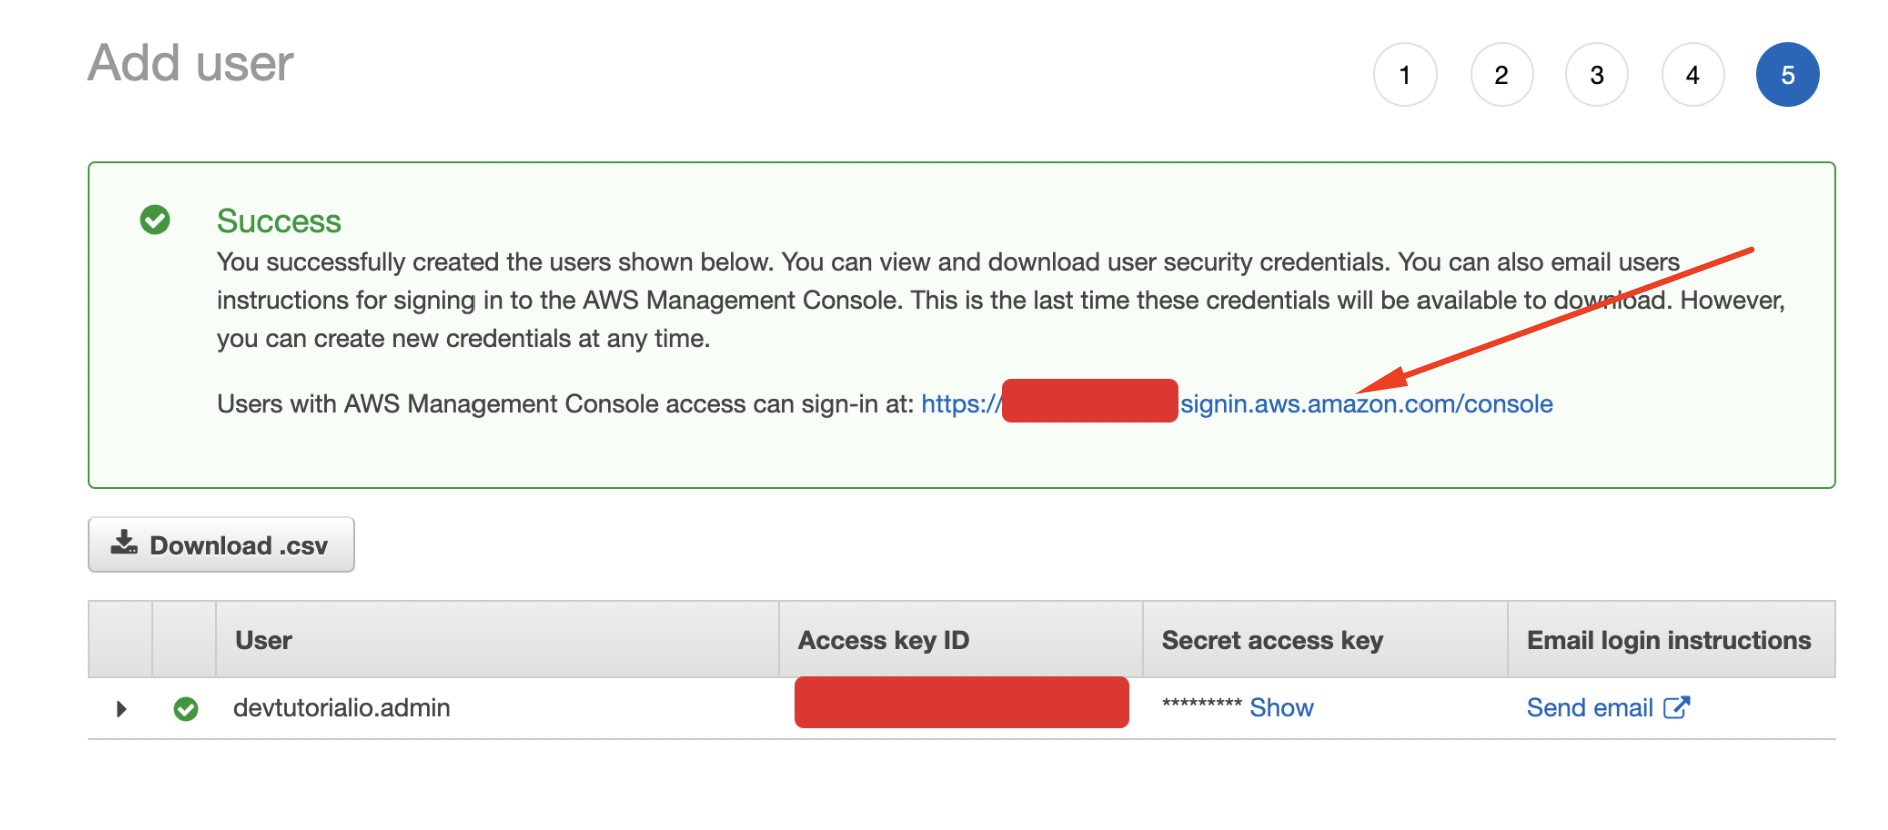
Step 5 : Click Create user
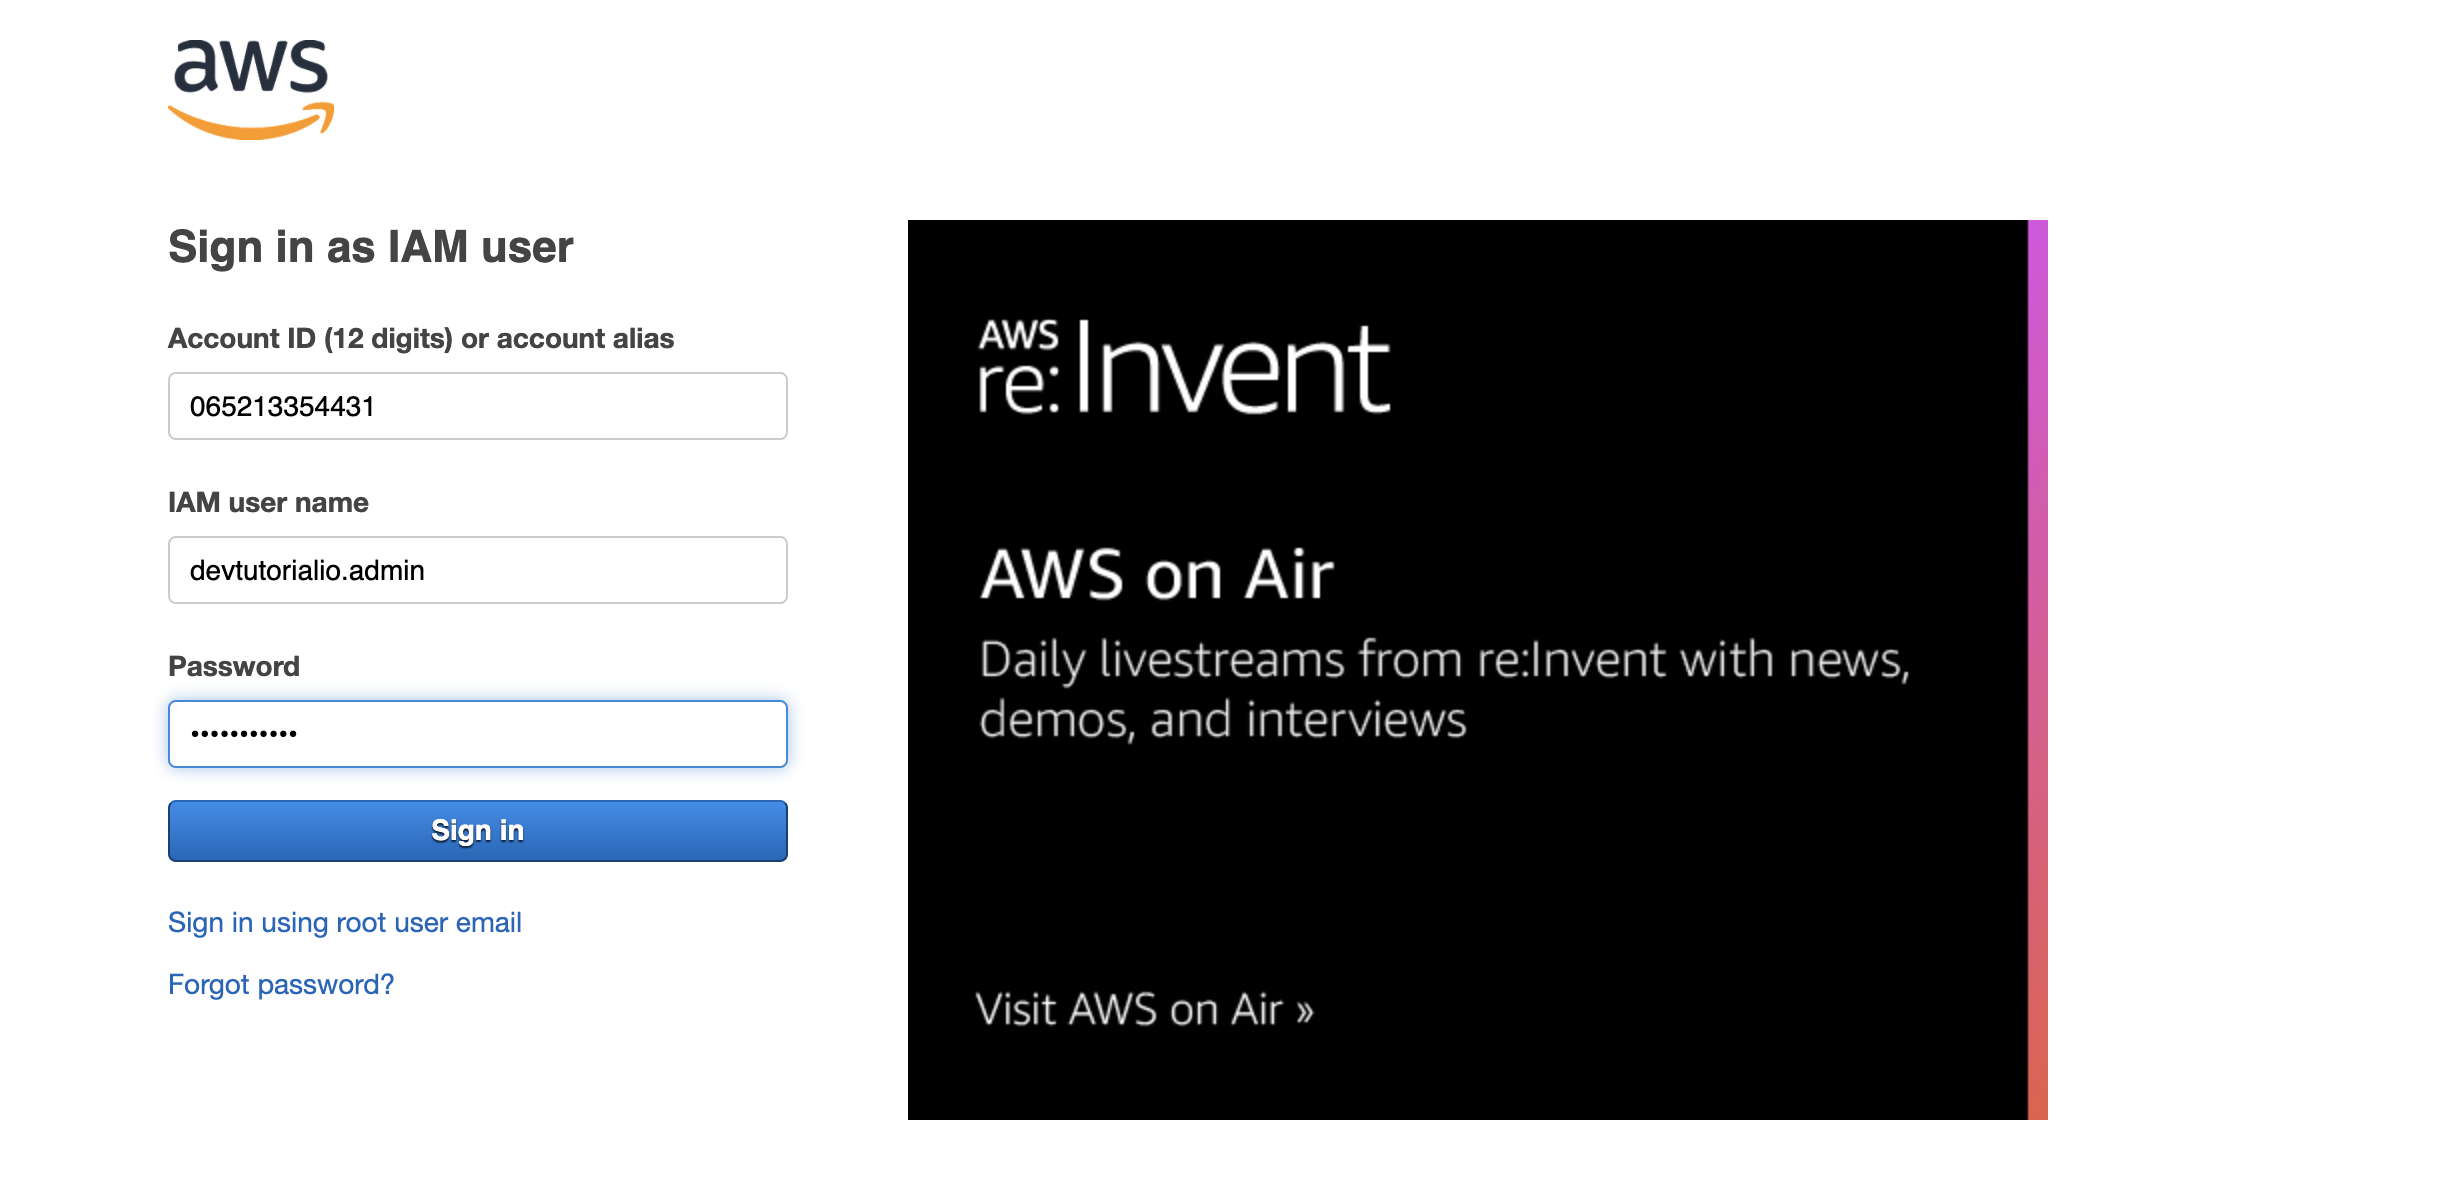
Step 6 : Log out of the root user and log back in as your newly created user