You intend to run an application on the Kubernetes but want this to happen across two or more zones within a region. You cherish the availability of your applications over and above the flexibility that may often pop up with a zonal Kubernetes cluster.
Run this application in the regional Kubernetes cluster. Regional clusters generally make for higher availability, zero downtime upgrades, and fault tolerance.
All these make for resilient applications that are scattered across multiple zones within a selected single region. These steps will certainly help:
Step 1 : Sign in to the console of Google Cloud
Step 2 : Get to the main menu, Navigate to compute
Step 3 : Click Kubernetes Engine

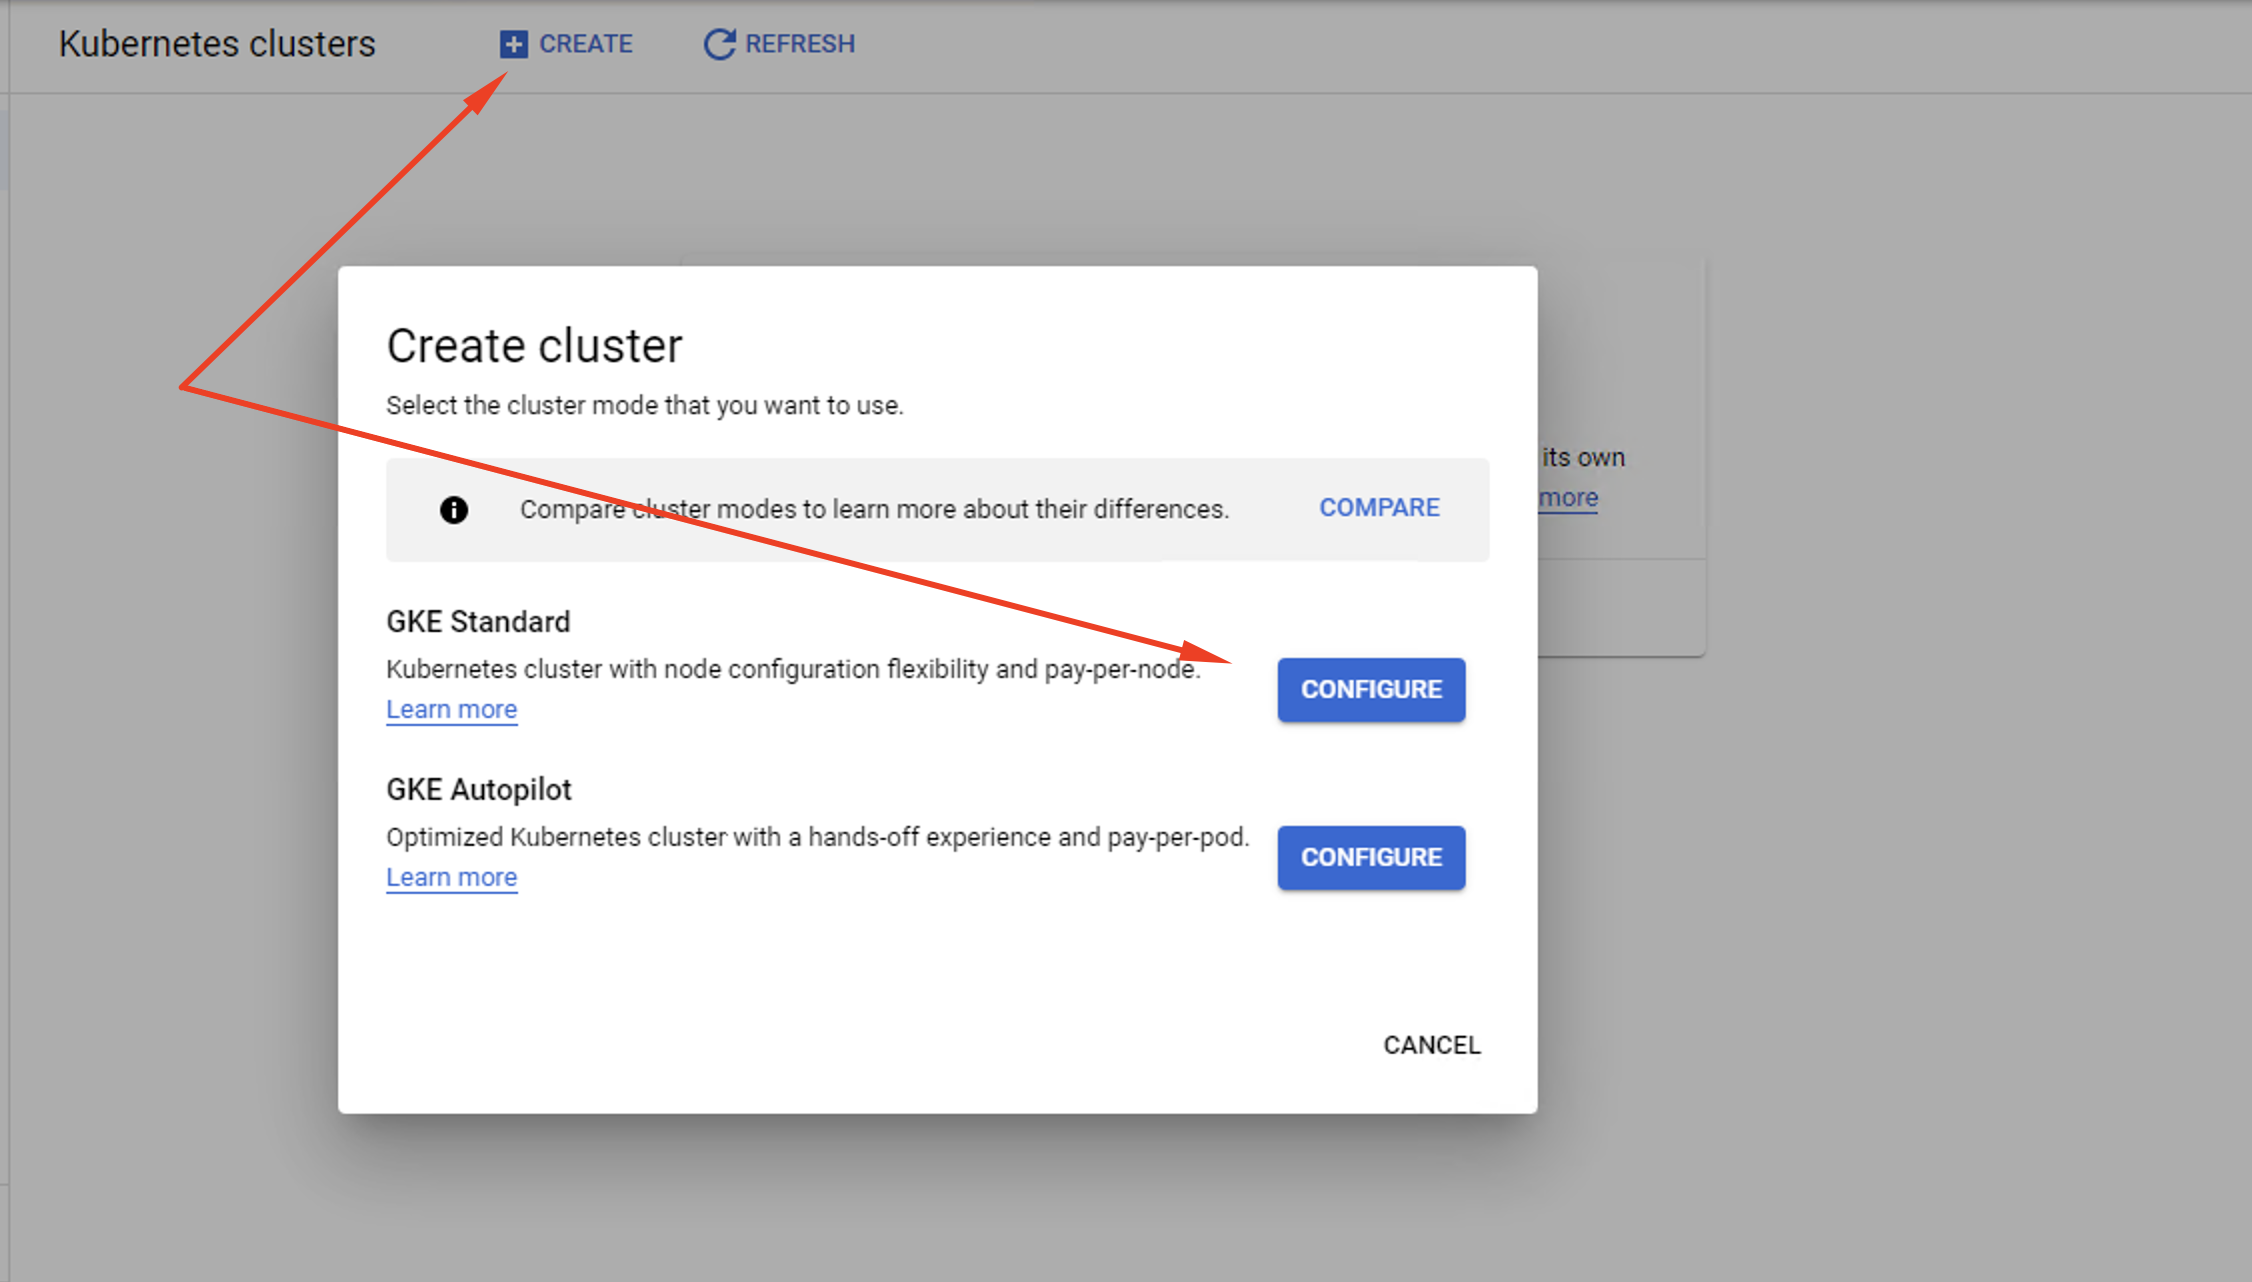
Step 4 : Click the create button at the top of the screen interface
Step 5 : Click configure right next to the standard option.
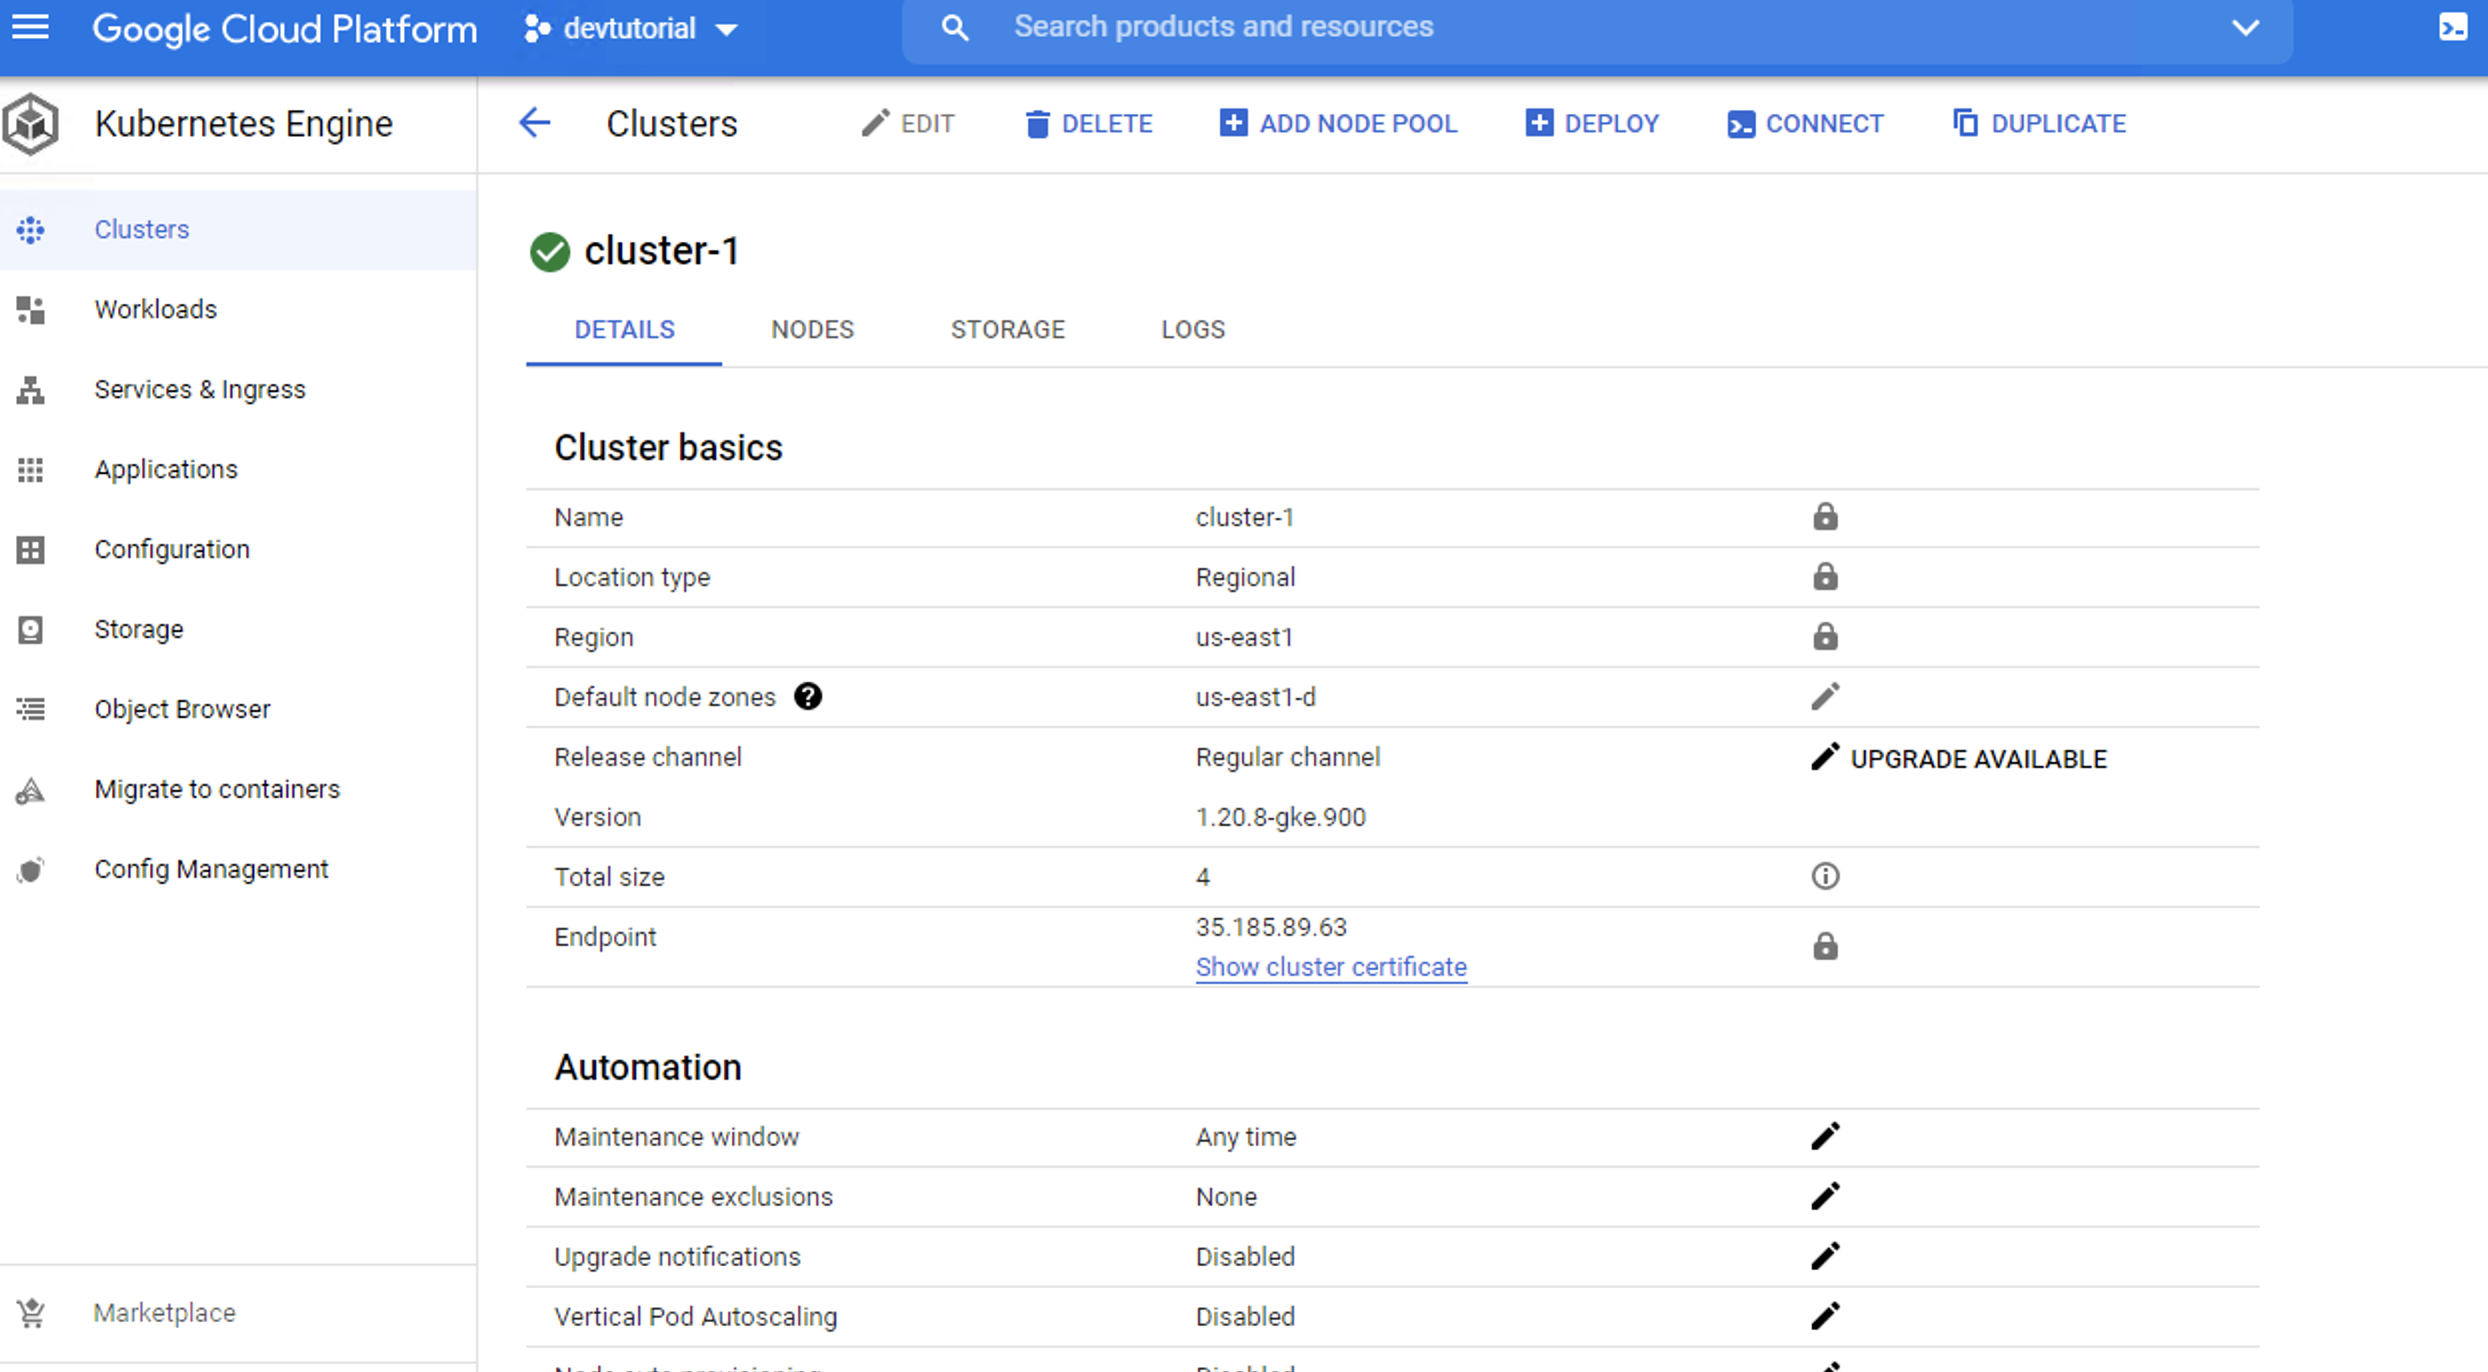
Step 6 : In the cluster basics section:
- Specify a name for your cluster
- In the Location Type, choose Regional
- Leave the rest of the settings intact

Step 7 : In the navigation pane on the left, several other options that may be set also exists. Nonetheless, we shall leave them intact for the time being.
Step 8 : Click create at the base of the screen
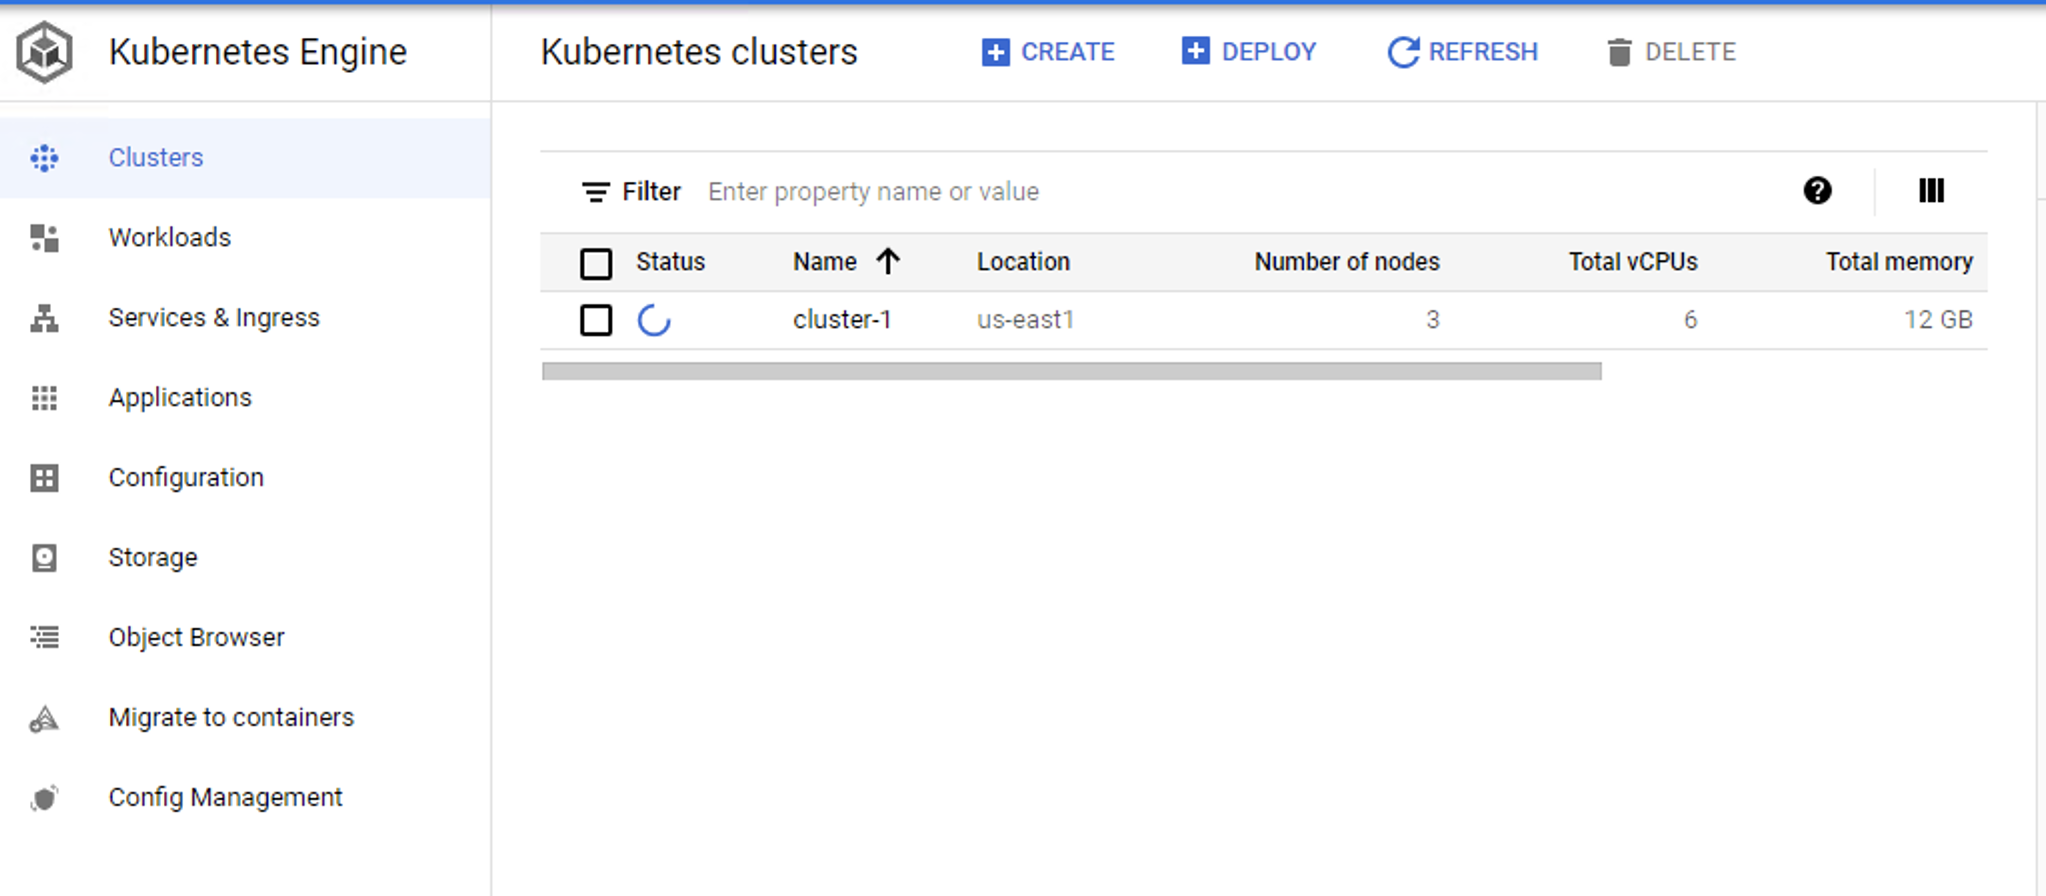
Step 9 : The system shall navigate you back to the cluster screen where the regional cluster you have chosen spins. This process takes a couple of minutes to fully implement.
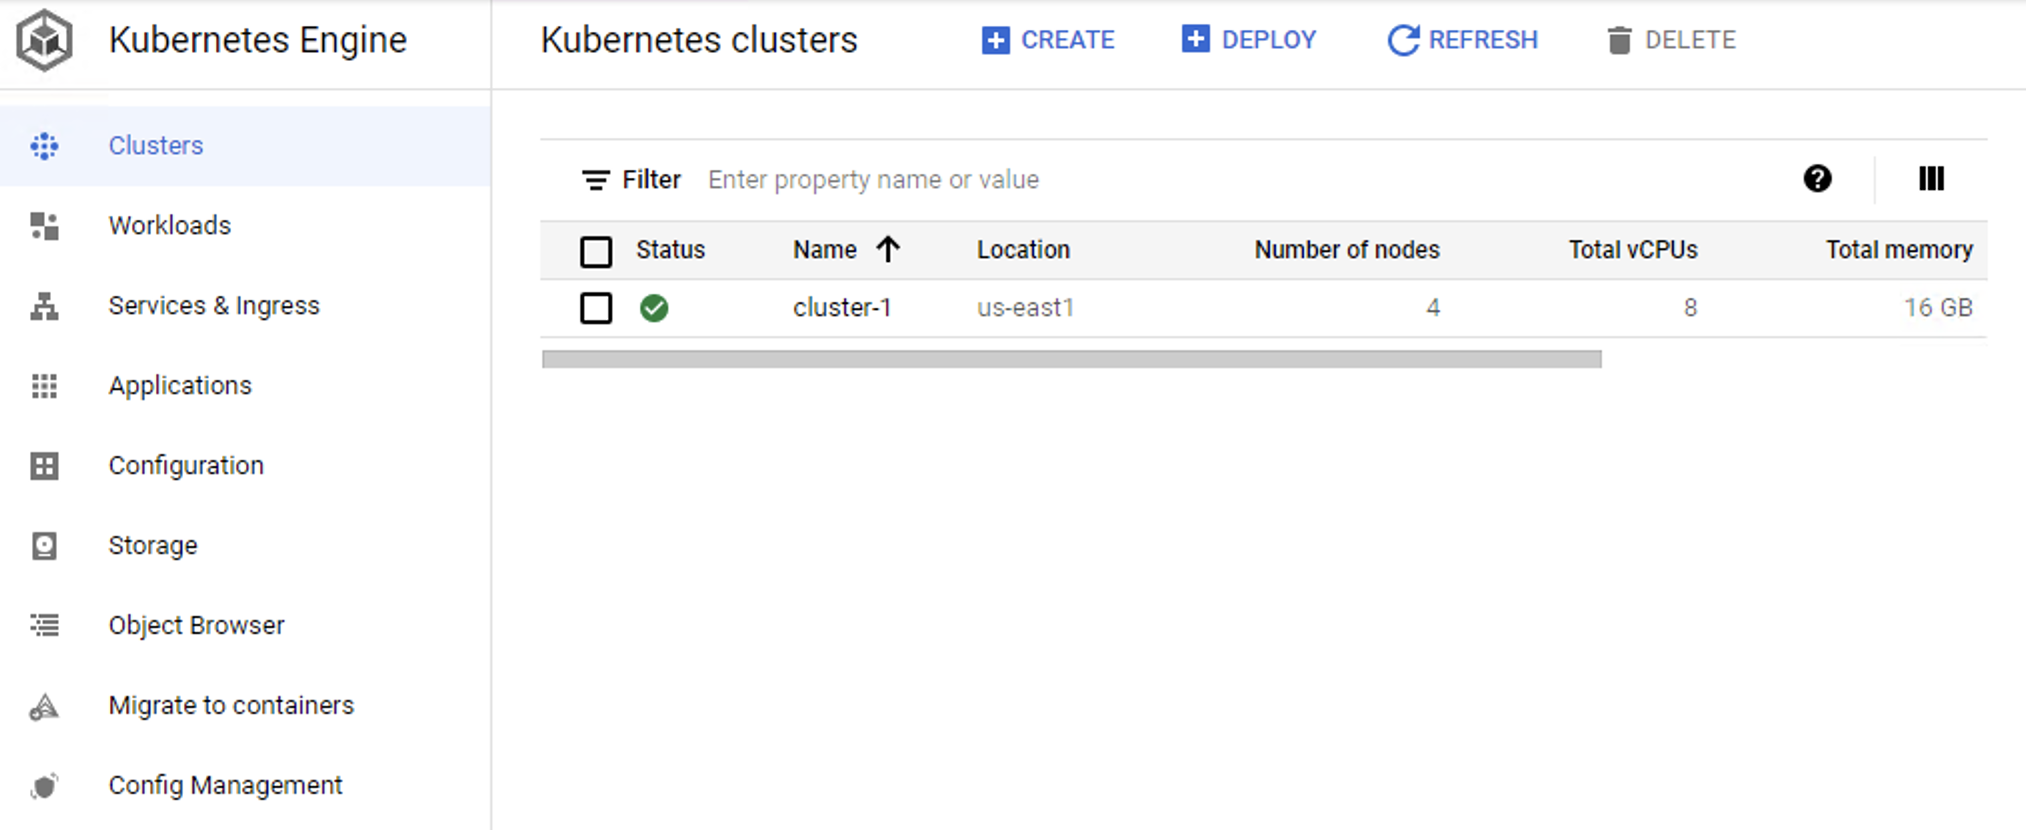
Step 10 : As soon as it is complete, a green checkmark icon pops up right next to the name of the regional cluster you have selected.
For the purpose of this post, we utilized the Google Cloud Console to generate the regional Kubernetes cluster with the GKE. Generating a regional GKE cluster is a faster and easier way of managing the Kubernetes as compared to the self-management on your own.