What is Django?
Django was born in 2003 in a press agency of Lawrence, Kansas. It is a web framework that uses Python to create websites. Its goal is to write very fast dynamic websites. In 2005, the agency decided to publish the Django source code in the BSD license. In 2008, the Django Software Foundation was created to support and advance Django.
Today, big organizations such as the Instagram, Spotify, Youtube, Dropbox, Mozilla.org, Disqus are using Django.
Installing Django 3
Step 1 : To manage Python packages, you will need pip. If you are using Python 3.4+, then it will be included in your Python installation. Let's upgrade the shared Python modules, pip, and wheel:

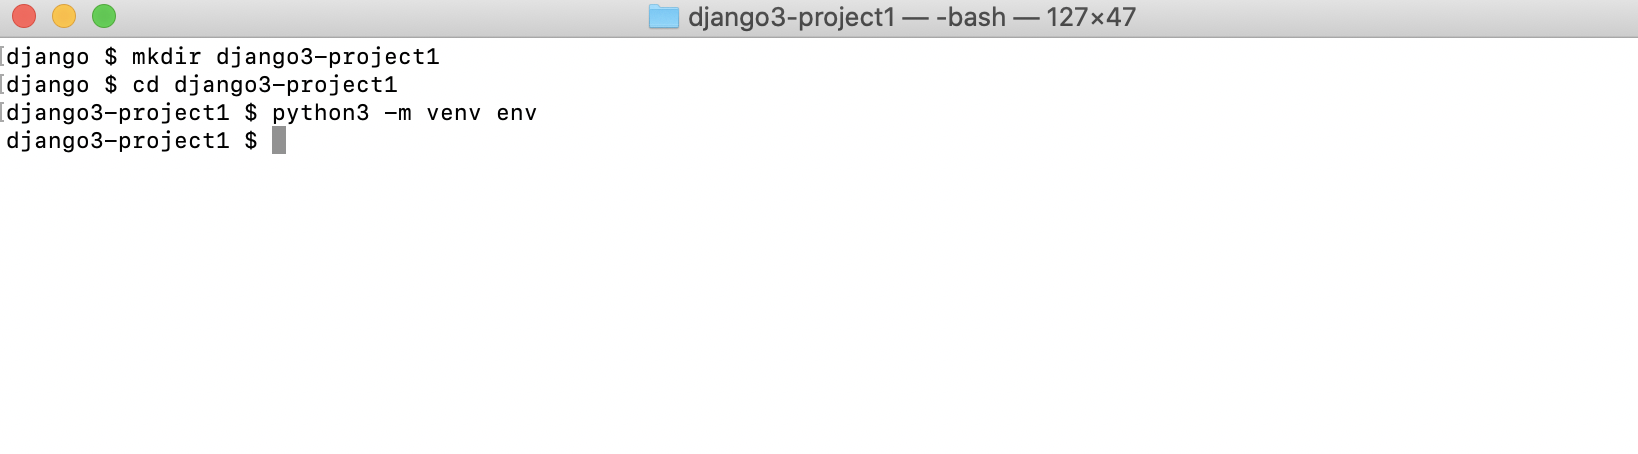
Step 2 : Create a directory. Go to the newly created directory and create a virtual environment that uses the shared system site packages
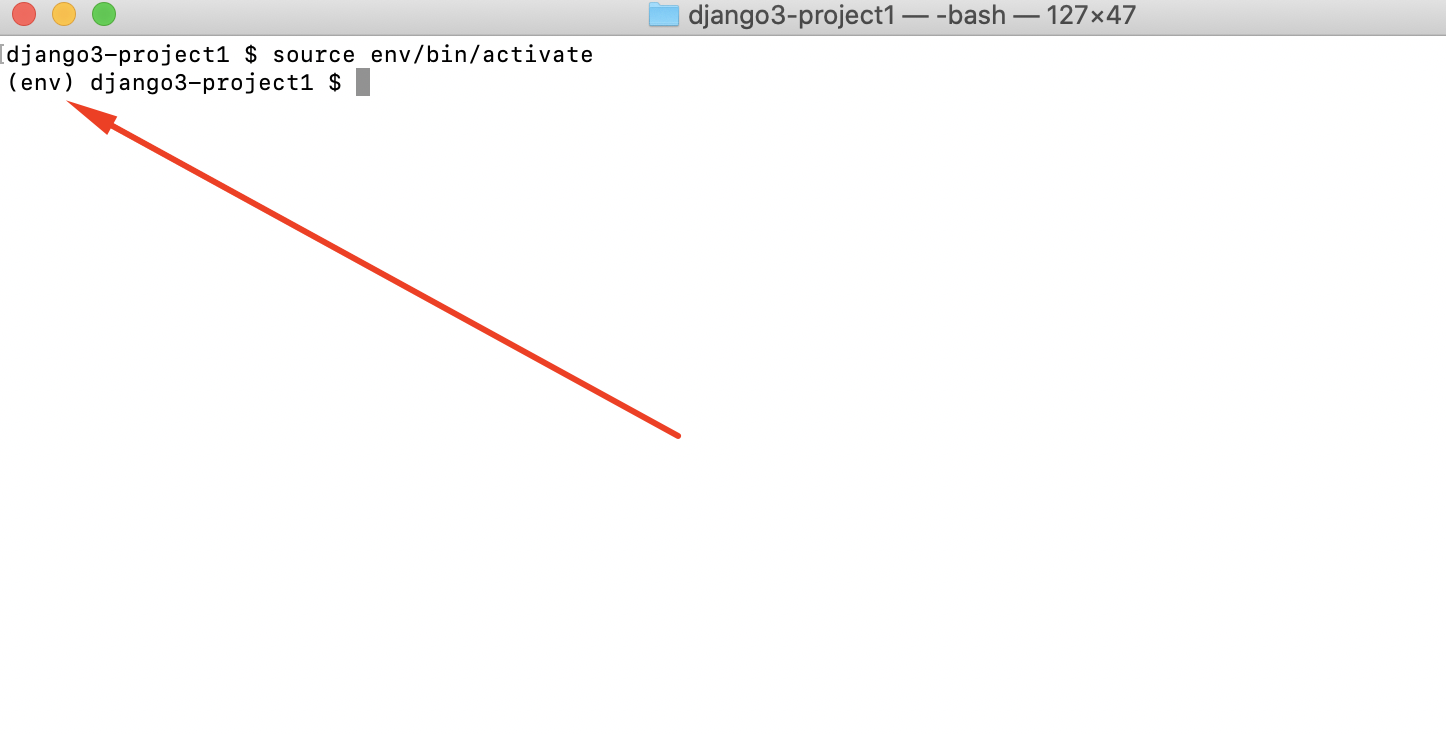
Step 3 : To use your newly created virtual environment, you need to execute the activation script in your current shell. This can be done with the following command:
Depending on the shell you are using, the source command may not be available. Another way to source a file is with the following command, which has the same result
To get out of the virtual environment, type the following command:
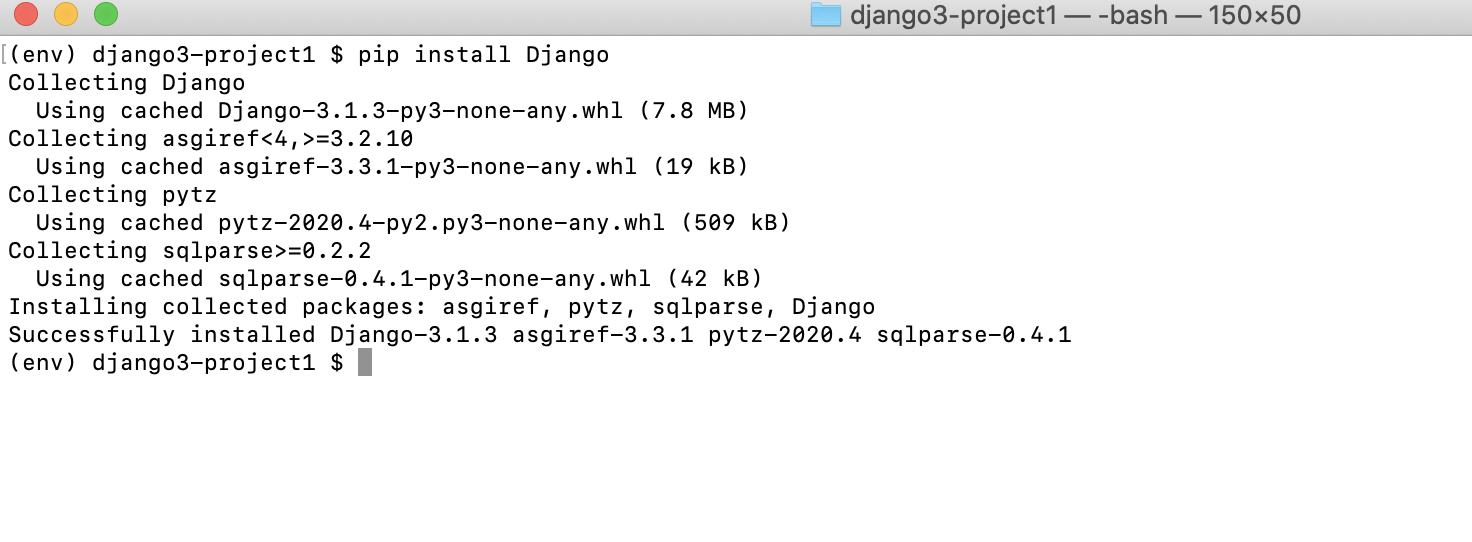
STep 4 : To install the latest Django 3.0.x in your virtual environment, type the following command