Install Nginx
To install Nginx on Ubuntu 22.10, follow these steps:
Step 1 : Update the package index:

Step 2 : Install Nginx:

Step 3 : Start Nginx:
Step 4 : Verify that Nginx is running by visiting http://localhost in your web browser or by running:

Step 5 : Enable Nginx to start at boot time:

Configuration Nginx
To add a new configuration to Nginx and have it enabled, you can create a new configuration file in the /etc/nginx/sites-available directory and then create a symbolic link to it in the /etc/nginx/sites-enabled directory. Here's the step-by-step process:
Step 6 : Create a new configuration file for your site in the /etc/nginx/sites-available directory:
Replace example.com with the name of your domain.
Step 7 : Add the following server block to the configuration file:

Replace example.com with the name of your domain and /var/www/example.com with the path to the root directory for the website.
Step 8 : Save the file and close it.
Step 9 : Create a symbolic link to the configuration file in the /etc/nginx/sites-enabled directory:

Replace example.com with the name of your domain.
Step 10 : Verify that the Nginx configuration is correct:
Step 11 : If the configuration is correct, reload Nginx to apply the changes:

Step 12 : If necessary, create the root directory for the domain:
Replace /var/www/example.com with the path to the root directory for the website.

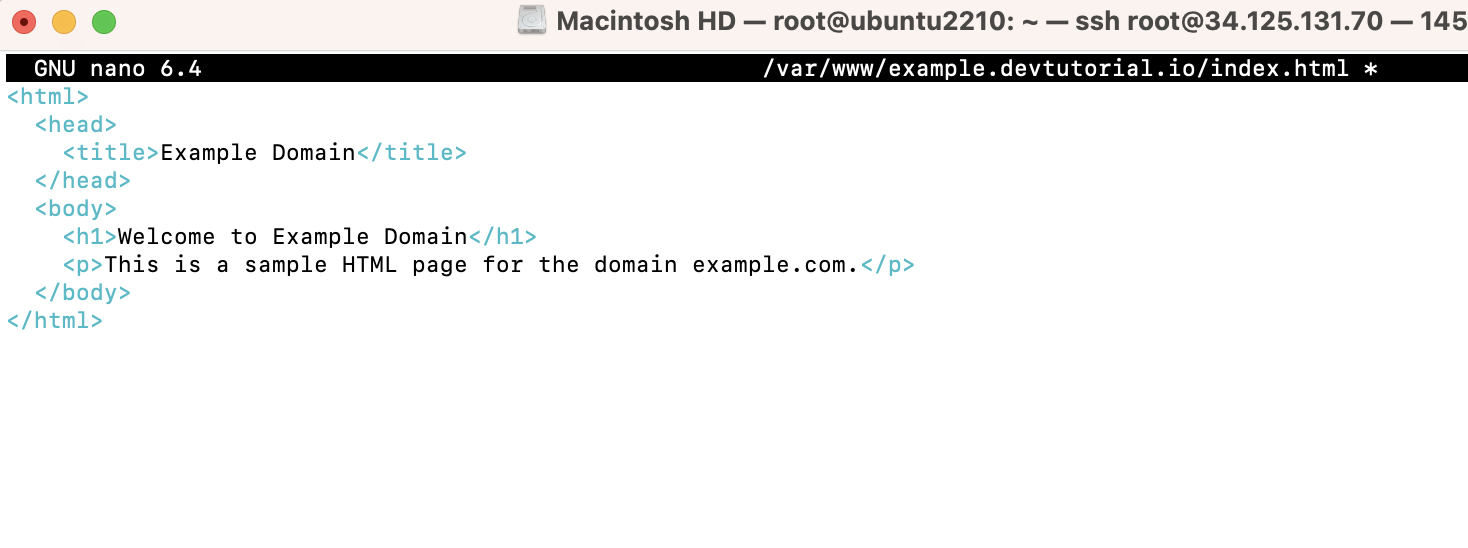
Step 13 : Create an HTML file in the domain's root directory:
Step 14 : Add the following HTML code to the file:
Step 1, You can access the page by visiting : https://example.com/

Generate Let's Encrypt SSL
To generate a Let's Encrypt SSL certificate for Nginx, you can use the certbot tool. Here's how to do it:
Step 15 : Map the domain to the server using DNS.
Step 16 : Install certbot:

Step 17 : Run the certbot command to obtain and install the SSL certificate:

Step 18 : Follow the on-screen instructions to configure certbot and obtain the SSL certificate. certbot will automatically configure Nginx to use the newly obtained certificate.


Step 19 : Verify that the SSL certificate is properly installed by visiting your website using https:// in a web browser and checking for the padlock icon in the address bar.
