We will learn how to install and configure the MySQL database on an Ubuntu server.
Follow these steps to install the MySQL 8.0
Step 1 : MySQL 8.0 is included in the default Ubuntu repository for 20.04. You can list each of the available MySQL 8.0 packages with the following command:
apt-cache pkgnames | grep mysql-server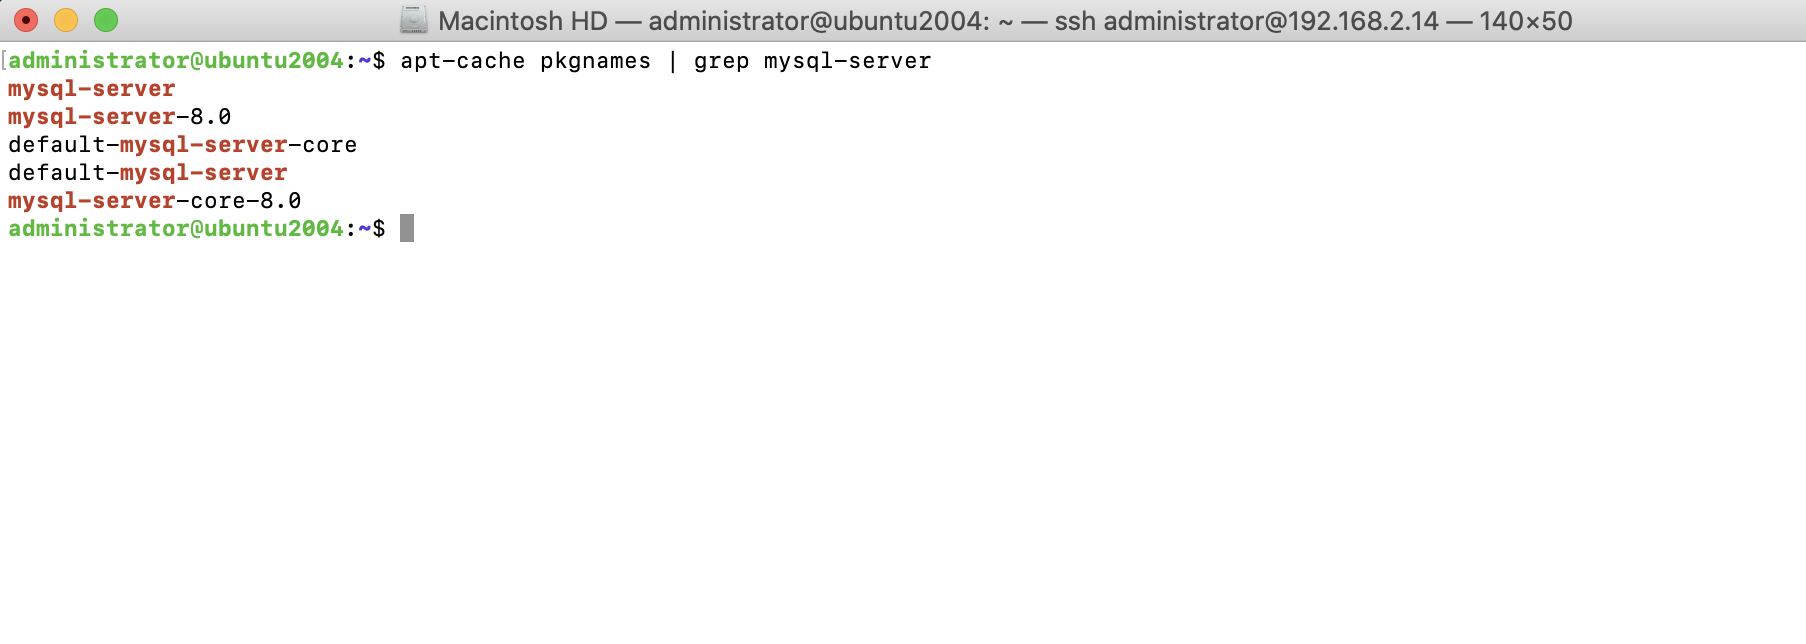
step 1 : To install the MySQL server, use the following command:
sudo apt-get update
sudo apt-get install mysql-server-8.0
Step 2 : Once the installation process is complete, you can check the server status with the following command. It should return an output similar to the following:
sudo service mysql status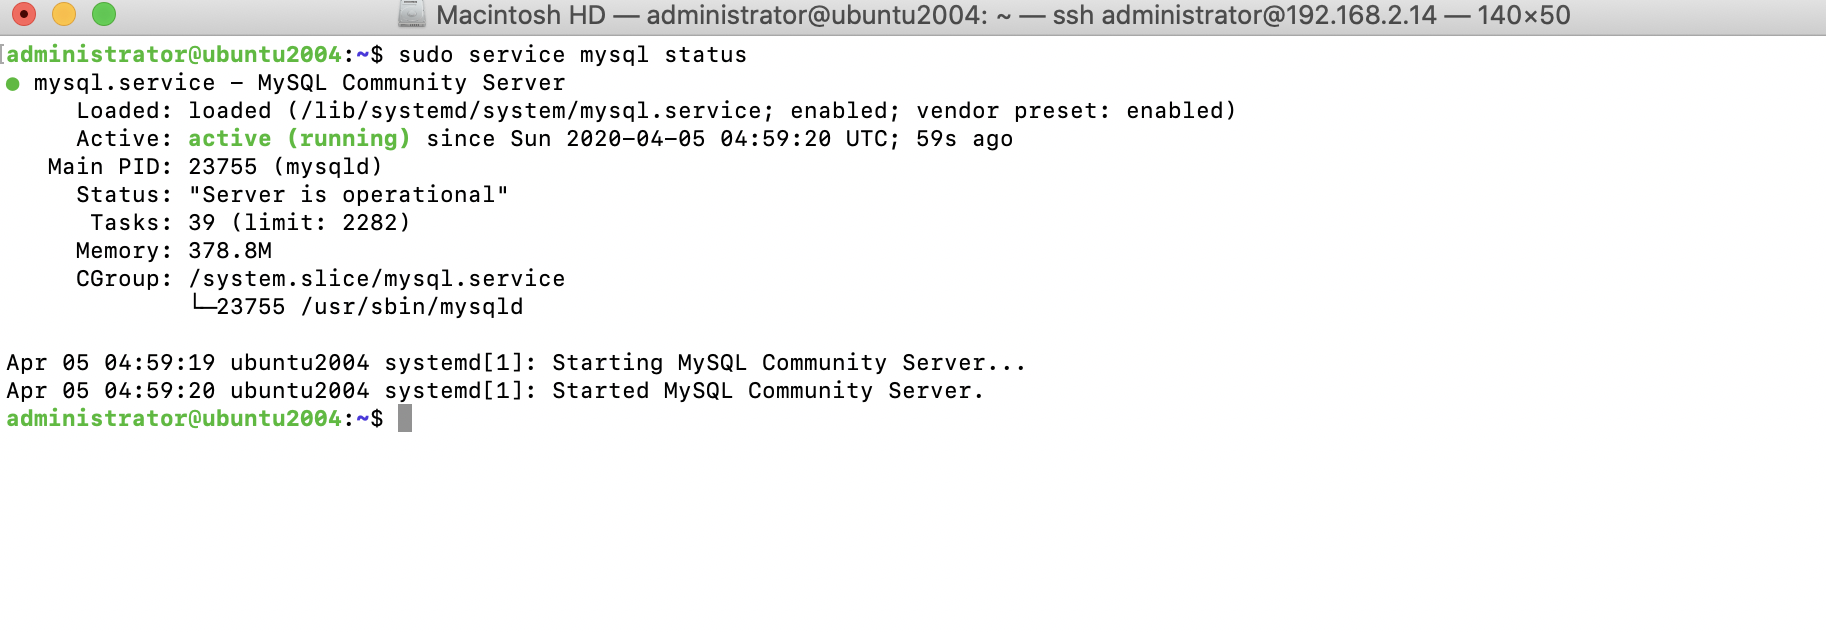
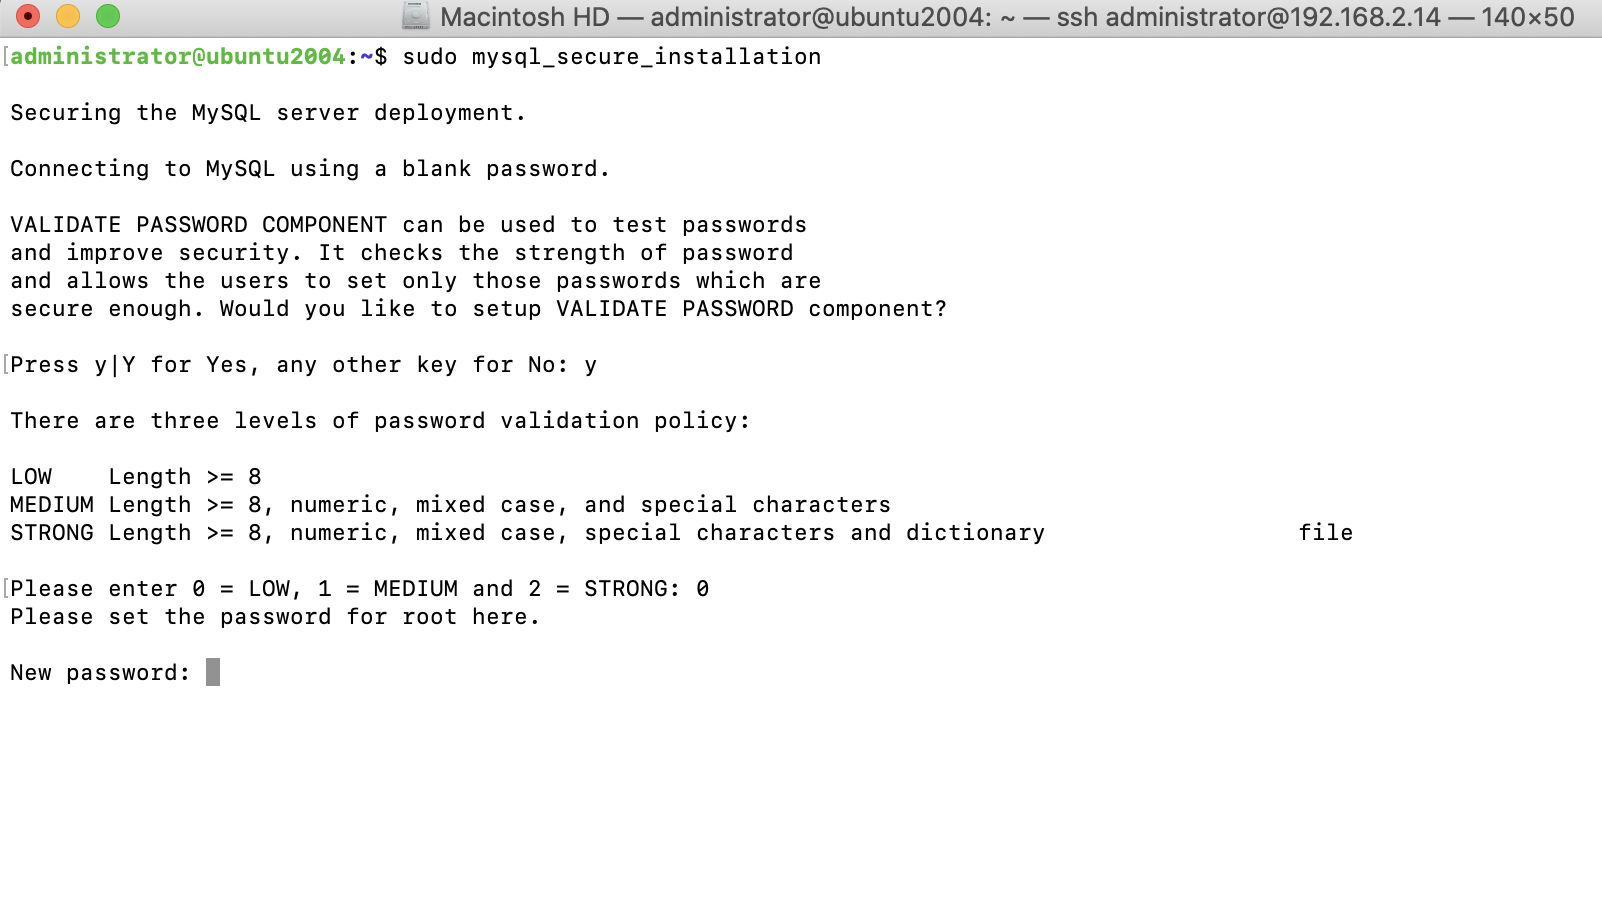
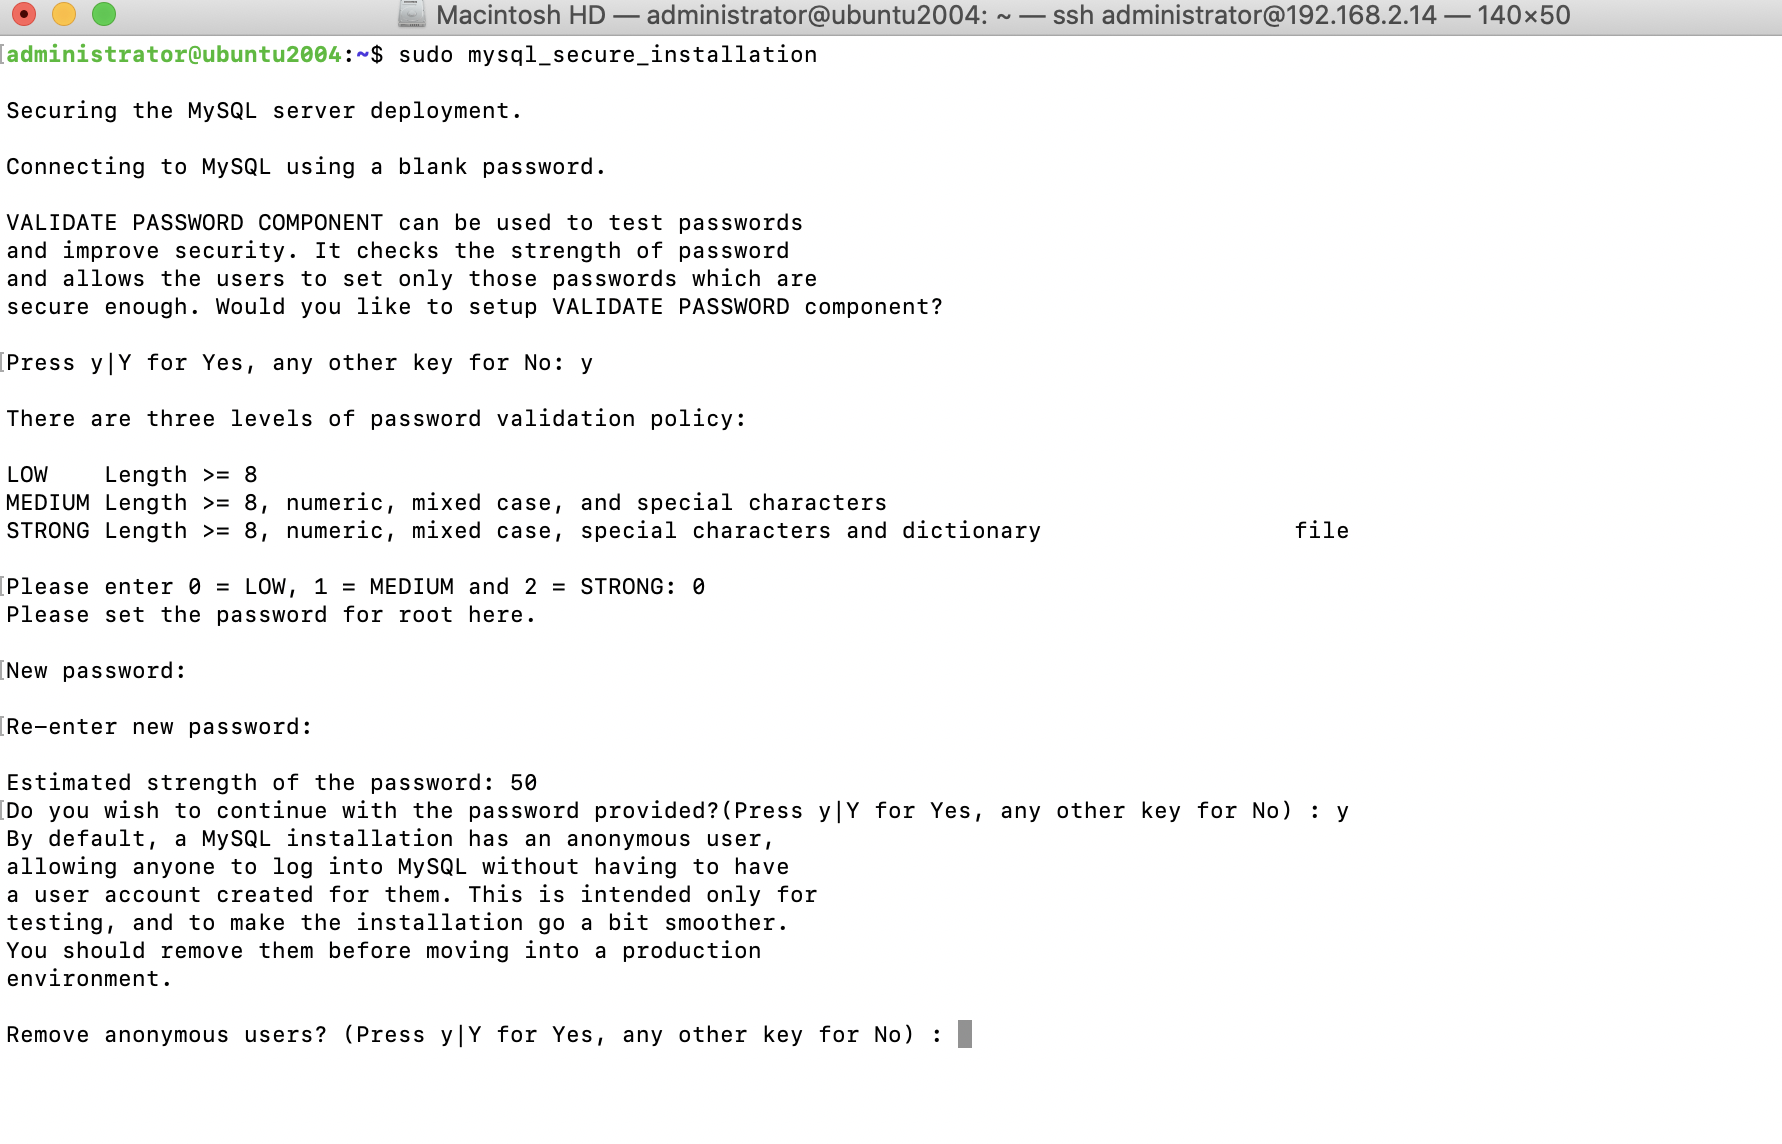
Step 3 : MySQL provides a simple script to configure basic settings related to security. Execute this script before using your server in production:
sudo mysql_secure_installationThis will take you through a series of prompts asking if you want to make certain changes to your MySQL installation’s security options
Would you like to setup VALIDATE PASSWORD component?

Please set the password for root here
Remove anonymous users?
Disallow root login remotely?

Remove test database and access to it?

Reload privilege tables now?

All done!

Step 4 : Now open a connection to the mysql server
sudo mysql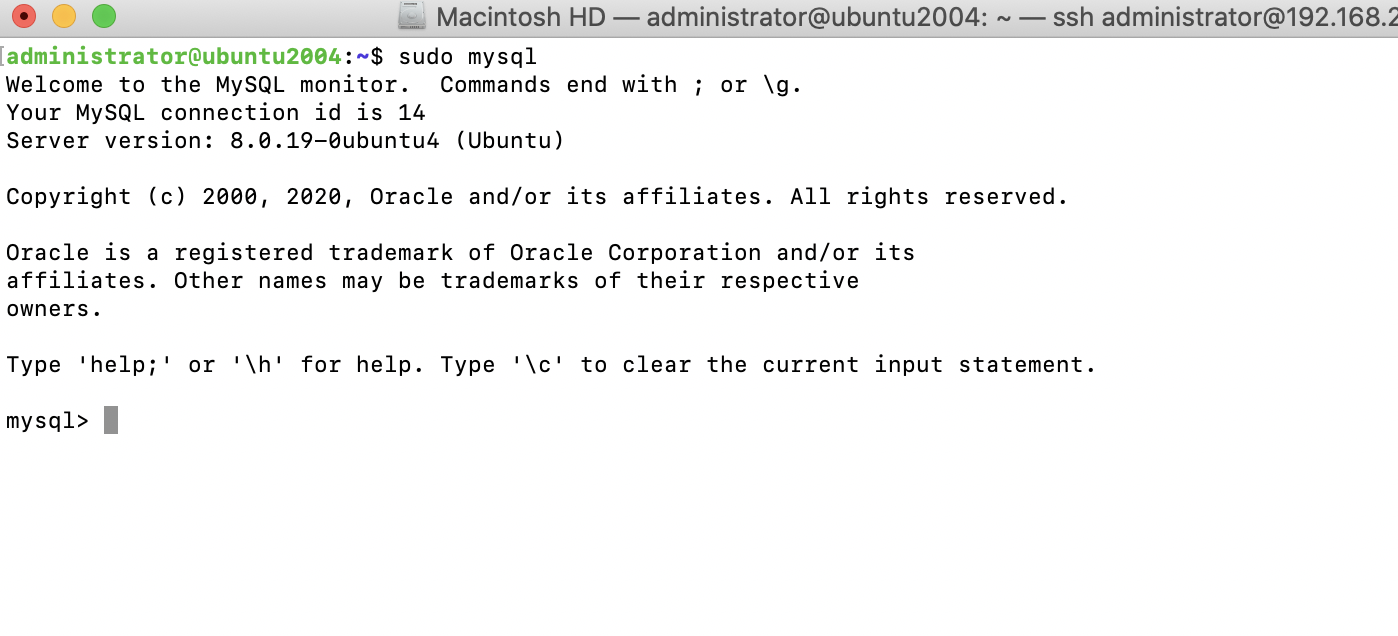
Step 5 : To get a list of available commands, type \h
mysql> \h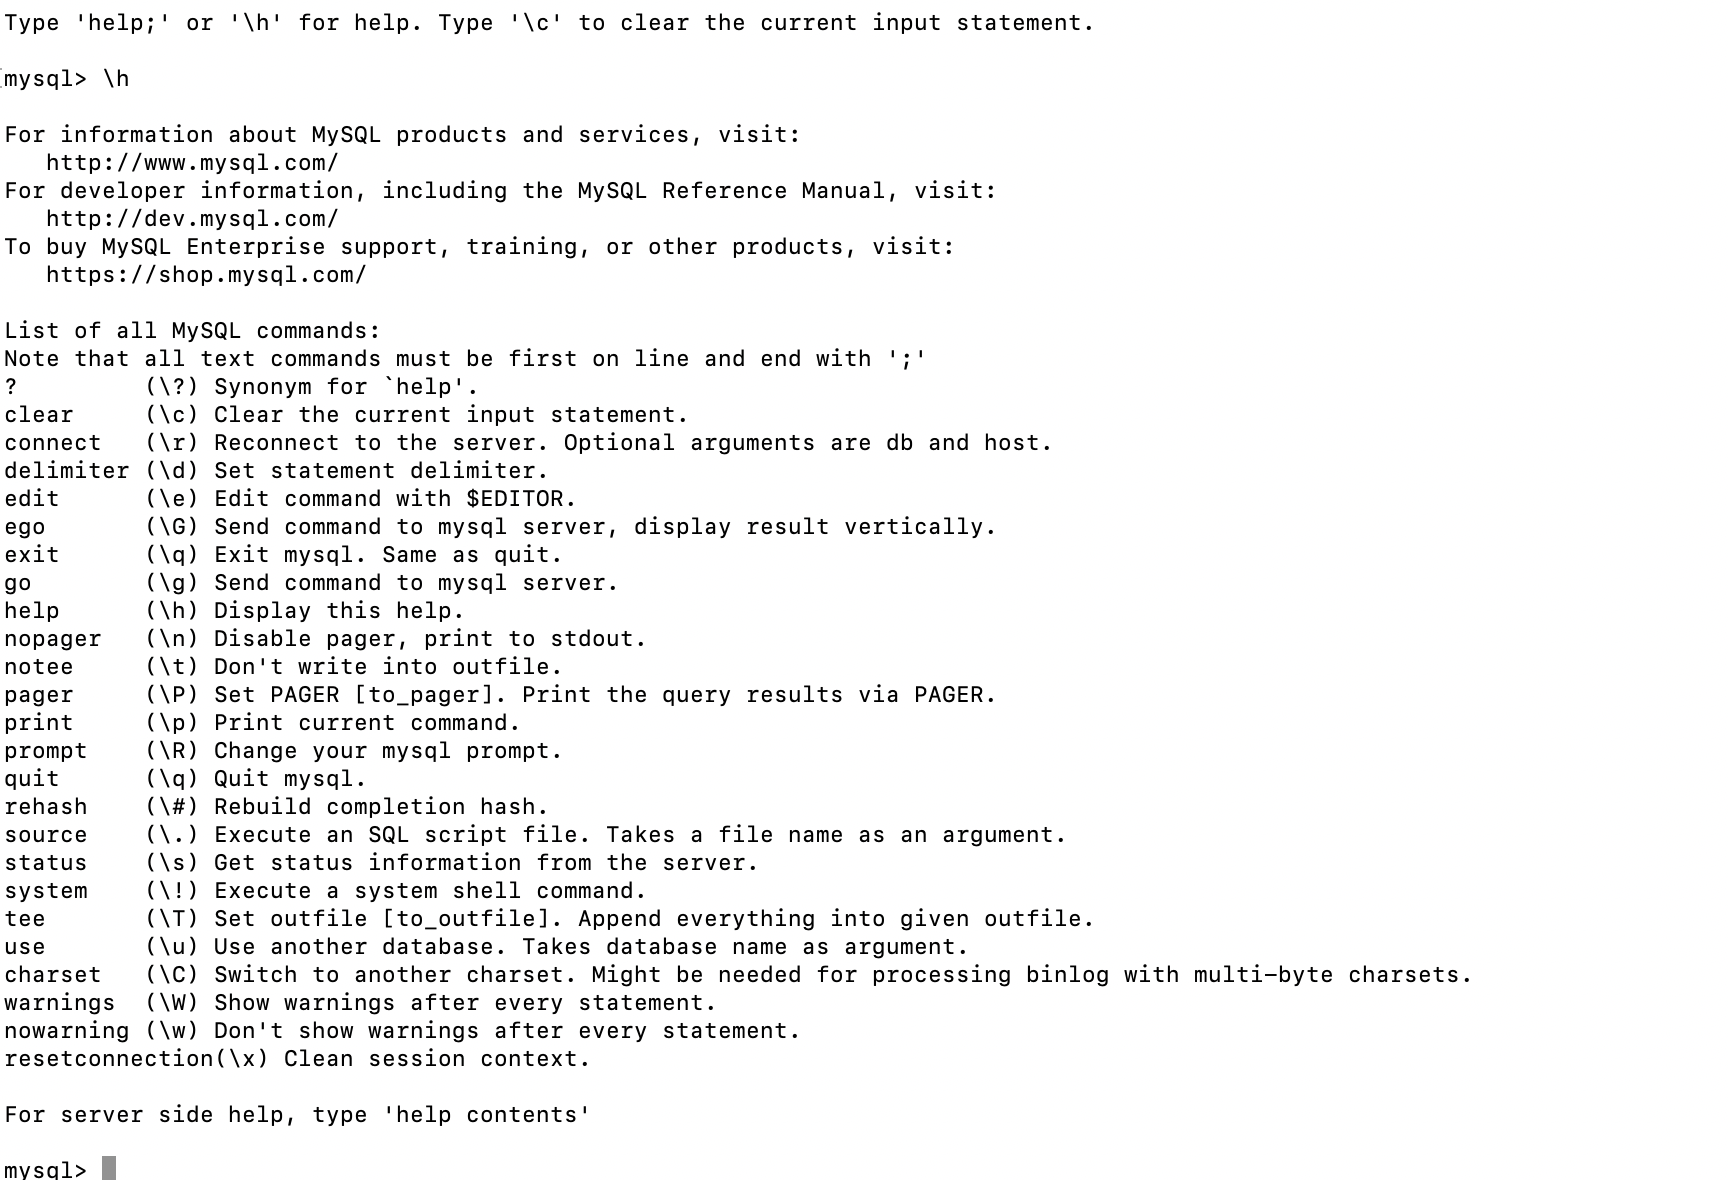
Recommended