Step 1 : you can run the following command on the machine you intend to host KVM virtual machines on in order to find out whether your CPU supports virtualization extensions
egrep -c '(vmx|svm)' /proc/cpuinfo
A result of 1 or more means that your CPU does support virtualization extensions
Step 2 : We'll also need to create a group named kvm as we're going to allow members of this group to manage virtual machines:
sudo groupadd kvmStep 3 : Even though KVM is built into the Linux kernel, we'll still need to install some packages in order to properly interface with it.
sudo apt-get install qemu-kvm libvirt-daemon-system libvirt-clients bridge-utils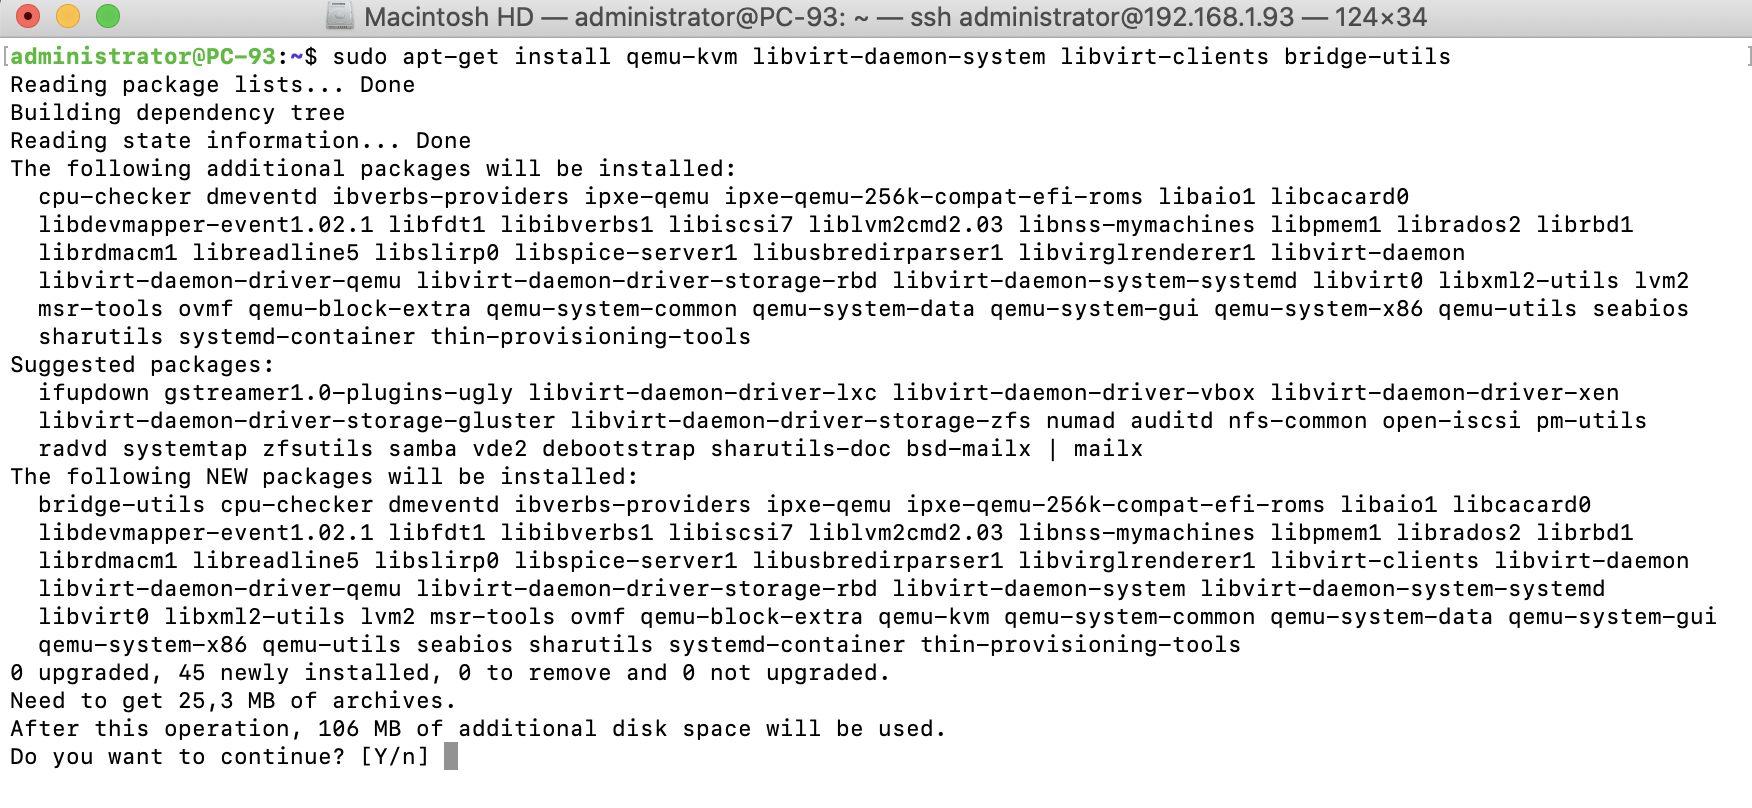
Step 4 : You'll now have an additional service running on your server, libvirtd. Once you've finished installing KVM's packages, this service will be started and enabled for you
Step 5 : Let's stop this service for now, as we have some additional configuration to do:
sudo systemctl stop libvirtd
Step 6 : Next, make the root user and the kvm group the owner of the /var/lib/libvirt/images directory:
sudo chown root:kvm /var/lib/libvirt/images
Step 7 : Let's set the permissions of /var/lib/libvirt/images such that anyone in the kvm group will be able to modify its contents:
sudo chmod g+rw /var/lib/libvirt/images
Step 8 : The primary user account you use on the server should be a member of the kvm group. Make sure you log out and log in again after executing the next command, so the changes take effect:
sudo usermod -aG kvm <user>
Step 9 : At this point, we should be clear to start the libvirtd service:
sudo systemctl start libvirtd
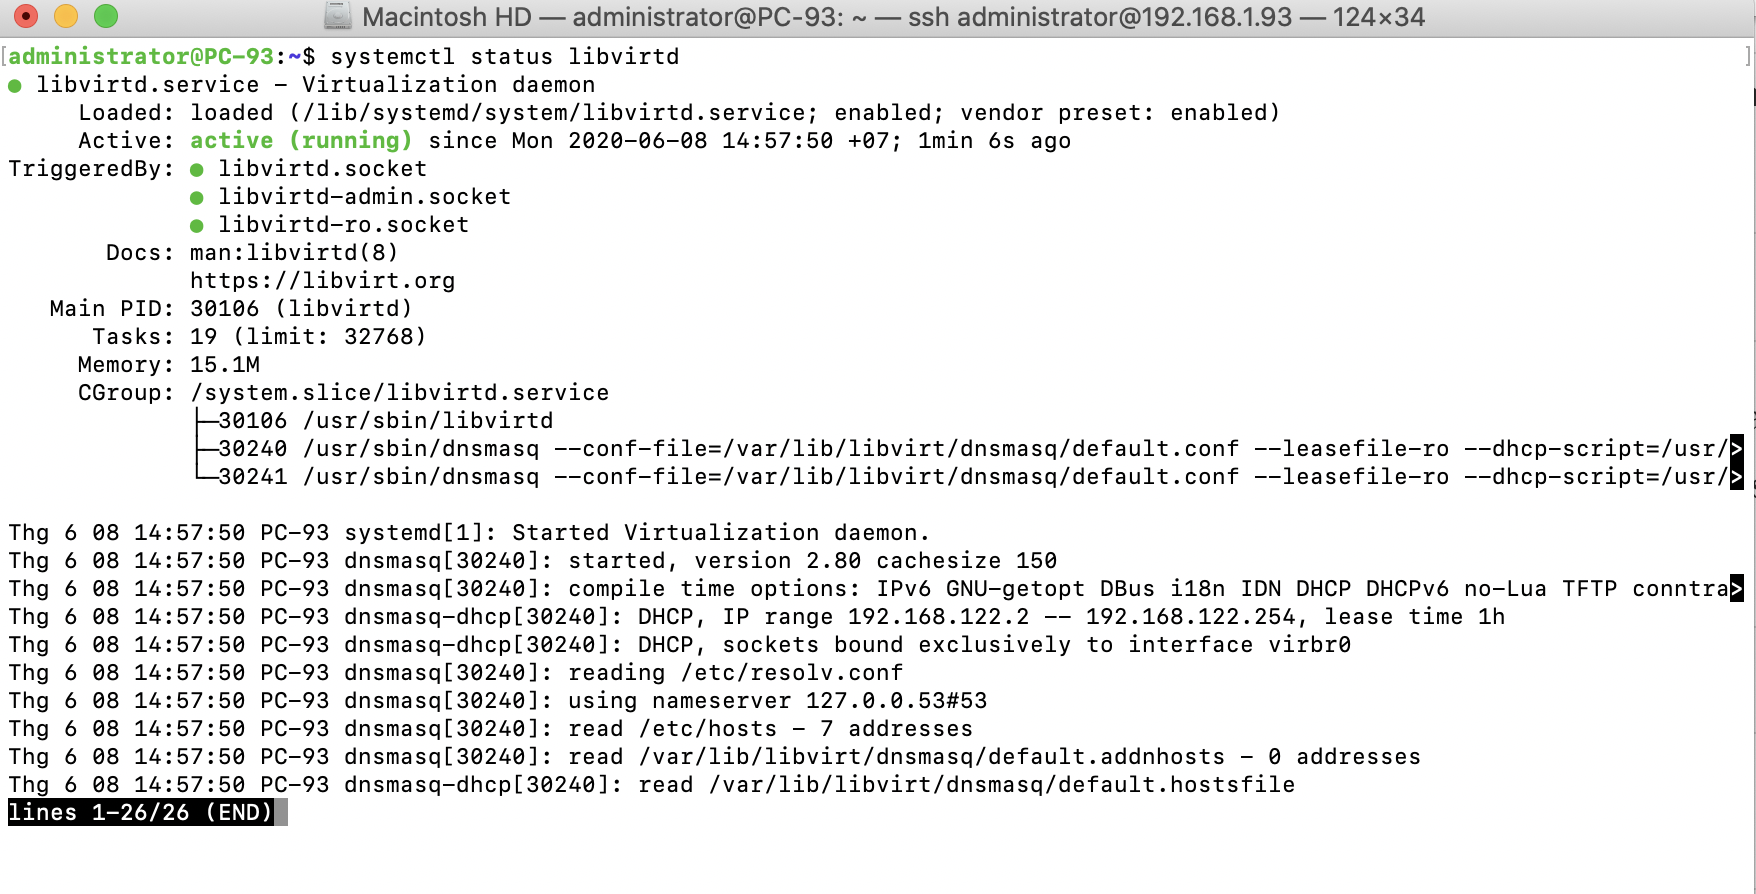
sudo systemctl status libvirtd
Step 10 : On your laptop or desktop (or the machine you'll be managing KVM from), you'll need a few additional packages:
sudo apt install ssh-askpass virt-manager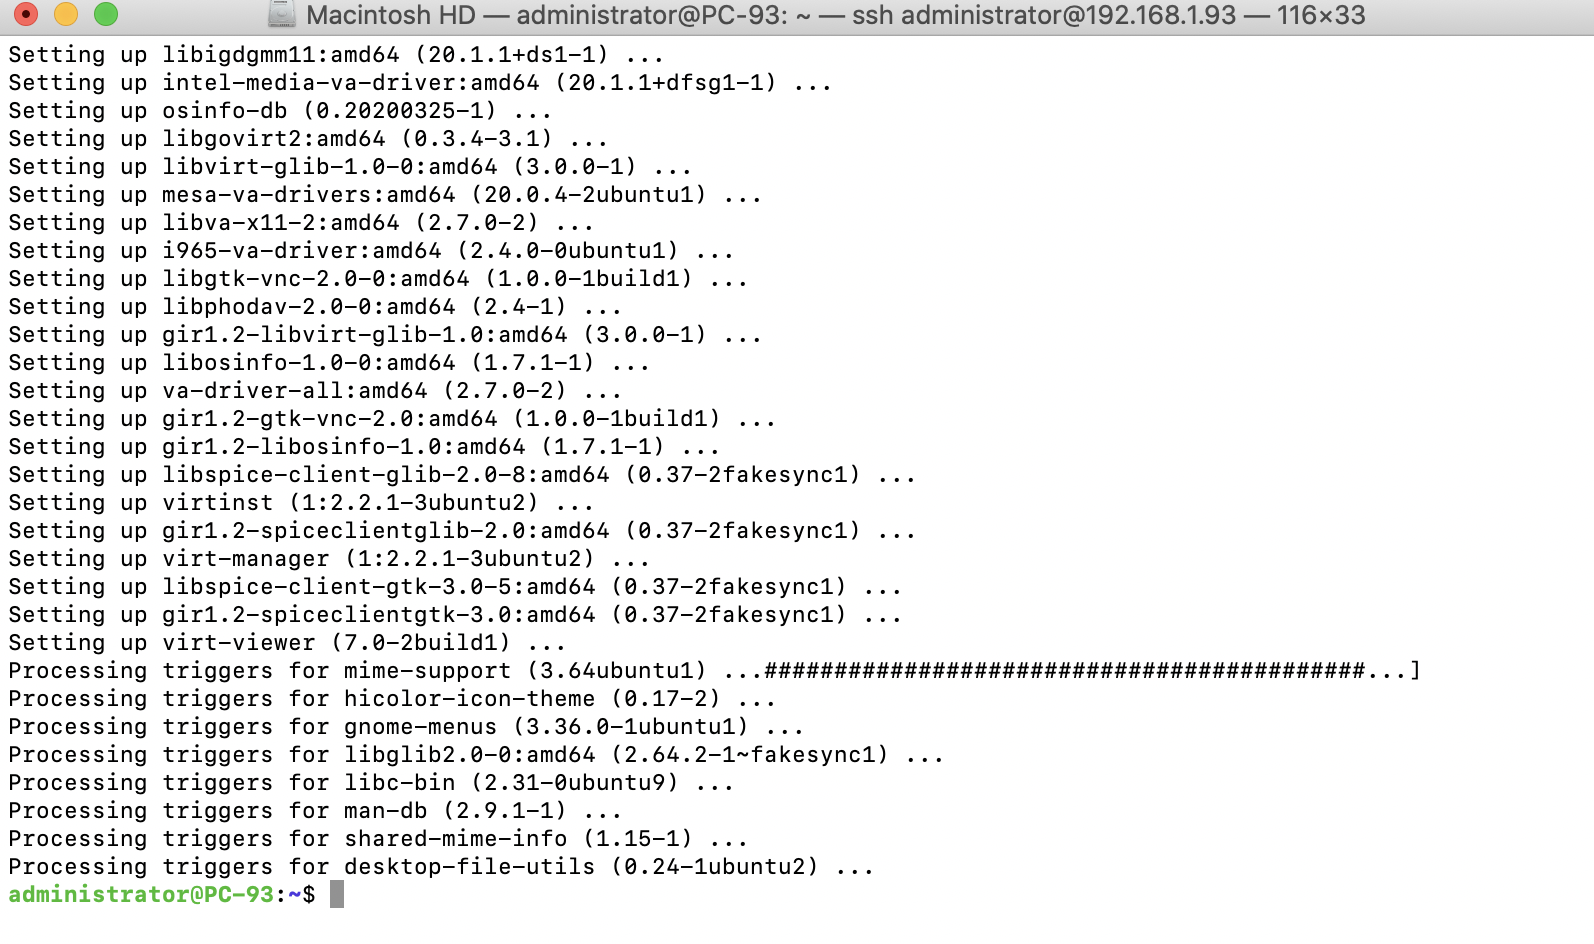
The last package we installed with the previous command was virt-manager, which is a graphical utility for managing KVM virtual machines.
Configuring KVM
We now have all the tools installed that we will need, so all that we need to do is configure the KVM server for our use. There are a few configuration files we'll need to edit. The first is /etc/libvirt/libvirtd.conf.
Step 11 : First, you should make a backup copy of this file in case you make a mistake:
sudo cp /etc/libvirt/libvirtd.conf /etc/libvirt/libvirtd.conf.orig
Step 12 : Next, look for the following line:
unix_sock_group = "libvirtd"Step 13 : Change previous line to the following:
unix_sock_group = "kvm"
Step 14 : Afterwards, restart libvirtd:
sudo systemctl restart libvirtd
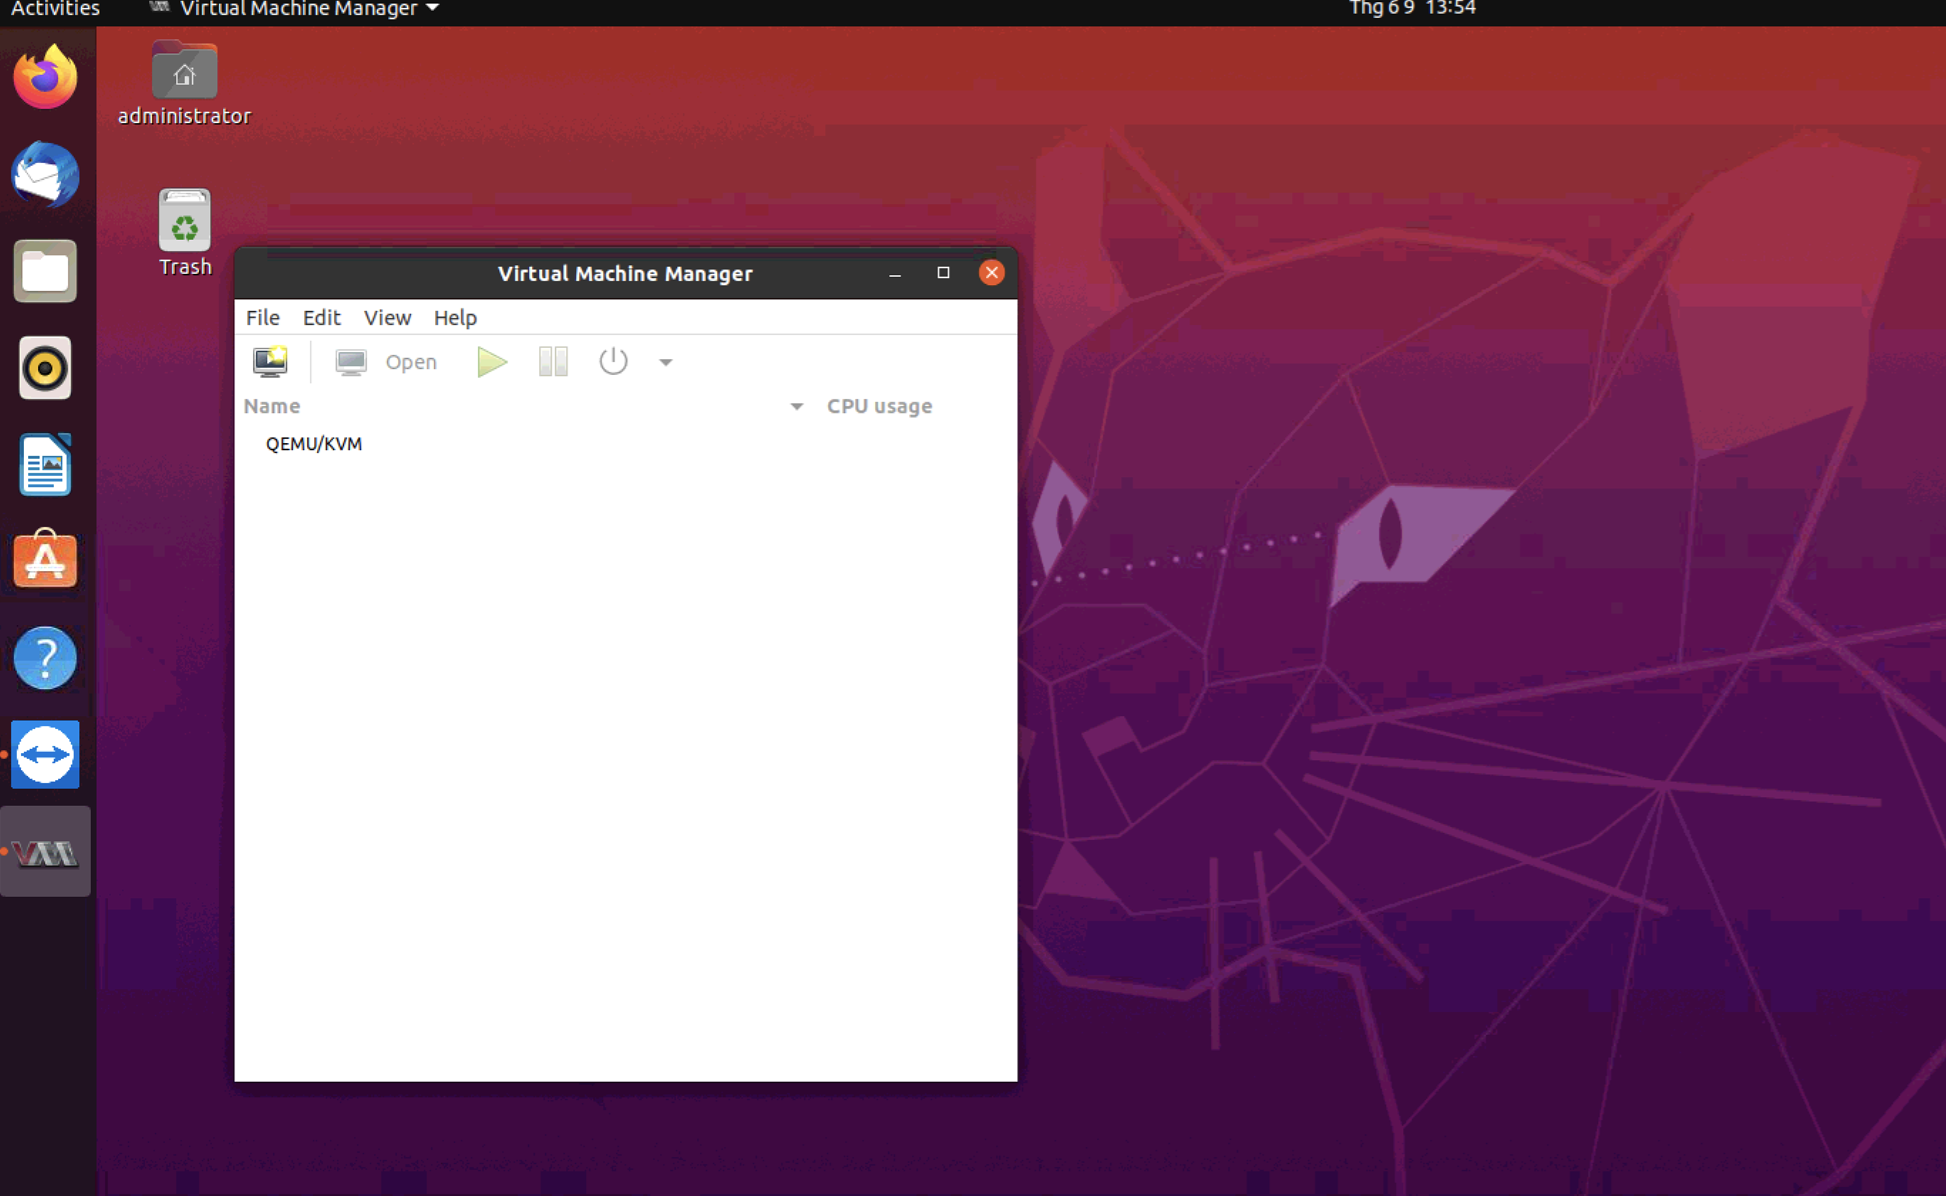
Step 15 : Next, open virt-manager on your administration machine. It should be located in the Applications menu of your desktop environment.

Recommended