How To Install and Configure Postfix on Ubuntu Server 20.04
Postfix is an open source MTA which routes e-mails to their destination. It is a default MTA for Ubuntu and is available in Ubuntu's main package repository.
Follow these steps to send e-mails with Postfix
Step 1 : Install Postfix and mailutils with the following commands:
sudo apt-get update
sudo apt-get install postfix mailutils -y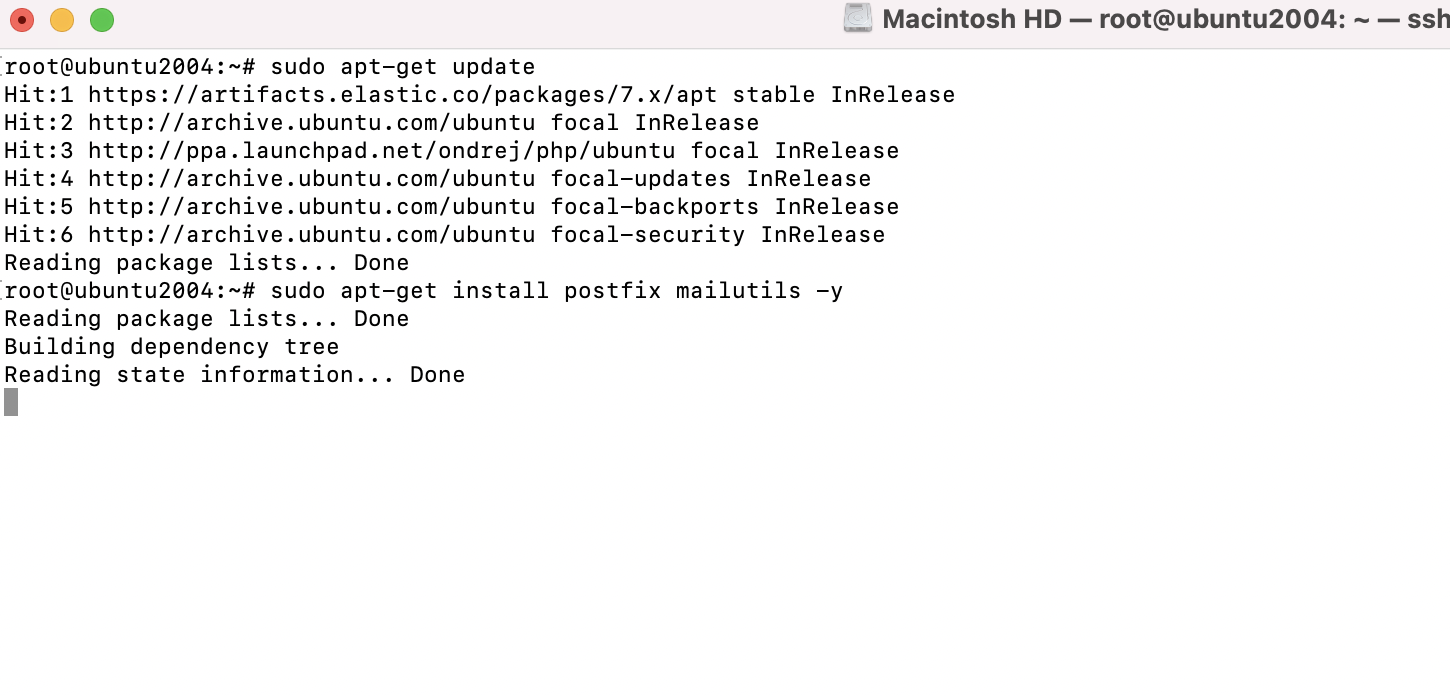
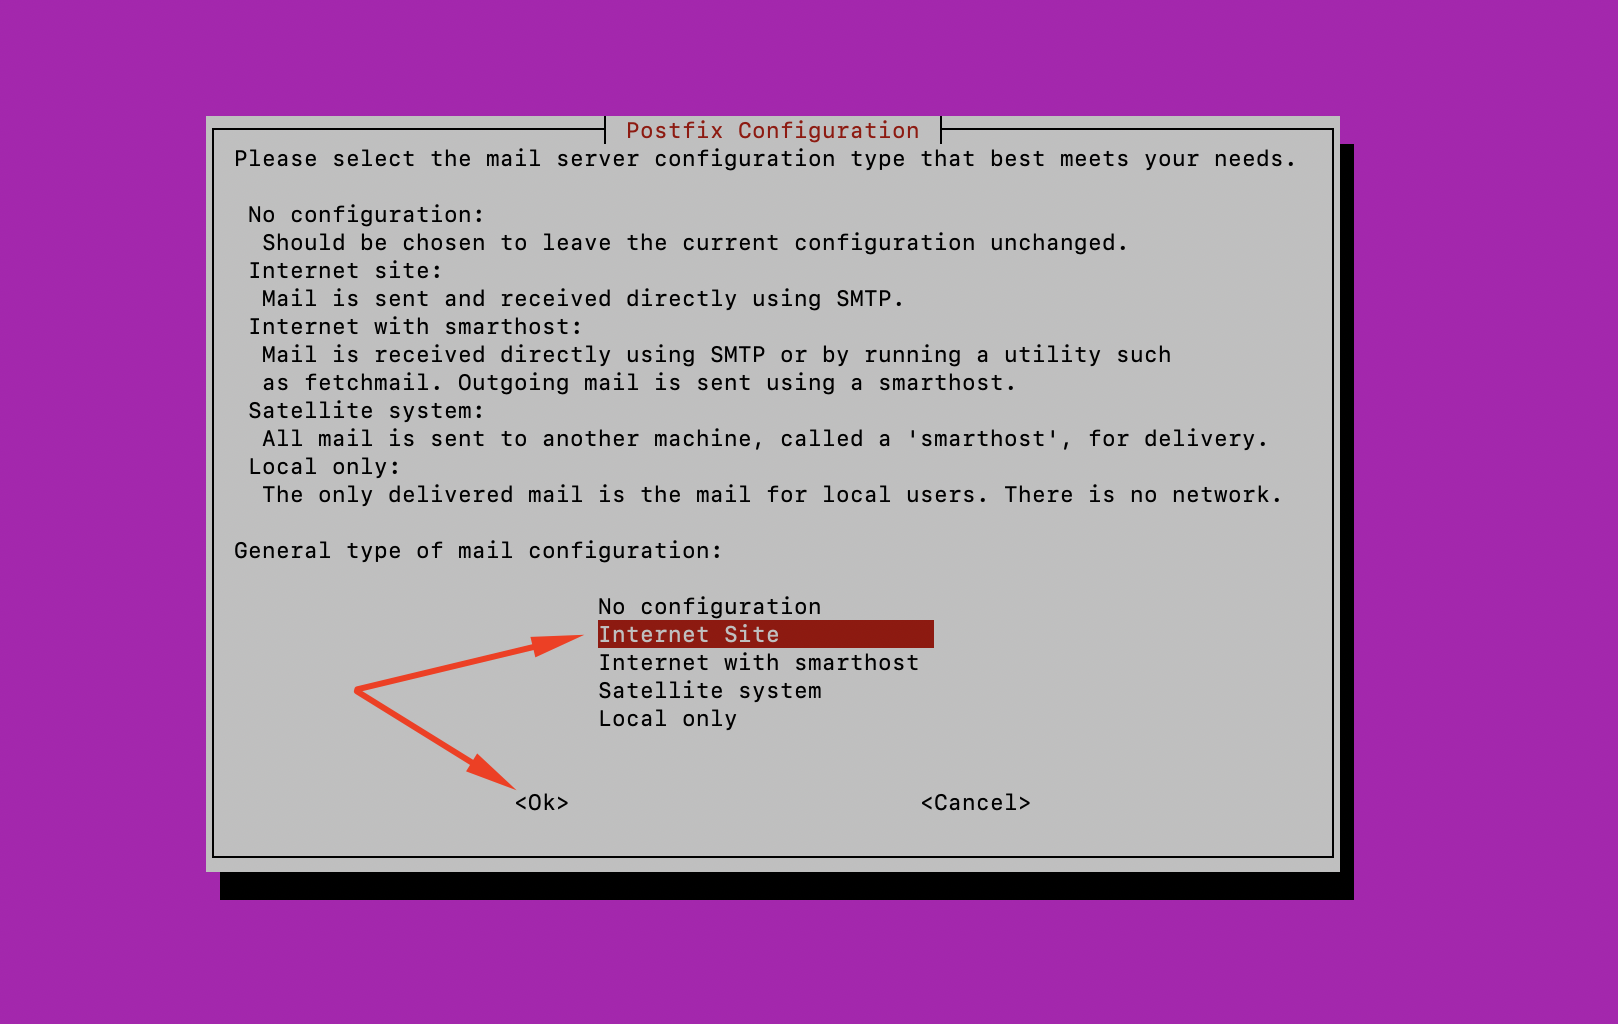
Step 2 : Select Internet Site and then click on [Ok]
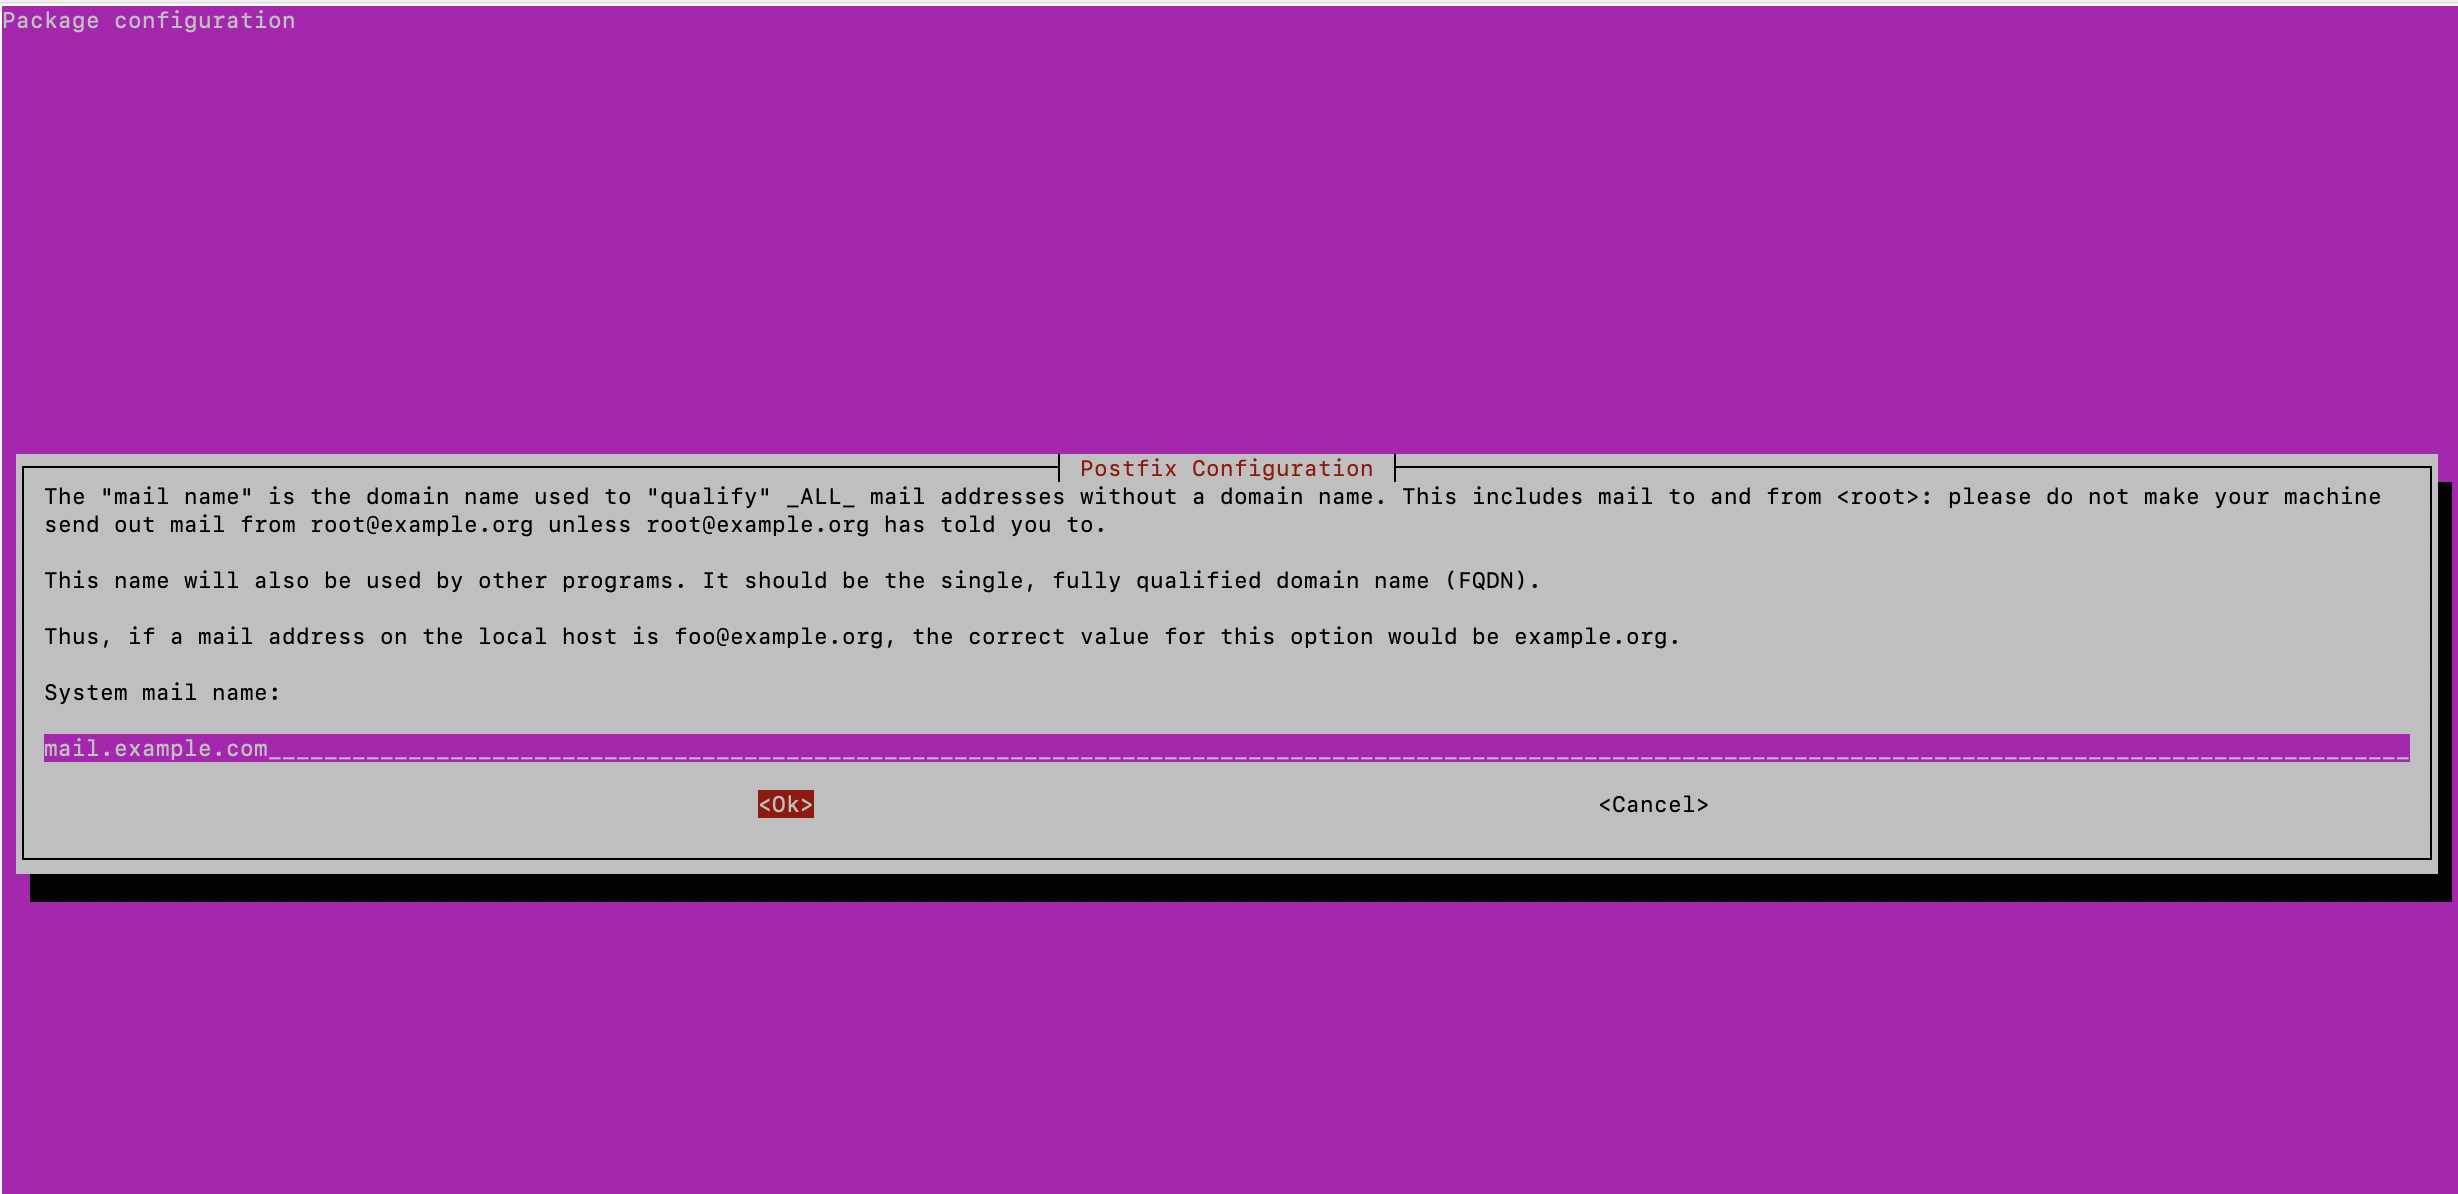
Step 3 : On the next screen, enter your domain name, for example, mail.example.com, and answer the other questions. You can leave them with default values
Step 4 : After installation completes, we need to modify the Postfix configuration under /etc/postfix/main.cf
sudo nano /etc/postfix/main.cfStep 5 : Set myhostname to point to your domain name
myhostname = mail.example.com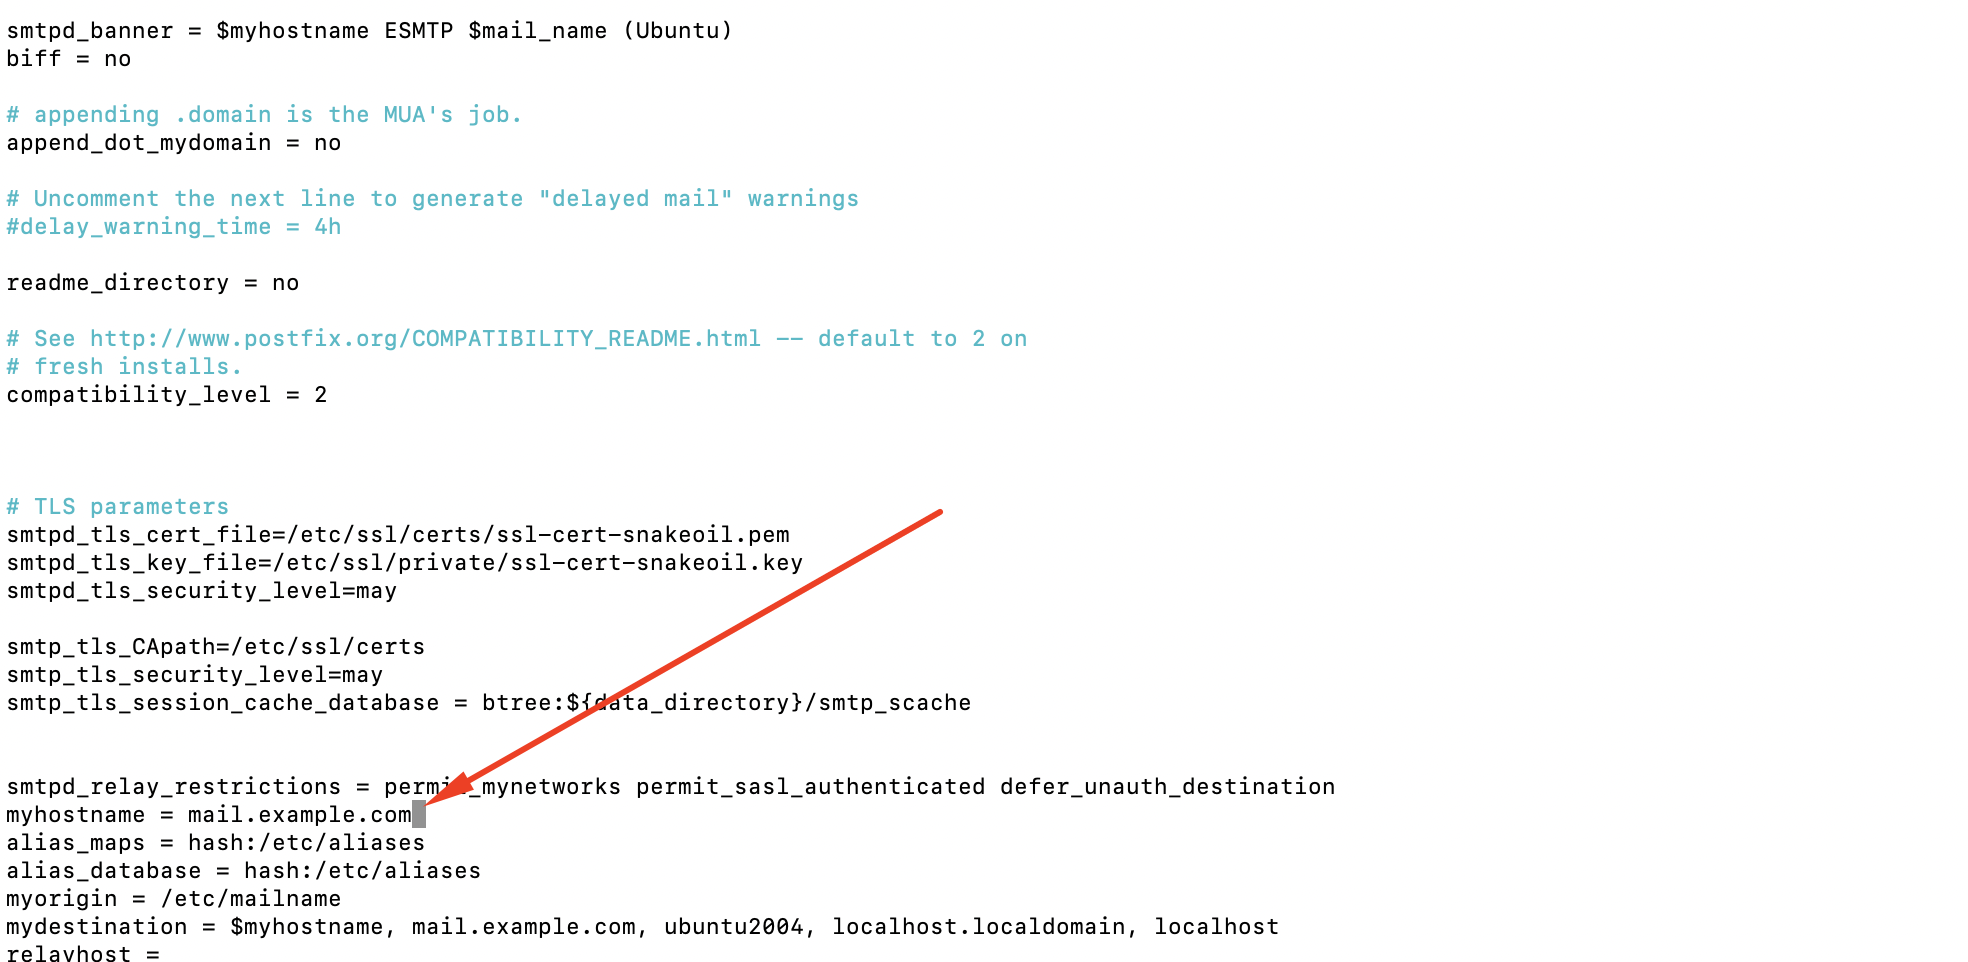
Step 6 : Ensure mynetworks is set to the local network. This will secure your server from spammers:
mynetworks = 127.0.0.0/8 [::ffff:127.0.0.0]/104 [::1]/128
Step 7 : Also check mydestination. It should contain your domain name:
mydestination = ..., mail.example.com, ..., localhost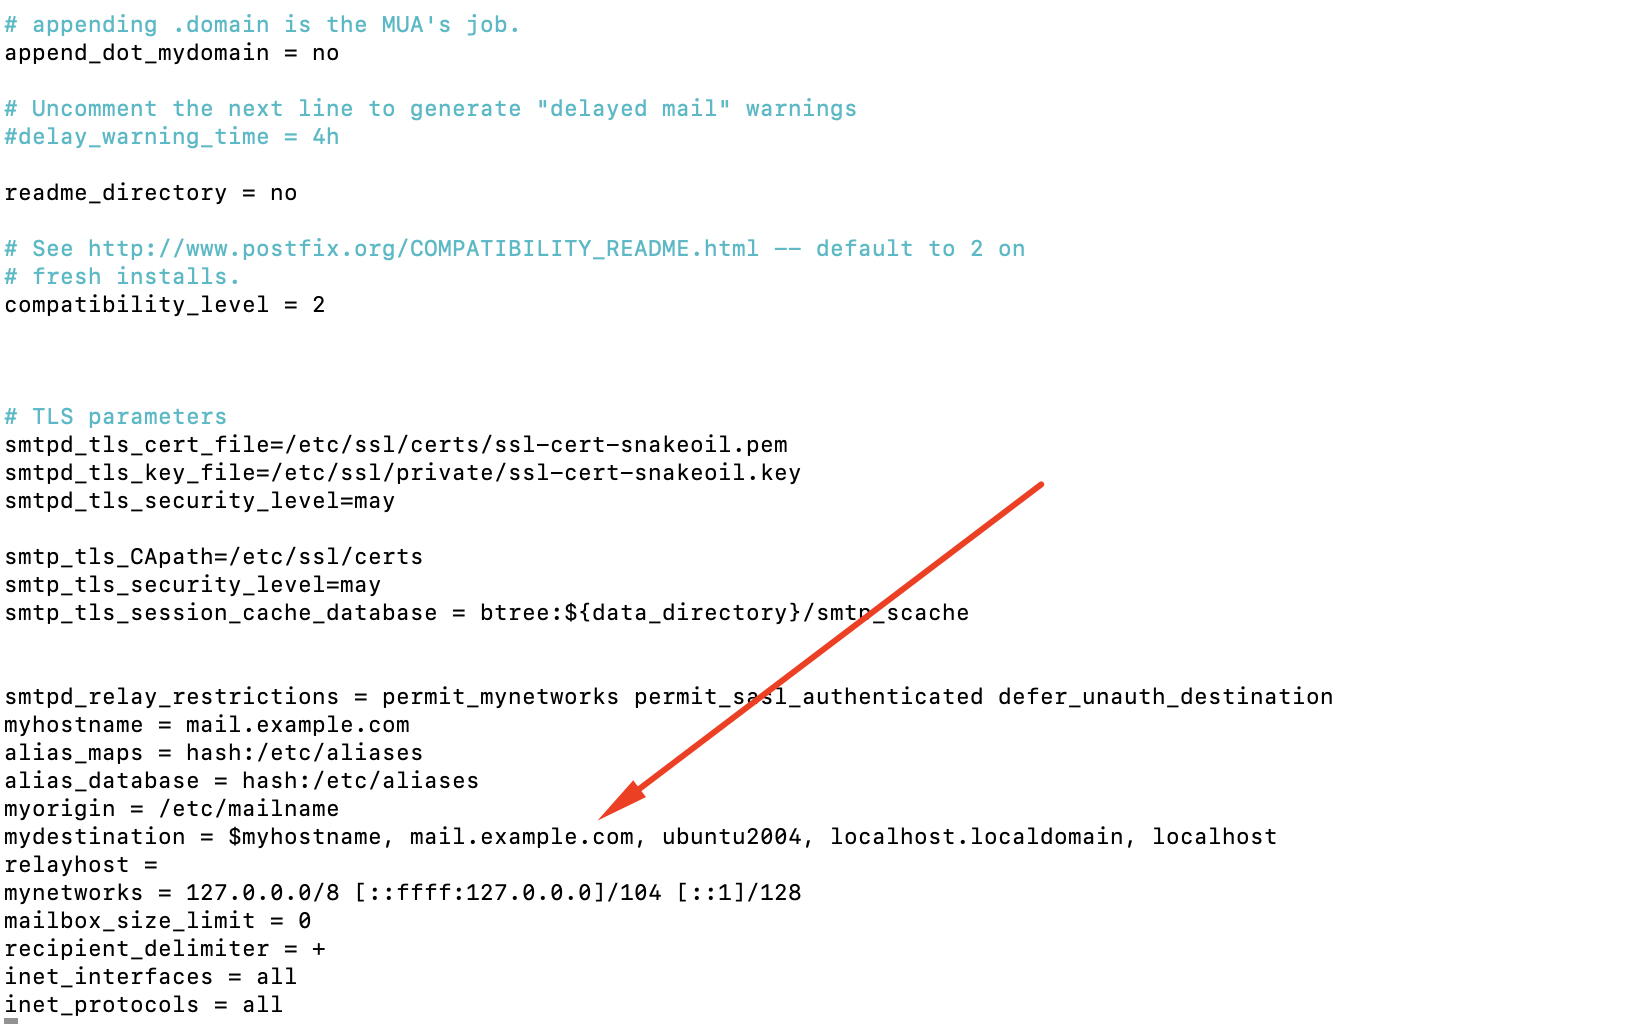
Step 8 : Save the configuration file and exit. Next, reload Postfix for the changes to take effect
sudo service postfix reload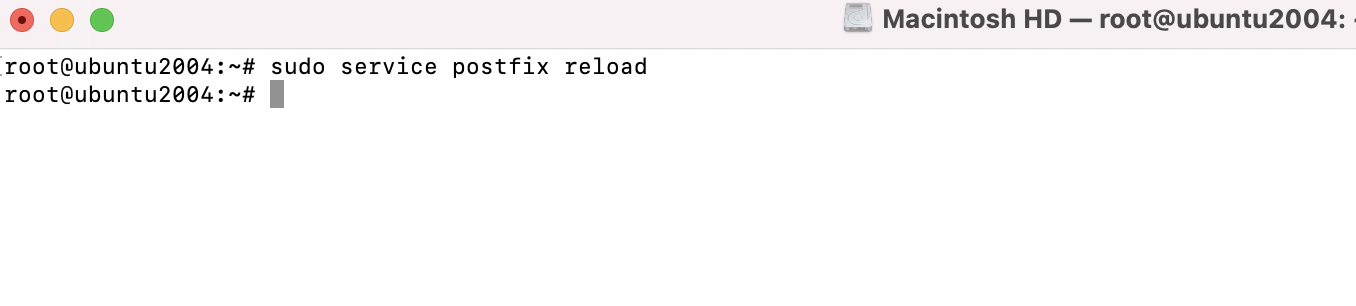
Step 9 : Test if everything is working as expected. Open a telnet connection to the mail server:
telnet localhost 25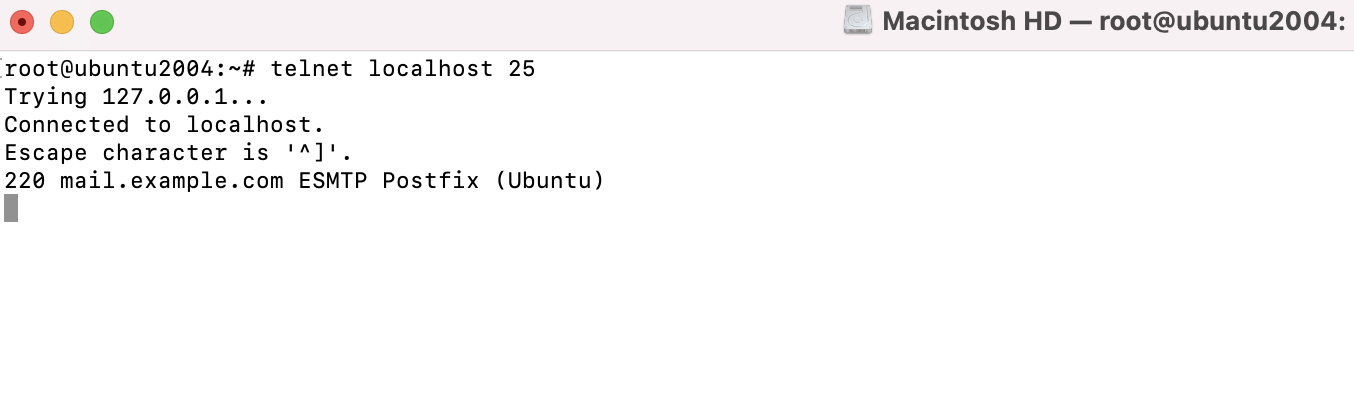
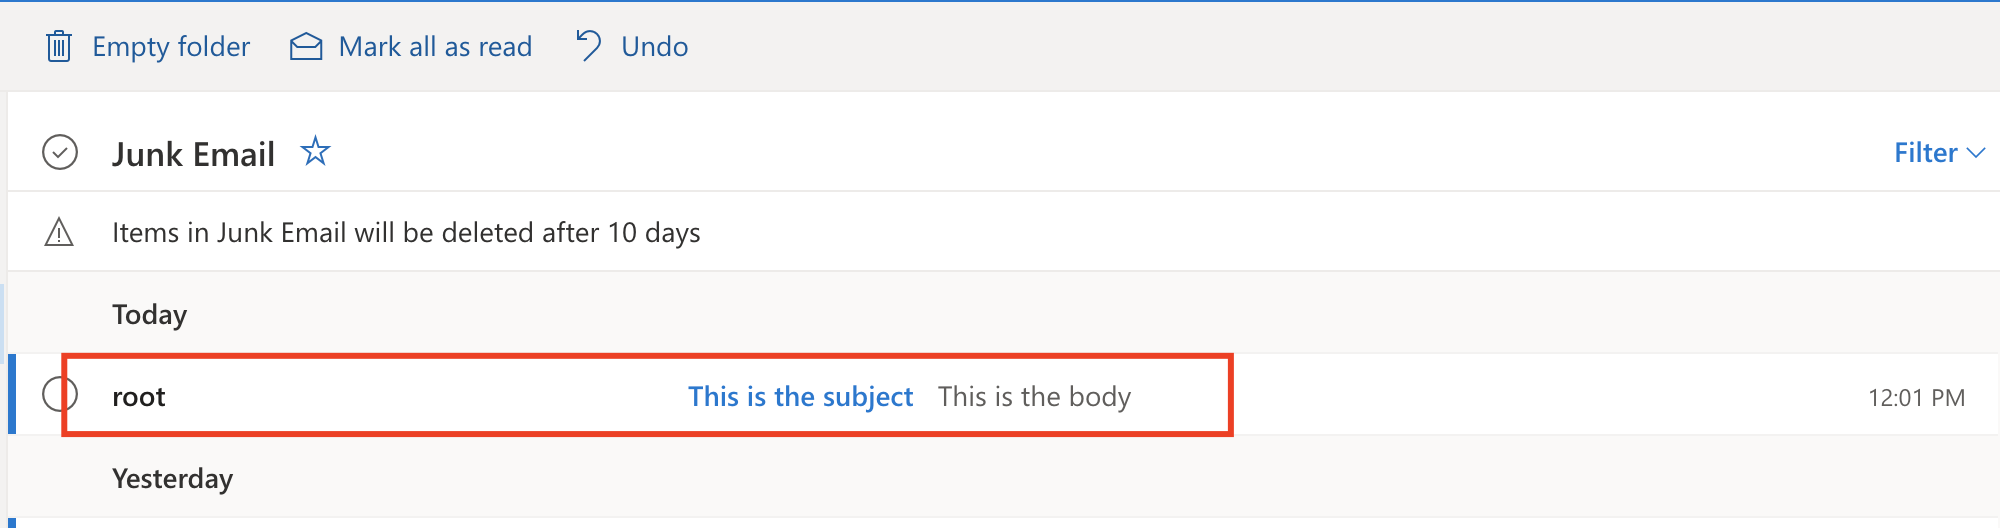
Step 10 : Now, send your first e-mail from this server.
sudo netstat -plutn
Troubleshooting the mail server
Step 11 : Start with checking the status of Postfix
sudo service postfix status
Step 12 : You can use a tail command to monitor the stream of logs while the service is running
tail -f /var/log/mail.log
Step 13 : You can check other log files such as
cat /var/log/mail.errStep 14 : Check respective ports used by Postfix
telnet localhost 25
Step 14 : Check netstat to make sure services are listening
sudo netstat -plutn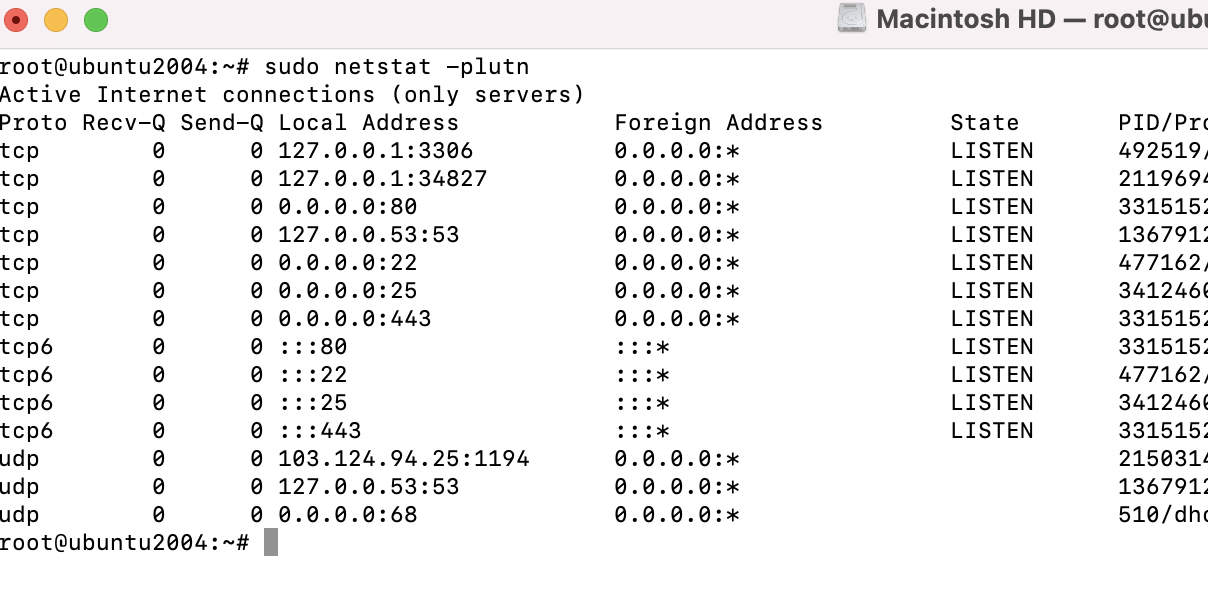
Step 15 : Check for DNS resolution and MX records
host -t mx example.comRecommended